Field Recording for Ambient Soundbeds
Rather than reaching for a sample library, sometimes inspiration can be found in the environments that surround us. High-quality field recording is relatively affordable these days thanks to hand-held recorders such as the Zoom H4nSP and the Tascam DR-40. Even smartphones are capable of capturing audio at an acceptable quality, and with so many recording apps out there now it’s easier than ever to whip out your phone and capture some unique sounds.
Step 1
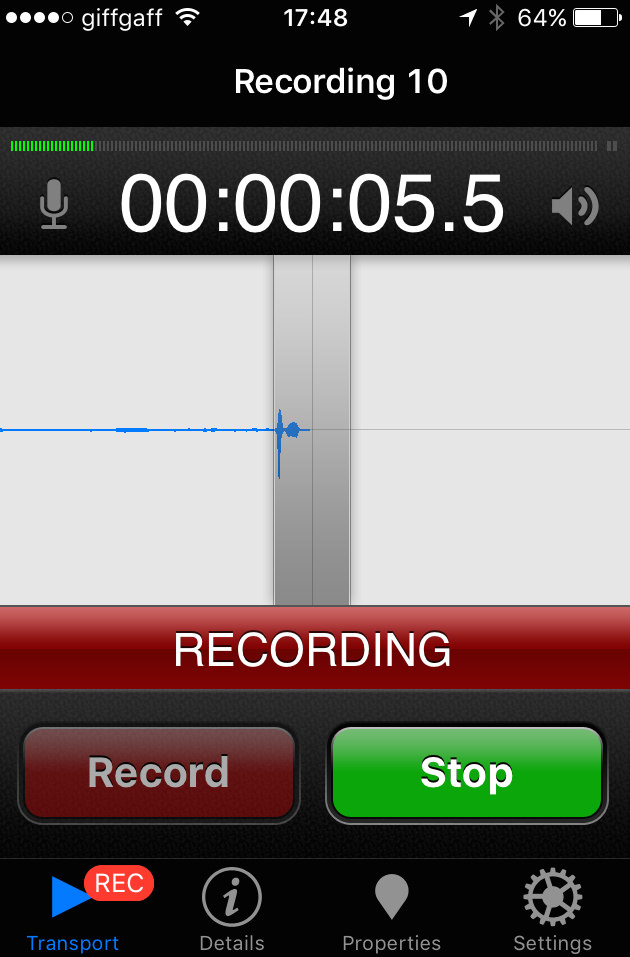
We’ll be using the Rode Rec app for iOS to capture our audio, though there are plenty of options on the market (including quite a few free apps).
It’s super easy to record audio with the Rode app. Once loaded up you press the + symbol and hit Record (bear in mind that the microphone is at the bottom of the iPhone, so be sure to point that towards your audio source). We’ve record some ambient noise in a park, capturing the sound of the wind and birds singing. We recorded around 1min30 in total – here’s a clip of what we got:
Step 2
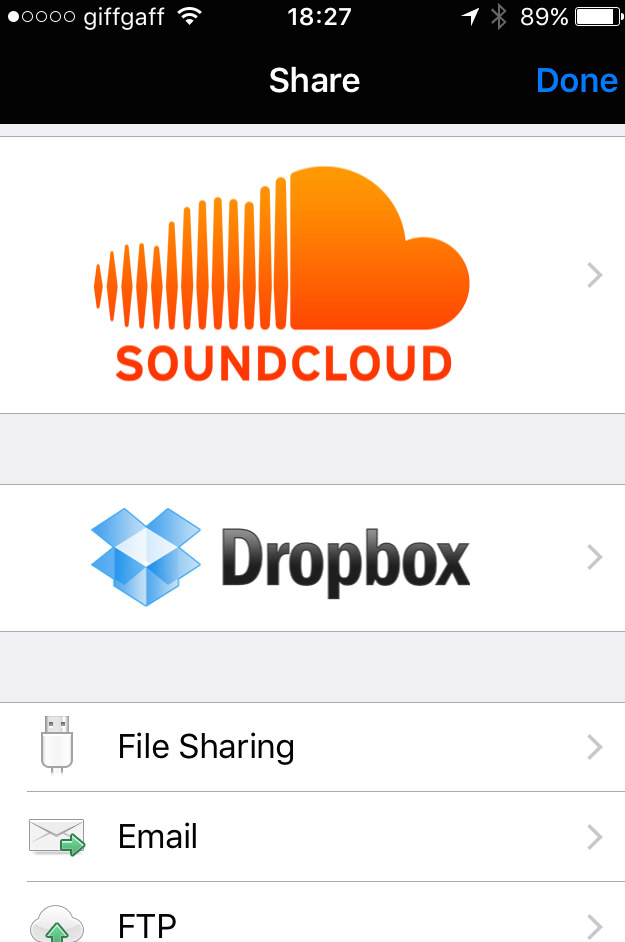
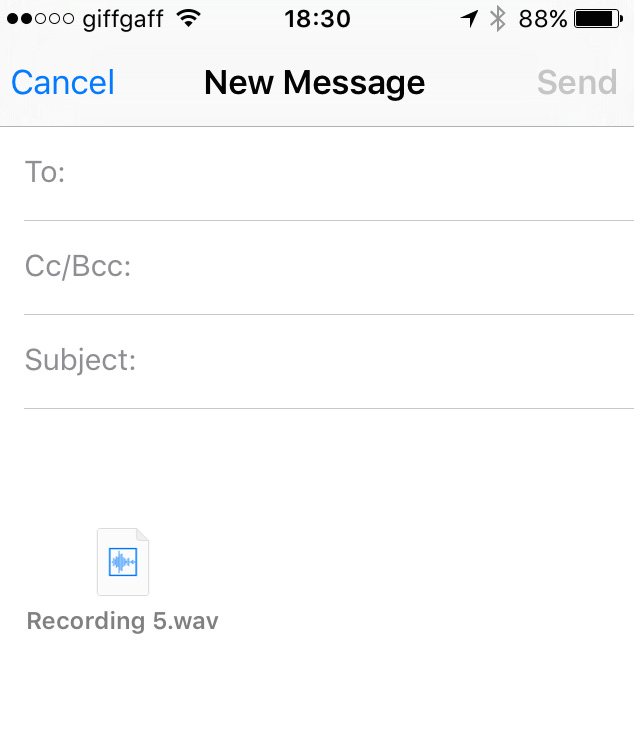
With our audio captured, we need to get it onto our computer for further editing. There are a number of ways to do this, but one of the quickest is to email it. In the top right of the app there is a blue icon which brings up the options for sharing the file. Select Email. The format should be set to WAVE by default. Hit Create Email, bringing up your Mail app with an new email with your recording attached. Type in your email address and hit send.
Step 3
Now log into your email and download the attached audio to your computer. We’ve dragged our recording onto an audio track in a new project in Ableton Live. We’ve also loaded a simple kick and snare pattern on a separate audio track.
To get started editing, we choose a section of the audio where there are some interesting sounds with birds singing. We loop the section with our drum pattern, then we add an EQ to the audio and take away all the low frequency hum, bringing down the GainLow all the way and setting the FreqLow to 387 Hz. We also push up the GainHi to 6.00 dB.
Next we add a Flanger and back off the effect slightly to 48.4%. Finally we add a Compressor, and activate the Sidechain panel by clicking the downwards pointing triangle. We select our kick and snare pattern in the Audio From menu so that the compressor ducks on the drums. We’ve set the Ratio to 3:1, the Threshold to -35.3 dB so there’s plenty of gain reduction, the Attack down to 0.01ms and the Release to 137ms, giving us a nice obvious pumping sidechain effect.
Step 4
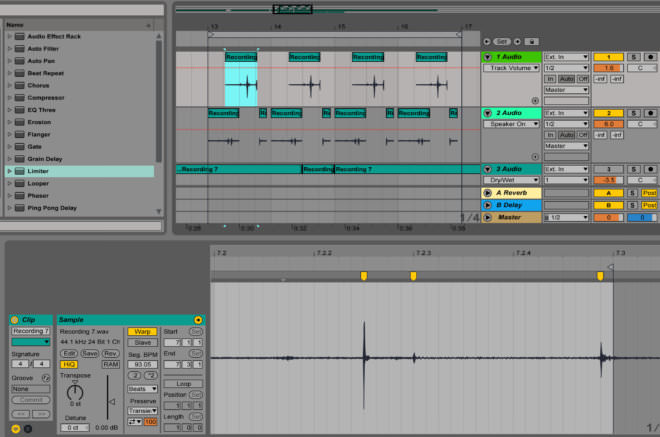
Next, we take a look at another part of the recording with some footstep clicks:
We’ve copied different sections of this to separate audio tracks and used Ableton’s warp markers to move the clicks so they’re quantised to the grid:
Playing this pattern back with the beat, it adds a real old-school breakbeat flavour to the drums:
Step 5
Finally, we add our soundbed back in and copy the sidechain compressor settings to the other new audio tracks. We’ve also copied the EQ over, with FreqLow taken down to 150 Hz, just sweeping away any real bottom end.
The result is a character-filled ambient sound bed which already gives us a sense of atmosphere. With the field recording setting the tone, we can continue to build on top, using it as a key element of the track.



03.54 AM
Really nice tutorials thank you !
Any way to do the tutorial number 4 with only Ableton ?
08.53 AM
In session view, right click on your audio region and select ‘Convert Audio to New MIDI Track’
10.12 AM
In this case, “Convert Audio to new Midi Track” is going to slice the audio up. If you want to extract the melody, just right click and select “Convert Melody to new Midi Track”
05.40 PM
Thanks for clearing that up Ben!
07.22 PM
I think its fair to say most people can get nice loops going, but moving beyond that can be the problem, fleshing out an idea can be difficult – and loop-mong often sets in…… better off doing some tutorials about that subject………
08.14 PM
This was GREAT! Thanks for all the ideas. I love the fact that I can record my voice and create a midi track out of it.
12.36 PM
Thanks you Ben and Jonny Striate !
08.29 AM
Genius. Thanks for the tips!
09.55 AM
audio doesn’t appear to be working for these examples?
11.05 AM
Thanks for pointing this out Craig.
It appears to be working for us.
Which browser are you in?
Is it all the examples?
06.30 PM
The last tip is really really great, never thought about it.
02.49 PM
I have done this couple of times myself. It’s great trick how to kick off creative process. I never understood why it works so well but recently someone told me that it’s not melody (or notes) itself that is catchy, it’s the rhythm. It might be most boring chord progression ever, but if you play it in cool fashion, add some swing… You’ve got yourself a banger