u-he are makers of award-winning software synthesisers and effects including Diva, Repro-1, Zebra2, Hive, Bazille, Presswerk and Satin.
Visit U-he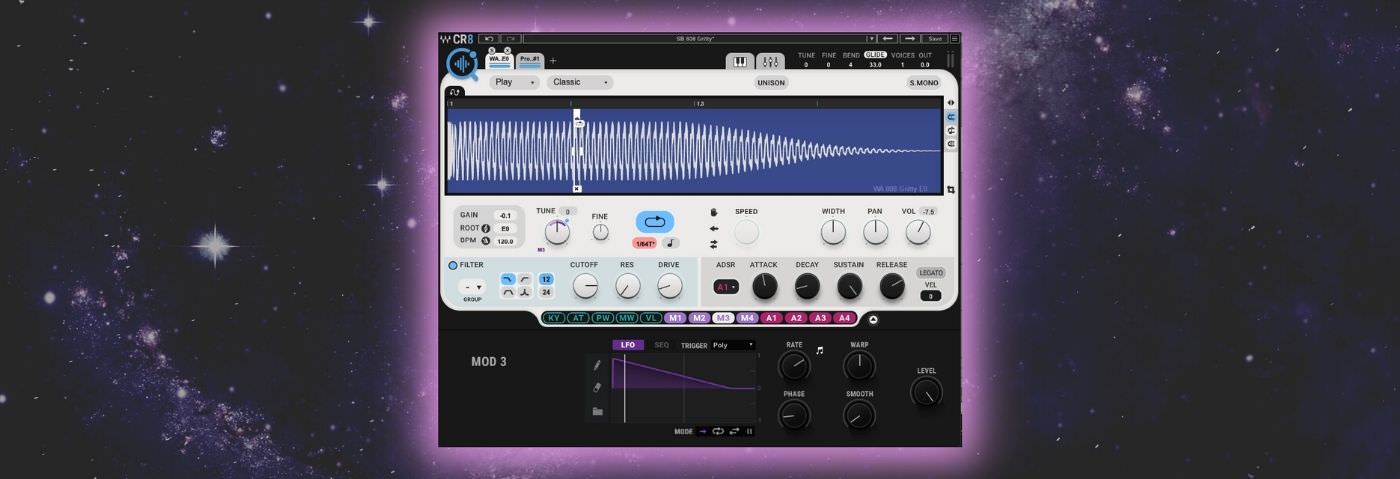
Technique » Synth Secrets »
Creating A Massive And Multilayered Pad With Waves CR8
This channel is sponsored by

Waves’ new sampler CR8 supports multiple sample layers. Let’s use it to build up a gorgeous pad with plenty of movement and character.
Waves’ new sampler, CR8, has a multi-layer structure that allows you to stack samples on top of each other. By tweaking the parameters of each layer individually, you can build up unique, sonically interesting sounds with tons of movement. Let’s use this feature to craft a dense, lush pad. CR8 works hand in hand with Waves’ free sample finder, Cosmos, so if you haven’t downloaded that yet, go ahead and do that first here.
Here’s our finished pad, taking the lead in a rave track:
N.B: We recommend following along with headphones or studio monitors. As ever, click any image to see a larger version.
A Quick Overview Of CR8
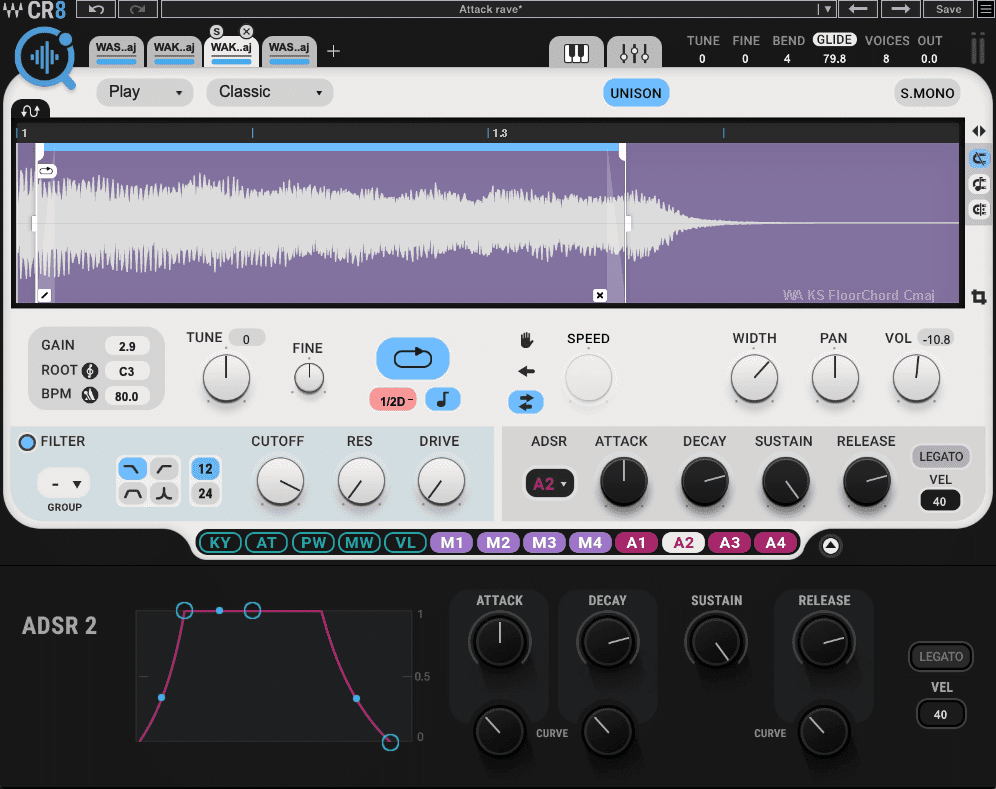
Waves’ CR8 is a sampler capable of playing up to eight layers of samples simultaneously. Each layer offers a variety of sound-shaping parameters, including a groupable multimode filter with lowpass, highpass, bandpass, and notch filters, plus two slopes, 12 and 24dB/octave. There are four ADSR envelopes, four modulators including LFOs and step sequencers, and keyboard-based control such as Modwheel.
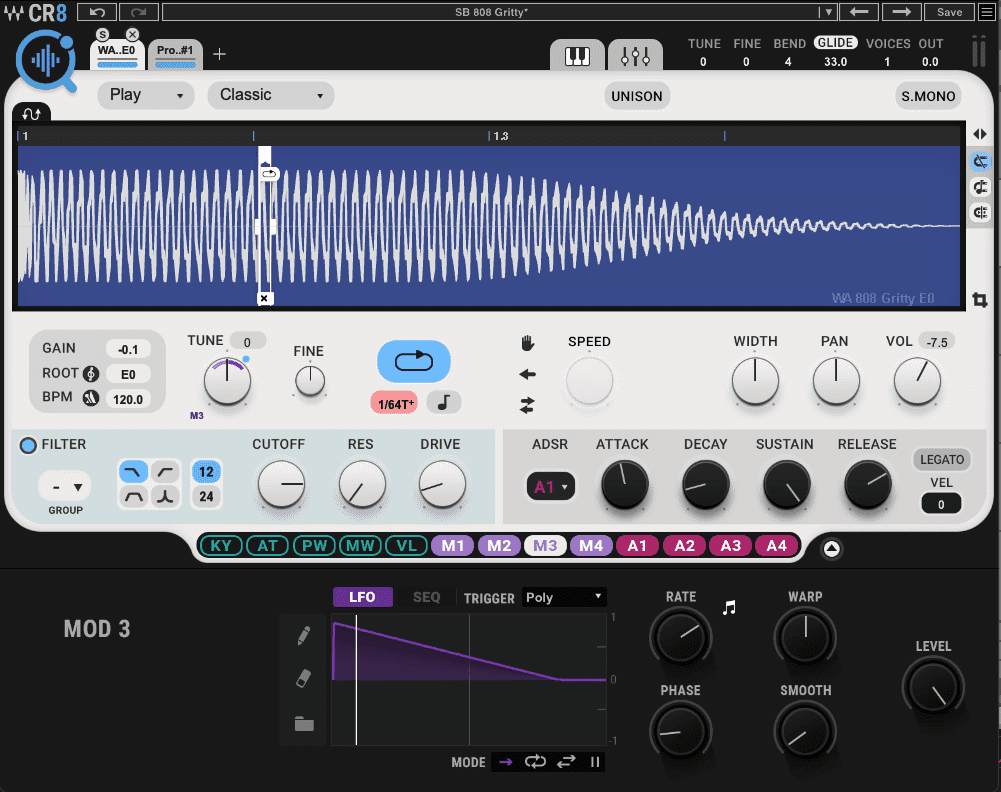
Being a sampler, there are a number of ways to handle playback of the audio file. You can treat it as a one-shot (by selecting Launch mode) or, by choosing Play to run it through the envelope. When in Play mode you can also access the different time-stretching modes. These affect the grain and harmonic content of the playback. You can loop and set loop points. You can also freeze the playhead (by pressing the hand icon) to constrict playback to single grains.
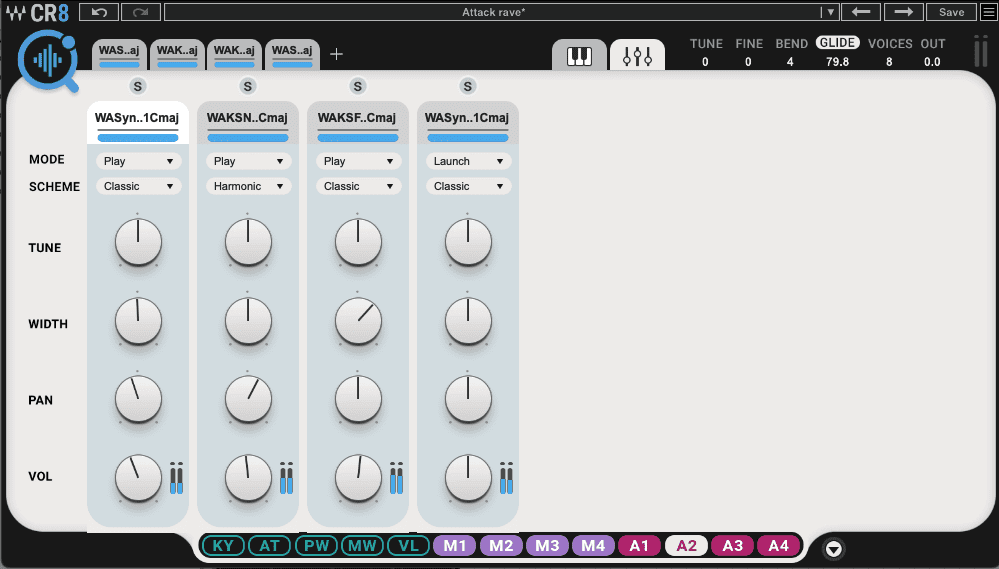
As there are many layers, Waves have included a mixer section to adjust volume, panning, stereo width and tuning of each sound. These controls are also available on the layer’s main panel.
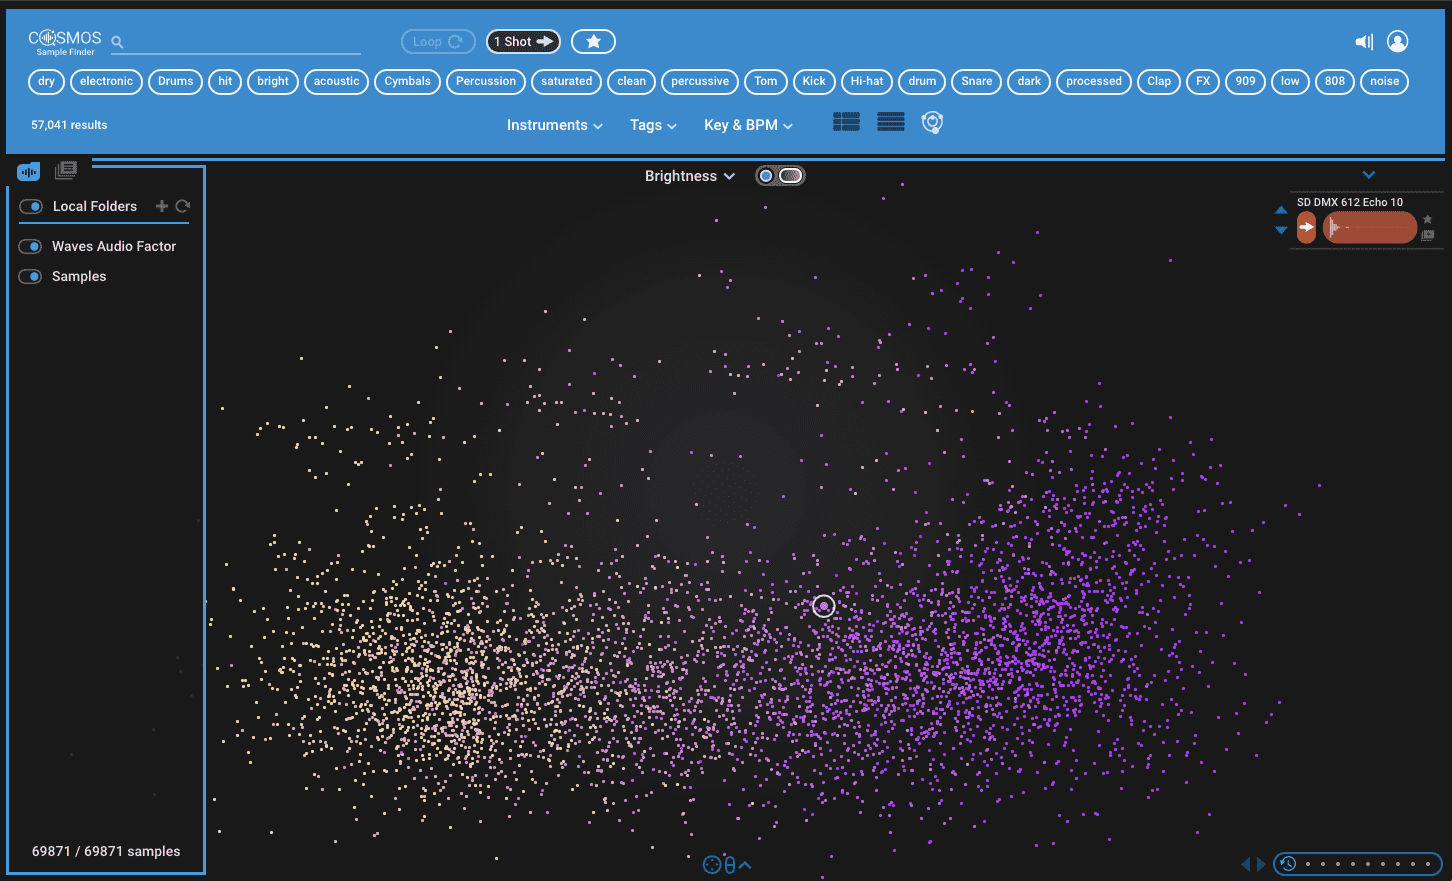
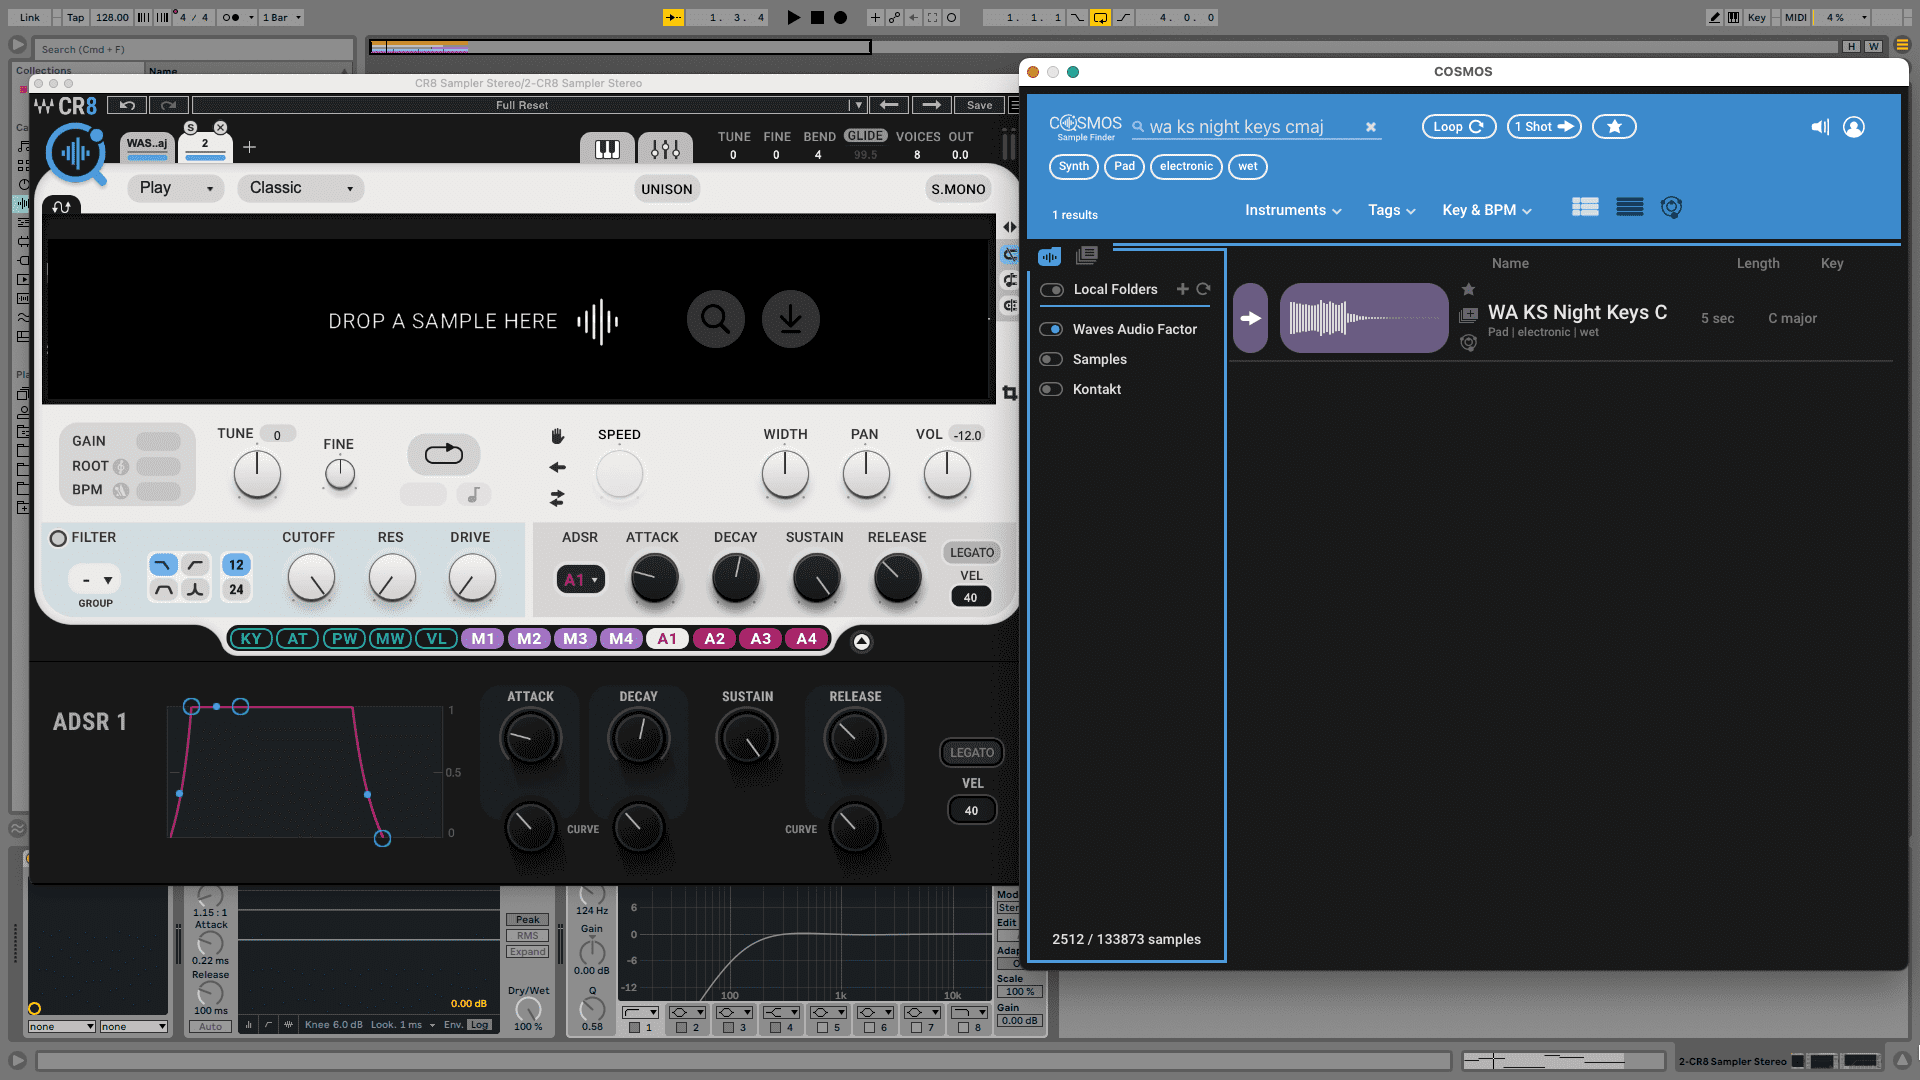
Finally, the sample finder app Cosmos is built into CR8 and can be accessed by hitting the large Cosmos icon or by clicking on the search icon in a blank layer.
Step 1: Finding Samples With Cosmos
First, let’s find some suitable raw samples to use in our pad with Cosmos. If you don’t already know how to use the program, get up to speed with our how-to.
We click the Cosmos icon at the top left of CR8 to reveal the finder. Using the different search functions, we pull up four different promising samples. We want something with an old-school chord pad feel, so we largely restrict our search to this type. We’re using samples from the included Waves pack, but it’s just as easy to use your own.
Once we have the ones we like, getting them into CR8 is as easy as clicking the plus symbol at the top of the GUI and dragging the samples over from Cosmos.
Here are the four layers playing a melody line that we’ve programmed into Ableton Live:
Step 2: Layer 1
Layer 1 is a synth chord with a long fade-in. We like the tone and feel of it, but it will need some modifications to fit our overall vision.
The first thing we do is turn off loop mode by clicking the loop icon. We also want to add a short fade at the start by grabbing the Fade In tool at the bottom of the start point slider and moving it to the right. This will create room in the transient for the pluck in layer 4.
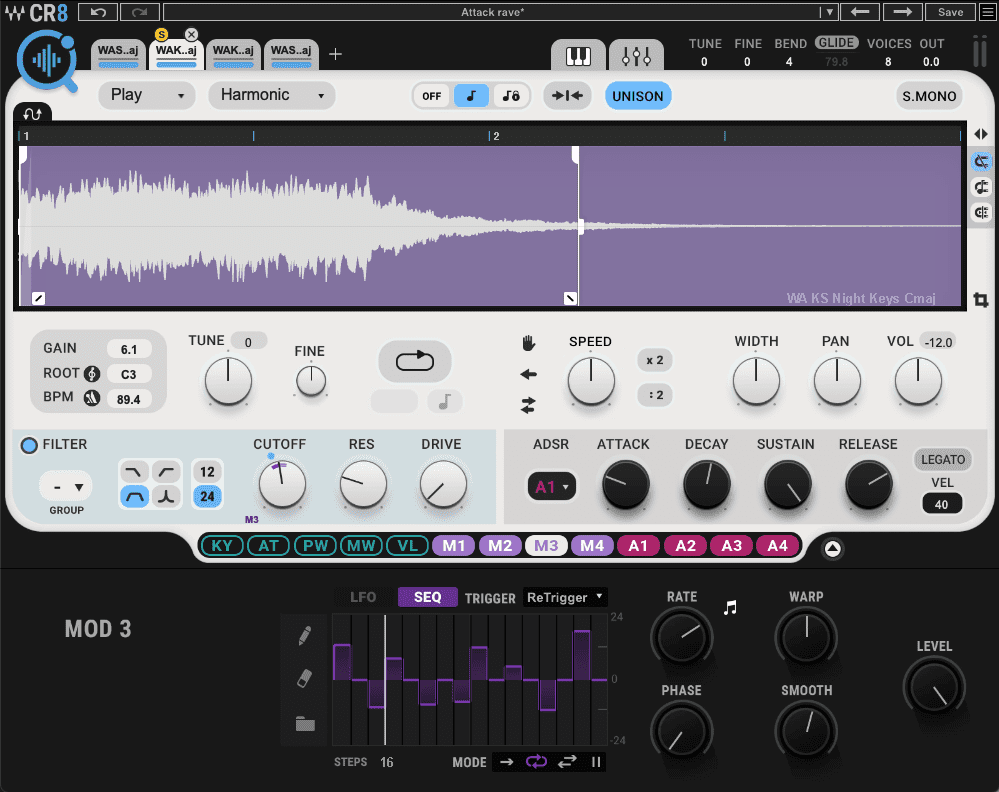
It’s currently set to Harmonic mode, which is doing strange things to the grains of the sample. While it’s an interesting effect, it’s not what we’re after, so we change the mode to Classic. Now it plays like an old-school sampler, with the speed of the sample changing with every note.
Finally, let’s use the filter to add a little movement to the sample. We engage the filter by clicking the button next to the word filter. We lower the cutoff a little. For movement, we go to LFO M1. We go with a sine wave LFO with a Rate setting of one bar (1B). We drag the tag M1 to the filter cutoff, click on the letters that appear at the bottom left of the dial, and pull up to set the modulation range. Lastly, we tweak the Warp dial so the speed of the LFO changes slightly with every keypress. This creates a fast/slow sensation.
The original settings:
And after our adjustments:

Step 3: Layer 2
For layer 2, we’ve chosen an electric piano sample with a phaser baked in. It’s lovely but doesn’t exactly scream rave, does it? Let’s mangle it and use the results as texture for our pad.
Again, we use the Fade In tool to create a very short attack on the waveform in anticipation of the pluck in layer 4. With four ADSR envelopes, we could just as easily assign this layer a separate envelope but as we only need the attack portion to be different, this way is a little faster.
Next, let’s use the filter and modulation to create some noisy texture. We set the filter to a 24dB/octave bandpass for a thin sound, lower the Cutoff to about halfway, and bring up the Resonance to make it squelchy. A touch of Drive adds grit. Next, we use modulation source M3 to add stepped modulation running at one-sixteenth notes. We drag it to the Cutoff knob. Now the filter cutoff jerks up and down to the beat.
The effect is a little subtle. To make it more pronounced, we hit the Unison button to duplicate the sample and thicken up the sound.
The original electric piano sample:
And after adding the bandpass filter, modulation and unison:
Step 4: Layer 3
Next, let’s beef up our growing pad with a thick chord.
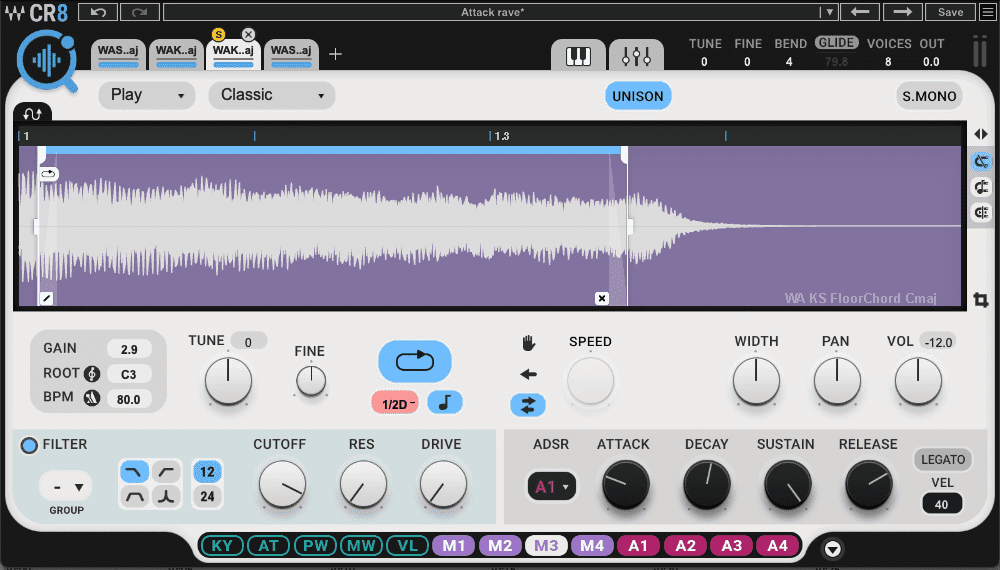
First, we change play mode to Classic for that Akai S900 vibe. We bring the playhead forward just a little to catch it mid-sample. This time, we also use Looping mode. We click the loop button to turn it on, and then the note button below it to sync the loop speed to the DAW’s tempo at 1/2D (or dotted) notes. Why bother with the Looping mode when the note isn’t held long enough to actually loop? The sound actually changes with loop mode engaged. We’re not sure why but it adds a hollow, highpass-style filter to it that works really well. There’s nothing wrong with happy accidents.
For the finishing touches, we take just a little off the top with the Cutoff knob and click the Unison button for a fat sound.
Layer 3 as it started:
And as it ended:
Step 5: Layer 4
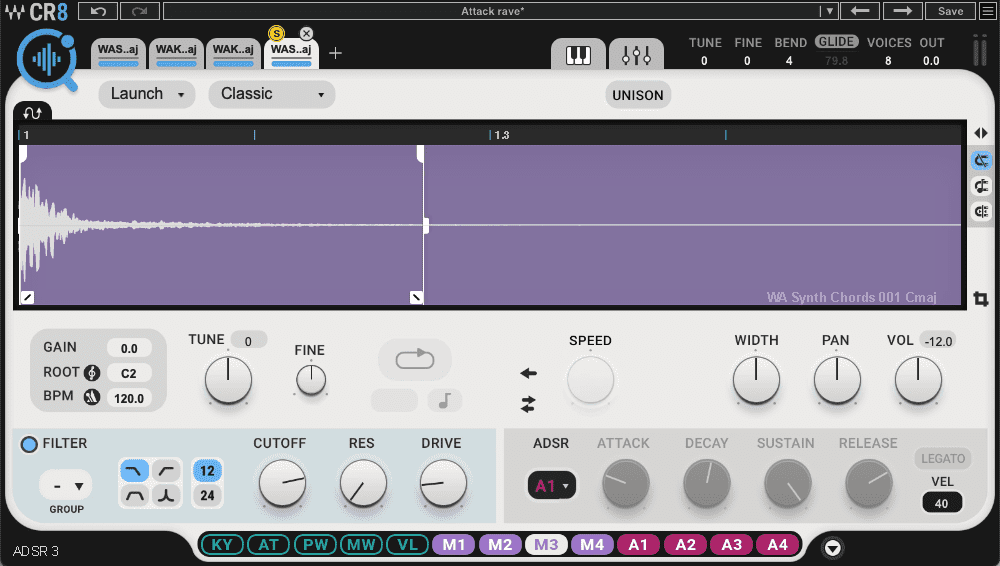
For the final layer, we have a simple pluck to enhance the transient portion of our pad.
We don’t need to do much with it. We set it to Launch mode so it acts like a one-shot and again, choose Classic. We lower the Cutoff a little to take some of the highs off and bring up the Drive to give it some oomph. We also set the root note one octave higher to help it stand out.
Layer 4 originally:
And after adjustments:
Step 6: Envelope and Glide
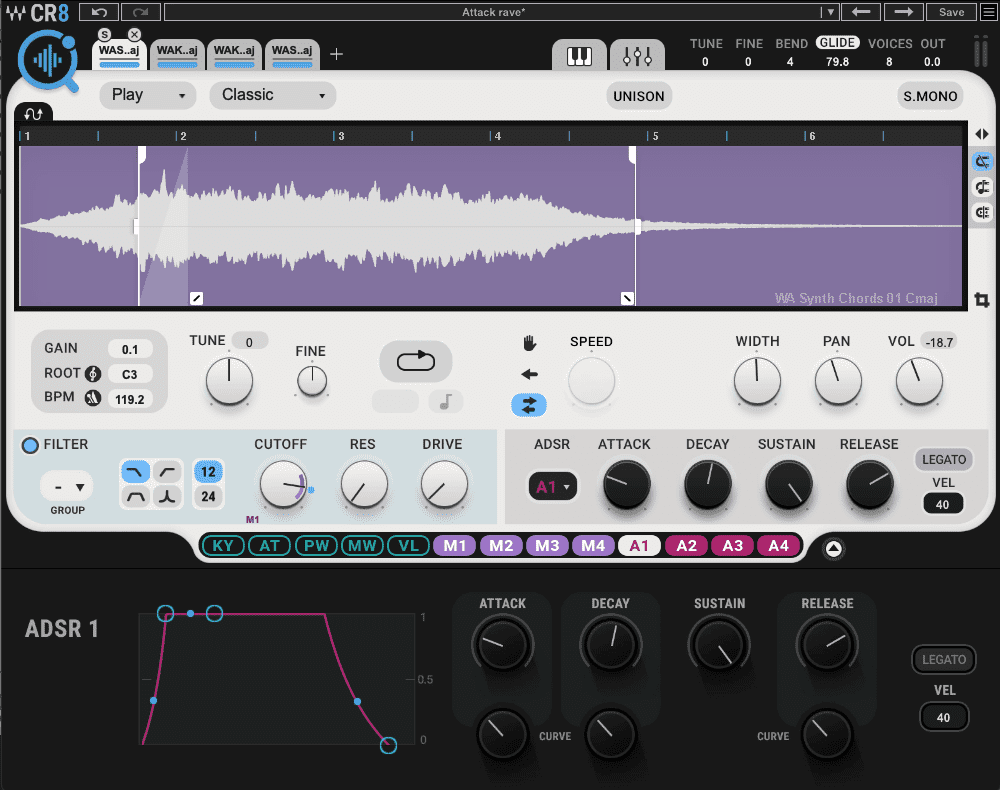
For the next step, let’s set the amplitude envelopes. CR8 can have up to four envelopes, so you can create rather complex patches. Ours isn’t so wild though. The key point is a lot of sustain so the sound holds strong throughout.
For layers 1 and 3, we have a standard setting of medium-fast attack, medium decay, full sustain and medium release. These are grouped under A1. Layer 2 uses A2, which has a slower attack and longer decay.
Lastly, we want to add a little portamento so the notes slur together. To do this, we click the Glide button up top and go with a setting of around 80 – just enough to add interest.
Now with envelopes and glide:
Step 7: Mixer
For the final step, let’s use CR8’s onboard mixer to help all four layers sit together.
We start by clicking the mixer tab at the top. This brings up the Mixer screen (as you might expect). Moving from the top down, we address the Width row first. The synth chord in layer 3 is the biggest and boldest of the bunch, so we push the width out a little to make it even bigger.
Continuing down, our next stop is Pan. We want to keep layer 3 in the centre, as well as layer 4, which is the pluck. That leaves layers 1 and 2, which we pan out slightly to each side. Finally, we come to Volume. Layer 3 gets a slight boost while layers 1 and 2 improve by being lowered.
The mixed pad:
Here’s the finished pad in the context of a song with loops from the Splice packs, Rave Revival and Breakbeat Techno Rave, plus a bassline from CR8 and additional production:
Attack Magazine is supported by its audience. When you purchase through links on our site, we may earn an affiliate commission. Learn more.
FOLLOW ATTACK MAGAZINE
Synth Secrets is sponsored by
u-he are makers of award-winning software synthesisers and effects including Diva, Repro-1, Zebra2, Hive, Bazille, Presswerk and Satin.
Download the demos and try them for yourself at www.u-he.com