How can you get TR-909 samples sounding punchy and powerful? Console-style processing is an excellent way to add character and thump at the mixing stage.
For most of the history of recorded music, instruments were tracked through mixing consoles. When summed, these added additional harmonics that were pleasing to the ear. Throw in EQ, compression, and tape to this, and all of these stages bring their own mojo to make sounds bigger than life. Console plugins are an easy way to add some of this classic magic to your productions. While many emulate single desks, Excite Audio’s Lifeline Console instead gives you a whole control room, with everything the mixing engineer might need to take a production over the finish line.
Today, we’re going to use Lifeline Console on the drum tracks in a techno song. Note that no additional mix processing was used – everything you hear (other than reverb or delay) is from this single plugin.
We’ll go from this:
To this:
N.B: We recommend following along with headphones or studio monitors as some of these results can be subtle. As ever, click any image to see a larger version.
A Quick Overview Of Lifeline Console
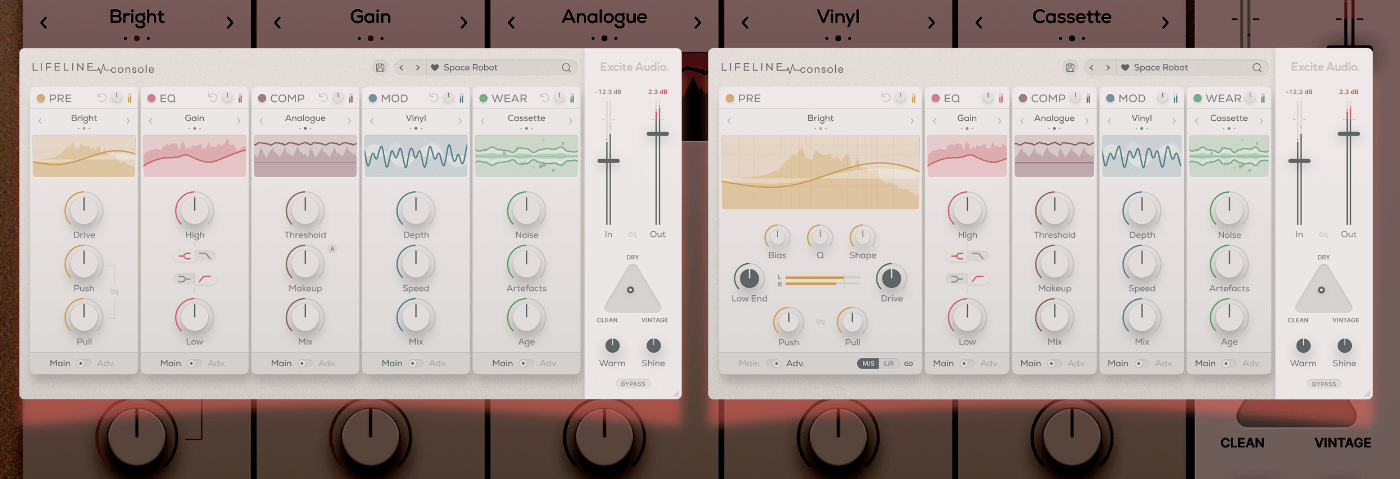
Lifeline Console is a semi-modular, console-style mixing plugin. It’s much like the company’s previous plugin, Lifeline Expanse, in that it has five processing modules that can move around. Each module also has two views, Main and Advanced. While we don’t have time to cover everything it can do, let’s take a quick tour.
Pre is a pre-amp with three different algorithms, Bright, Warm and Dark, with each emphasizing additional harmonics in their corresponding frequency range. Drive does what it sounds like – adds volume to the signal – while Push and Pull work together to adjust the volume plus the amount of harmonics. By using these together, it’s possible to add additional harmonics without increasing amplitude.
EQ is a four-band equalizer. While the controls should be familiar to anyone who’s used an EQ, you can use the algorithms to add more or less character. Gain is clean, Vintage adds hardware-style color while Dirty dumps a whole lot of delicious noise over the top of the signal.
Comp is a compressor with all the usual controls, from threshold on. It’s unique in that it has an intelligent makeup gain that actually listens to your audio and adds volume instead of making an estimation based on parameter adjustments.
Mod stands for modulation. While you won’t find effects like chorus or phaser here, you will find pitch-based modulation mimicking the wow and flutter of playback mediums like reel-to-reel tape, turntables and cassette players. You can use this to impart lo-fi imperfections or sync it to your tempo like a vibrato.
Finally, there’s Wear, which reproduces the artifacts and drop-outs that result from repeated use of tape, vinyl and cassettes over time. This effect can also be synced to tempo, allowing you to create rhythmic glitches.
The last stop of the plugin is the console section. This has an emulation triangle, with three output types: Dry (no effect), Clean (based on a transparent console), and Vintage. You can move the center dot to any position within the triangle, allowing you to crossfade between the three settings. There are also Warm and Shine dials for adding a final splash of low and high-end boost.
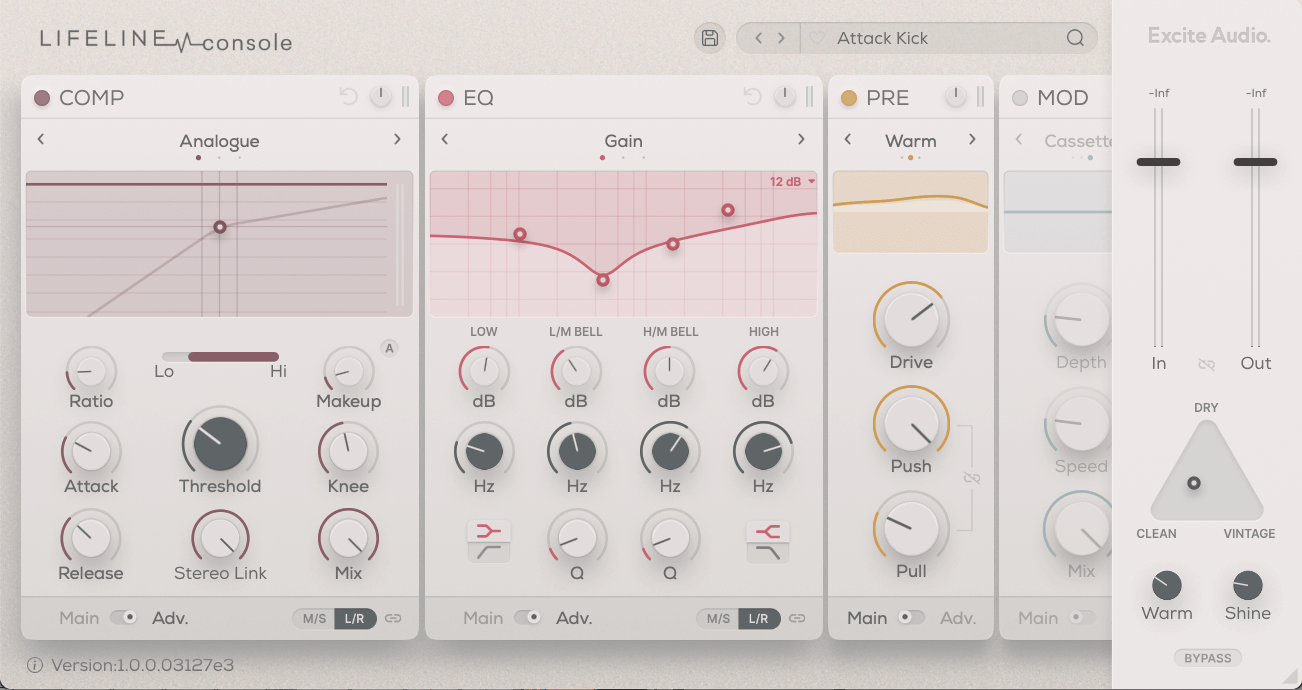
Step 1: Kick
We start with a basic 4/4 kick. Along with all the other drum sounds in this tutorial, it’s from the Ableton Live 909 Core Kit with no additional processing or EQ. It’s a perfectly good sound but it could use a bit more life. We drop an instance of Lifeline Console on the track and get to work.
First, we hit it with the Comp. We go with the Analogue algorithm for character, give it a ratio of 4.0, an attack of 27ms to let the transients through, a release of 177ms to give it time to react, and a threshold of -19dB to clamp down on it. We also use the internal sidechain to remove the lows from the compression circuit, allowing them to pass through unmolested.
Next, we dial in smooth low and high boosts with the EQ, and carve out a nice chunk from the low mids to keep it from sounding too boxy.
Next, we pressgang the Pre – stage set to the Warm algorithm – into driving the sound, making use of the Push/Pull combination to find a sweet spot between volume and harmonics.
For the output stage, we go with a setting that favors the Clean convolution, with added Warm and Shine to bring out the character of the kick.
The kick originally:
And after processing:
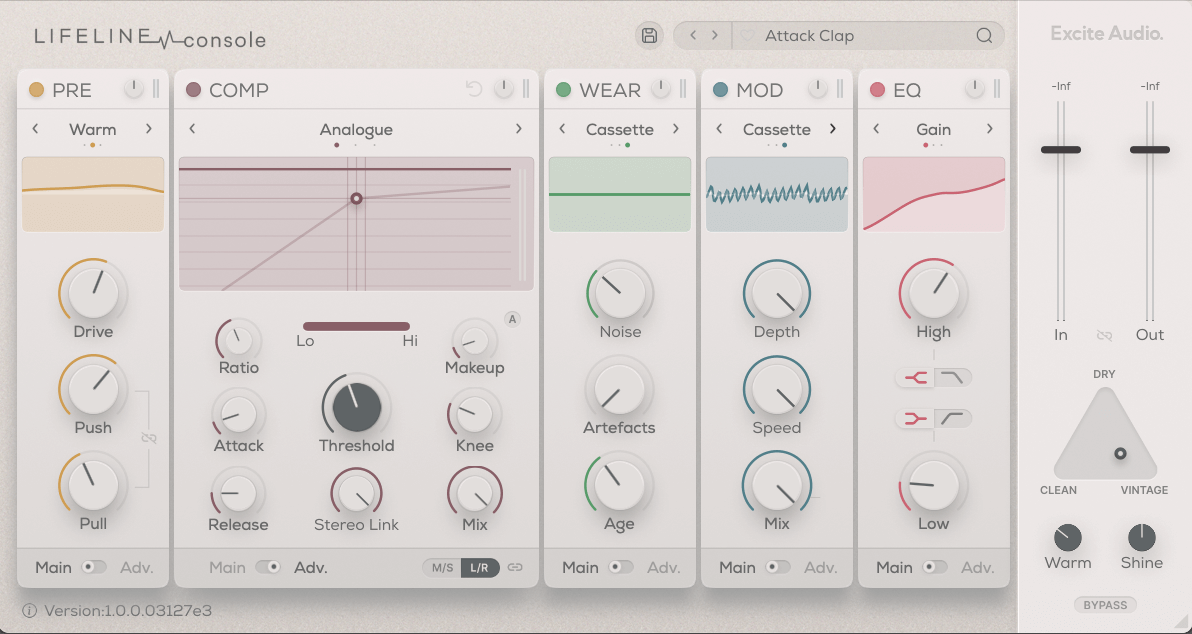
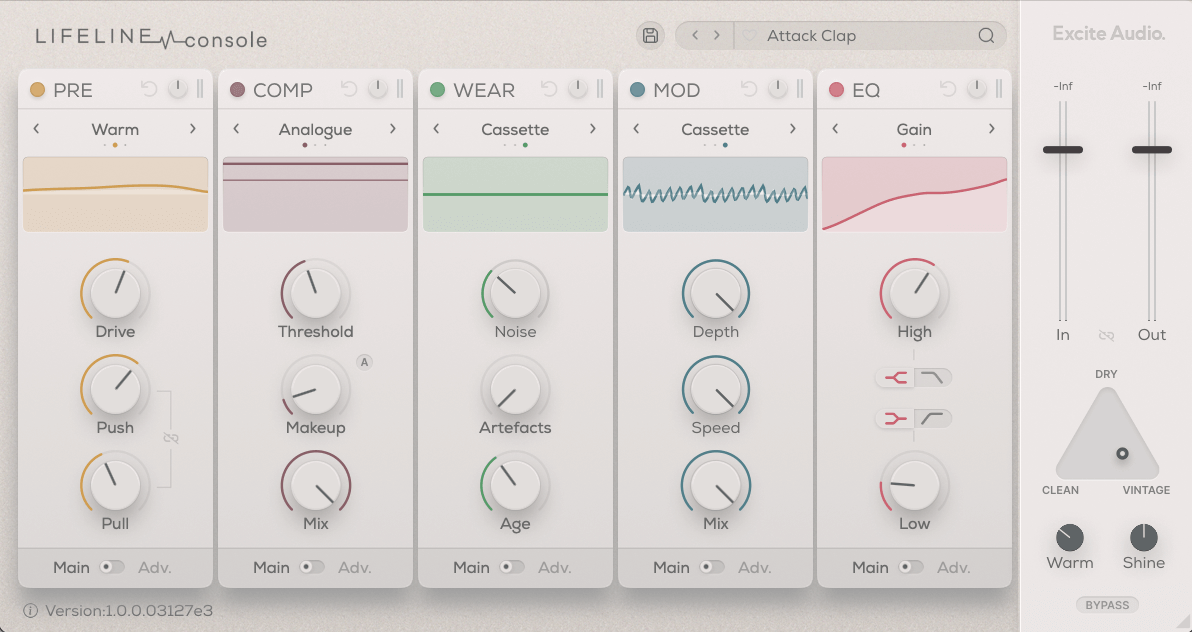
Step 2: Clap
Let’s move on to the clap next. We don’t need to change it a whole lot, just give it some extra character.
Our first port of call is Pre, the pre-amp, where we dial in some Drive and use the Push and Pull knobs to fine-tune the harmonic balance. The Warm algorithm works well with the clap.
Next, some compression courtesy of the Comp module. We use similar settings to the kick but with a stronger ratio to give it a squashed feel.
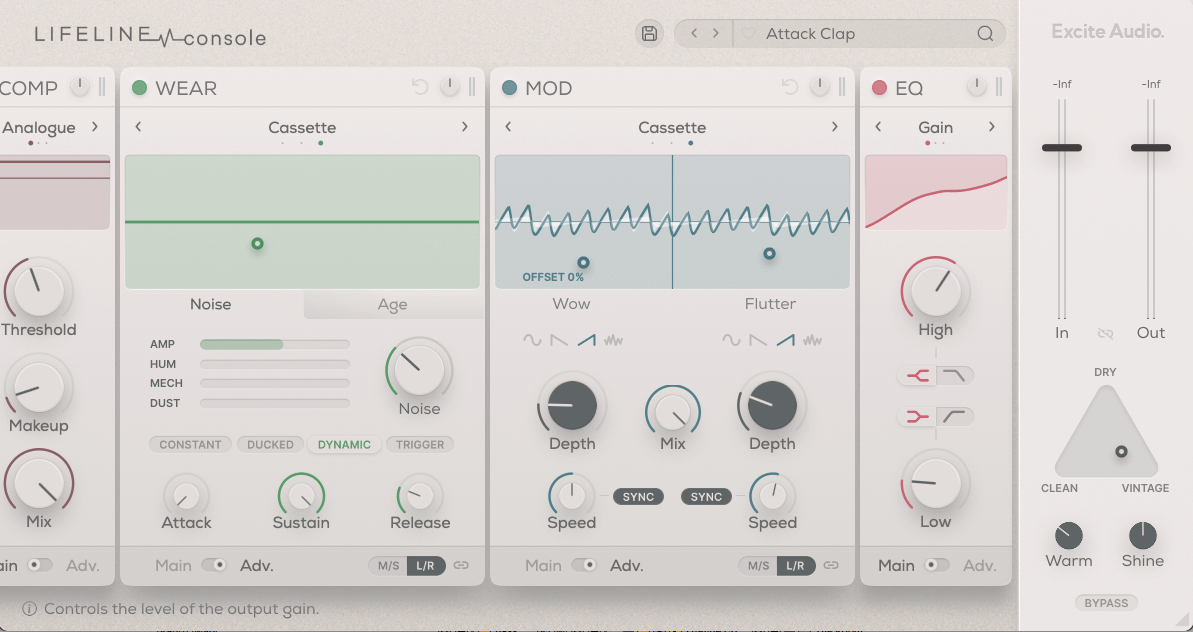
To add some extra noise to the clap, we can employ the Wear device. We dial in some Amp noise and hit the Dynamic button so the noise plays when the clap does. We use the Age settings to darken the noise and help it sit better in the clap.
Moving on, we come to Mod. Using the Sync buttons and both Wow and Flutter, we introduce pitch imperfections. The Cassette algorithm is particularly tasty.
The last module is EQ, which helps us reduce low-end and boost the highs, letting the noise sit with the original clap sample.
At the output stage, we again use the Warm and Shine buttons for some overall polish, with a setting that favors the Vintage convolution.
The original clap:
And after Lifeline Console:
Step 3: Closed Hats
The raw closed hats on the 909 sound good on their own, undoubtedly, but we want something a little more crispy and burnt.
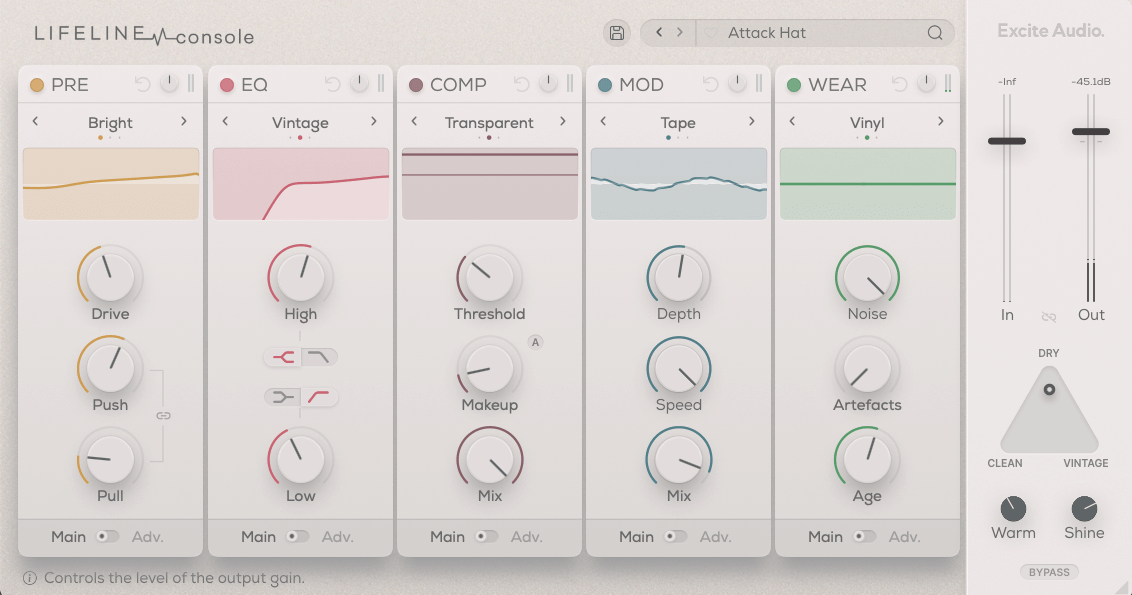
We start with Pre and the Bright algorithm to add harmonics to the upper end.
Comp gives us a little boost of power user the Transparent setting. We could just as easily have gone for something more savory here too.
The fact that the 909 uses samples can make it sound a little robotic. We can add slight pitch variations to the audio with Lifeline Console to address this.
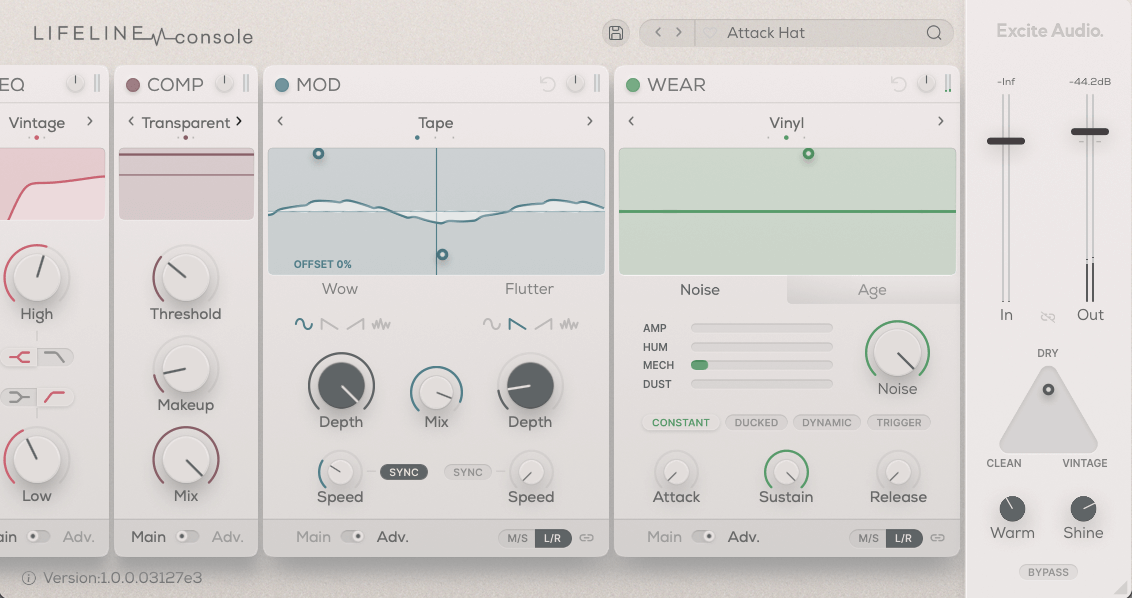
In the Mod module, we use the Tape algorithm with the Wow (the slow modulation source) set to a deep but leisurely pace synced to the DAW’s tempo. Going with the sine wave ensures that it’s a smooth effect. It’s not drastic but it does make a difference to the overall feel.
Wear adds a little mechanical noise to the audio to keep it interesting.
At the output stage, we go with a mostly Dry setting plus a Warm/Shine mix that favors the high-end.
The raw hats:
And after console processing:
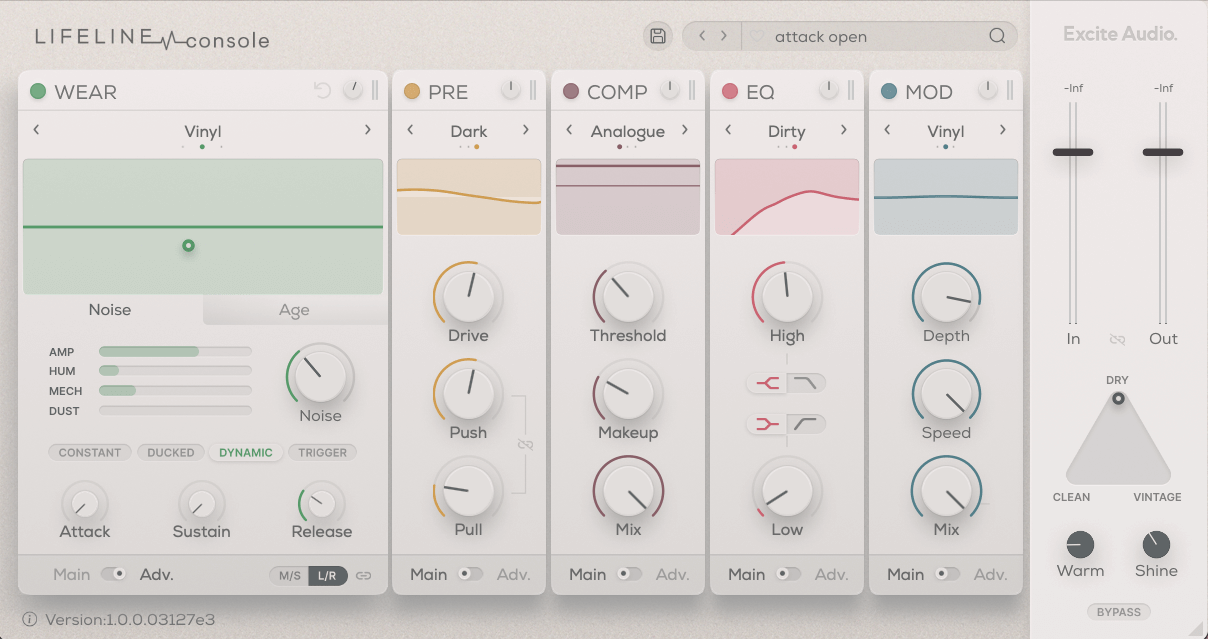
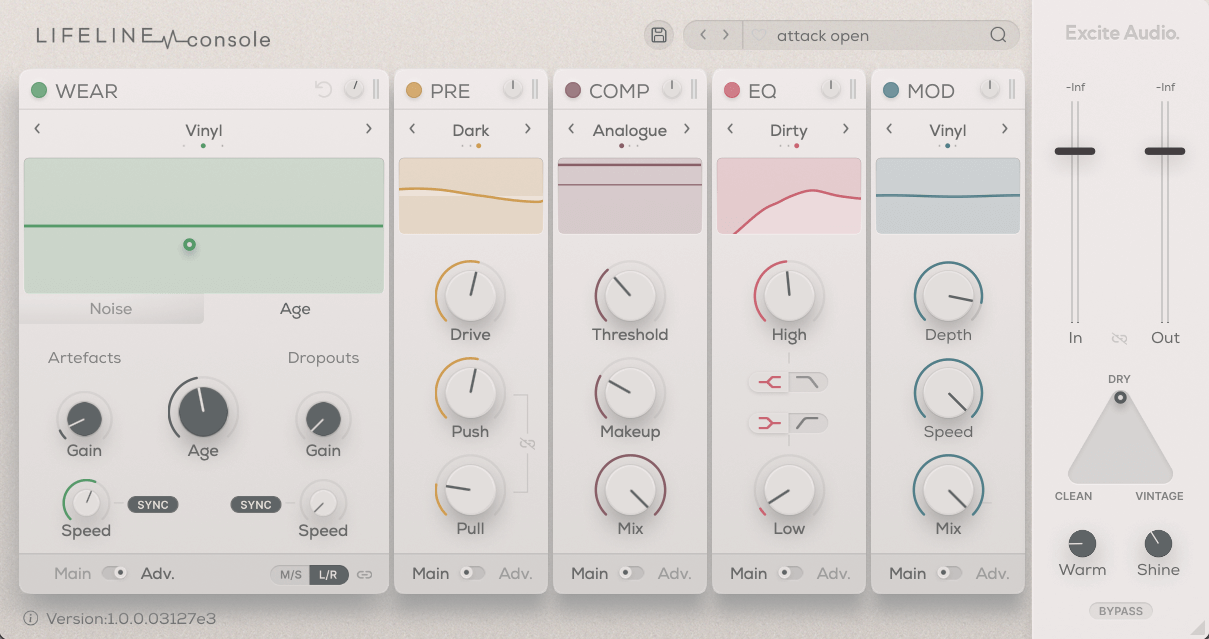
Step 4: Open Hats
For the open hats, let’s use Lifeline Console to not only alter the color and characteristics of the sample but introduce some subtle, rhythmic glitches as well.
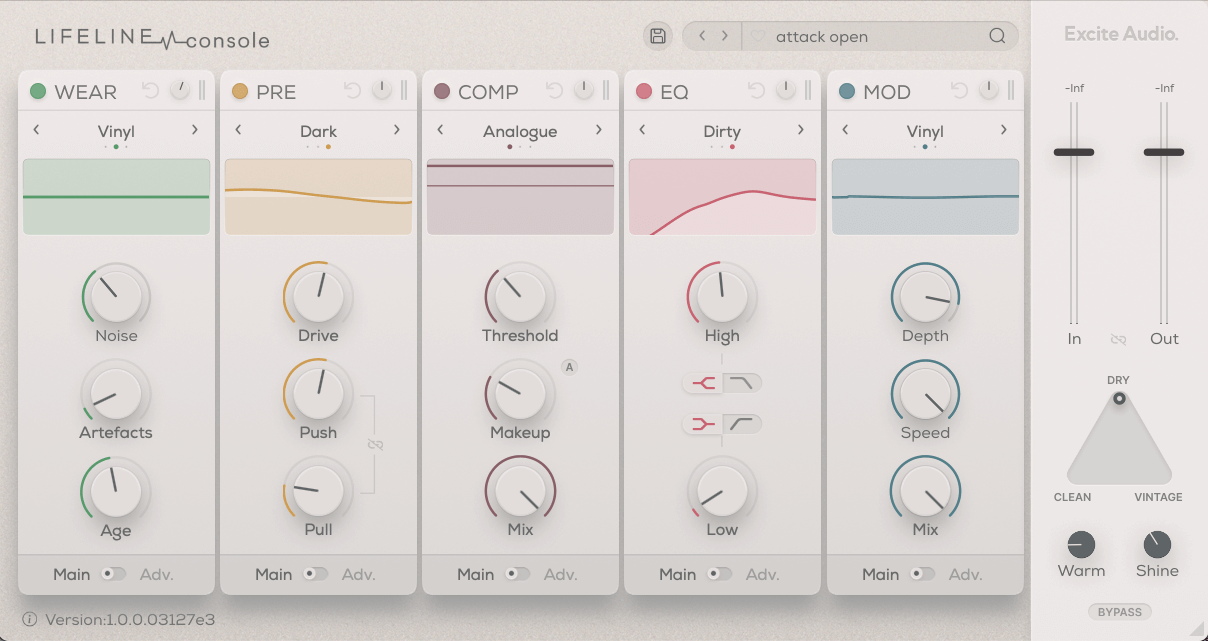
We start with Wear set to Vinyl. We go with a nice blend of Amp, Hum and Mech noises set to Dynamic so they play when the sample does. Next, we want to use vinyl-style pops to add rhythmic interest to the track. We can do this with the Artefacts knob in the Age section of Wear. We bring up the Gain a bit, adjust the Speed synced to host tempo, and crank up the Age dial to darken the sound. Now we get some rhythmic pops along with the hats.
We want a dark, analog flavor for the open hats, so we go with Pre’s Dark algorithm and a healthy serving of Drive. The Analogue setting in Comp with fairly subtle settings boosts perceived loudness but doesn’t overly squash it. The EQ helps us cut low end, while the Mod gives us a very subtle and slow pitch LFO courtesy the Vinyl algorithm.
The 909 open hats originally:
And with creative console processing:
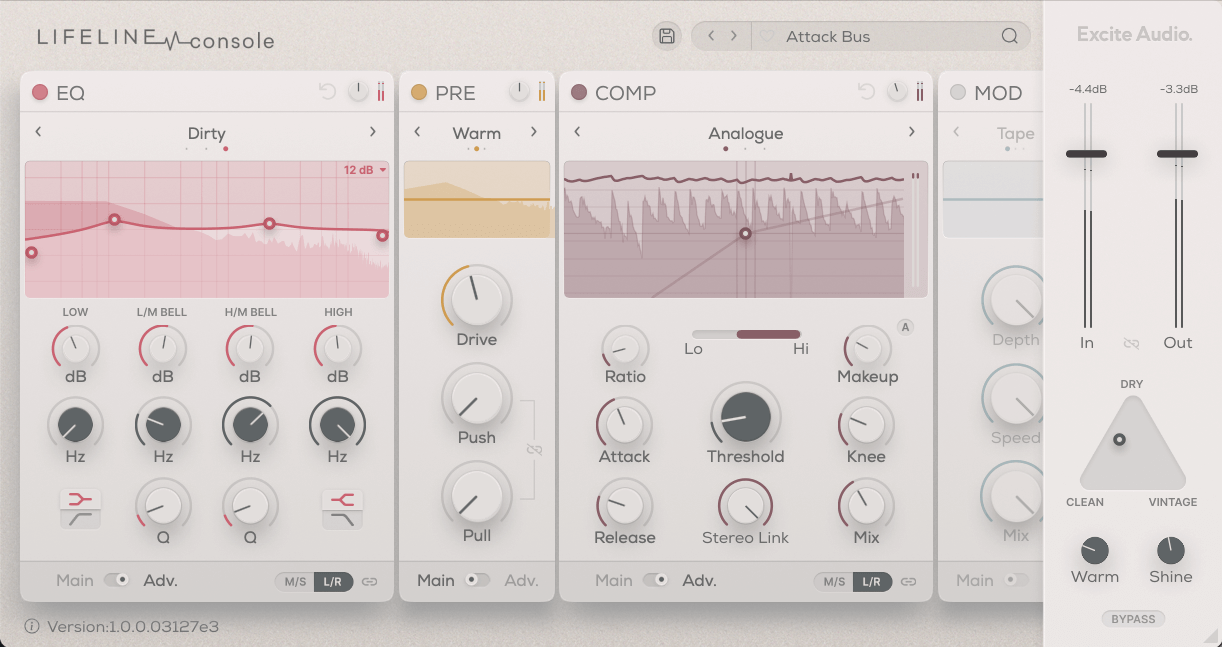
Step 5: Drum Bus
For the last stage, let’s use Lifeline Console as a bus processor to give our drums cohesion and glue.
We start with EQ, with the Dirty setting and an EQ curve that adds slight boosts to the lows and upper mids.
Next, Pre is set to the Warm algorithm, with a good amount of Drive squeezing out juice and flavor. We’ve left the Push and Pull knobs alone as we already have plenty of saturation happening along the way.
Finally, Comp set to Analogue with a low Ratio and Threshold helps us catch the peaks without flattening our dynamics.
The output stage setting is parked halfway between Dry and Clean, with Warm and Shine boosts for varnish and polish.
Top Tip: Hold back on the Shine for a more lo-fi vibe.
The drum bus before:
And after console processing:
Here are the processed drums in action in a track with additional production and loops from Splice:
*Attack Magazine is supported by its audience. When you purchase through links on our site, we may earn an affiliate commission. Learn more.
FOLLOW ATTACK MAGAZINE
FOLLOW ATTACK MAGAZINE