EastWest is known for its huge library of sample-based instruments. Forbidden Planet is their first adventure into the realm of hybrid morphing synths. In this tutorial, we push one preset, out of the available 600, to the limit.
Few companies have created as many virtual instruments as EastWest. Their library includes strings, pianos, keyboards, vocals, world percussion, guitars, basses and much more. A huge amount of the catalogues has even been embraced by both musicians and film composers alike, including Star Wars director J.J. Abrams and prolific pop producer Zedd.
Furthermore, the EastWest ComposerCloud+ subscription model has given musicians easy access to their full library of products. The most recent addition to this library is Forbidden Planet, which EastWest describes as “a hybrid synth odyssey to the outer reaches of the sonic universe.”
The instrument features over 600 morphing synths across categories such as Arpeggiator, Bass, Drones, FX, Leads, Pads, and Poly Synth. All patches have two layers, allowing for quick crossfading between analog synths, electronic textures and even acoustic instruments like strings.
In this tutorial, we’ll quickly break down the features and then move on to see just how many types of sounds we can create using just one preset. The simplicity of the interface allows you to completely change your sound in moments, so the six we’re going for could even be considered a small number!
Here are a few of the sounds we’ll be making:
Pad:
Ambient Melody:
Ambient Textures:
Chord Stabs:
N.B: We recommend following along with headphones or studio monitors as some of these results can be subtle. As ever, click any image to see a larger version.
A Quick Overview of Forbidden Planet
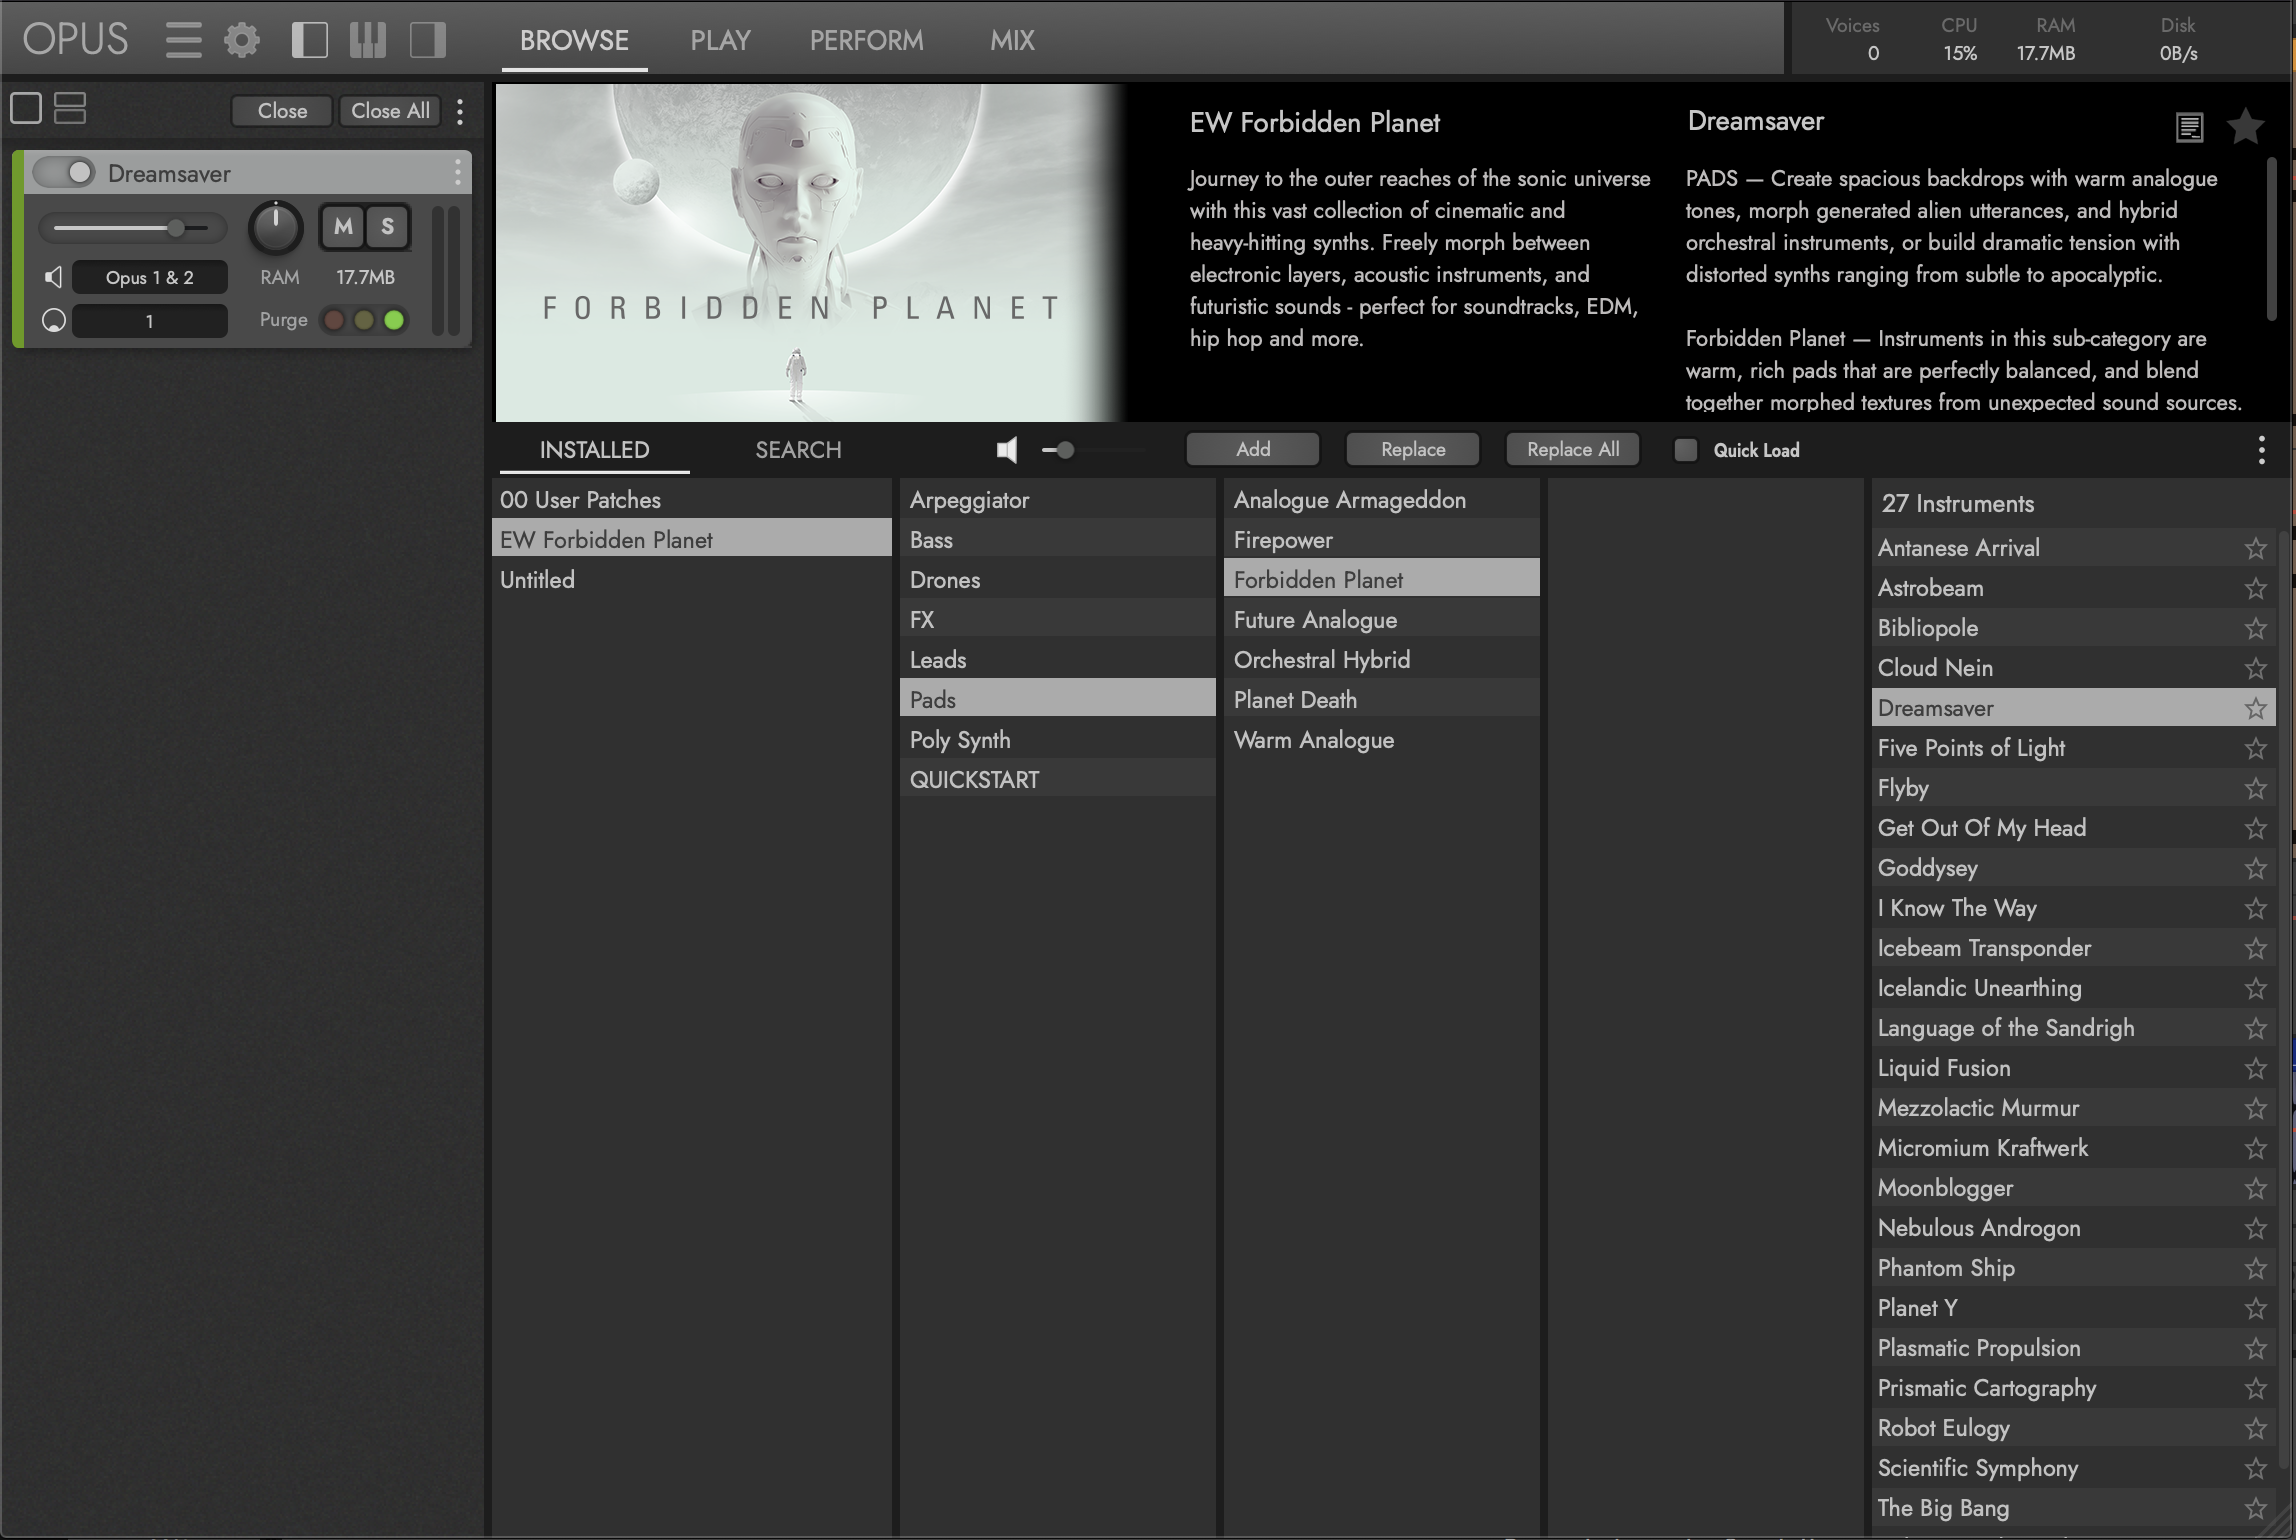
After installation, Forbidden Planet can be opened via EastWest’s OPUS Engine. This plug-in serves as the central library for all EastWest instruments you have installed on your computer, similar to Komplete Kontrol by Native Instruments.
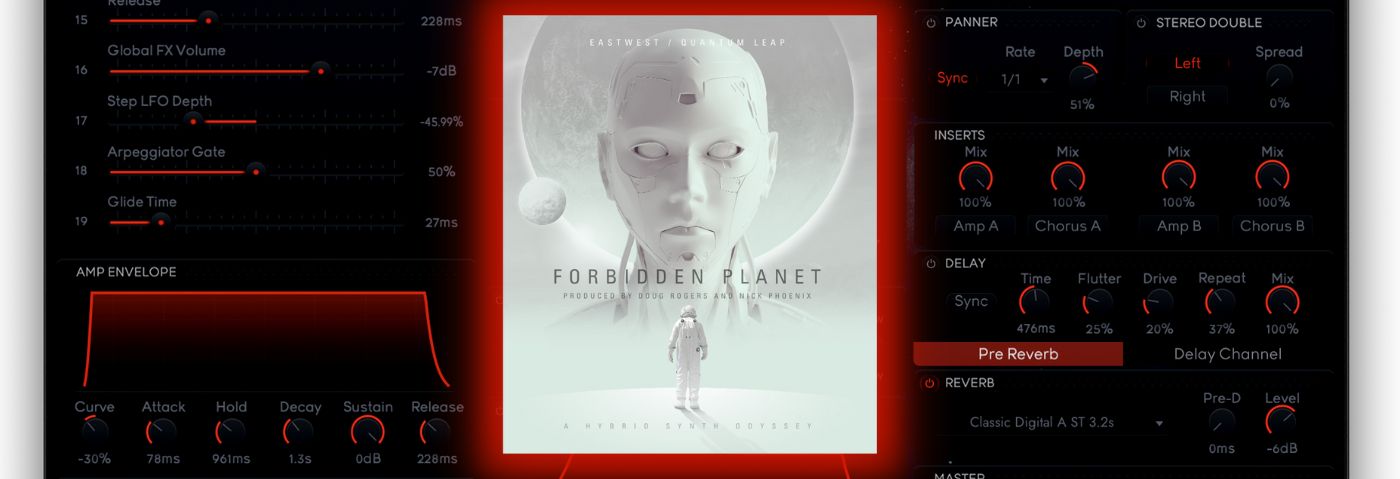
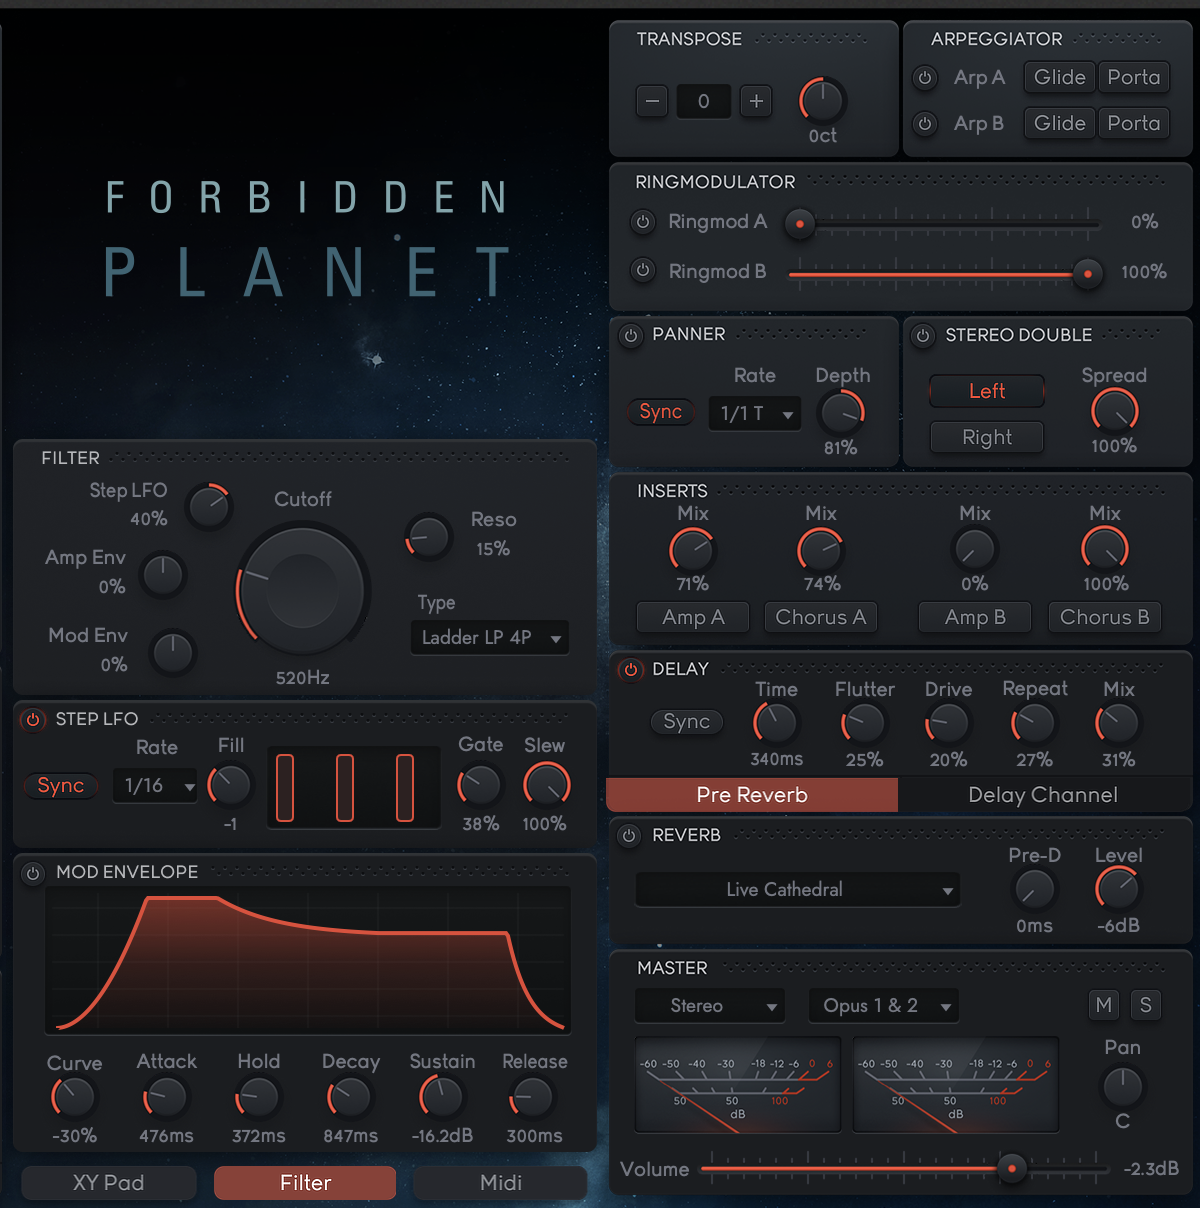
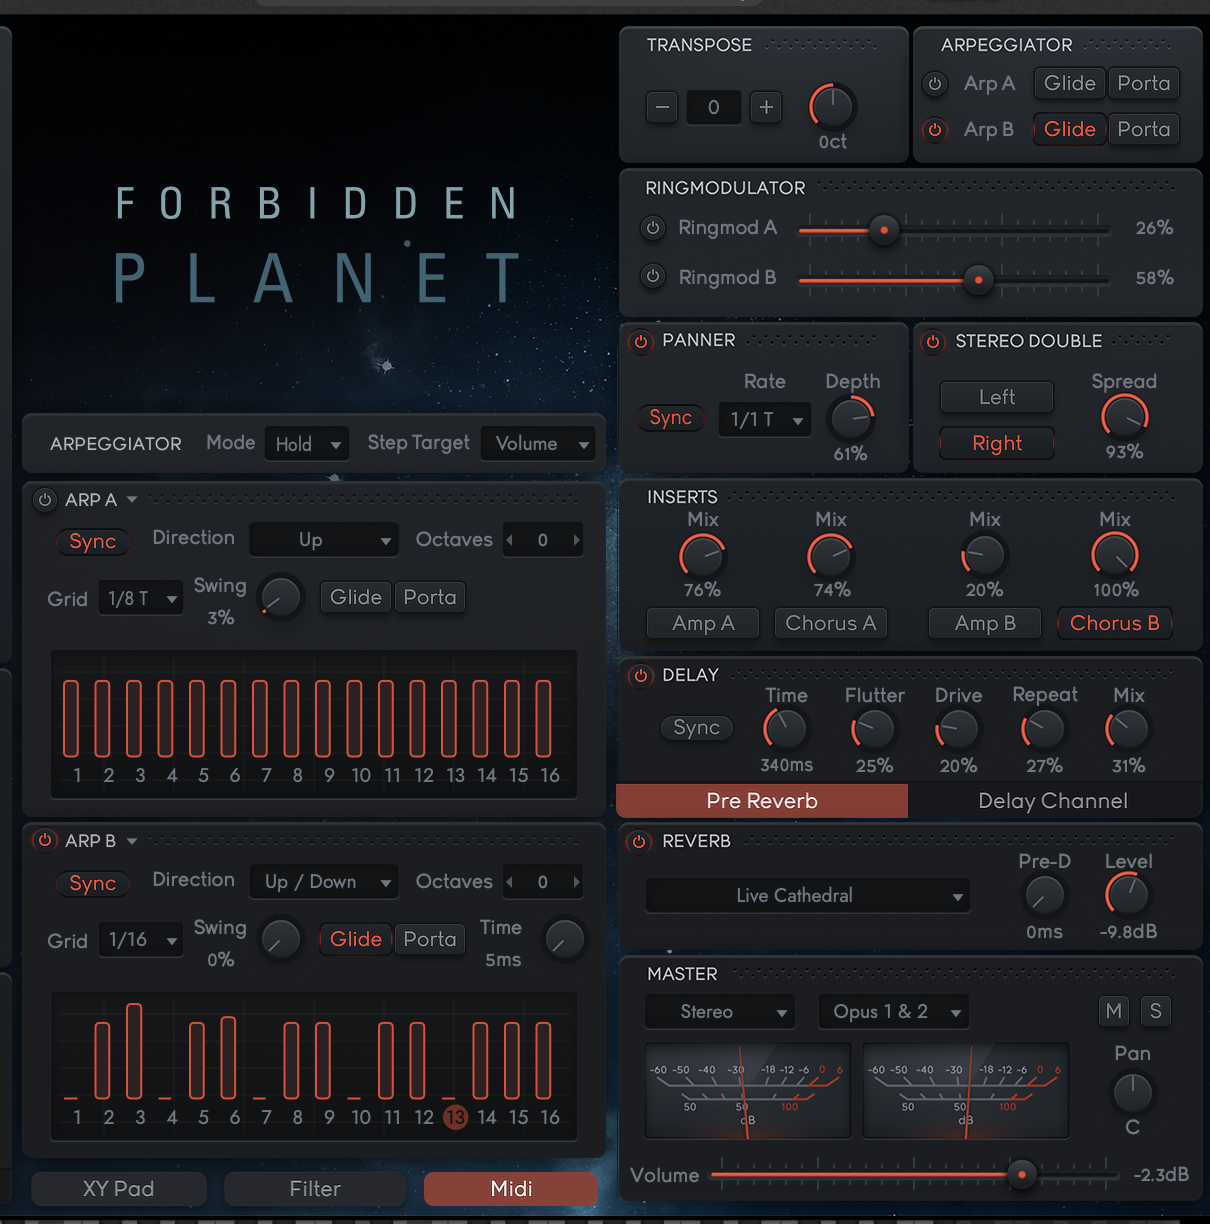
When you select one of the presets, the associated instruments open up in the PLAY tab. The interface is split into three. At the left you have a selection of key parameters, the AMP ENVELOPE, and visual representations of the waveforms of the two sound layers Source A and Source B
The middle section is called Orbital Control and the orbiting moon is actually the main control for an XY pad. The x-axis is the crossfader for the sound layers and the y-axis is the filter cutoff. You can get great results by simply selecting a preset and dragging the moon around to control the XY Pad.
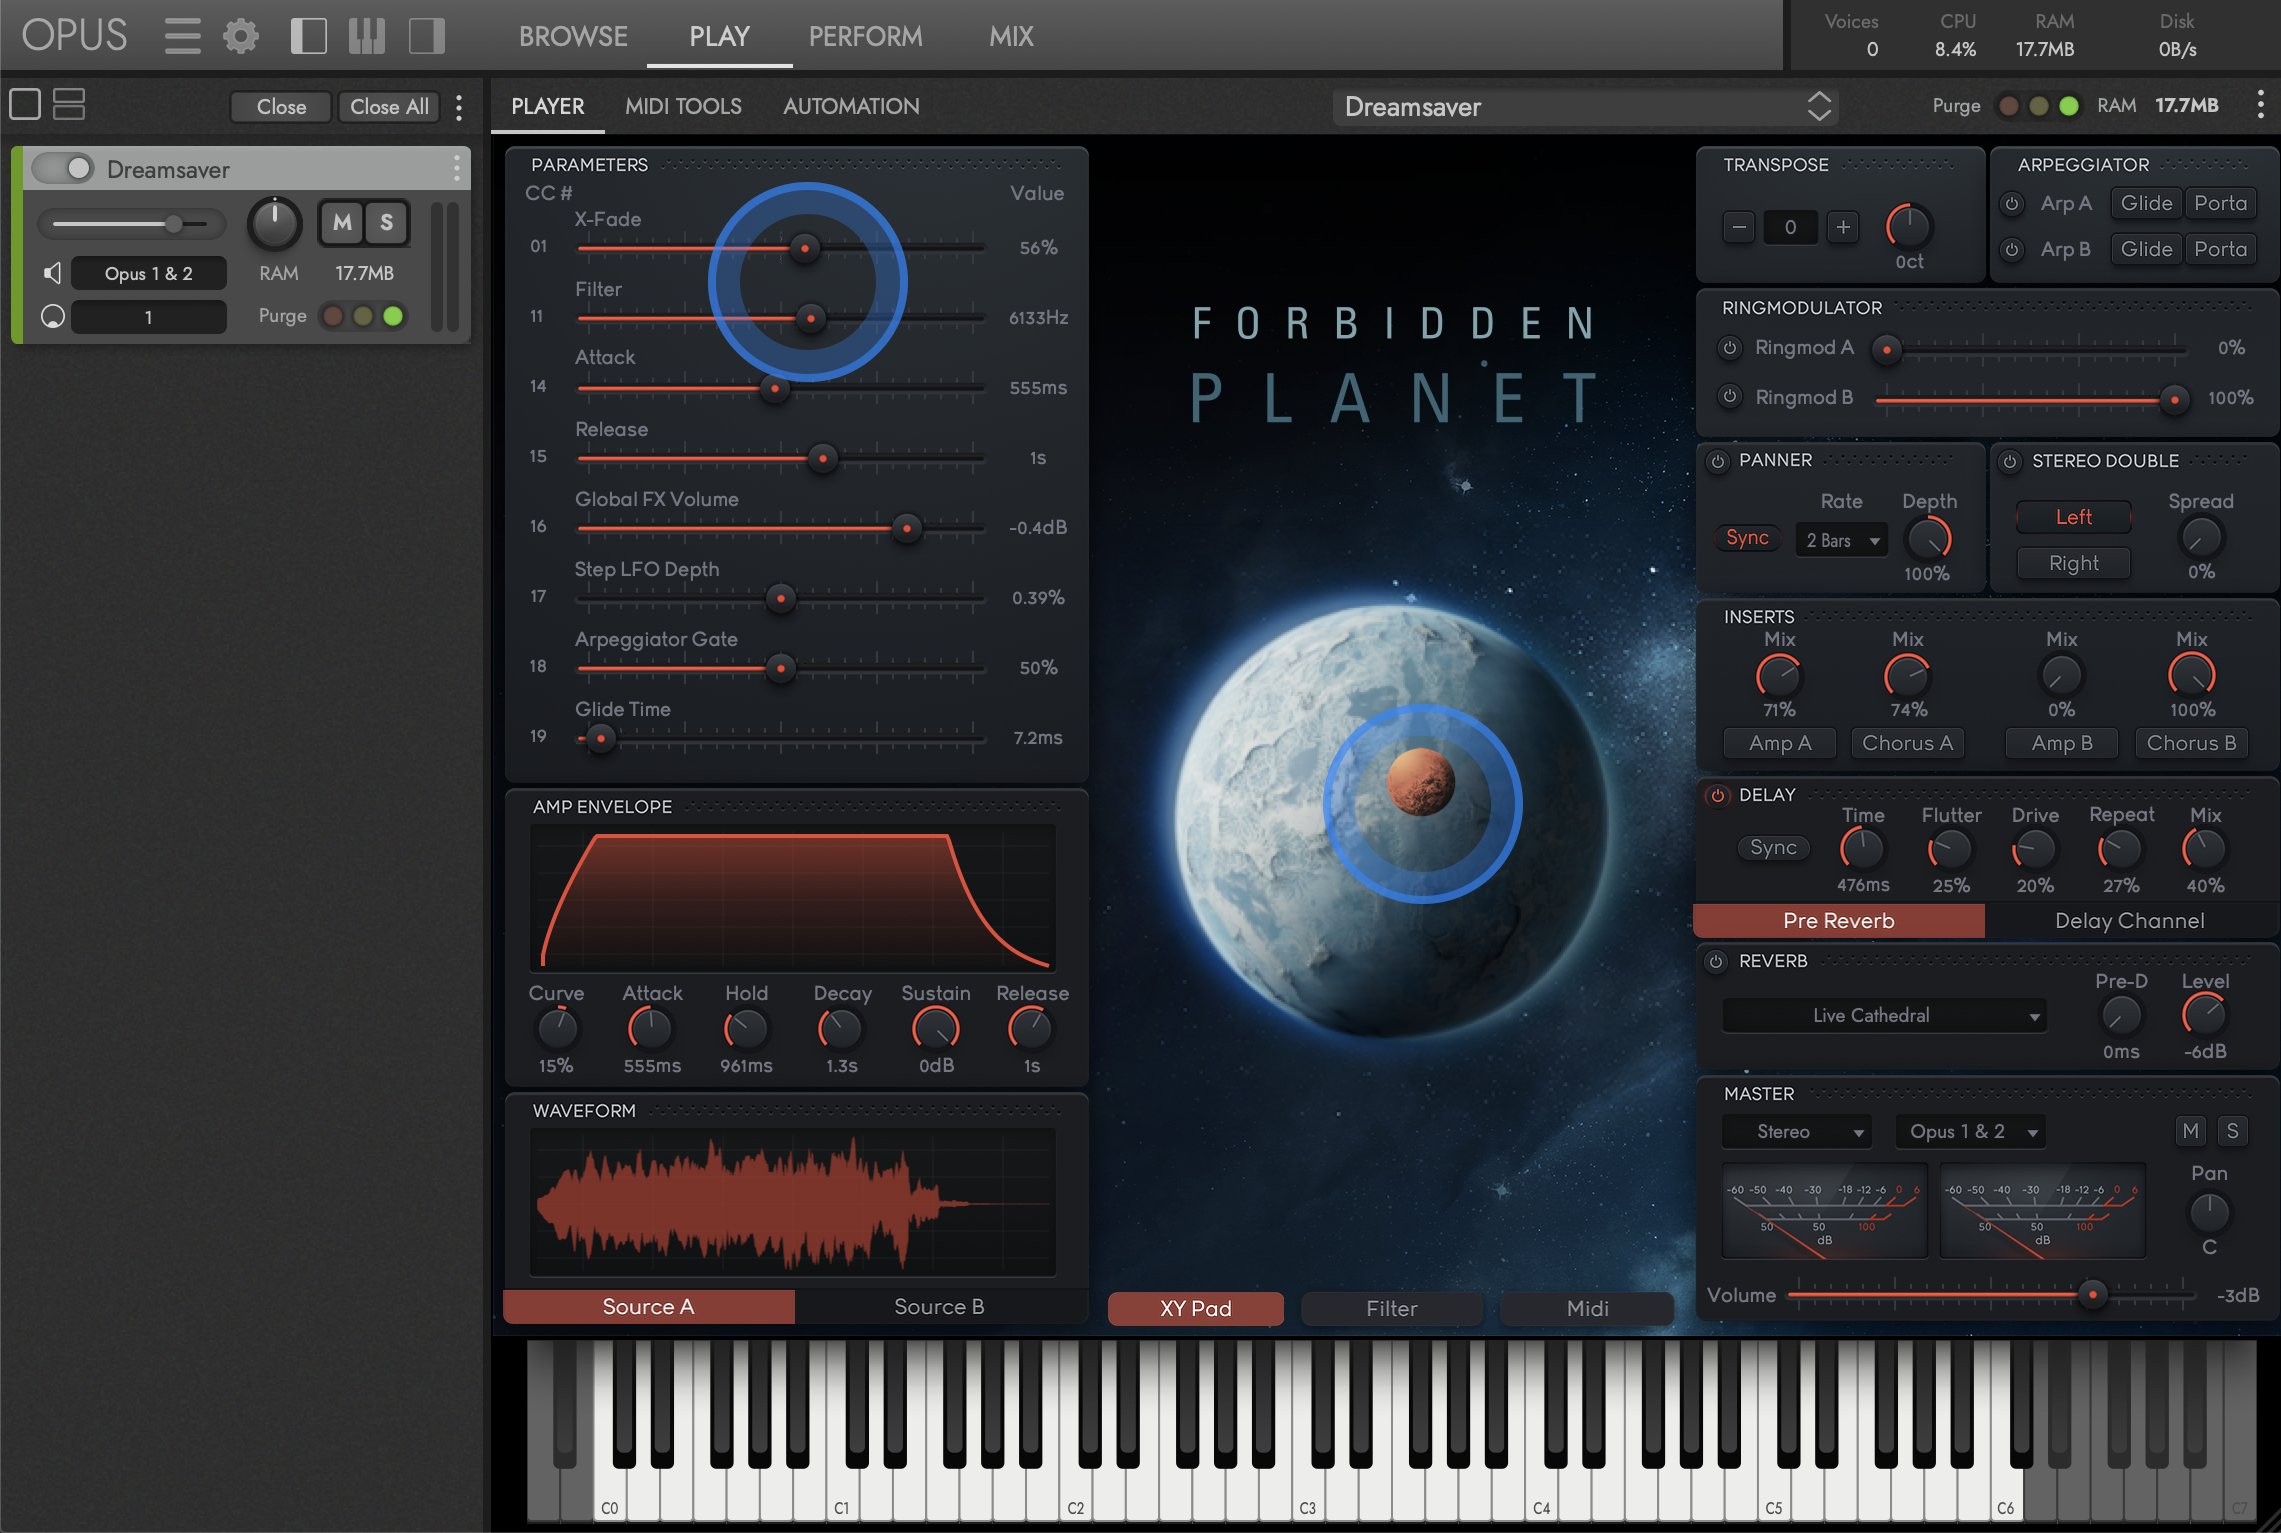
The right-most section is where you’ll find the effects. These include ring modulation, dynamic panning, three types of chorus, amp-style distortion, delay and reverb. Most effects have only one or two parameters, making for a quick workflow.
There are two more hidden sections, the Filter and Midi tabs, but we’ll take a look at those in the next sections!
Morphing Between Sounds
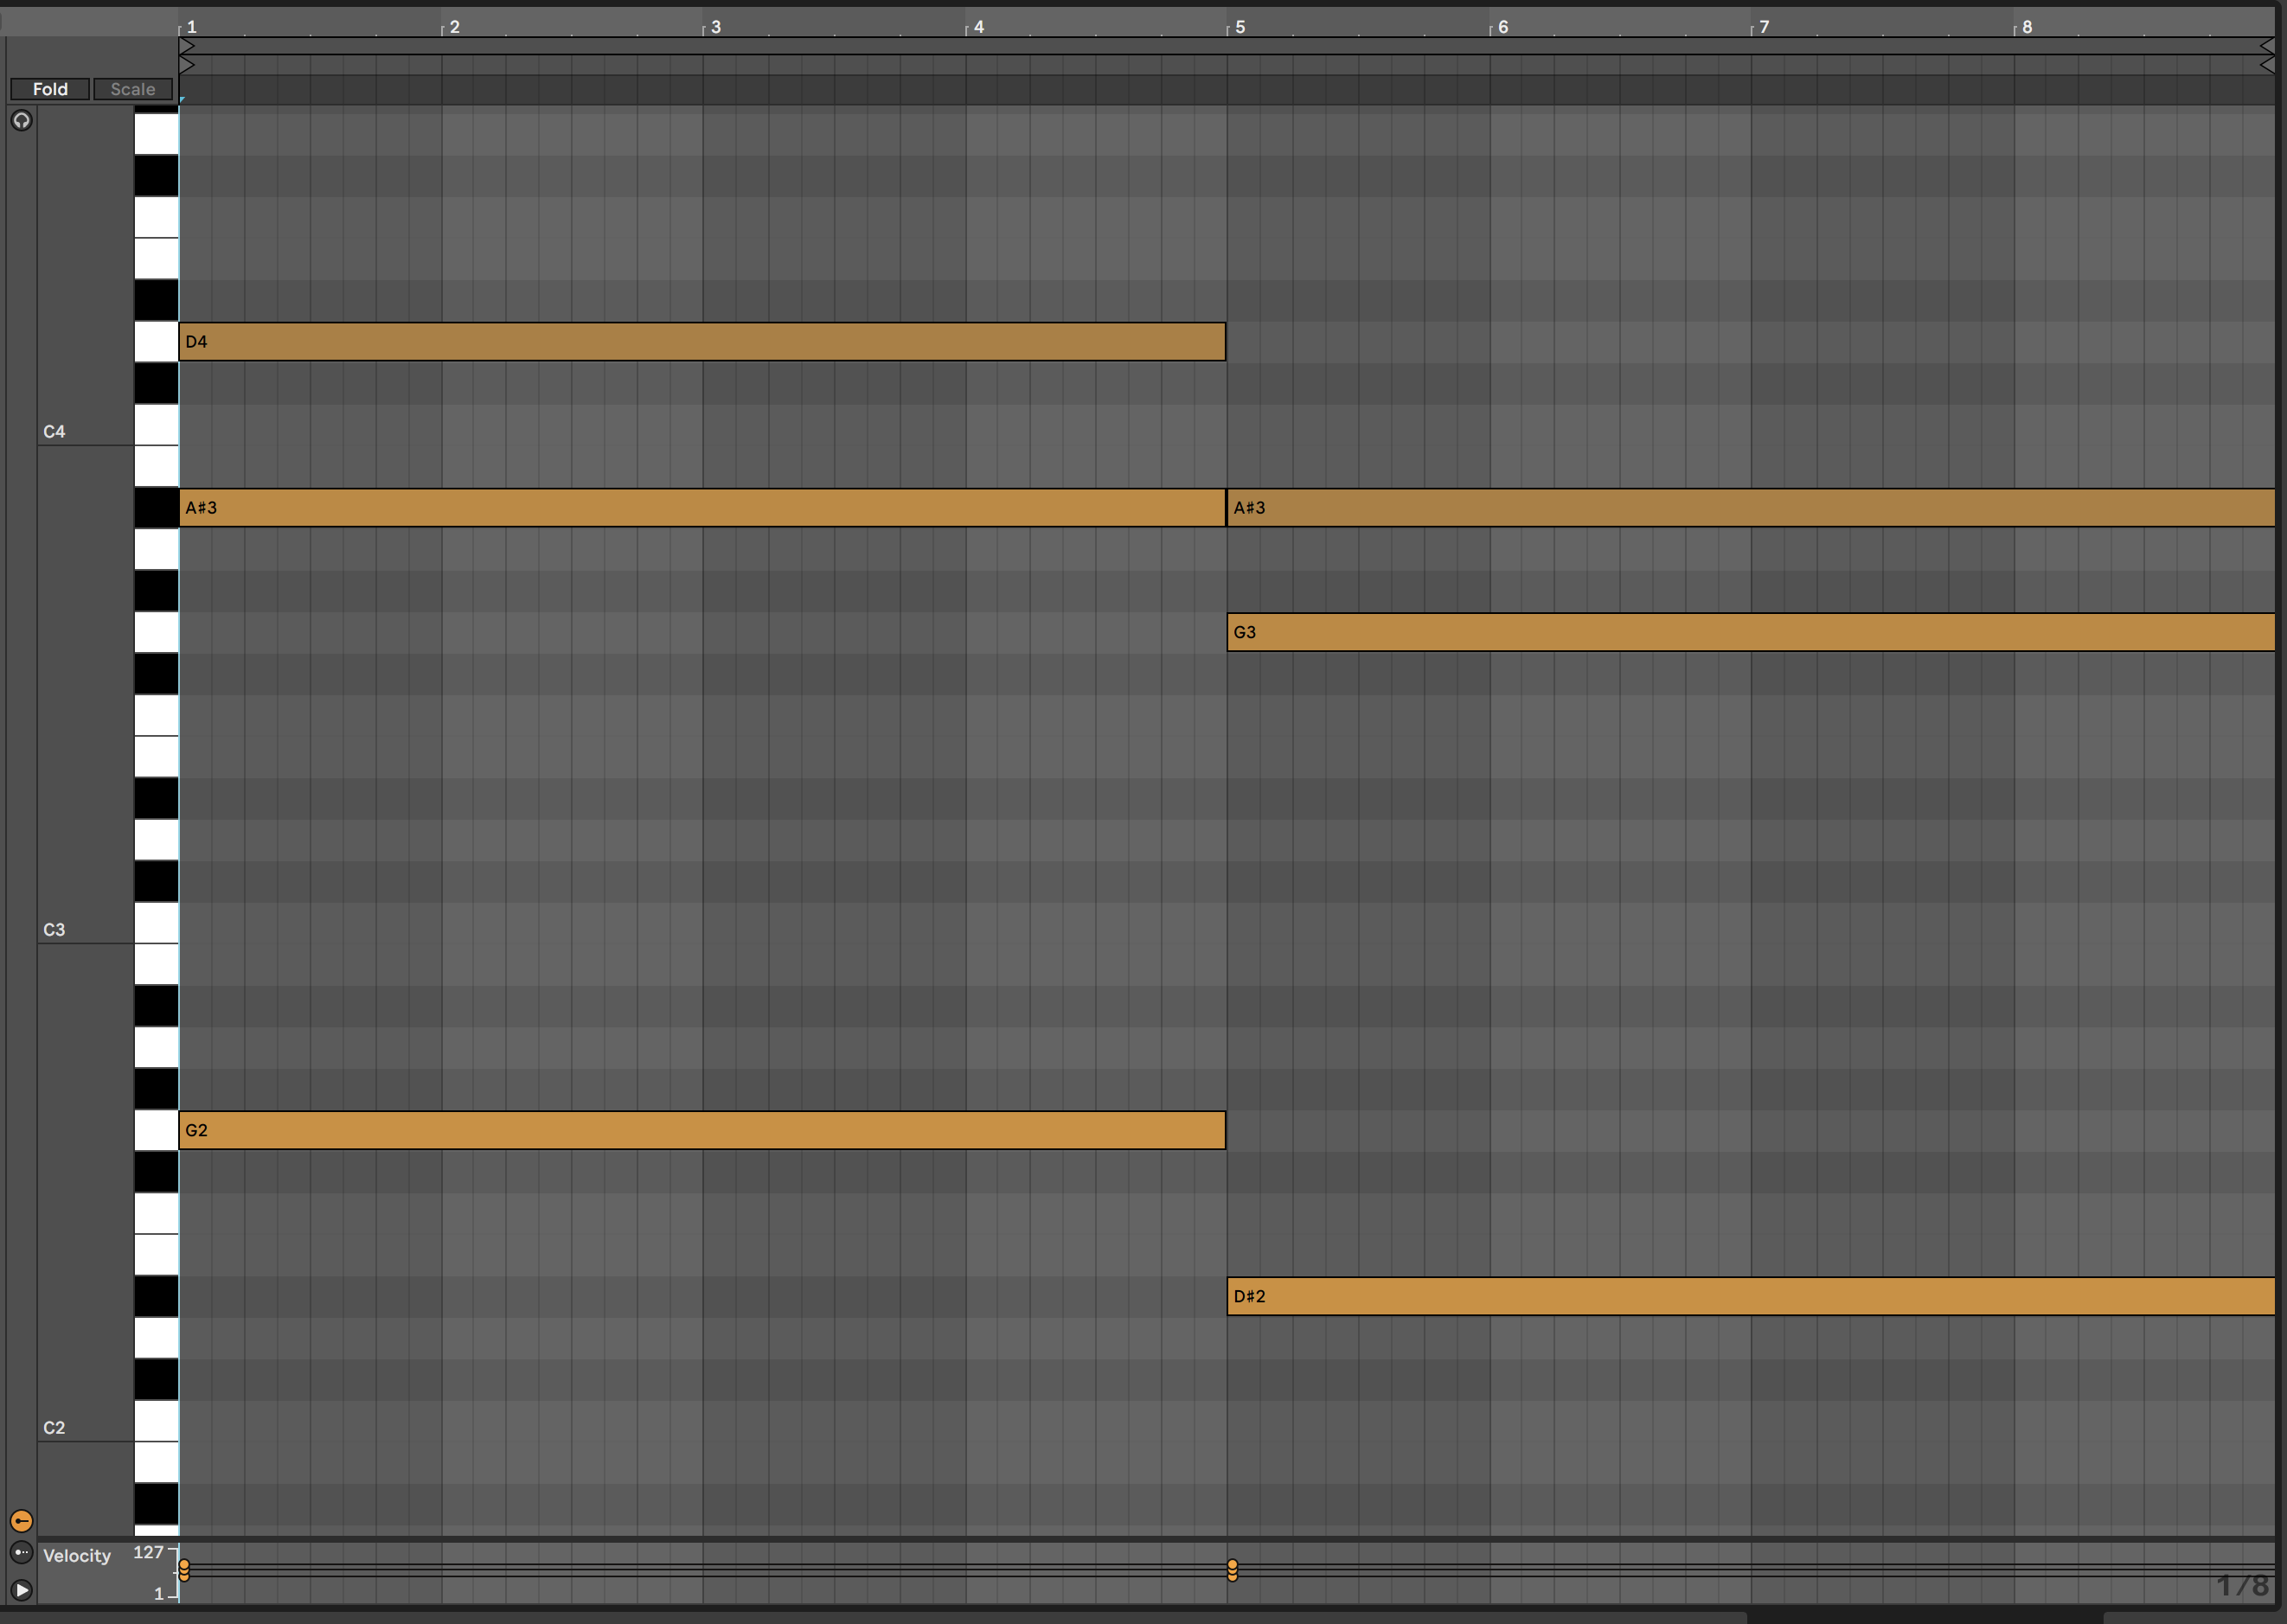
The contrast between the two sound layers is the bread and butter of Forbidden Planet. Let’s load up the Dreamsaver pad preset, program in some simple MIDI chords, and listen to the two layers.
SOURCE A
SOURCE B – you might want to turn the volume slightly down for this one!
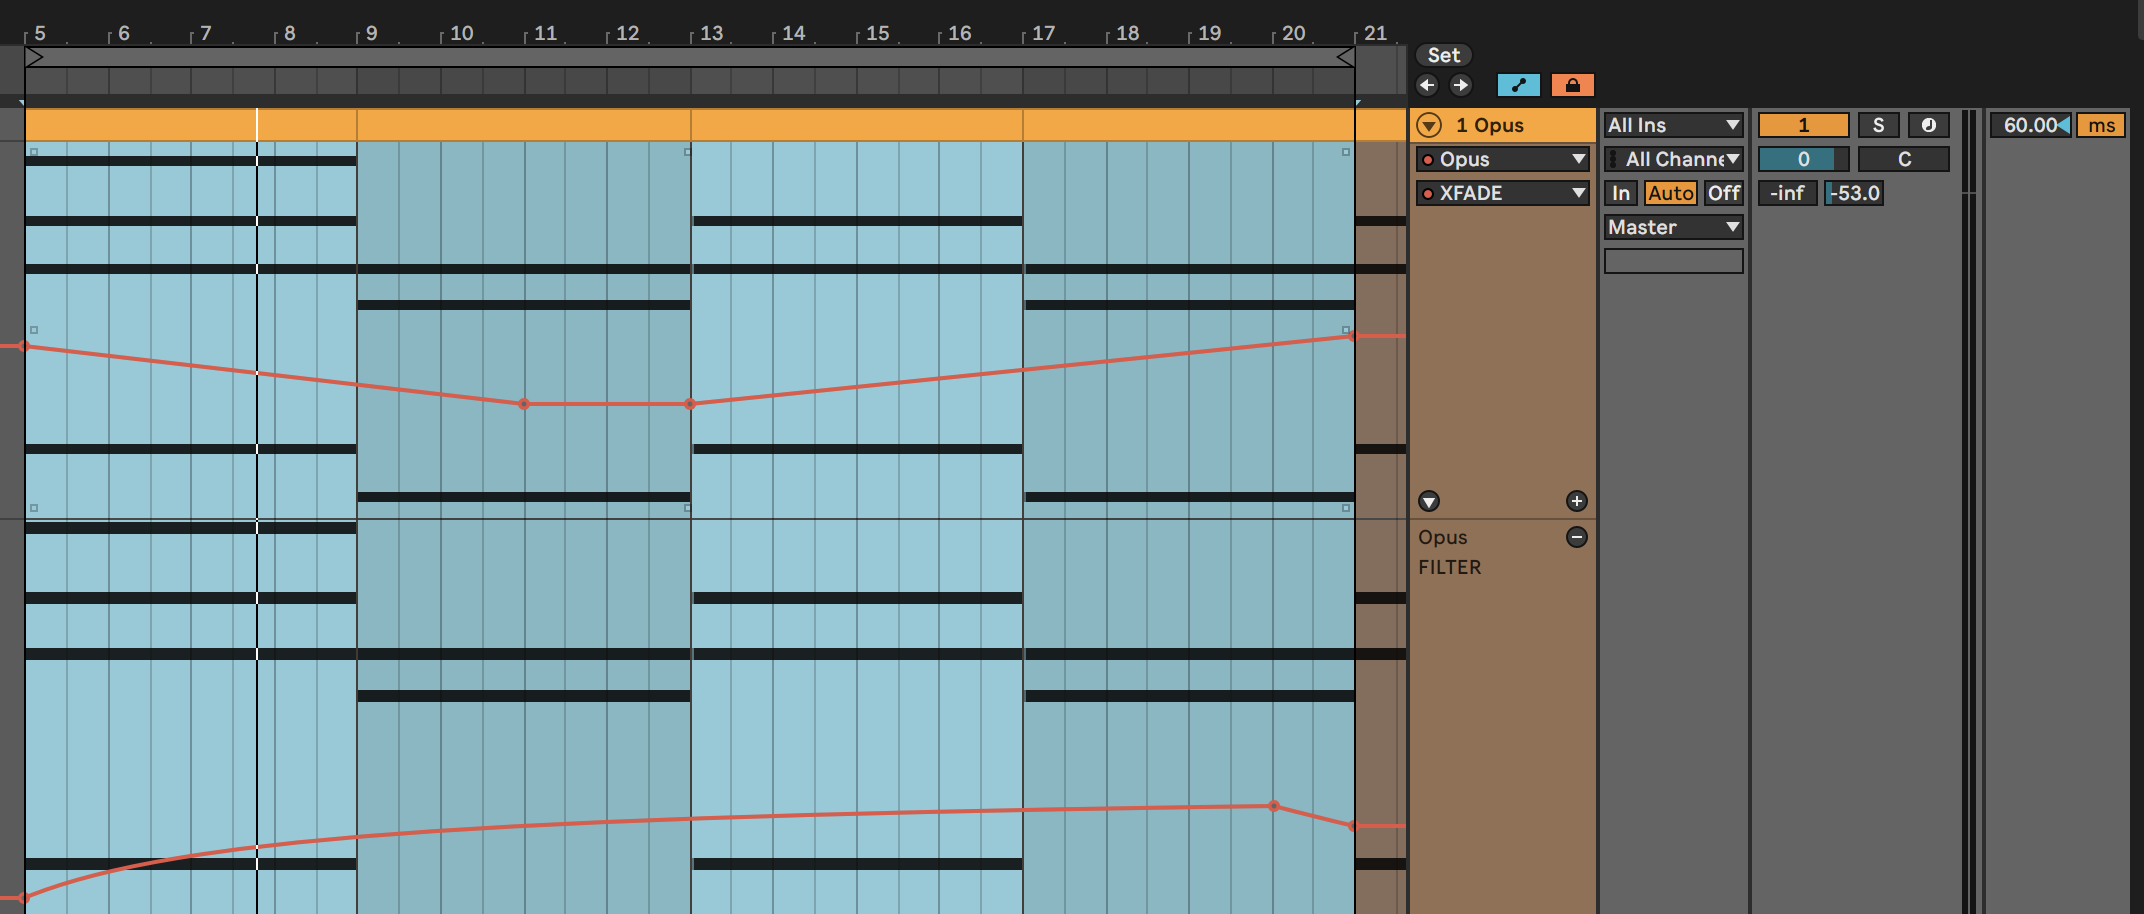
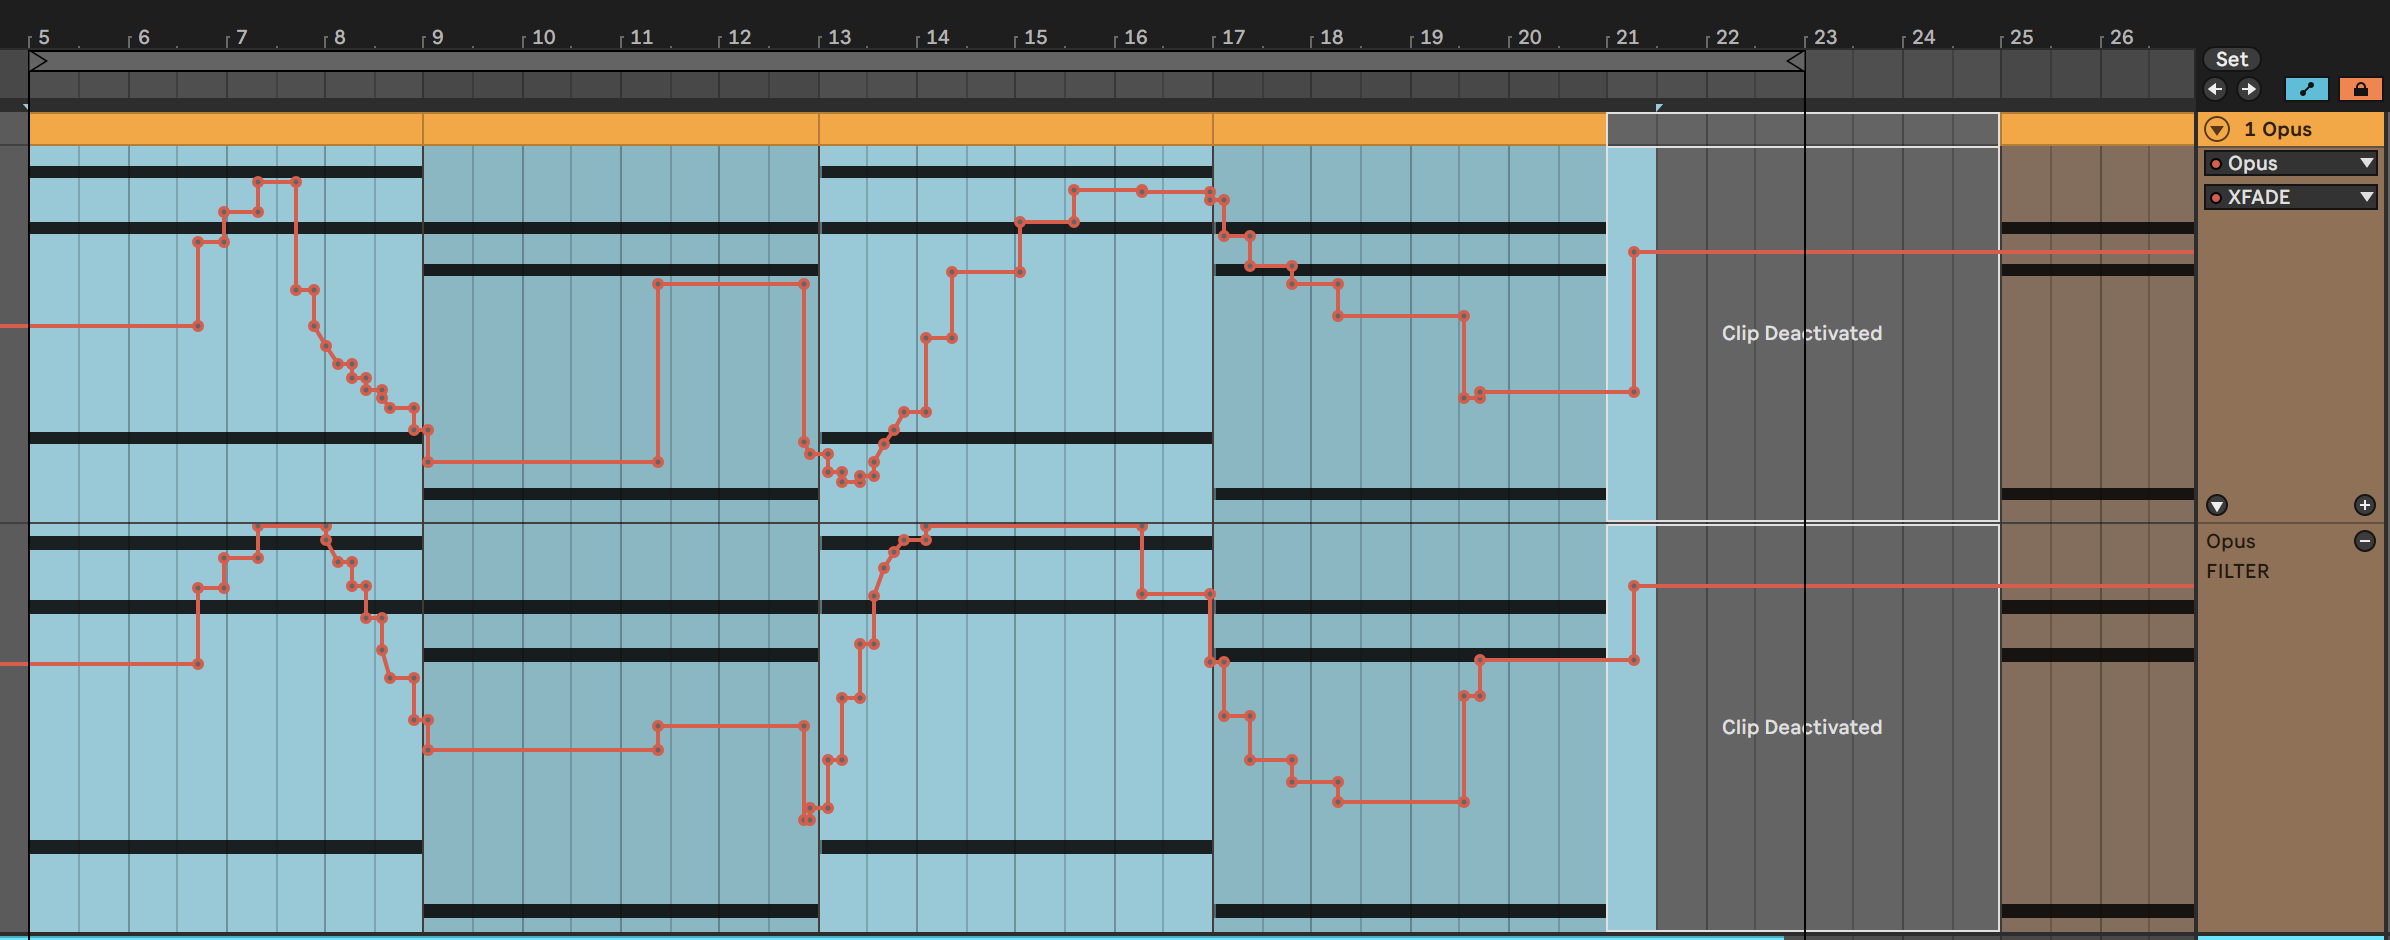
We’ll map the Filter and X-Fade parameters to knobs and automate these over a beat and bassline. Here’s how this sounds:
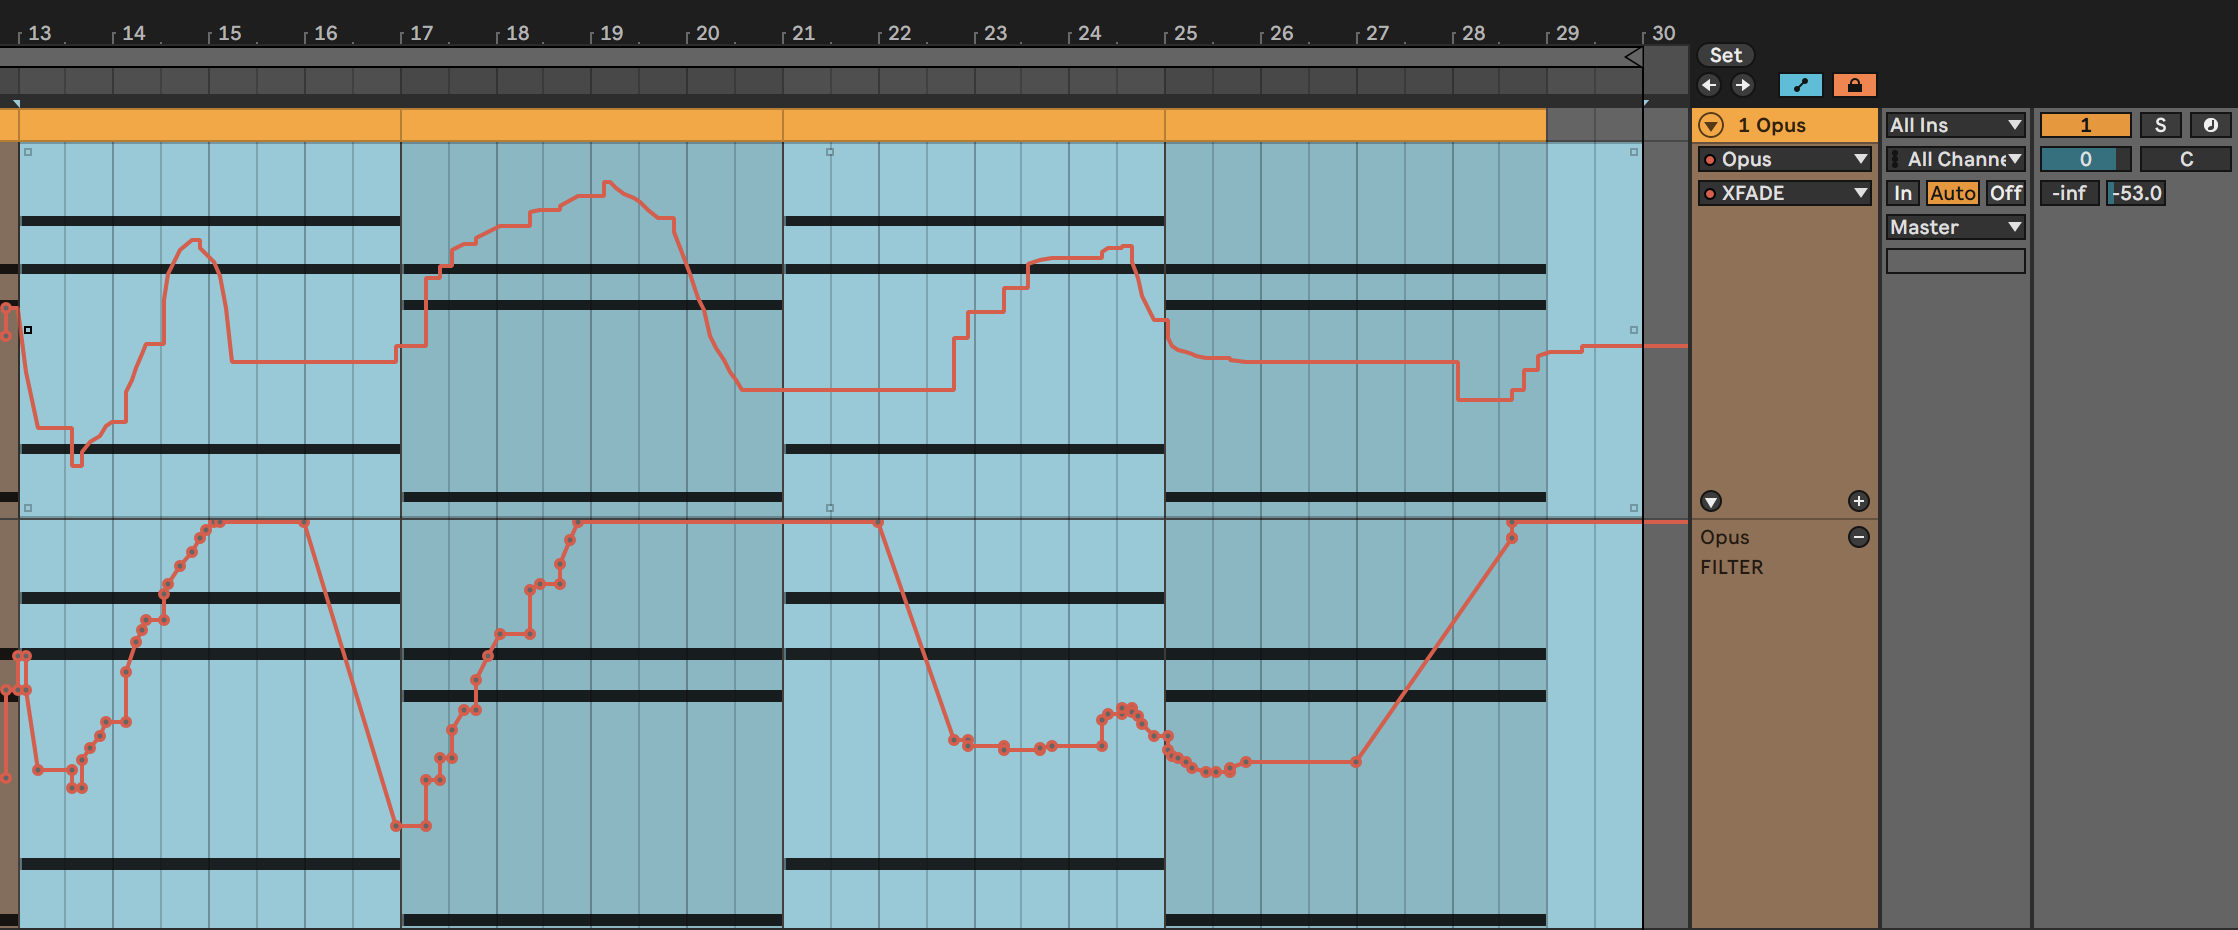
The smooth shifts in both timbre and frequency content can create really unique textures.
While we’re still in the realm of pads, the PANNER effect is a shortcut to generating some stereo movement. We’ll set it to 1/1 with a depth of 100% so that the sound makes a full circle from left to right one every bar. Here’s how the pad of Source A sounds with the PANNER active:
Chord Stabs With The Step LFO Control
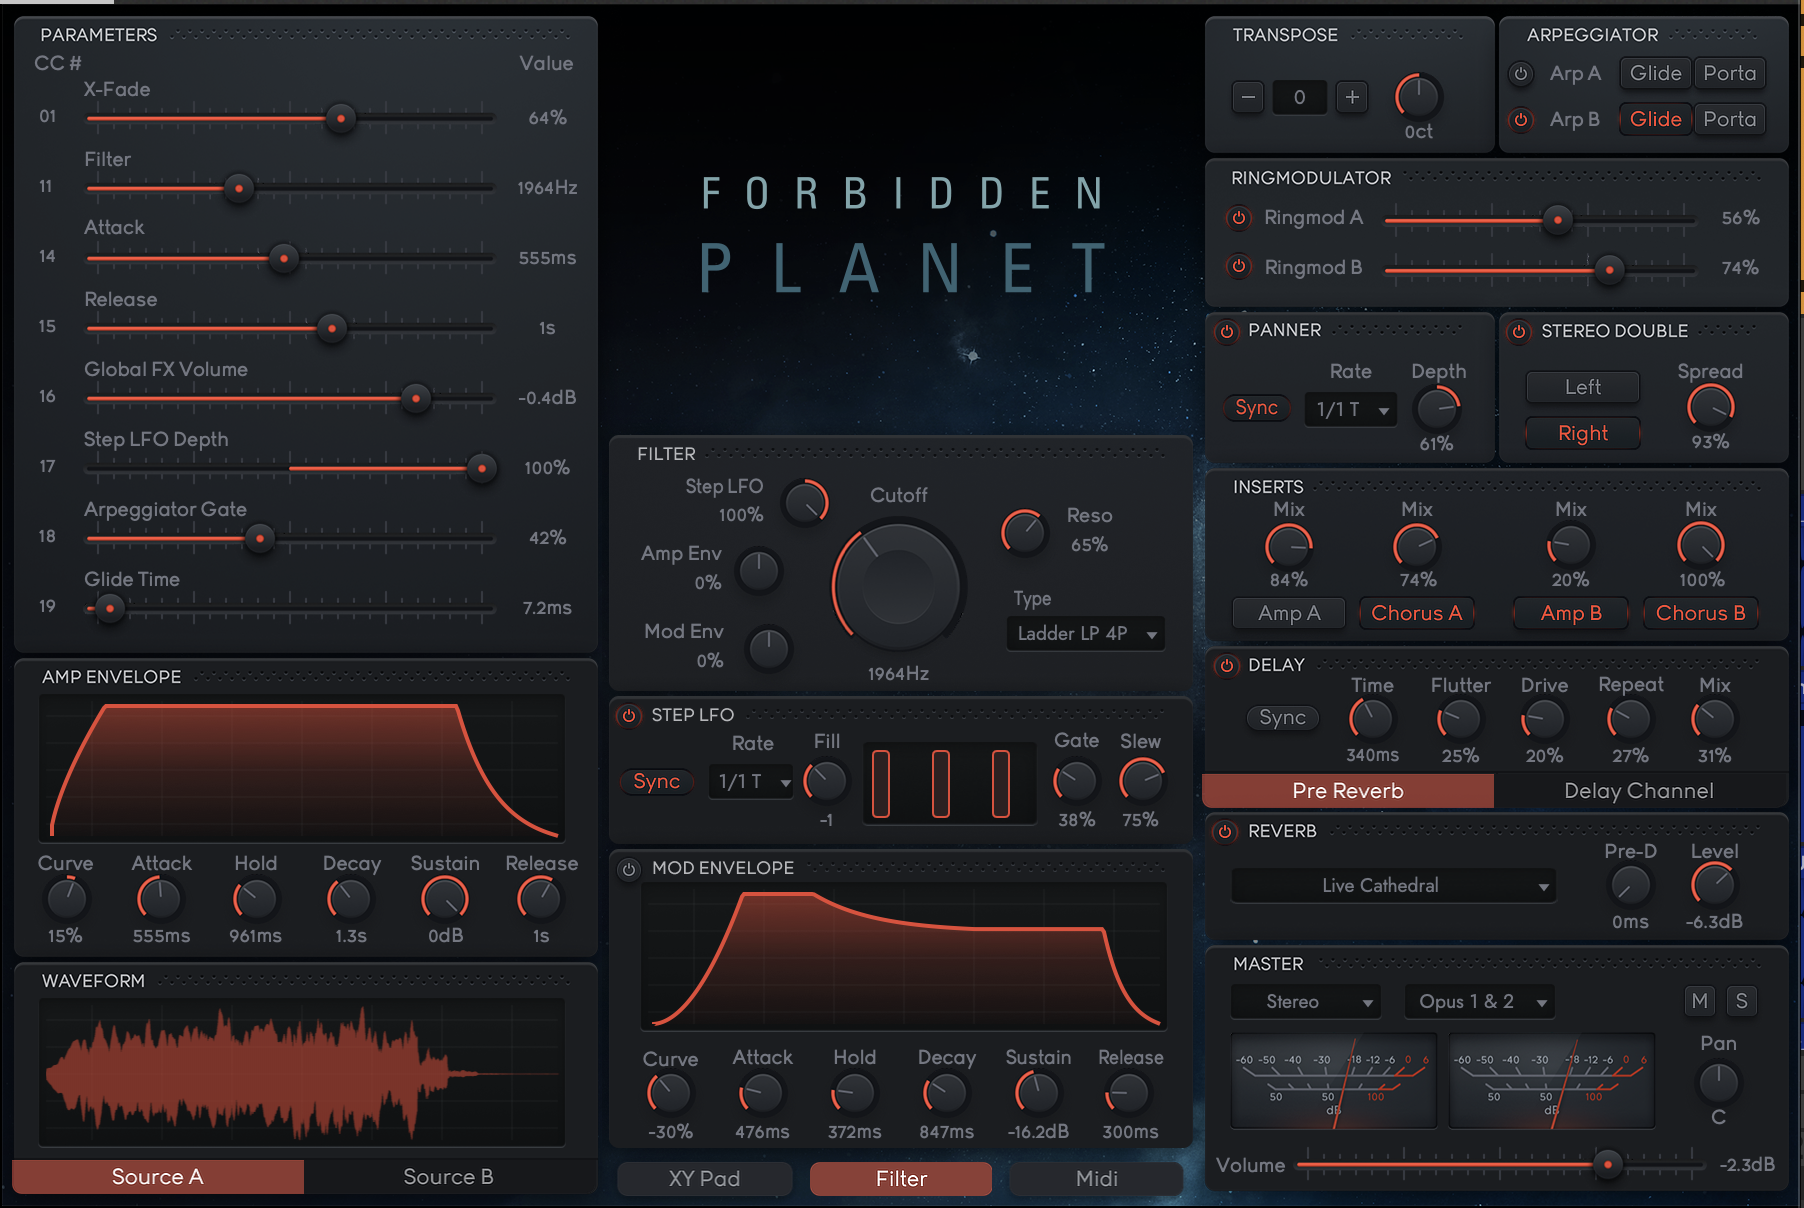
When you click on the Filter button at the bottom, the visual XY Pad at the centre of the UI is replaced with the filter controls. You can set the filter to respond to the AMP ENVELOPE or the MOD ENVELOPE, but our favourite section here is definitely the STEP LFO box. This is an eight-step visual sequencer with pattern presets and it makes it easy to create filter-based chord stabs.
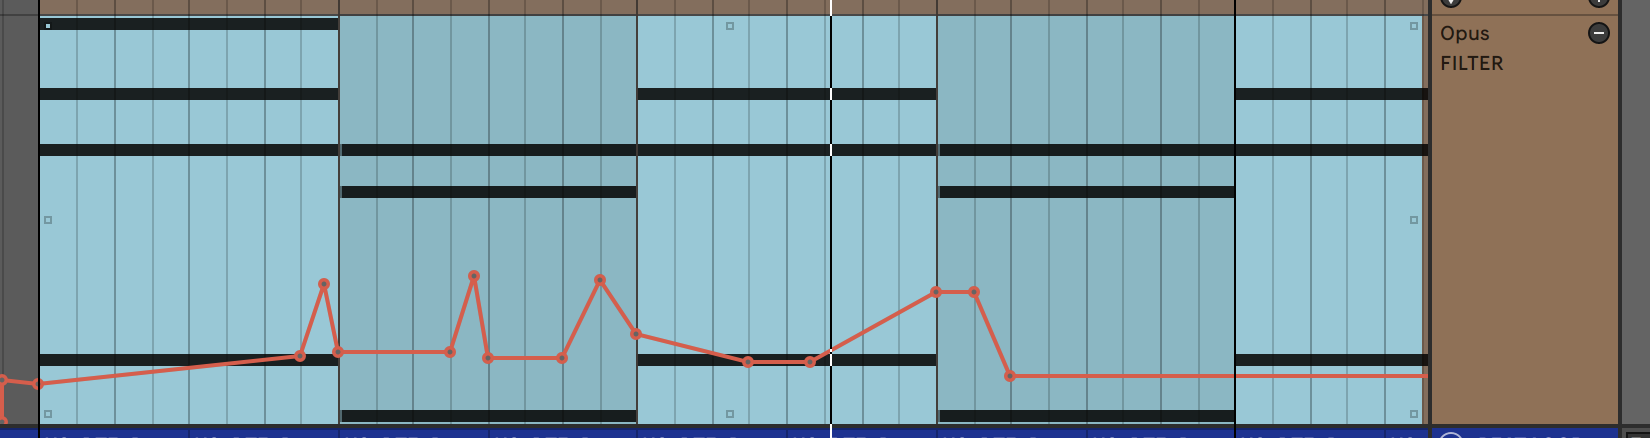
You can customize the patterns and scroll through them with the Fill knob. We’re going to program a 16th-note pattern emphasizing the first, fourth and seventh steps. The Step LFO parameter at the top left determines how much the STEP LFO steps will open the filter.
We’ll also use the DELAY section to add some 340 ms slap delay and fatten up the sound.
The X-Fade and filter parameters controlled by the central XY Pad are crucial for the sound, so we’ll automate these as we did in the last section.
Here’s how the stabs sound in solo and then with our beat:
x
To add variation, let’s change the speed to 1/32 and enable the Ringmod B parameter at 100%. We’ll keep the same automation we had written for the 16th-note stabs. Here’s how this sounds:
Chord stabs are a good opportunity to test out the Amp effects in the INSERTS section of effects. We’ll enable Amp A, set the Mix to 100% and also enable REVERB. There are many algorithms to choose from including modelled spaces, rooms, halls and more.
With the distortion and reverb added, our chord stabs will now start to sound like a guitar:
You can hear that automating the filter cutoff upwards at some points re-introduces the pad textures.
Melodies and Sound Design with the Arpeggiator
Moving into more melodic territory, we can use the ARPEGGIATOR to add a sequence to the pad sound we started with. We’ll enable Arp B at the very top right and click on the Midi button at the bottom to open the arp controls.
Here we can drag down steps so that the pattern becomes more interesting. Our MIDI chords are basic chords with only three notes each, but you can get more interesting results by experimenting with different chord voicing styles.
We’ll enable the PANNER, the STEREO DOUBLE chorus effect, Chorus B in the INSERTS section, along with the DELAY and REVERB we used in previous sections.
The Source A pad/choral layer will be unaffected by the arpeggiator, as we have only enabled Arp B. We’ll also program in some new automation for the X-fade and Filter parameters
Here’s the arp melody in solo and then with our beat:
For our final sound, we can turn this arp melody into a textural effect. We’ll start by enabling both Ringmod’s and setting depth levels to taste, enabling all chorus effects, bringing in the Amp B effect, and modulating the filter cutoff with fast movements.
As with the arps and all other sounds, this sound can also really change depending on the MIDI notes fed into it.
Forbidden Planet is available for purchase on the EastWest website and it is included in all ComposerCloud plans. You can test it via the free 30-Day ComposerCloud+ Trial.
*Attack Magazine is supported by its audience. When you purchase through links on our site, we may earn an affiliate commission. Learn more.