This channel is sponsored by
 Roland Cloud is your creative hub for Roland hardware and software. Access legendary recreations of Roland Classics, find new sounds for your favorite products, and download updates and companion apps to make music fast and easy. Visit Roland Cloud
Dynamic EQ combines the best of equalization and compression into one handy tool. We look at different ways of using it in a techno production.
EQ is an indispensable tool for creating a good mix but it has its limitations. Typical EQ is static. That is, once you set it, it doesn’t change – at least not without creating laborious automation. In most cases, this is fine. Whether surgical cuts or broad boosts, in general, static EQ gets the job done with no problem. However, there may be occasions when you want the EQ to be more active, kicking into gear only when needed. This is called dynamic EQ, and we’ll be using it today to do some EQing on a track.
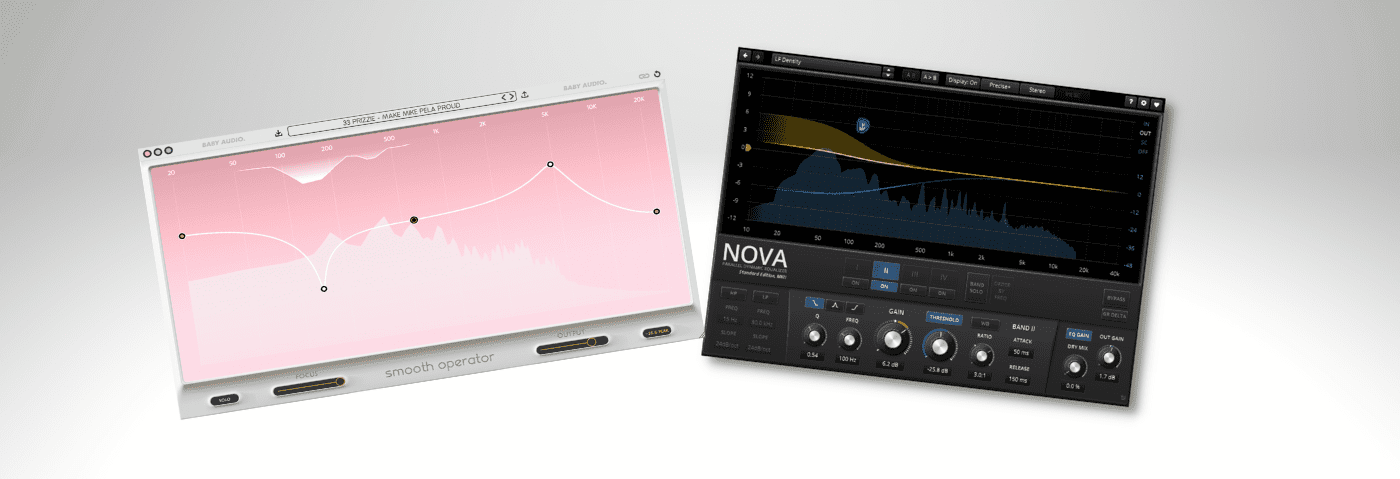
We’ll be using the freeware TDR dynamic EQ by Nova, as well as Baby Audio’s Smooth Operator, to make dynamic and natural-sounding EQ decisions. Note that some of these changes are very subtle indeed so we recommend listening on headphones. Click on any image to see a larger version.
Dynamic EQ will help us go from this:
To this:
Step 1: Targeting A Single Sound In A Loop
Dynamic EQ works like a combination of equalizer and compressor. After dialling in threshold and ratio settings as well as boosts or cuts, the plugin springs into action once frequency information passes a certain point. This makes it ideal for loops and any other situation where you want to address a certain frequency only when it happens rather than leaving a big hole or boost across a whole loop.
We start with a loop comprised of two samples from Splice’s Dark Techno pack, ’22_Top_Loop_125.wav’ and ’06_Top_Loop_123.wav’. We’ve bounced them together to create one grooving topper. However, there’s a single conga-like percussion sound that appears intermittently. We don’t really like it and it’s also clashing with our kick. Let’s use dynamic EQ to lessen its impact.
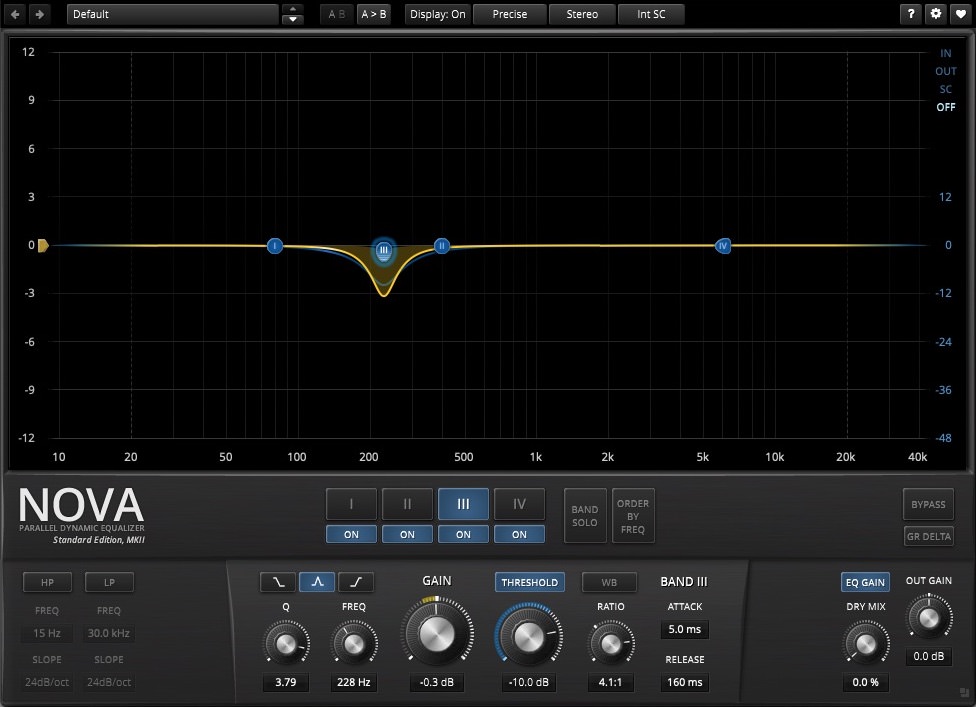
We place TDR Nova on the audio channel and open it up. Let’s first find the frequency we want to address. We grab a frequency node and pull it down, creating a cut. Next, we sweep through the low mids to pinpoint the frequency range of the offending percussion sound. Looks like it’s around 230Hz. We set a Q of 3.79.
Next, let’s get the plugin’s dynamic parameters working. By pressing the Threshold button, we can now choose at what decibel the EQ cut will kick in. A setting of -10dB works well. From here on out, the settings act more like a compressor than an EQ. We can use the Ratio to choose how hard the dynamics reduce the volume of the chosen frequency. We go with 4.1:1. We’re happy with the Attack and Release times so we don’t need to adjust those. Note that we want to keep the Gain knob at around 0dB, as this is the point that the dynamic EQ will return to upon release.
Now the EQ ducks the percussion sound when it plays but returns to 0dB at other times.
Top Tip: Pull the gain knob in the other direction for dynamic EQ expansion.
The loop before dynamic EQ:
And after:
Step 2: Taming Synth Frequencies
Next, let’s bring in Baby Audio’s Smooth Operator to subtly reduce frequencies in a synth pattern and help it sit in the mix. To be honest, Smooth Operator isn’t strictly an EQ. It actually uses spectral processing (like Zplane’s Peel and Ableton Live 11’s spectral effects) to do a combination of EQ, compression, and resonance suppression. This results in a musically clean signal.
We have a synth loop from the same Splice pack, ’12_Synth_Loop_A.wav’, and we like the way it sounds but it’s a bit too upfront for our needs. We prefer that it fade into the background a bit. We’re also going to layer pieces from a second loop, ’14_Synth_Loop.wav’, on top of it that we want to take more of a lead role. We need to make sure there are no masking issues happening with our lead.
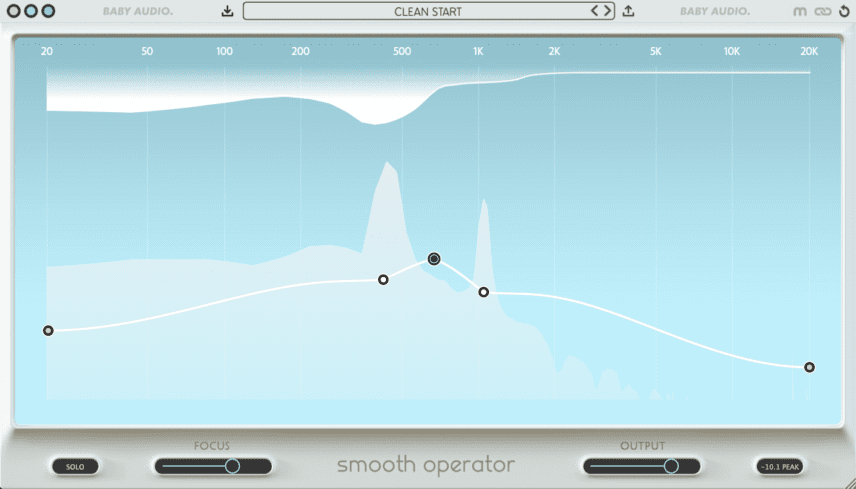
First, we open Smooth Operator on the ’12_Synth_Loop_A.wav’ channel. At the bottom of the screen, we can see a graphic representation of the loop’s frequency spectrum. As we drag the centre bar down, any frequencies below it will be suppressed. The gain reduction of those frequencies is represented by the mirror image of the frequencies fluctuating across the top of the screen.
Let’s make some cuts. First, there’s way too much bass information for this loop so we pull the left side of the bar down to squash the low frequencies. There are also two fairly strong frequency peaks in the upper mids. We can address these with two of the nodes. The Focus slider at the bottom affects how narrow or wide the cuts are (it’s essentially a Q control). We find that a more focused setting sounds better.
Now the synth loop is less bassy, which creates room for the bass and kick, and smoother across the upper mids.
Here is the audio with Smooth Operator in bypass:
And now engaged:
And with the lead synth sound on top of it:
Step 3: Side Chaining The Bass
So far we’ve looked at how to use dynamic EQ to home in on frequencies in the target audio. But, as with compressors, you can also use a different signal source to trigger the EQ – except, in this case, it’ll be frequency rather than amplitude.
We have a bass loop, ’07_Bass-loop_A_125.wav’, also from the Dark Techno pack. It’s got a nice bounce and isn’t too subby but as some of the notes occur at the same time as the kick, there’s going to be some frequency overlap. We could use a static EQ to carve out some low frequencies to prevent masking but this will affect all of the loop, even the bass notes that don’t interfere with kicks. Instead, let’s sidechain Smooth Operator to suppress exactly the frequencies we want – and when we want it.
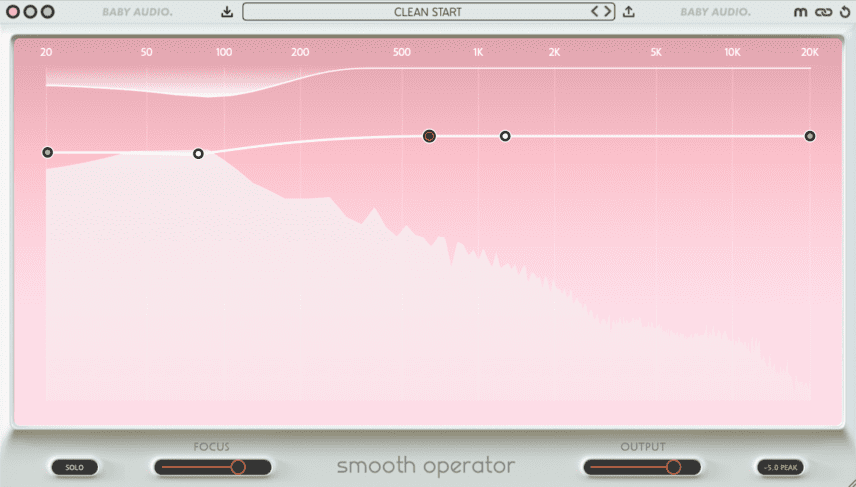
Again, we drop Smooth Operator on the bass track. Before opening it, we engage sidechain mode on the plugin shell and set the trigger to the kick. Next, on the plugin itself, we click the chain icon to turn on sidechain mode. We’re ready to start carving.
First, we grab the threshold bar and start to pull down. We can see the frequency information being attenuated at the top of the plugin, but this time, as sidechain mode is engaged, it reflects the kick, not the bass. We grab the middle left node and drag it down a few decibels at around 100Hz, which is where the kick is strongest. We don’t need a lot of cut – just a few dBs is enough to do it.
Sure enough, when the kick is not present, Smooth Operator backs off on the bassline’s low-frequency attenuation.
The bassline with no effect applied:
With Smooth Operator engaged:
And with the kick:
Here are all the sounds in the context of a techno track:
Tutorials is sponsored by
Roland Cloud is your creative hub for Roland hardware and software. Access legendary recreations of Roland Classics, find new sounds for your favorite products, and download updates and companion apps to make music fast and easy.