Quantisation and velocity editing allow us to correct inconsistencies in our beat programming, but when should we use it? Bruce Aisher explains.
There are many different ways to record, play or program drums – from step-time mouse clicking to all-out pad controller onslaught – using audio, MIDI or both. Whichever approach you choose, at some point you’ll likely have to consider the quantise button. Quantisation (the process of automatically aligning notes or drum hits to a timing grid) seems like a simple tool, but it isn’t necessarily as straightforward as it may seem. When combined with velocity editing (the ability to even out or adjust velocity variations between hits), it’s a powerful option for refining and adjusting the groove of a drum pattern.
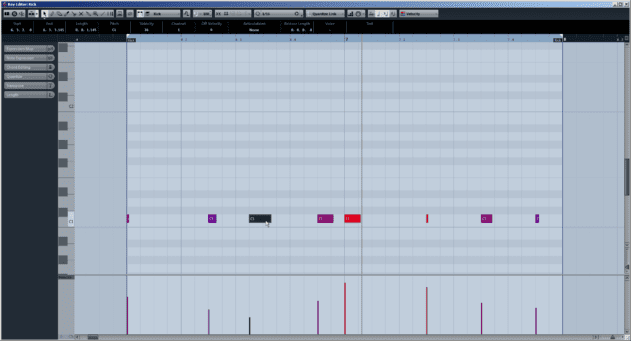
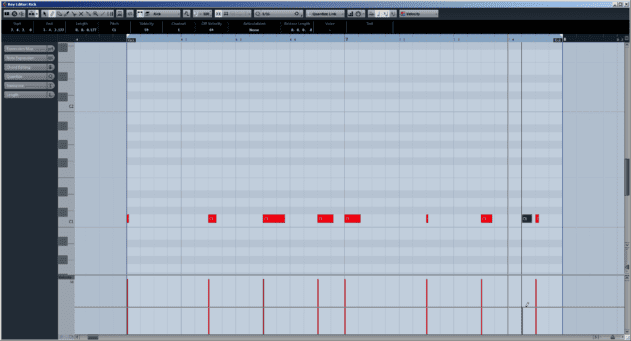
To show some of the ways in which quantisation and velocity editing can be used on drum patterns, let’s take this ramshackle groove…
…and examine how we can tighten up the rhythm while maintaining a decent groove and avoiding losing that human feel.
The Kick Is King
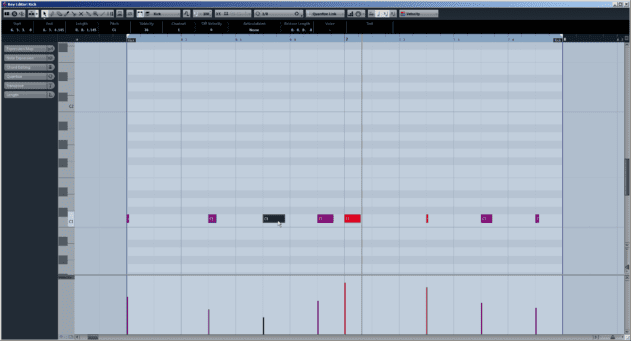
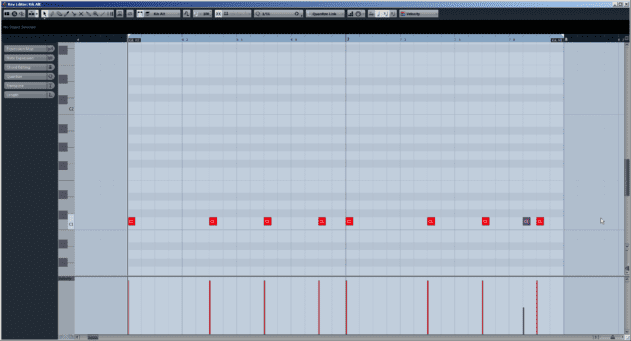
We’ll start by quantising the kick to a rigid grid. A 16th-note grid is usually your best starting point for general quantisation duties (unless your playing is very sloppy!). If your drum pattern is more nuanced, using triplet or even 32nd-notes, you can choose a more precise grid. (Click images to enlarge.)
You can hear that this hasn’t caught one of the notes, so we can try quantising to an 8th-note grid instead:
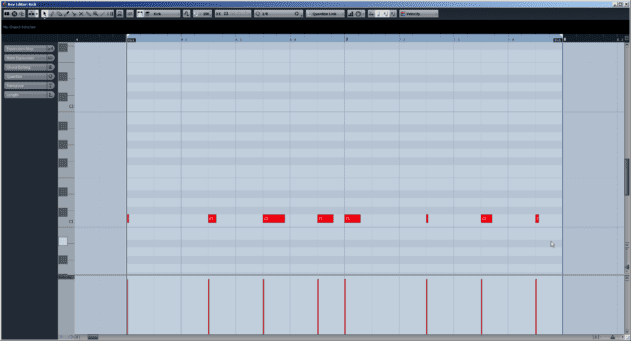
Generally speaking, we’ll also find that a fixed kick drum level makes for the best starting point in delivering a consistent beat. The kick is the main reference point for the timing of the drum pattern, so the best approach is usually to start with rigid kick timing and allow the rest of the hits to play around its consistent, solid timing.
As a starting point here, we’ll keep dynamic changes to a minimum and set the kick to a completely static velocity.
If at a later stage we choose to add ‘ghost hits’ that fall outside of the regular kick drum pattern, we can use a lower velocity so that they do not overpower the other elements.
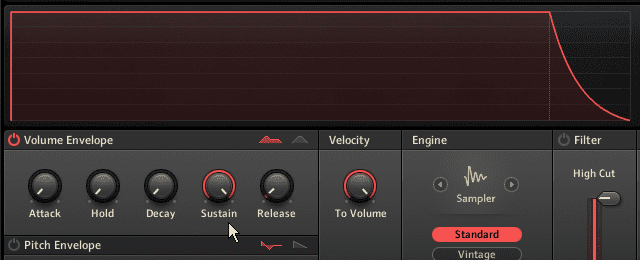
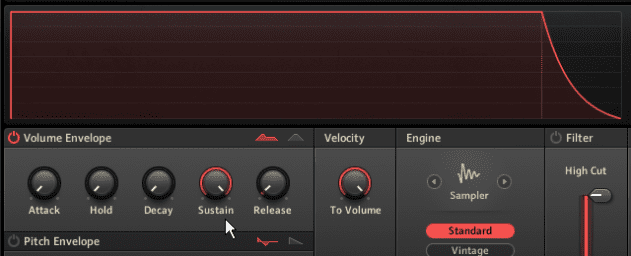
Now may be a good time to fix the note lengths as well. Many drum modules, such as NI’s Battery, allow you to specify whether drum sounds are played in full each time (as is the case with a real drum), or only sound whilst a note is held – the later sometimes being a useful approach in electronic music.
