
In this tutorial, we’re working with Newfangled Audio’s lovely Generate plugin to process a techno bassline.
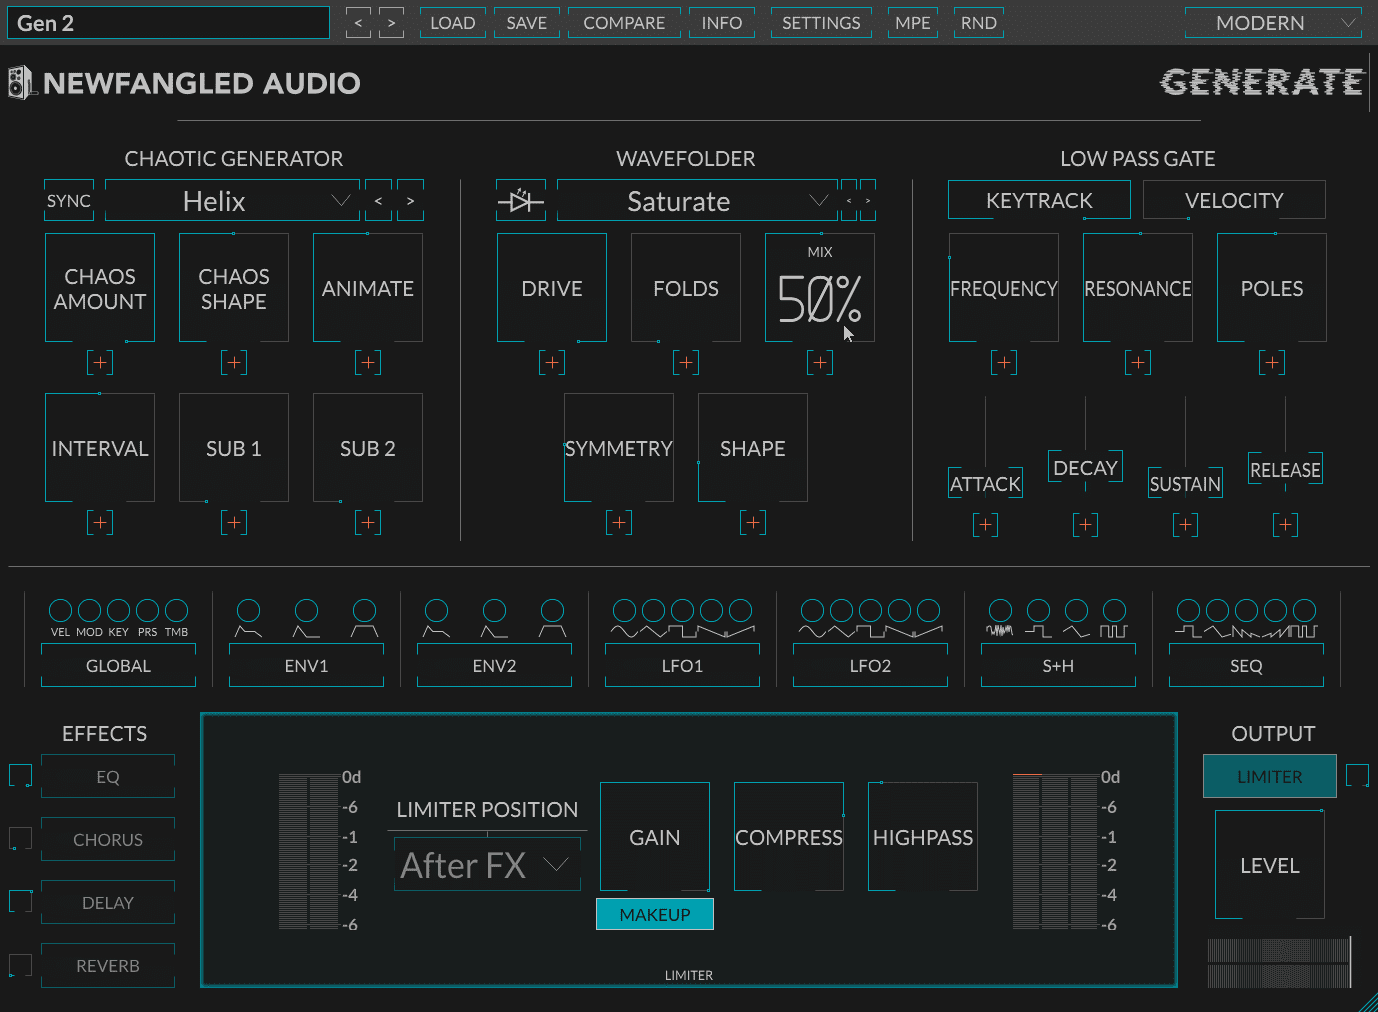
Newfangled Audio’s Generate manages to squeeze most of its functionality into one window, and features some quite familiar-sounding modules such as LFOs, Envelopes and Effects.
As ever don’t forget to click on any image to enlarge.

As such it looks pretty accessible from a programming perspective. However, whilst it’s fun to use and easy to tweak, it offers a plethora of modulation options and takes a somewhat different approach to sound generation when compared to your average subtractive synth.
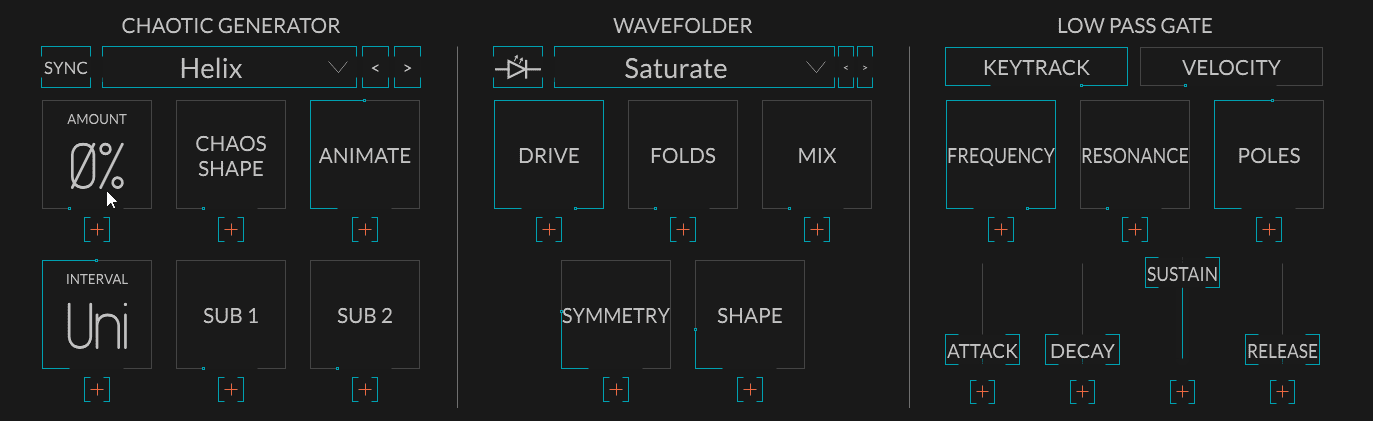
The first clues to this are the apparent lack of oscillator, filter or amp sections. Delve deeper and you will find that Chaotic Generator and Wavefolder are the primary means of audio waveform creation, and the Low Pass Gate fulfils the role of filter and amp section in one.
The latter two take their cue from West-Coast synth pioneer Don Buchla’s approach to sound design, particularly the Wavefolder where manipulation and distortion of its input results in more complex audio waveshapes. This also applies to the Chaotic Generator, where a simple sine wave is disrupted/modulated by a ‘chaotic’ modulation source. Both of these are closer to what can be achieved with additive synthesis or complex FM systems.
Let’s explore Generate through the medium of dance – well techno to be exact – and see how we can create a dark, pulsing and punchy bassline to go with our simple 909 drums.
The drums are using a standard TR-909 kit with only a touch of overall compression:
STEP 1
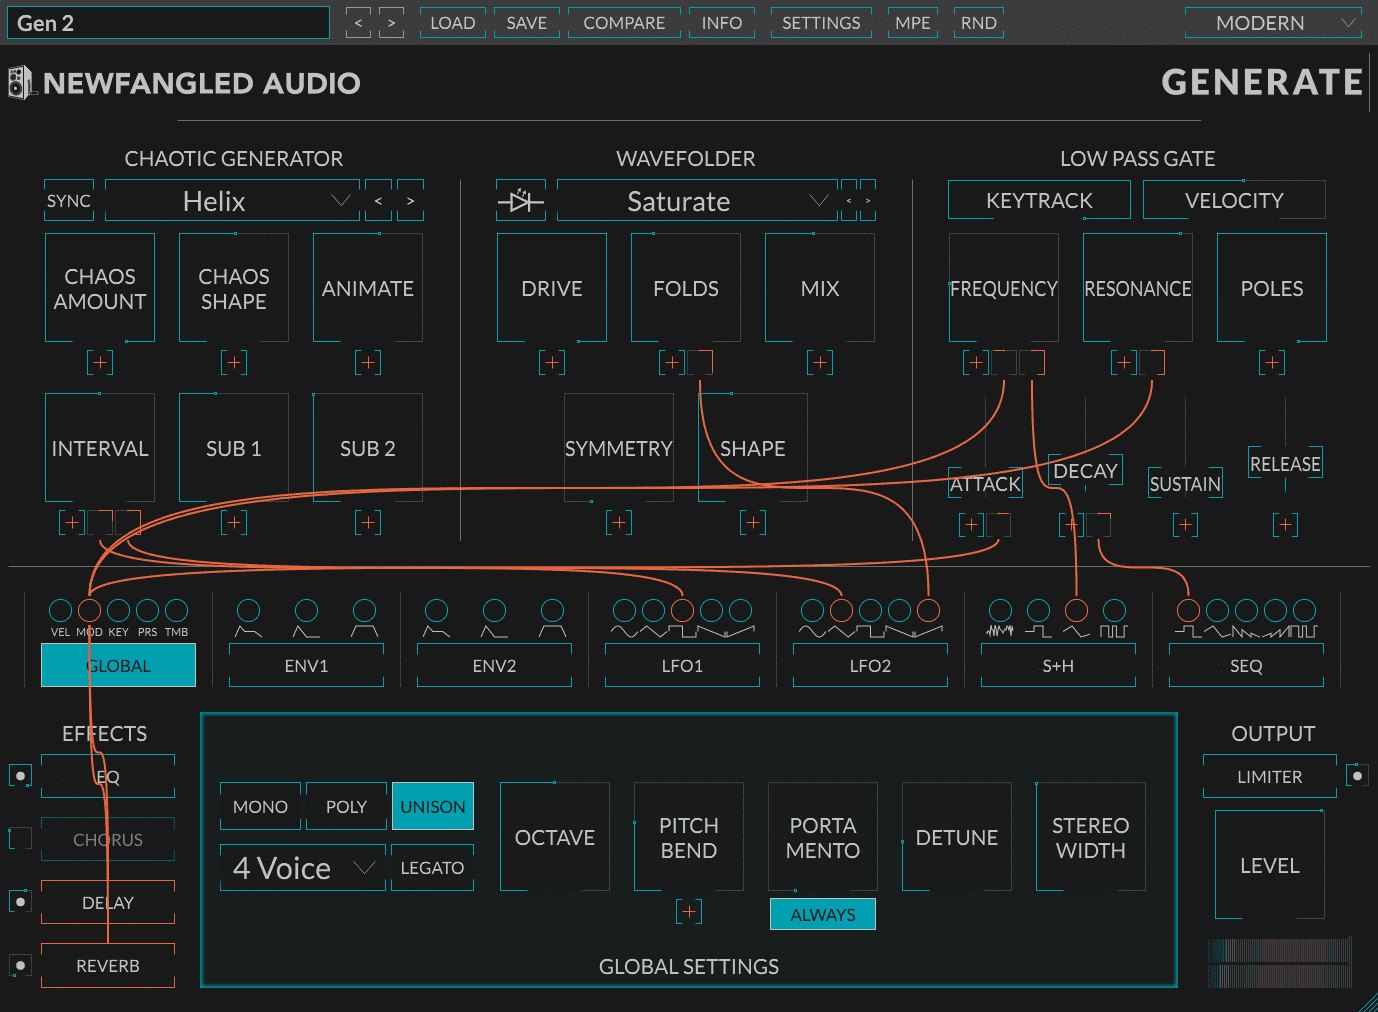
Here’s our starting point in Generate.
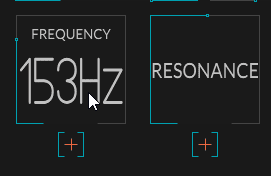
The thin blue line around each parameter box shows the current value, and hovering over a parameter shows its value.
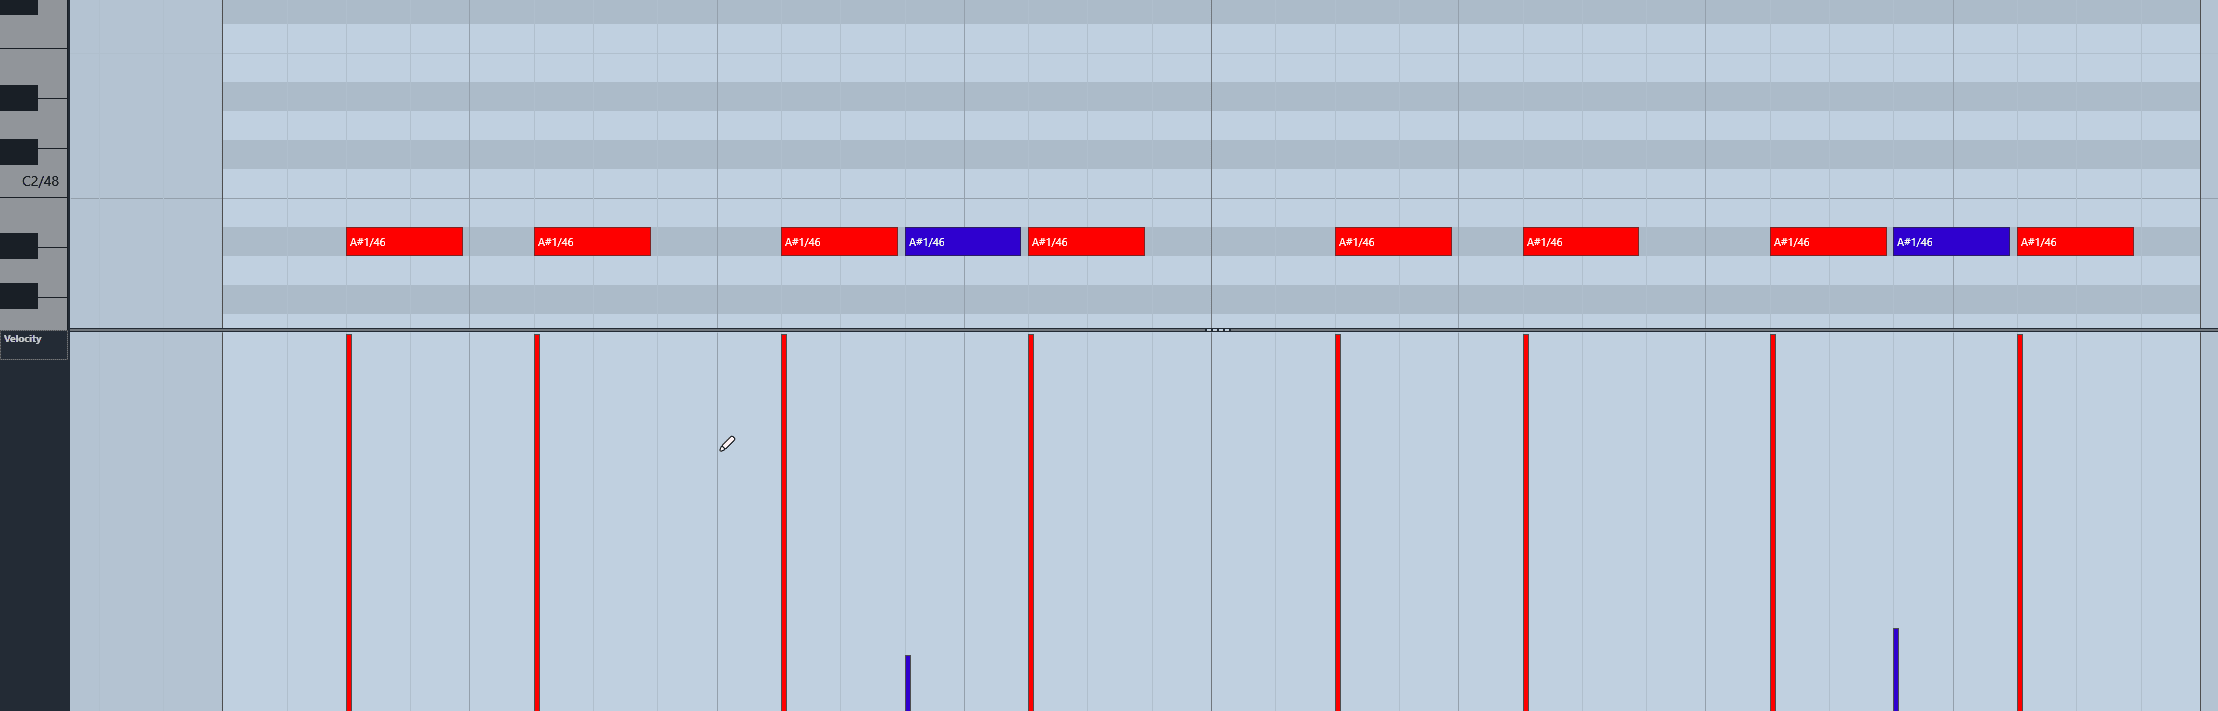
Here’s a very simple single-note bass pattern.
The core sound generator in the Chaotic Generator section is a sine wave, and it sounds like this playing the pattern above.
Here’s our progress so far:
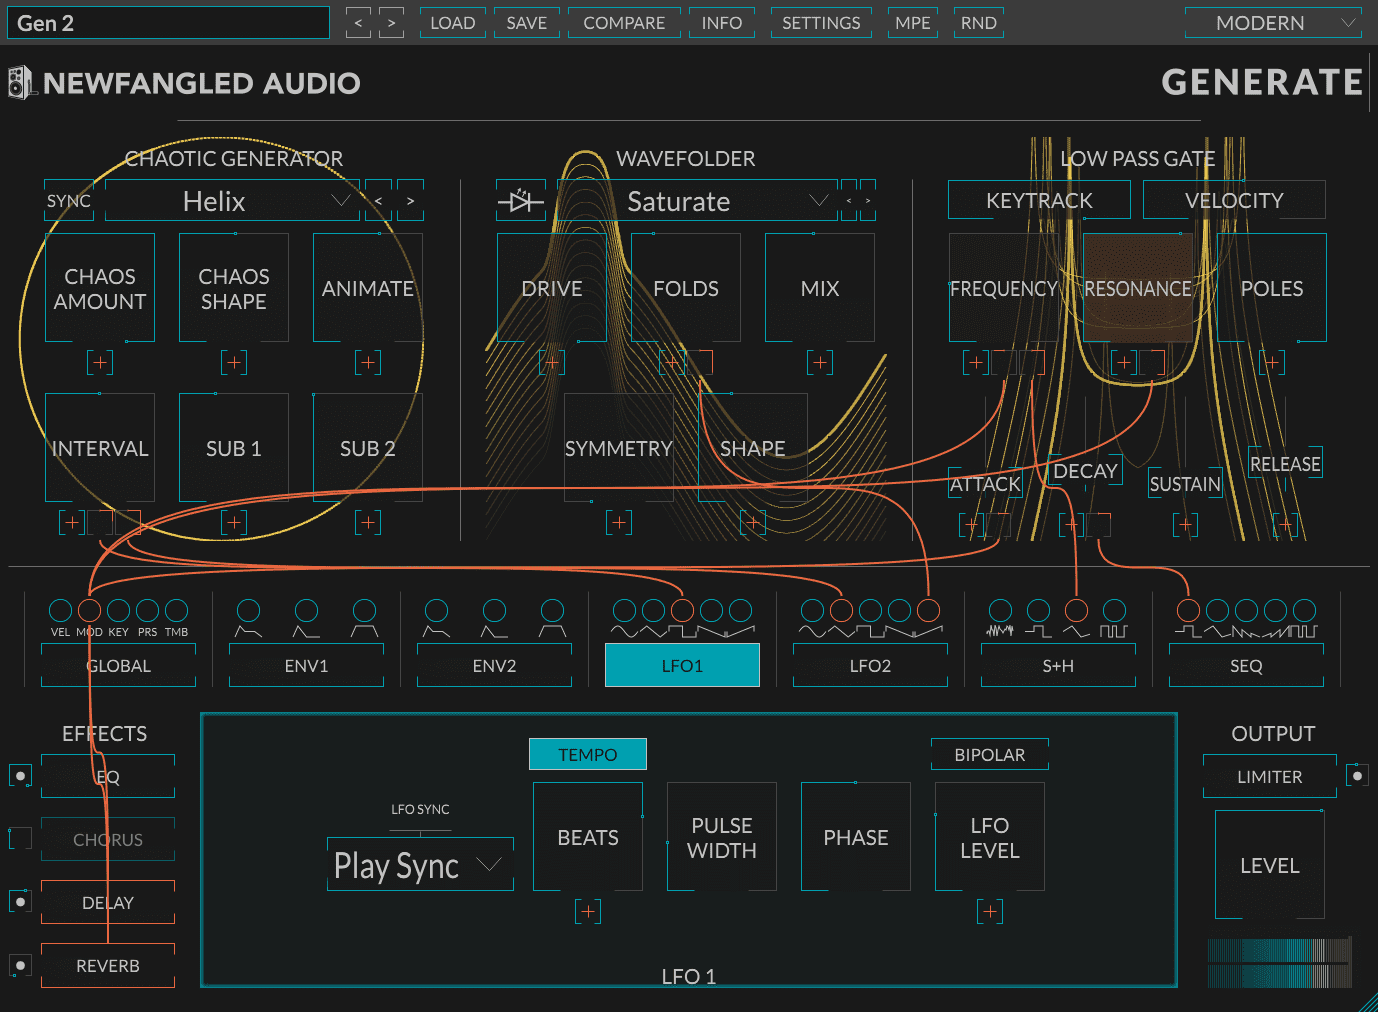
Not that impressive, but if we dial in some ‘chaos’ things get more interesting. There are eight different Chaos Generator algorithms – here we’ll use ‘Helix’. Push up the Chaos Amount, Chaos Shape and Animate (a form of detuning) to hear it in action.

Here’s our progress so far:
STEP 2
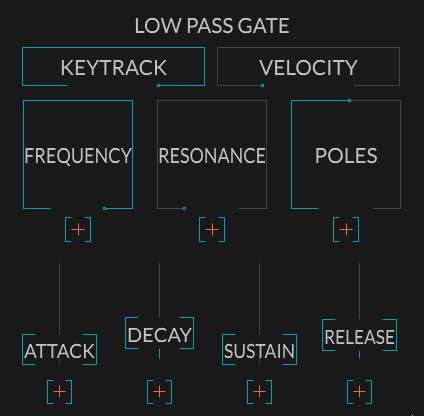
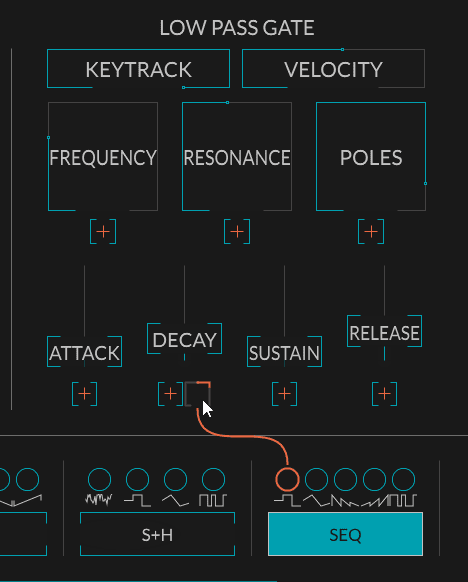
We need a bit of tonal shaping for each note here and, this is where the Low Pass Gate comes in.
Dropping the Sustain to zero and nudging-up Decay and Release works like an amp envelope for a more percussive and pulsing vibe.
Here’s our progress so far:
Lowering the Cutoff and increasing Resonance improves things further.
Here’s our progress so far:
STEP 3
Employing the Wavefolder (here using the Saturate algorithm) with Drive on max and Mix at about 50% adds more character.
Here’s our progress so far:
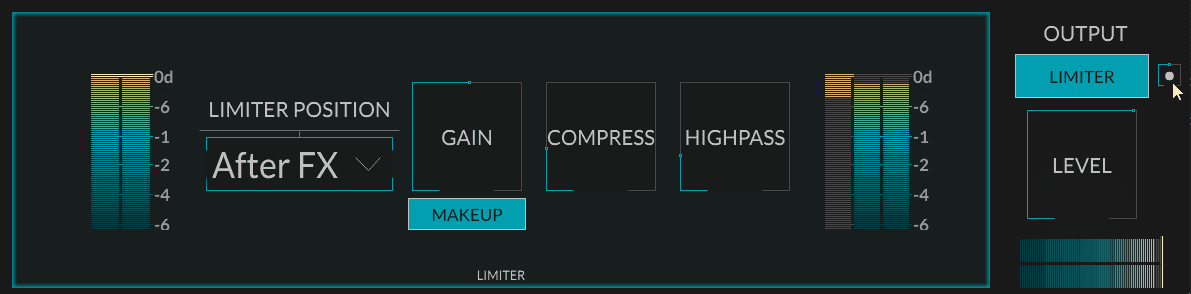
However, whilst part of Generate’s stock-in-trade is creating distortion, you soon discover it’s easy to create a very large signal level with this synth engine and potentially overload its DAW channel. It’s for the reason that an easily accessible limiter is built into Generate.
Here we’ve increased the Compression parameter to round-off some of the harshness of limiting alone.
Here’s our progress so far:
STEP 4
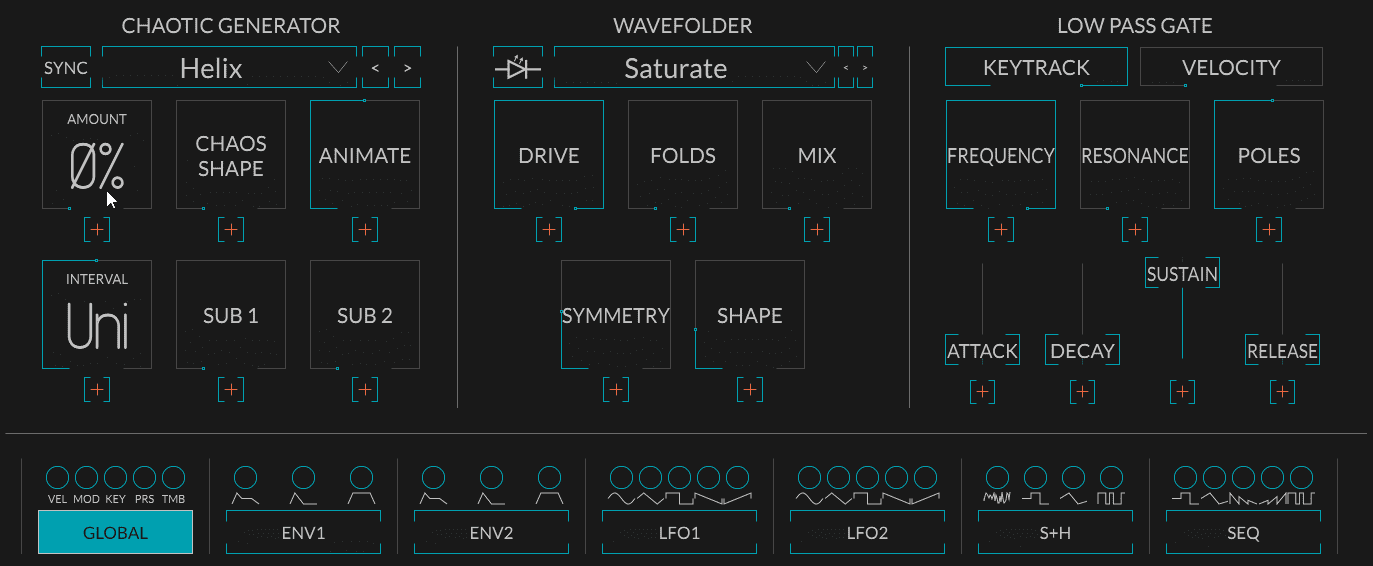
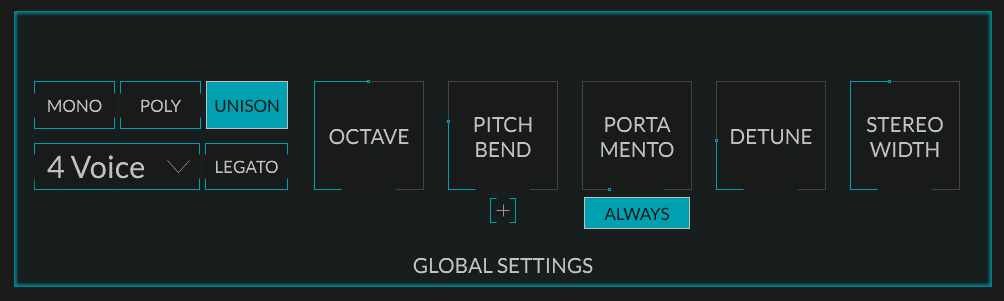
In the Global Settings we can make the sound thicker by employing Unison mode with some Detune and Stereo Width.
Adding some Delay adds movement and groove with the drums.

Here’s our progress so far:
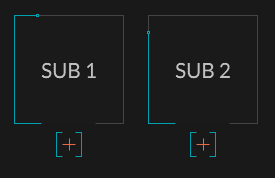
Something’s missing – so we use the two Sub generators to fill-out the low end.
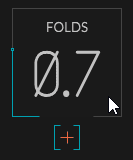
Taming Generate can be tricky, but increasing the Folds parameter here makes the sound less raspy.
Here’s our progress so far:
STEP 5
Remember that Generate facilitates complex modular-style modulation. Just click on the ‘+’ icon under and parameter and turn one of the square dials above a modulation source to activate and set the modulation depth.
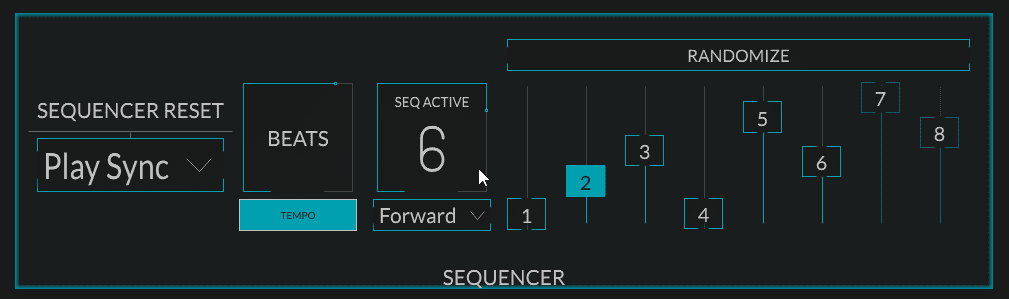
Here we’re using the Sequencer to modulate the Decay of the Low Pass Gate.
Here’s our progress so far:
Notice how setting a step length of 6 beats make the pattern repeat in a less predictable way.
Once you get the hang of it, it’s very easy to add a whole bunch of parameter modulation to spice-up this repeating one-note bassline.
We’ve also added the Mod Wheel as a control source alongside both LFOs to change Low Pass Gate Attack, Delay Feedback and add Reverb simultaneously.
Here’s our final audio:
And here with the built-in Vizualization in full swing.
While you’re here, you may enjoy reading our review of Generate.