Reverb makes a major contribution to the aesthetics of a track. We explore some of the flavours on offer in Melda’s MTurboReverb.
In theory, reverb effects should be simple. Reverb is nothing more than an attempt to recreate the natural echoes (reverberation) of a physical space. The problem is that the sonic characteristics of any given space are far more complex than you might first imagine. How big is the space? What size is it? What kind of material is it made from? What else is inside it?
Our ears are incredibly perceptive when it comes to identifying the kind of space we’re in – just think of how easy it is to imagine the sound of a voice in a hard, tiled bathroom sounds compared to a soft, furnished bedroom – so the use of reverb in music helps to define the sound of a track.
Reverb isn’t always necessary. Just like EQ and compression, it’s important to make some decisions prior to throwing it on. Too much can sound cheap, too little can sound lifeless, but the wrong type of reverb can also be just as bad. We’ll apply different varieties of reverb to demonstrate how it works best.
We start with a loop of the track we’re going to process:
The track is already vibing and there are no immediate cries for help, but we could definitely do with some colour, width and a sprinkle of 3D dimension. Let’s jump into the different options on offer in Melda’s MTurboReverb.
Room Reverb
Room reverb is usually defined by a short reverb of around 0.3-1 seconds. Room reverbs are commonly used on drum sounds due to their short tail and aggressive reaction to the sounds fed into them. When recording a real drum kit, the drum mics (especially the overheads) will pick up the sound of the room, helping the drums effortlessly glue together.
Electronic music production faces some issues when it comes to this ‘glue’, as we are usually combining a variety of different sources – synths, drum machines, live instruments, samples, and so on – which can lead to a lack of cohesion.
To show how drums can be blended together effectively using reverb, let’s set up a room reverb as a send to an auxiliary channel and route our drum elements into it. When following this approach, make sure you exclude the kick drum to avoid any low frequencies entering the reverb and making it muddy (you can also set a high-pass filter on the input of the reverb to help roll off lower elements).
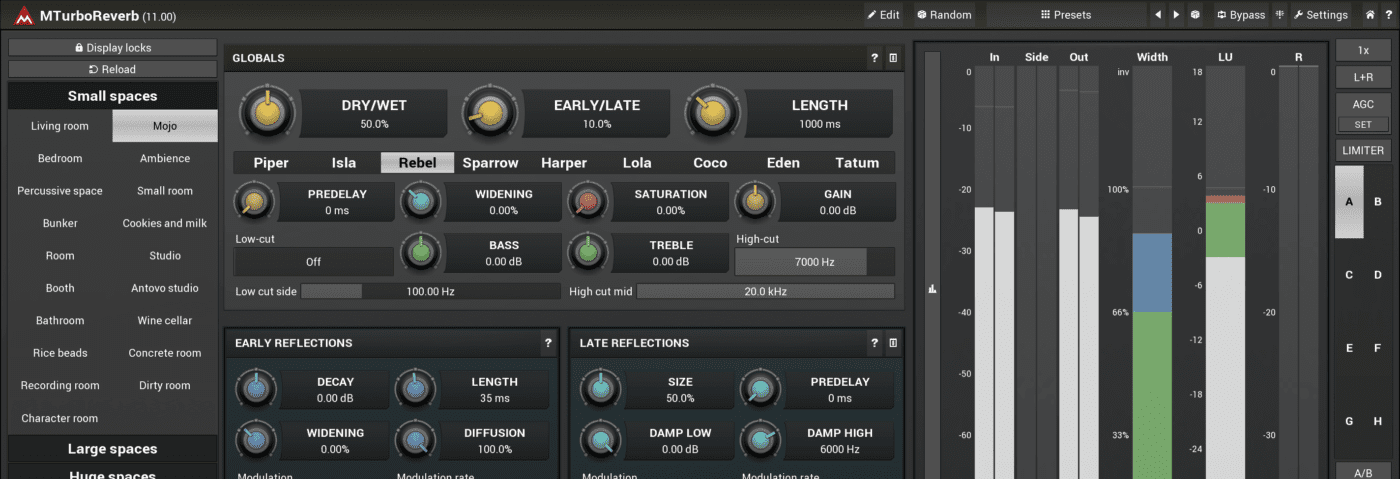
MTurboReverb offers a large selection of spaces, each with a tone of their own. We are going to experiment with three different options before picking one. The jazz-inspired snare in our track is lacking in life and will be the first we attend to.
We’re going to apply a healthy dollop of reverb by cranking the send and alternating between the Character, Cookies and Cream, and Wine Cellar setting in MTurboReverb.
Character:
Cookies and Cream:
Wine Cellar:
We can instantly hear the unique tonality of each setting. Cookies and Cream is the brightest, Character the most natural and Wine Cellar the darkest. Reverb is a matter of taste and of course depends on the style of your track, so make sure you try more than one option before sticking to it.
Cookies and Cream fits the bill perfectly for our track with its bright sound, high sustain and short tail. We will exaggerate the effect for now to make it more audible, but it may become subtler later on.
Starting with the EQ section, let’s tame some of those muddy and harsh frequencies that affect the smoothness of the reverb.
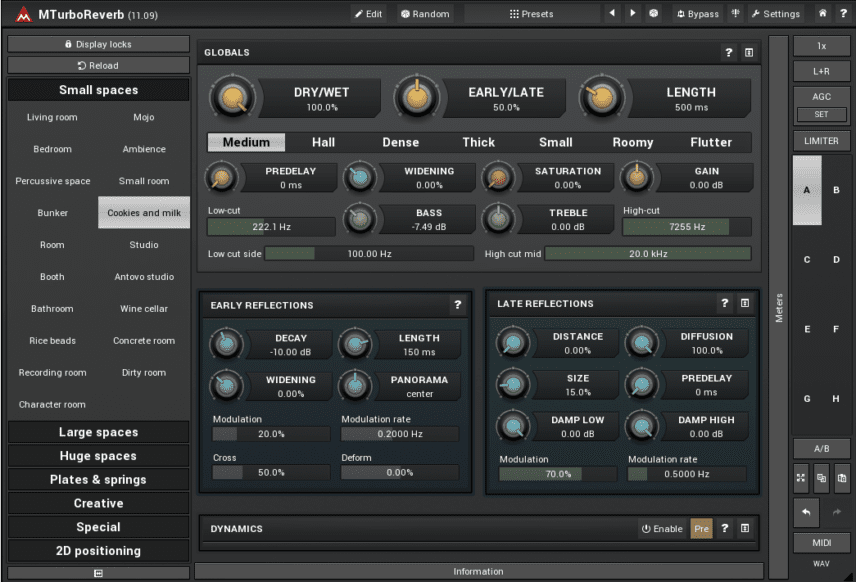
A low cut and low shelf have been added to clean up some of the low end, plus a high cut to remove any unwanted fizz.
Now we are going to increase the late reflections to make the sound seem a little further away.
Now that we understand how the reverb is reacting to the snare, let’s apply the room reverb to the rest of our drums (still excluding the kick). Here they are dry:
And applied to each drum sound:
Notice how the drums now sound as if they’ve been recorded together in a small, hard-walled club, rather than a group of separate recordings.
The level of reverb will probably need to be dialled back slightly once we build up the mix, but the room reverb does a great job at adding sustain, stereo spread and glue across the drum group sub-mix.

Medium Reverb
Next up is our medium reverb. This will be 1-2 seconds long and we’re going to choose which style of room we would like by sending the clap there (even though it already has room reverb). Claps in dance music are fairly constant, so we can measure the length of the tail by ear to ensure that it ends just before the next clap comes in.
We ill create a new auxiliary channel, send the clap and choose between a couple of styles:
Dirty Plate:
Princess Chamber:
Again we have two very different reverbs that each have their own unique character. For us the Dirty Plate is the winner because of the way it matches the vibe of the track. Choosing reverb shouldn’t just be about how it sounds when soloed with one element playing, but how it sits with everything else.
Let’s attend to the decay to shorten it so that the tail of the reverb ends before the next clap.

Medium reverb can be considered the first ‘distance’ placement, making elements feel as if they are either in the foreground or background of a bigger space. The more reverb you add, the further away it feels.
The organ, which is also the main melodic part, is lacking a little depth. Here it is dry:
And with a little medium reverb:
The added depth gives enough sustain for the organ to feel more present and not too much to make it distant.
In the edit section of the plugin we’ve turned down the complexity, which has simplified the reverb reflections and made it sound quite unnatural and almost metallic. Seeing as this is quite a quirky track we are able to get away with being slightly leftfield with our parameter changes.
Long Reverb
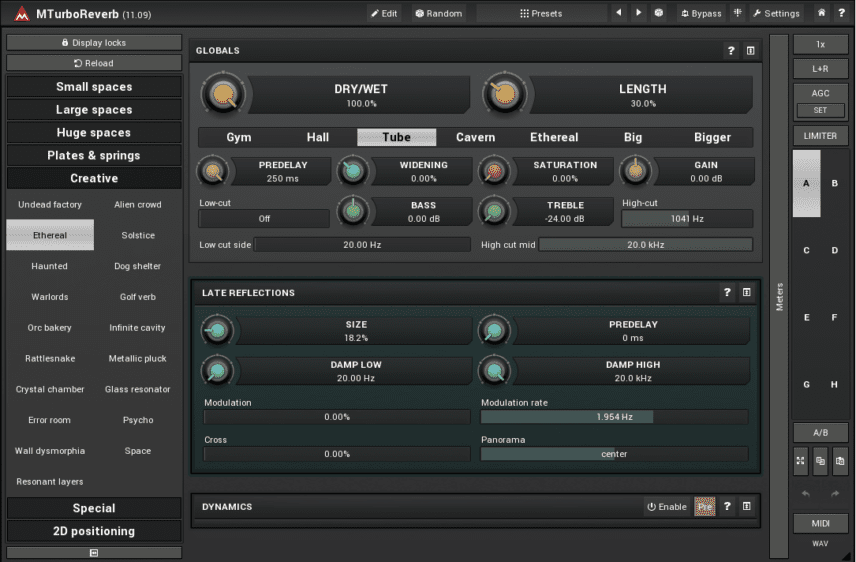
Last up is a long reverb, probably the most difficult type to use but quite essential for really throwing things to the back of the mix. Long reverbs are always quite prominent in the mix, and take up a lot of room because of the long decay.
We’ve chosen the Ethereal Creative setting for this final auxiliary channel and we’re sending the vocal to it. Here is it dry and then wet:
We can instantly hear the obvious tail that has been added to our vocal, so in order to help it sit further better in the mix we need to apply some effects.
Lets start by EQing the high frequencies from the wet reverb signal:
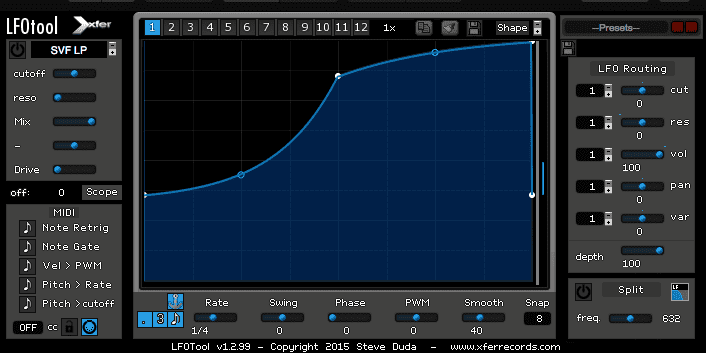
Next, Xfer’s LFOtool can be used to apply a sidechain compression-style effect for some dynamic movement.
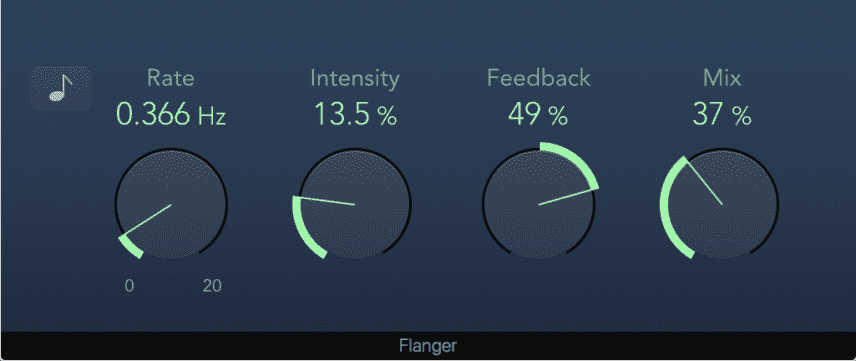
And Finally a flanger for some added stereo modulation
How you treat your long reverb is up to you and there is no need to go as overboard as this, but sometimes it’s fun to get away from the norm.
Finally, let’s have a listen to the mix dry and then with all three reverbs applied to the selected sounds. Which do you prefer?