Is the order of plugins in a chain important? The short answer is yes. The long answer is a little more complicated.
Plugin order. There’s a lot of discussion about it on the internet, with many firmly stating that order is absolutely important. We tend to agree although maybe not in the way you’re thinking. Yes, order matters – but not in the sense that plugin type A absolutely must come before type B. We’re not fans of hard and fast rules like this as every situation is different.
Sequence ultimately does matter because each plugin will affect how the next one down the line behaves. Place a distortion before a chorus and you’re going to get a lush distortion. Place it after the chorus and you’re going to get an entirely different effect. This is the same for delays, reverbs, EQ and compressors. The order you go with will depend entirely on the results that you’re after. No one order is correct or incorrect, just appropriate or inappropriate for the goal at hand.
In this tutorial, we’ll look at how changing the order of a pair of plugins will change the effect. We’ll also talk about when you might want to use which order. Note that we have purposefully used exaggerated settings in many of these cases to better hear the effect. You may or may not want something this pronounced in your mixes.
Distortion and Chorus
Let’s start with a pair of effects that we don’t often think of as going well together, distortion and chorus. You probably haven’t thought much about this pair (unless you’re a guitarist!). This will help demonstrate our point that the outcome differs greatly depending on the order.
Here we have a simple saw lead played on Analog in Ableton Live. We’ve made sure to turn off any built-in effects to better hear what our plugins are doing.
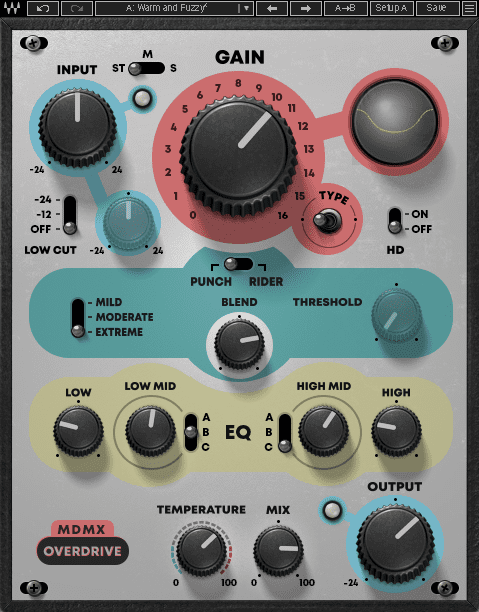
Next, we treat it with some distortion with Waves’ MDMX Overdrive. We can hear how the sound breaks up and the frequency response is also affected, with more activity in the mids.
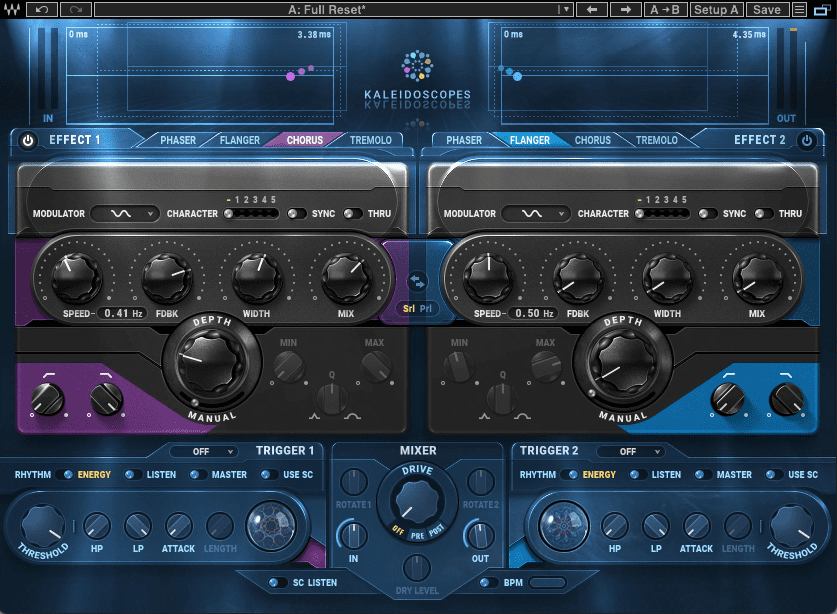
In contrast, when we run it through a simple chorus patch in Waves’ Kaleidoscopes, we get a
wide and lush sound.
How will combining the two plugins affect the sound? First, we place the distortion before the chorus. Overdrive roughs up the sound while Kaleidoscopes helps widen it.

Now let’s try reversing them. When we put the distortion second, all of that wide stereo information gets distorted along with the body of the sound.

Which one is “better”? That’s entirely subjective and will largely depend on what your track needs. Neither is better nor worse than the other, they’re just different approaches.
Reverb and Delay
Now we’re getting into controversial territory. The accepted wisdom is that you put delay before reverb in a plugin chain. What happens if you switch that order? Is there any time that you might want to run a reverb into a delay? Let’s find out.
We’ve laid down a basic arpeggiator progression using Abelton Live’s Wavetable synth. Here it is with no effects.
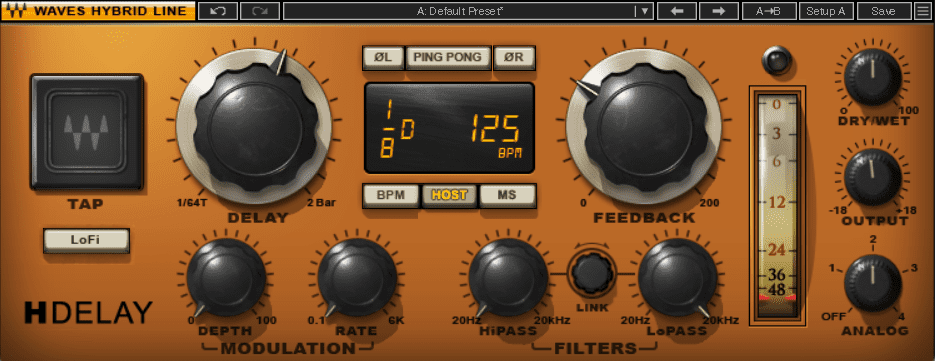
Next, we run it through Waves’ H-Delay with basic settings of dotted eighth notes synced to the DAW, a tasteful amount of feedback and the Dry/Wet knob set right in the middle. The repeats are clearly audible.
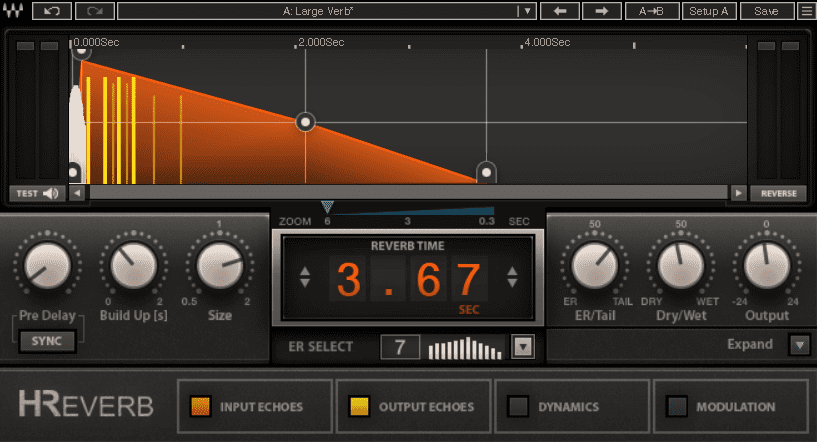
Here’s the same Wavetable progression passed through Waves’ H-Reverb, with a reverb time of 3.67 seconds and wet/dry set pretty much right down the middle. It’s added a sense of space to the dry sound.
Now, let’s try the two plugins together. For the first pass, we go with the tried and true order of delay into reverb. The delay taps are largely audible with the reverb adding a lushness and softness to them. This order is best when you want to add traditional delay and reverb effects to a sound without losing too much detail, like a vocal or lead sound.

When reversed, the reverb is favoured. Rather than affecting the dry signal, the delay is now working with the reverbed synth sounds. Although the results are similar, it’s a less defined sound overall, though no less useful if what you want is something washier. Use this one on pads, sound beds and more experimental sound design.

Compression and EQ
Now we come to what might be the most contested one. Which should come first, compression or EQ? Again, like the others, the answer depends on what you are trying to achieve in your mix.
We’ve programmed a 909 rhythm using Ableton Live’s Drum Rack. We’ve turned off any compression or dynamics in the Drum Rack. We’d like some glue compression to help all of the sounds sit together. We’d also like to do some equalizing. Which should come first?
First, here’s the rhythm track as is. We’ve made the kick extra loud and boomy on purpose to help illustrate our point.
The general consensus is to EQ first and then compress. This makes sense as a compressor will exaggerate any problems with the audio, whether that be frequency build-up or unwanted noises in a recording.
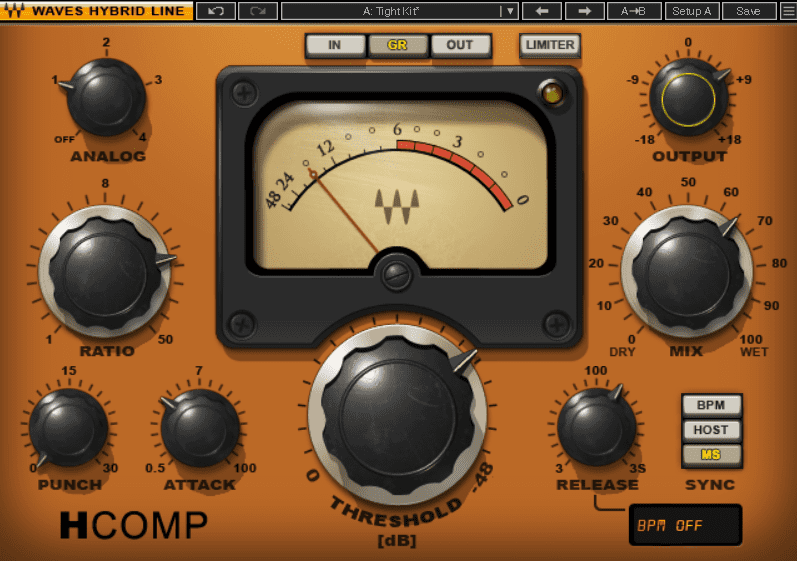
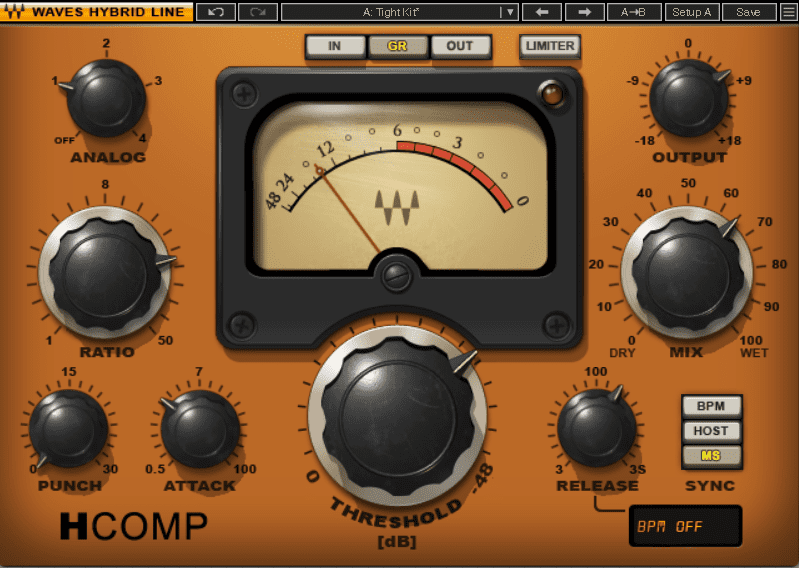
Here’s our rhythm track run-through of the Waves’ H-Comp. All the sub-bass in our rhythm track is making the compressor work really hard. It’s focusing almost entirely on the bass and not getting at much else. The settings are admittedly extreme but they’re so we can hear what’s happening.
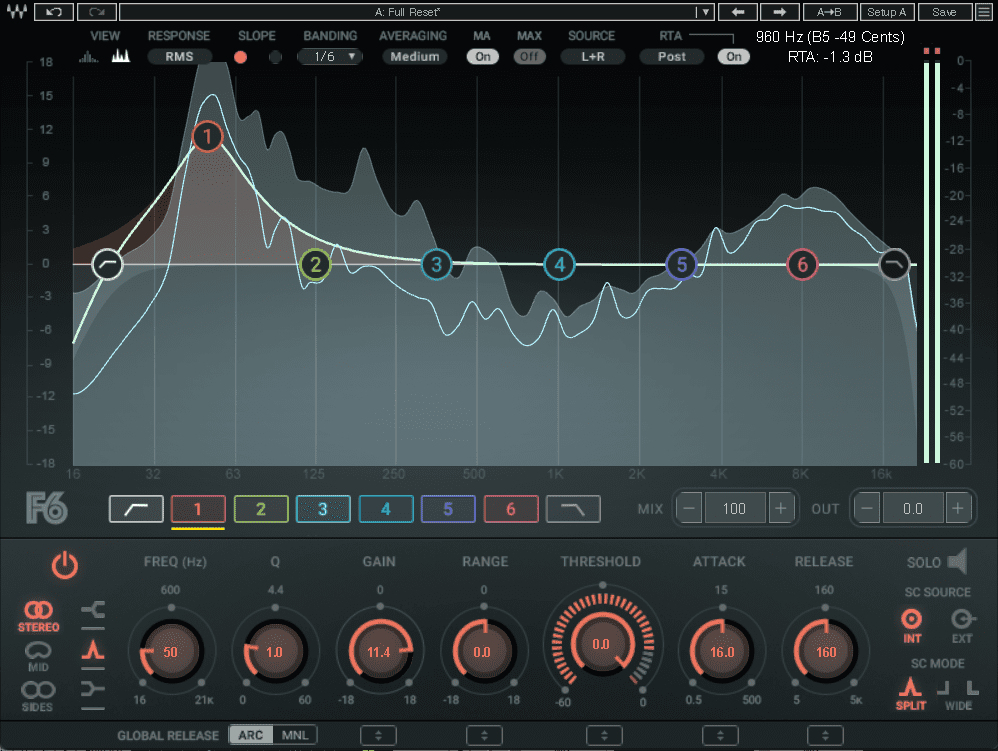
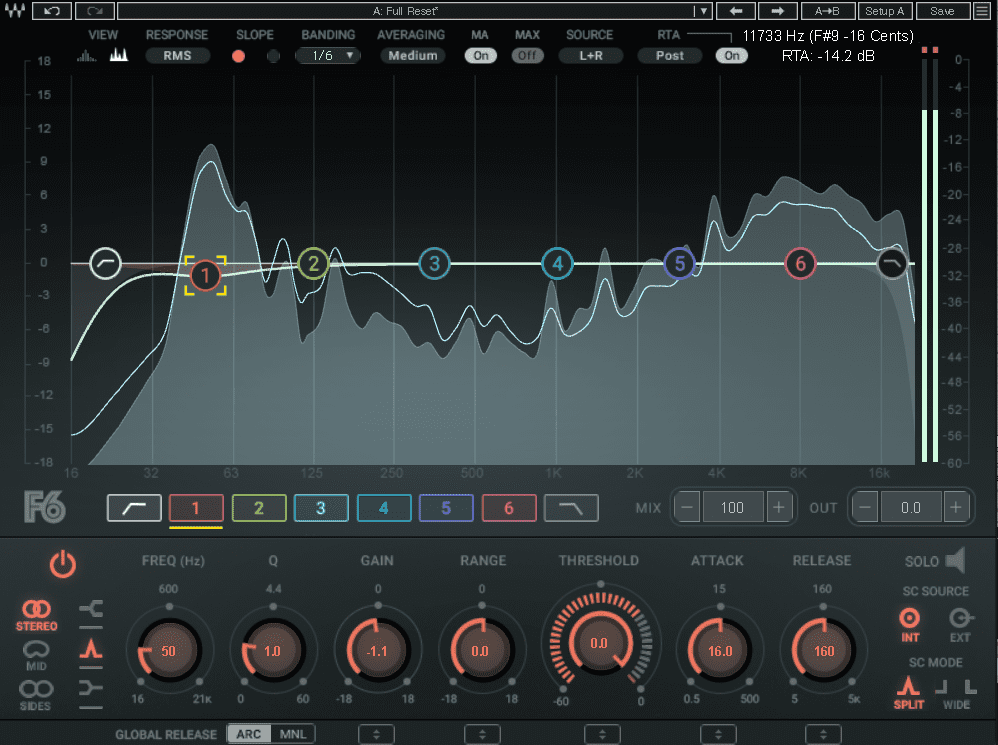
Let’s clean up that low end with Waves’ F6 and try again. By addressing the bass issues with equalization first, we’re able to send a cleaner signal to the compressor for us to work with. The results are more even. The compressor isn’t working so hard to hold down the bass and now has time to catch the hats as well.

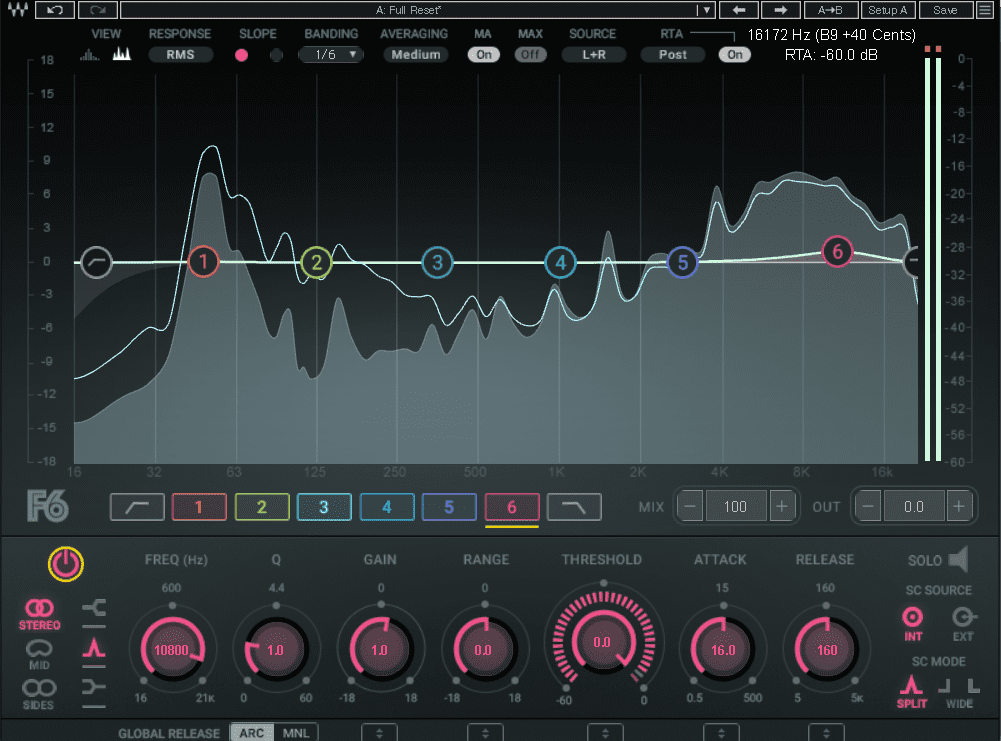
When would we put an EQ after a compressor? To enhance. You may have noticed that we lost some of the highs due to the actions of the compressor. By placing another copy of Waves’ F6 after the compressor, we can make a gentle boost at the top end and bring back some of the lost frequencies.

To sum up, use the EQ before the compressor to correct and the one after to colour and enhance. If there’s nothing to correct before the compressor stage, you can skip the first EQ altogether. Again, it’s all about what your mix needs rather.
*Attack Magazine is supported by its audience. When you purchase through links on our site, we may earn an affiliate commission. Learn more.
While You’re Here…
If you like this tutorial you might enjoy our book The Secrets of Dance Music Production. It is available from the Attack store!