This channel is sponsored by
 Roland Cloud is your creative hub for Roland hardware and software. Access legendary recreations of Roland Classics, find new sounds for your favorite products, and download updates and companion apps to make music fast and easy. Visit Roland Cloud
We use compression, EQ, modulation and spatial widening to balance a disco mix and create focus.
Mixing a track is like stacking a house of cards. Each individual ‘card’ in the mix is important on its own but it also has to be perfectly in balance with everything else. Just a nudge in the wrong direction with a compressor or EQ can have disastrous results to the whole. You also have to consider which part is going to be the main focus. Not every element can be equally as loud and demand equal attention.
In this tutorial, we’ll look at how to use basic plugins like compression, saturation, and EQ as well as spatial effects and modulation to create a balanced mix. We’ll be working largely with samples from Splice but the application is the same whether you’re using ready-made stems or cooking up your sounds from scratch. It’s all about finding that balance and focus.
We’re using Ableton Live but the techniques will apply to any DAW. Click on any image to see a larger version.
N.B. Some changes are subtle. Be sure to have a good pair of headphones or monitors available.
We’ll go from this collection of unbalanced loops:
To this finished mix:
Step 1: Kick
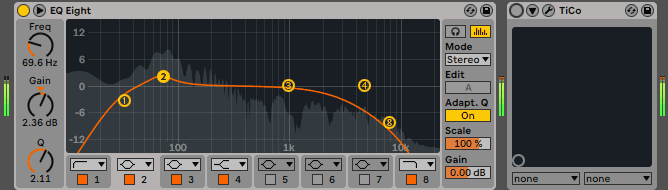
We start where most mixes start: with the kick. We’re using the sample ‘nd2_kick_livi.wav’ from the Splice sample pack, Neon Disco. It’s a nice, electronic kick with a bit of white noise on top. It’s a little on the bright side, so the first thing we do is drop EQ Eight on the channel and roll off the highs to 10kHz with a long, gentle slope. That will give us some room for the hats. We also shelve out the subs and give it a little boost at 70Hz to accentuate the bass.
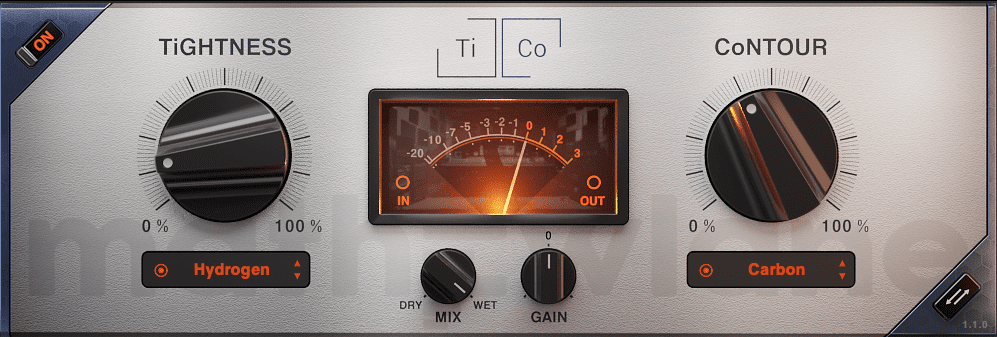
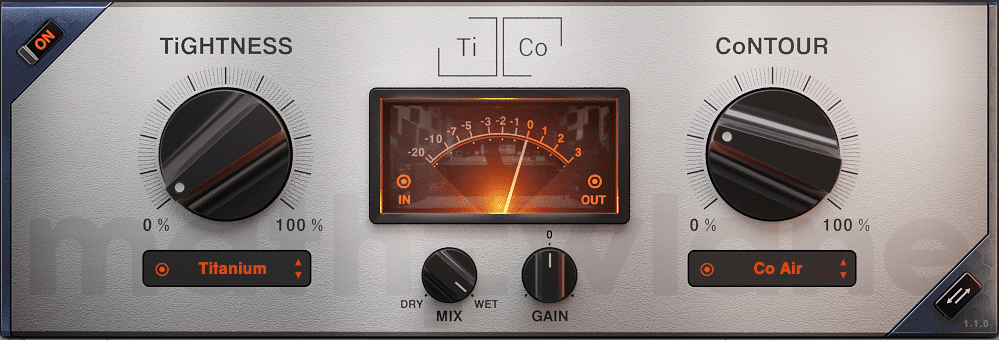
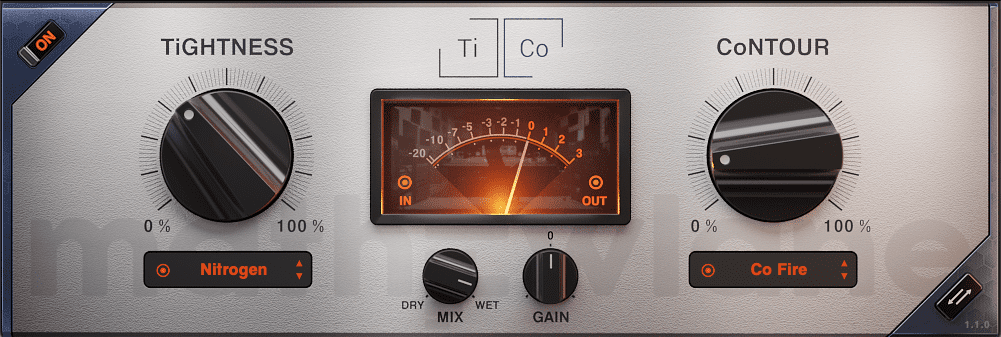
Next, we add Mathew Lane’s TiCo. The kick is already pretty compressed so we use TiCo more as a tone shaper than dynamics controller. We dial in a little bit of Tightness using the transparent Hydrogen setting. We also bring in some Carbon Contour, which adds a nice amount of saturation to the lows for a round feel.
The kick before processing:
And after:
Step 2: Snare
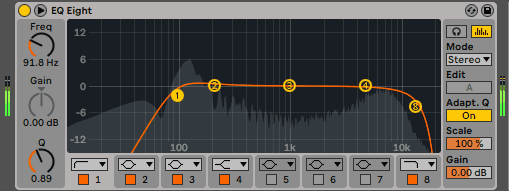
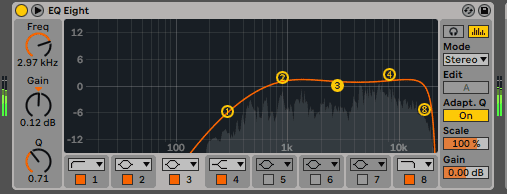
Next is the snare. We’ve chosen ‘nd2_snare_devile.wav’ from the same Splice pack. It’s already well-produced so we don’t need to do very much to it. However, sample pack sounds are made to sound great on their own. How they behave in your mix is a different story. We don’t need so much high-frequency information so we can use Live’s EQ Eight to cut the highs at 15kHz. Lows below 90Hz are just getting in the way so out they go as well. We can see that most of the body is around 100Hz so we give it a slight bump there. We don’t need to go into Eric Prydz territory here but we don’t want it to get lost in the mix, either.
Top Tip: Don’t EQ your tracks entirely in isolation. That won’t tell you how they sound when part of the group, which is what really matters.
Here is the snare before:
And after EQing:
Step 3: Hats
We have a suitably acoustic-sounding hi-hat loop from Splice called ‘nd2_drm120_magazine_prc.wav’. It’s also from that Neon Disco pack. We don’t love the whole thing – the second half has a volume drop – so we keep only the first half. Let’s do some processing to help it fit in our mix.
First, we use EQ Eight to cut out all the lows below around 900Hz. We also boost at 900Hz and again at 15khz to bring out the body and top of the hi-hats. Using Mathew Lane’s TiCo as a saturator, we boost the airy highs by dialling in around 20% of the Co Air setting.
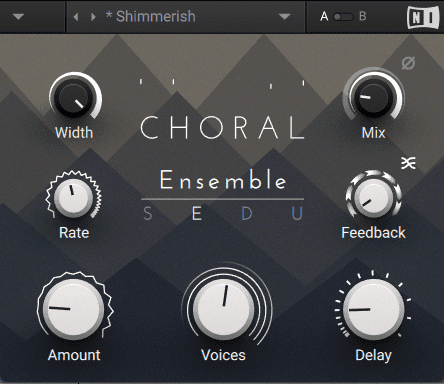
Next, we’re finding the hats a little too crisp so we use Native Instruments’ Choral with an ensemble setting to smooth things out. We don’t need much of an effect here so we bring the Mix knob down to 20%. This is just enough to add some swirl and vibe without smearing the transients too much. Leave this out if you prefer crispy hats.
Finally, we pan the whole thing over to the right by a small amount. There’s a lot of centred material in this mix so it’s good to give some sounds space with panning.
The hi-hats before processing:
And after:
Step 4: Percussion
In keeping with the acoustic disco vibe, we’ve pulled in an Ableton clip, Funk 1 Bongo. Hand percussion often sounds great on its own but can get easily lost in a mix.
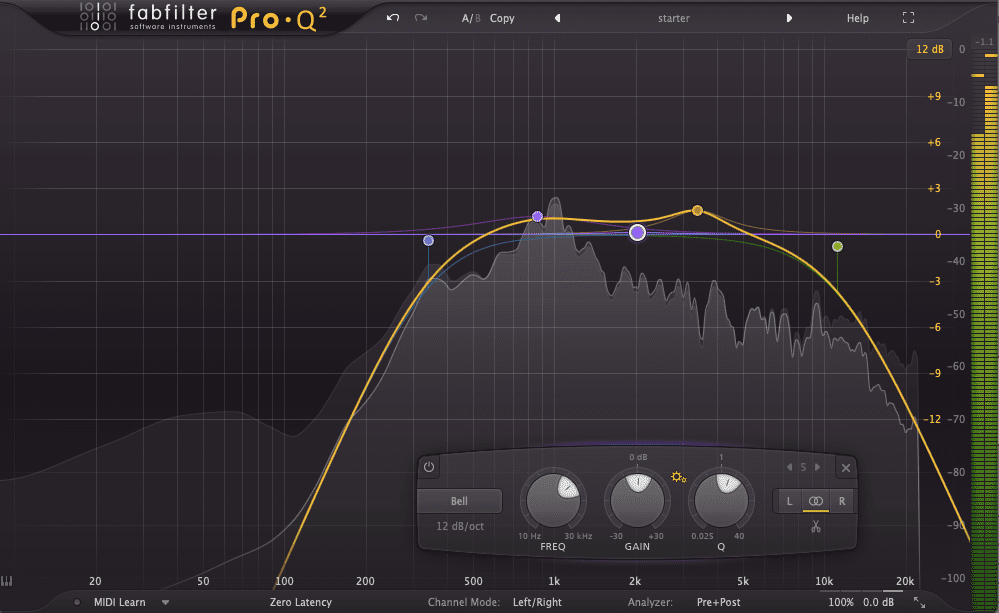
We start with FabFilter Pro-Q 2. We want to accentuate the important parts of the bongos – the body and slap – while cutting out anything unnecessary. Gentle cuts below 300Hz and above 10kHz help focus the sound, while small boosts at 900Hz and 3.3kHz help the percussion sounds pop.
Next is another instance of TiCo. We haven’t done much compressing with TiCo yet, as we’ve been using pre-compressed Splice loops, but this clip could use some dynamics control. We choose the Nitrogen setting under the Tightness compression knob and bring it up to 30%. This gives us a warm and round sound. We then add about 10% of Co Fire Contour to bring in some presence – just what we need for our mix.
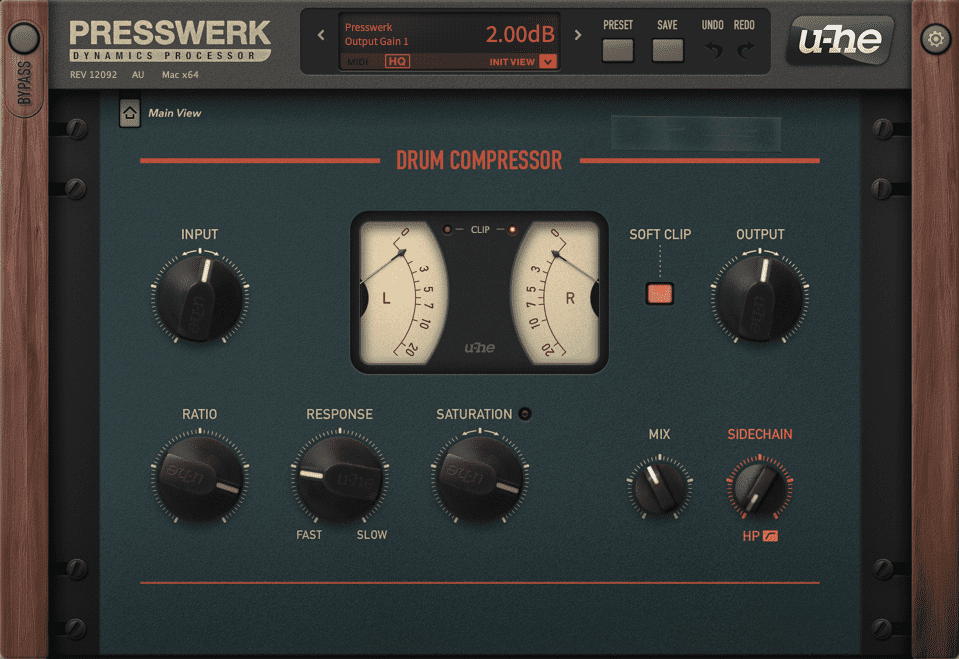
It’s still not popping so we reach for our go-to character compressor, Presswerk by u-he. A low ratio, relatively fast response, and plenty of saturation bring the bongos alive. It is admittedly a little over-the-top so we dial back on the Mix knob to get parallel compression.
The original bongo clip:
And after processing:
Step 5: Drum Bus And Additional Processing
Now that we have all of the individual rhythm elements ready, let’s put them all together in a bus and address them as a single unit.
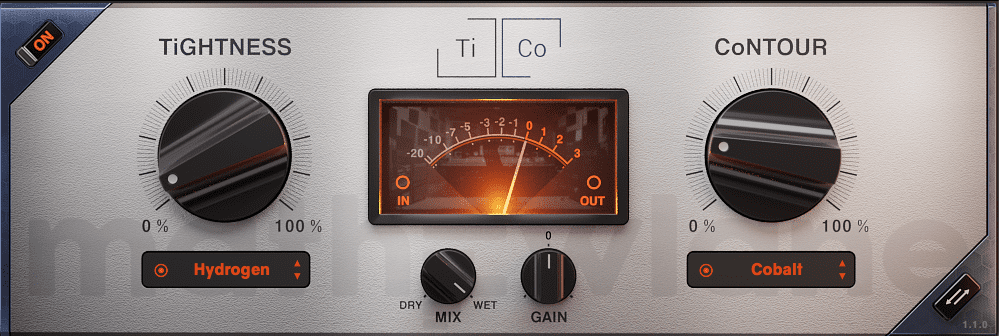
We select the four tracks and group them together. Next, we place a new copy of TiCo on the drum bus track. We use a very small amount of transparent Hydrogen compression and around 20% of the Cobalt Contour, which tightens and lows and adds some highs, to help it all gel together.
We’re still not happy with how the bongos sound as part of the group, so we add Tokyo Dawn Record’s free dynamic EQ, TDR Nova, to the hats channel. We suspect there may be a frequency clash happening in the mids here. We use the bongo channel as the sidechain source and set the EQ to duck the hats in response to the bongo signal at 3.3kHz. That’s better.
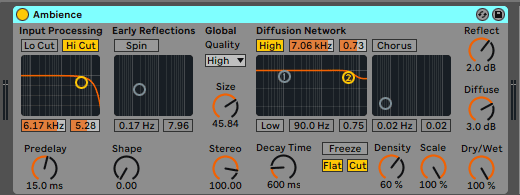
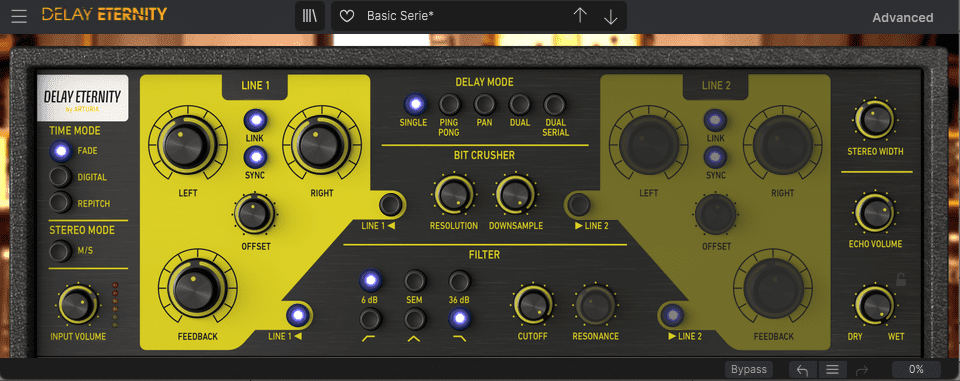
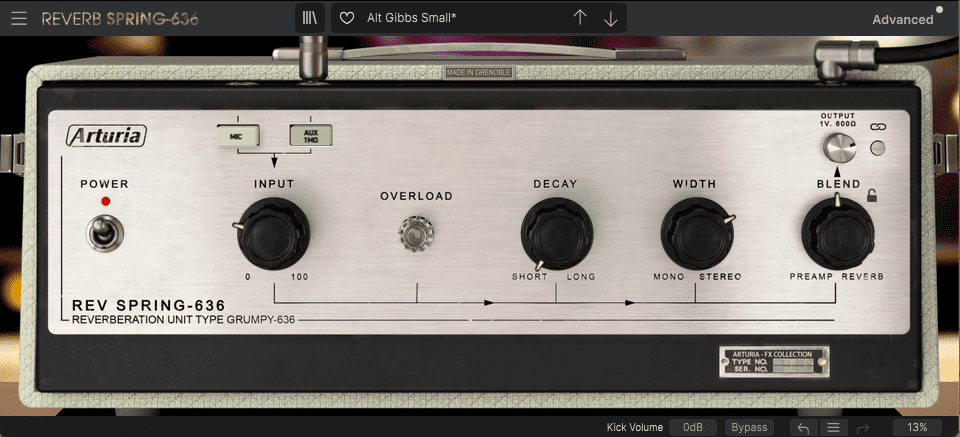
Lastly, let’s use sends to add some effects. We put Live’s stock Reverb on Send A, set to an ambience preset. We send the hats and bongos to this to help them sit together. We also send the bongos to Arturia’s Delay Eternity to give it some rhythmic movement and to Reverb Spring-636, also from Arturia, as bongos always sound good through spring reverb.
The drum bus as-is:
And with processing:

In part two of this article, we’ll continue mixing this track, adding two basslines, disco strings, and Rhodes piano.
This content is supported by Mathew Lane. If you want to read more about content funding on Attack Magazine and how we can continue to provide content to you for free, visit our content funding page for a breakdown of our editorial policy.
*Attack Magazine is supported by its audience. When you purchase through links on our site, we may earn an affiliate commission. Learn more.
Tutorials is sponsored by
Roland Cloud is your creative hub for Roland hardware and software. Access legendary recreations of Roland Classics, find new sounds for your favorite products, and download updates and companion apps to make music fast and easy.