
Rhythmic effects can inject energy into synth lines. We use Baby Audio’s Spaced Out delay and reverb plugin to bring groove to a tightly quantized chord stab line.
There are many ways to add rhythmic movement to a phrase, such as with swing or changing the timing. One often-overlooked method is delay. With careful programming, delay lines can bring life to rigid melodies and synth lines. Spaced Out by Baby Audio is a delay and reverb software effect with some unusual features. Let’s use this plugin to transform a tightly quantized chord stab melody into something a little more lively.
We’ll go from this:
To this one with movement and variation:
A Quick Overview Of Spaced Out
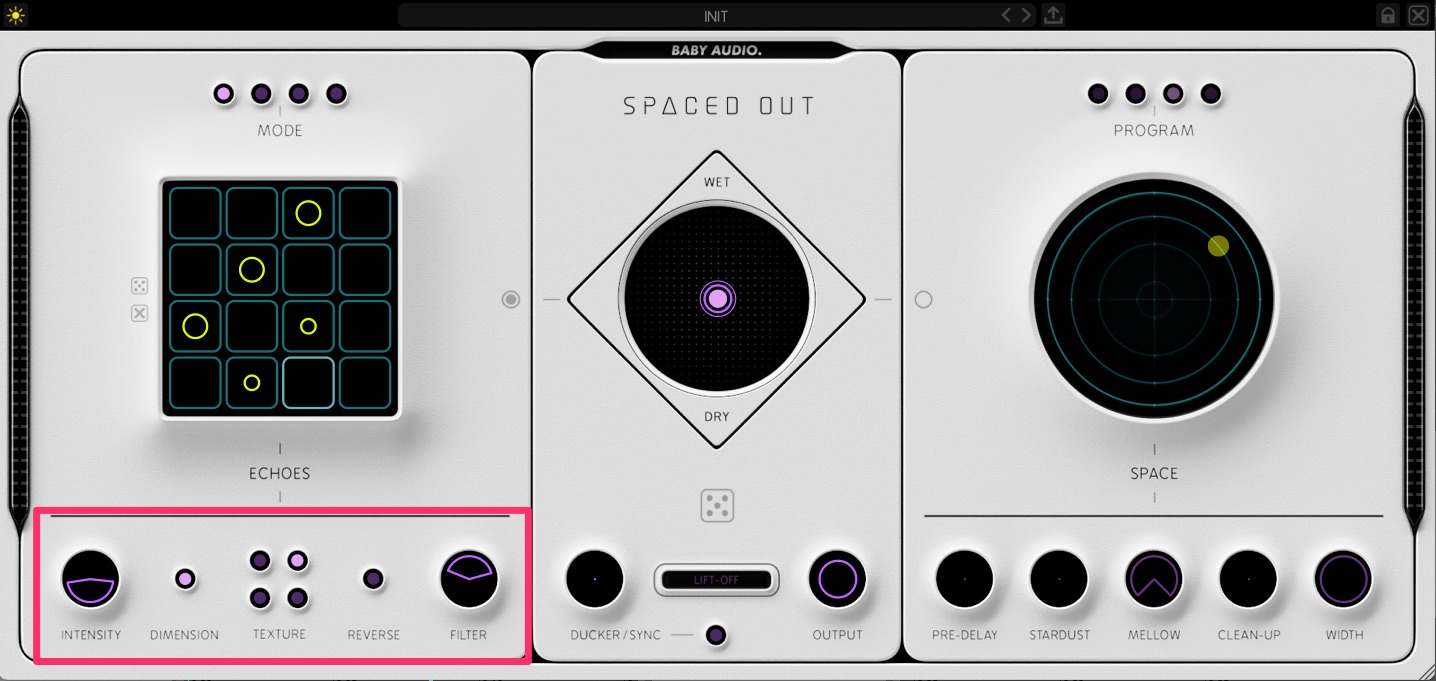
Spaced Out has three main sections. On the left, with its grid of 16 squares, is the delay, to the right is the reverb, and in the middle is the mixer. The two main effects can be used independently or together.
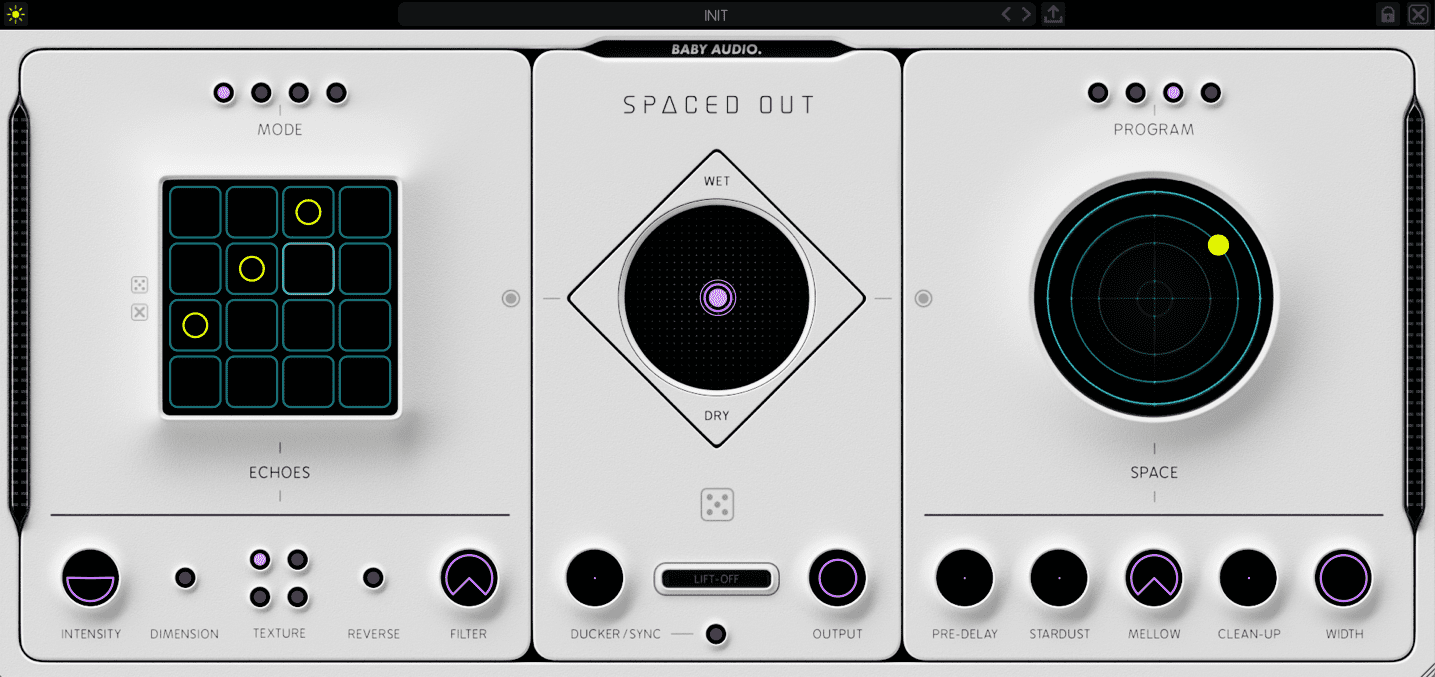
Let’s look at the delay section, also known as the Echoes engine, first. The grid is a 16-step sequencer that allows you to program where the delays will land. Delays can be either full strength, half strength, or off. The Mode control at the top determines the timing, with Straight, 2X, Dotted, and Triplet selections.
Below the grid are a number of controls for fine-tuning the delay. To the left is Intensity. It’s actually a dual control, covering both Sustain (how loud in volume the later steps are compared to the earlier ones) and Feedback. Next is Dimension, which adds stereo width. There’s also Texture, an array of four buttons for adding colour to the effect. You can reverse the delay and filter both lows and highs.
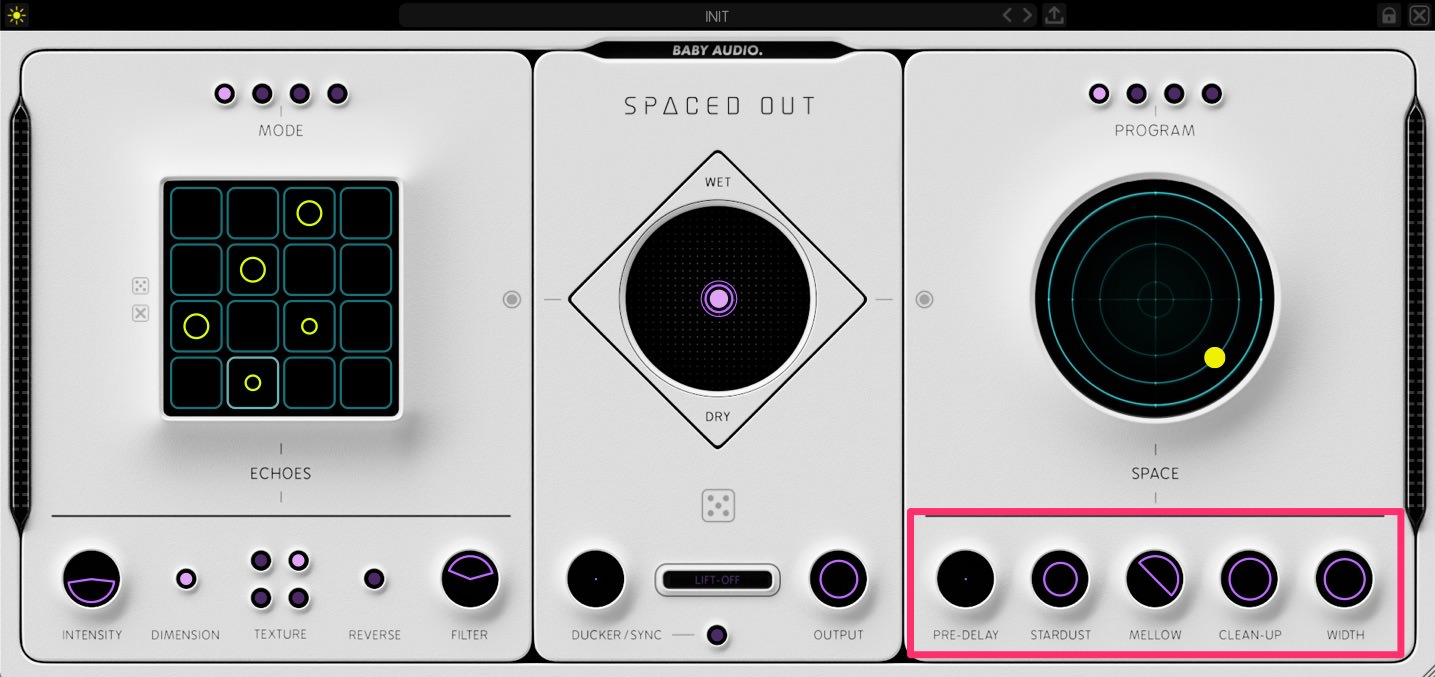
On the far right is the Space engine, which handles reverb. It’s dominated by an old-fashioned submarine RADAR-like scope, which allows you to choose between four reverb/modulation algorithms and set modulation intensity plus reverb length. The Program buttons at the top select reverb type, from ambience-like short bursts to cosmic explosions.
Across the bottom, there are a number of additional controls. First is the Pre-Delay, useful for vocals or drums. Next is Stardust, which adds highs to the reverb. Mellow is a high- and lowpass filter, while Clean-Up decreases reverb density for a cleaner sound. Finally, Width switches between mono and stereo.
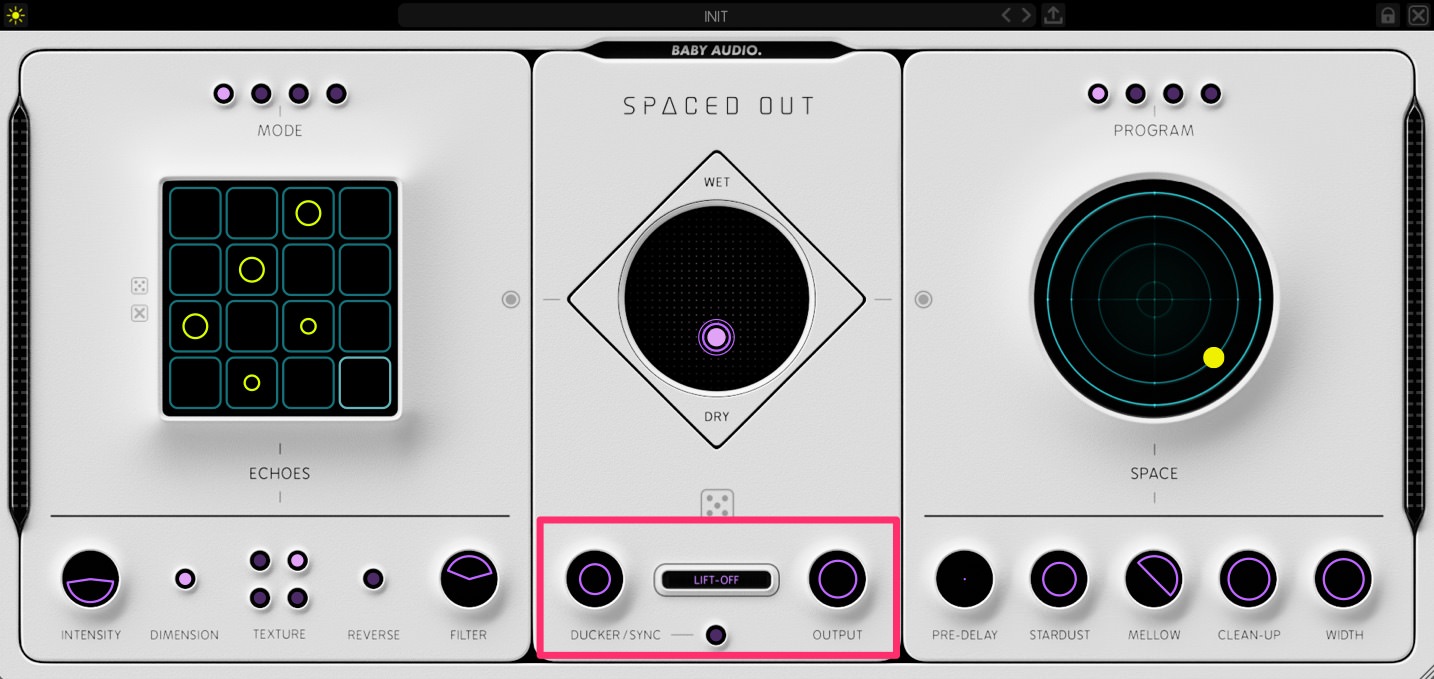
In the centre is the Mixer, with an X-Y joystick control to mix between delay and reverb as well as wet and dry. At the bottom, the Ducker uses the original signal to sidechain the effect, preventing wash out. Clicking the Sync button locks the sidechain to a one-fourth beat. In the middle, the Lift-Off button engages a multi-effect to glue the signal together. And finally, the Output controls volume.
Step 1
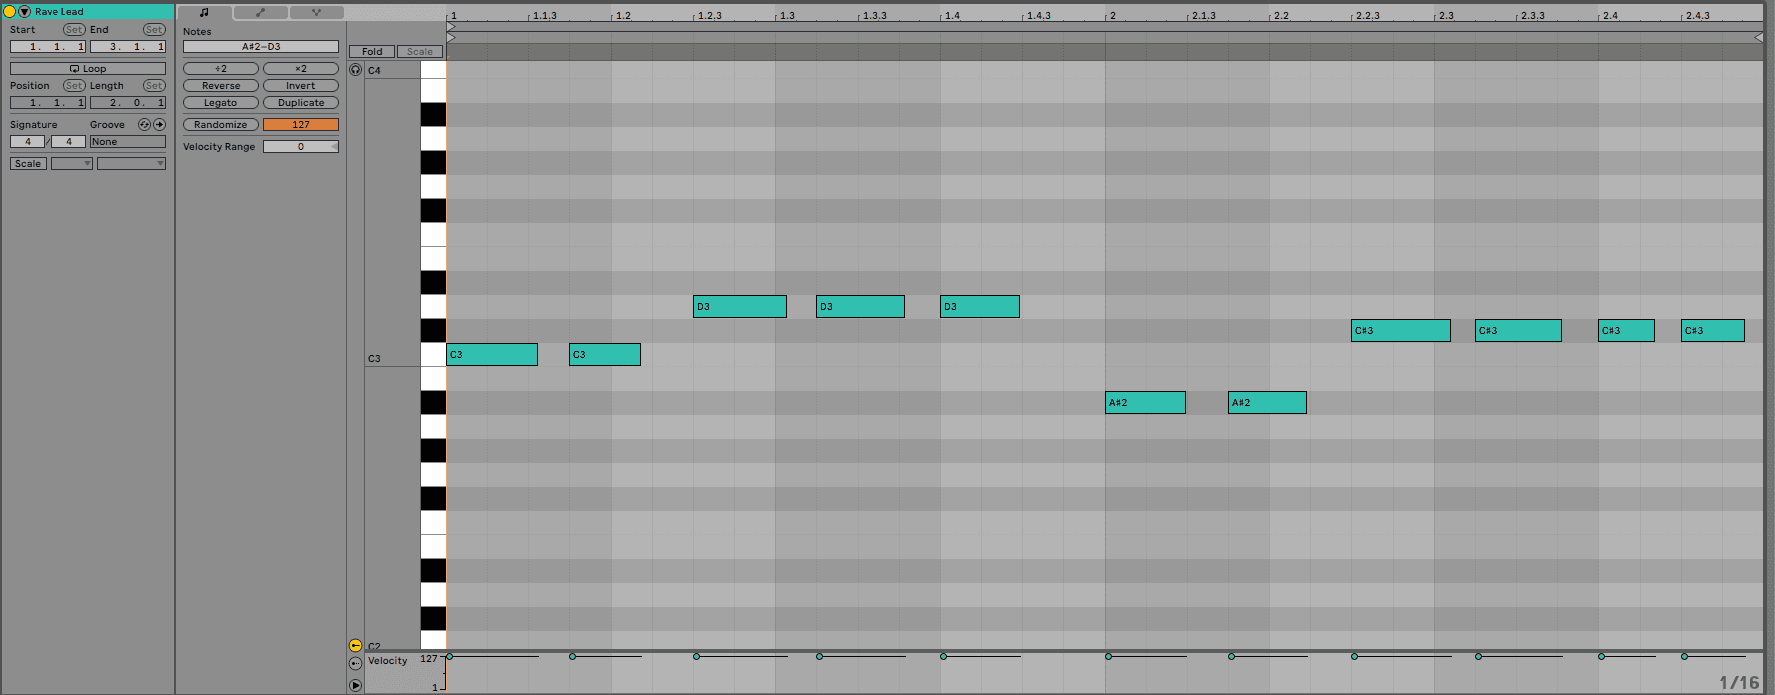
We start with a simple melody line programmed in Ableton Live. We’re using the Rave Lead patch, which is built from the Wavetable synth. We also have an instance of EQ Eight after to clean up the lows.
As you can see from the image below, the notes are quantized straight to the beat, and there’s no variation in velocity either. We’re after an old-school hardcore vibe, and this is in keeping with the genre, but we would like to give it some rhythmic variety.

Step 2
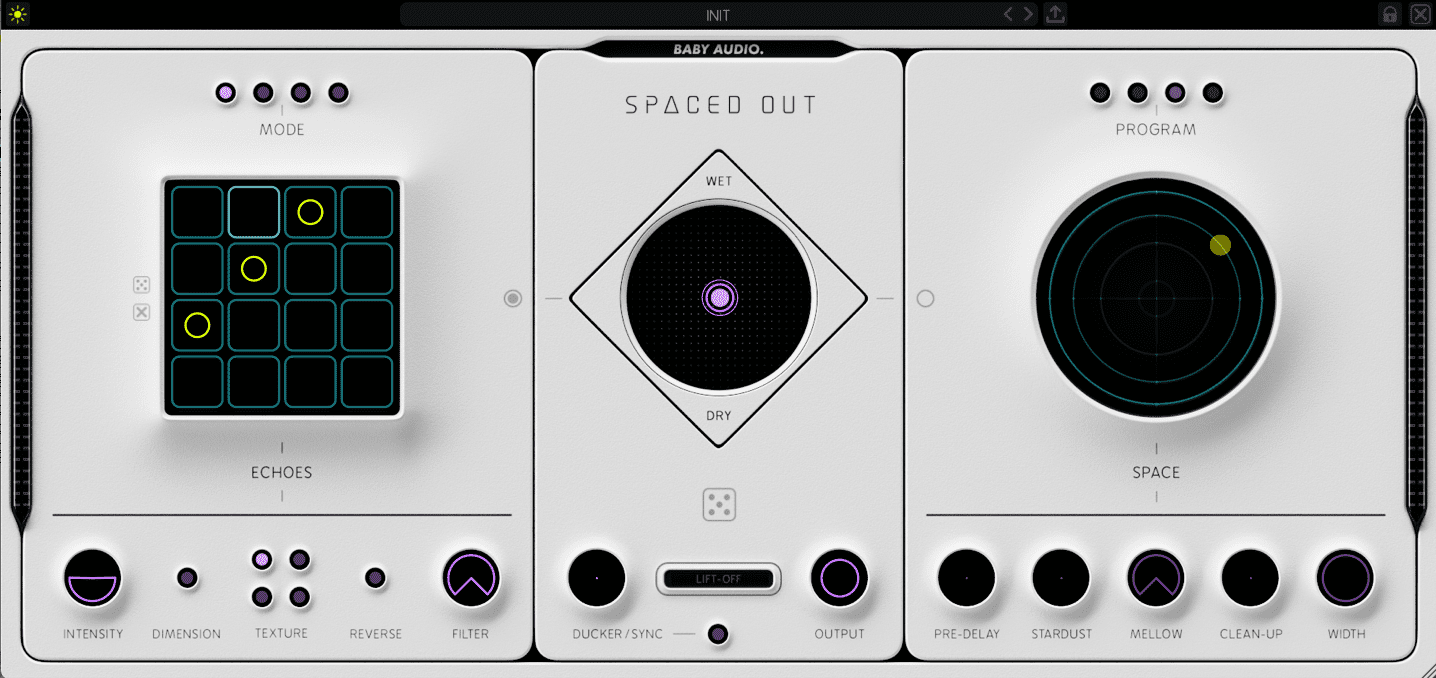
Next, we add a copy of Baby Audio Spaced Out to the channel and make sure it’s in an initialized state. We want to work on the delay first, so we bypass the reverb section by pressing the small button on the middle left of the Space box.
Over in the Echoes section, we already have a nice delay set up, with triggers on every third sixteenth-note. Here’s how it sounds so far.
Step 3
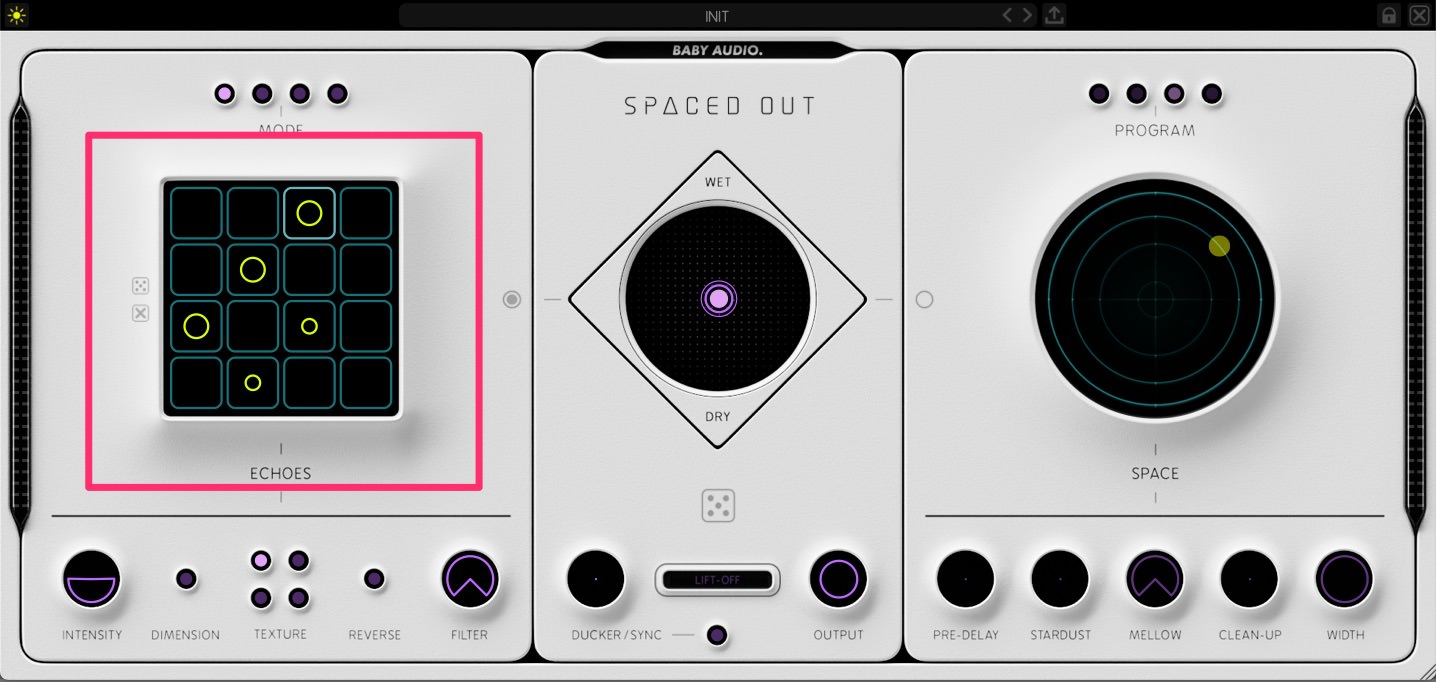
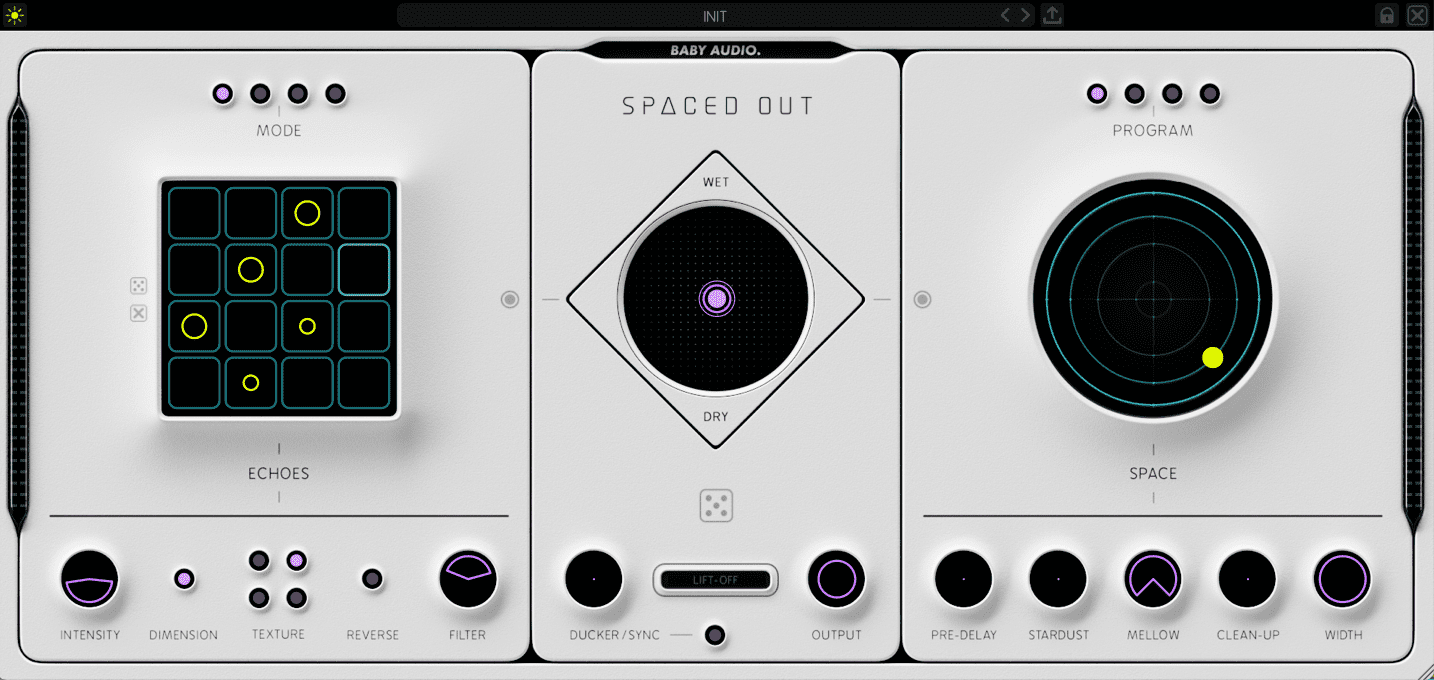
That’s a cool delay but it’s nothing to post on Instagram yet. Let’s add some variation to the delay’s rhythm. We can add extra delay taps by clicking on the squares. Clicking twice will create a quieter tap, and we do this in squares 11 and 14. This breaks up the straight rhythmic pattern and gives it some interest.
Step 4
Let’s concentrate on those buttons on the bottom next. We lower the Feedback and Sustain in the Intensity section a little bit. We’re not trying to create Lee ‘Scratch’ Perry dub echoes, after all. Next, we hit that Dimension button to widen the effect and choose the Wonky Tape option in the Texture array. This will both darken the delays and give them some unpredictability. Finally, we use the Filter to concentrate the effects in the mids, imitating lo-fi hardware.
Step 5
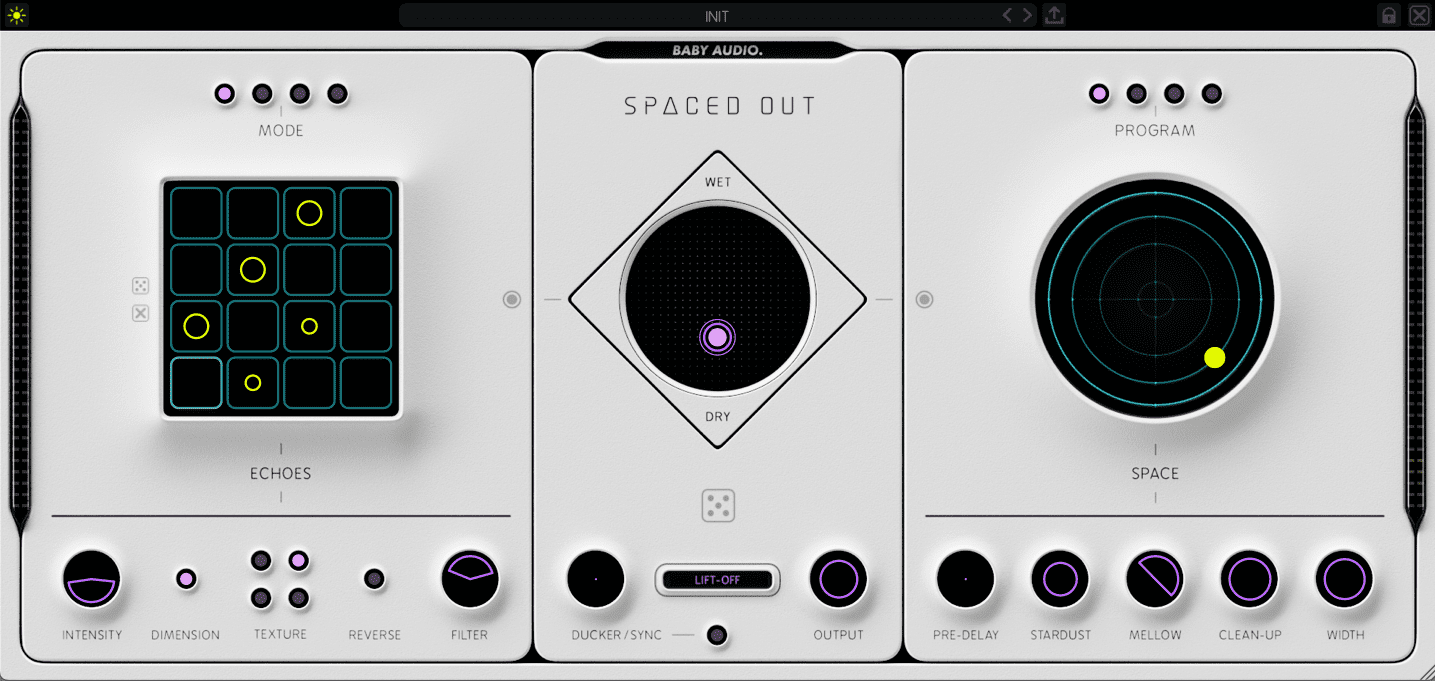
It’s time to wake up the reverb. We unclick the bypass button and choose the Vacuum preset from the Program section at the top. This will add some space to the delay without overwhelming it. As for which modulation type to use, we like Trippy, which adds a phaser to the reverb. We drag the ball to the lower right and give it a Length of 55% with a similar percentage for the modulation setting.
Step 6
Let’s set the controls along the bottom next. We don’t need any pre-delay as we’re going to use the ducking effect in the mixer section. We like the shimmery boost Stardust gives to the highs, so we bring that up to about 70. On Mellow, we bring up the lowpass to around 200Hz to cut out any low mud. We also use the Clean-Up control to make sure the signal is nice and tidy. Finally, we increase Width to around 85 to create a stereo reverb halo around the chords.
Step 7
It’s sounding good but it’s a bit uncontrolled. Let’s use the parameters in the Mixer section to rein things in. First, we use the X-Y joystick control to create a nice balance between wet and dry and the two effects. We’ve gone for a 50/50 split between delay and reverb, with the effect at 25% and dry signal at 75%. We also hit the Lift-Off button to glue the effects together.
Step 8
It’s time to duck the effect and let the main signal come to the front. We bring up the Ducking amount to around 70. Now we get the benefit of the rhythmic delays without losing any of the punch of the chords.
Step 9
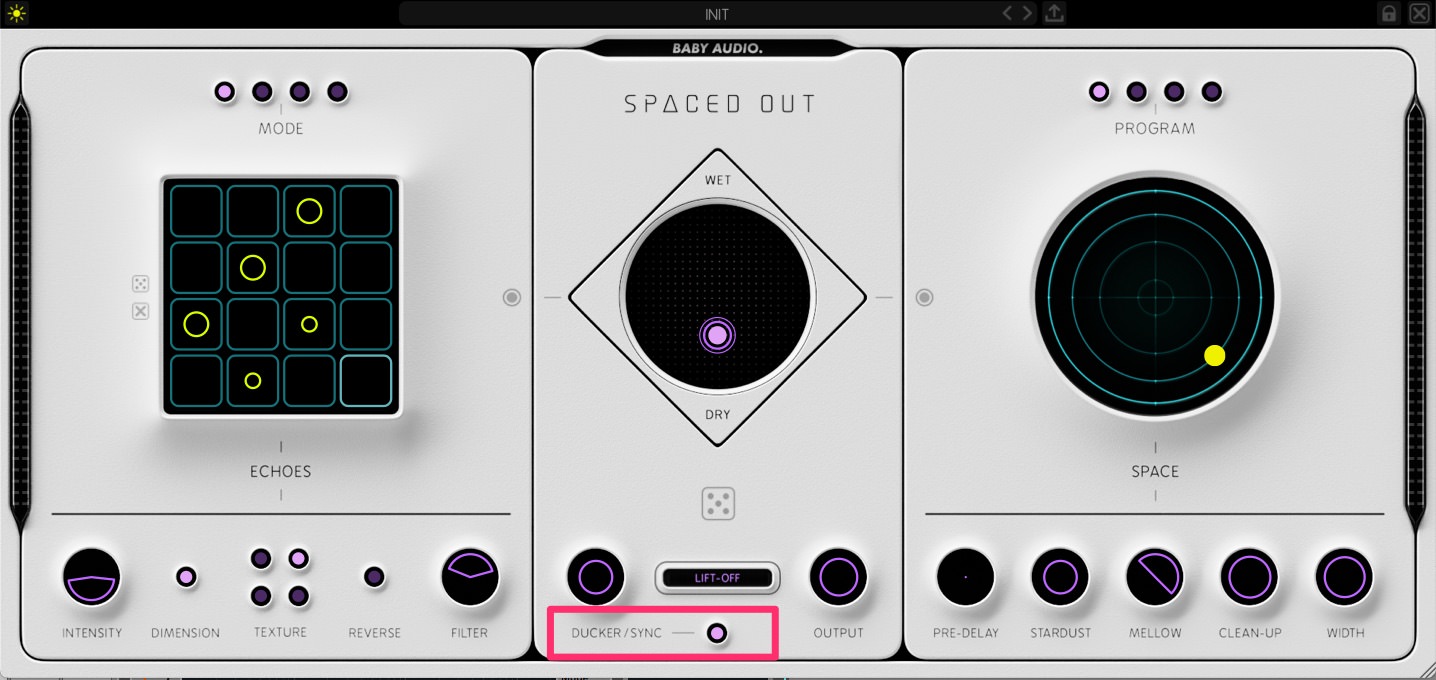
Hold up, though. We’re really into the gate-like effect we get when we engage the Sync button. But the unsynced mode sounds sweet too. Let’s use automation to change between the two modes.
We open the automation lane for the Rave Lead channel. After selecting Ducker Sync from the dropdown menu, we draw in automation so the Sync button turns off at the start of the final bar. Now we get the benefit of both effects plus a nice change in the section.

Here’s the finished chord stab line in the context of a track. This track features the samples ‘osr_drum_break_loop_pong_128.wav’, ‘osr_drum_loop_chich_kick_128.wav’ and ‘osr_bass_loop_slam_145_D#.wav’ from the Splice pack, White Label – Old Skool Rave. There’s some additional light saturation and compression on the master bus.
This content is supported by Baby Audio. If you want to read more about content funding on Attack Magazine and how we can continue to provide content to you for free, visit our content funding page for a breakdown of our editorial policy.