In just a few steps, we show you how to create a booming techno kick with plenty of sidechain reverb.
If you’re serious about making techno, then you’ll need a good understanding of how to make a serious kick drum. The low frequencies are one of the most integral and important parts of techno production and it’s typical for producers to layer several samples to achieve the right sound and feeling.
However, many producers get even more creative than that and one of the most popular techniques is to apply reverb. Whilst many people sniff at the idea of reverb on the kick, or low-end frequencies in general if applied in the right way it will turn your track into a whole new beast.
In this tutorial we’ll show you how to create a techno kick, using several layers as well as sidechained reverb to give it a unique character. Whilst we have used Ableton, you can use any DAW, any compressor, EQ or reverb. Just follow through our steps as closely as possible to achieve the same results. You can download the same samples we used here:
Techno Kick With Reverb Samples
Step 1
We’ve selected three different samples to combine for our kick drum.
High kick

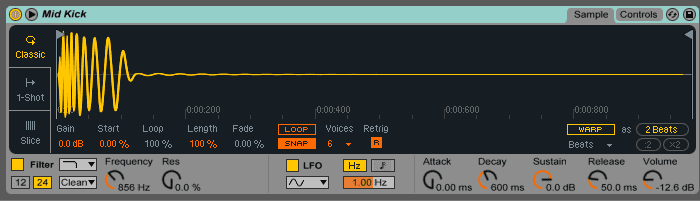
Mid kick
Low kick
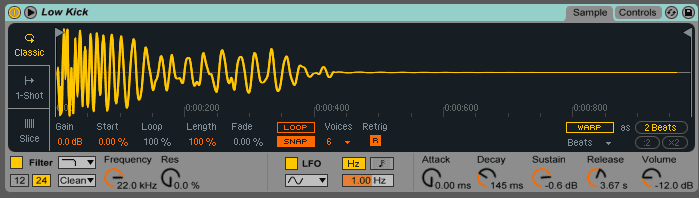
It’s important to amend the frequency balance early on so we used the filter to gently remove unwanted frequencies. Getting the balance right early on makes it easier when shaping the final sound.
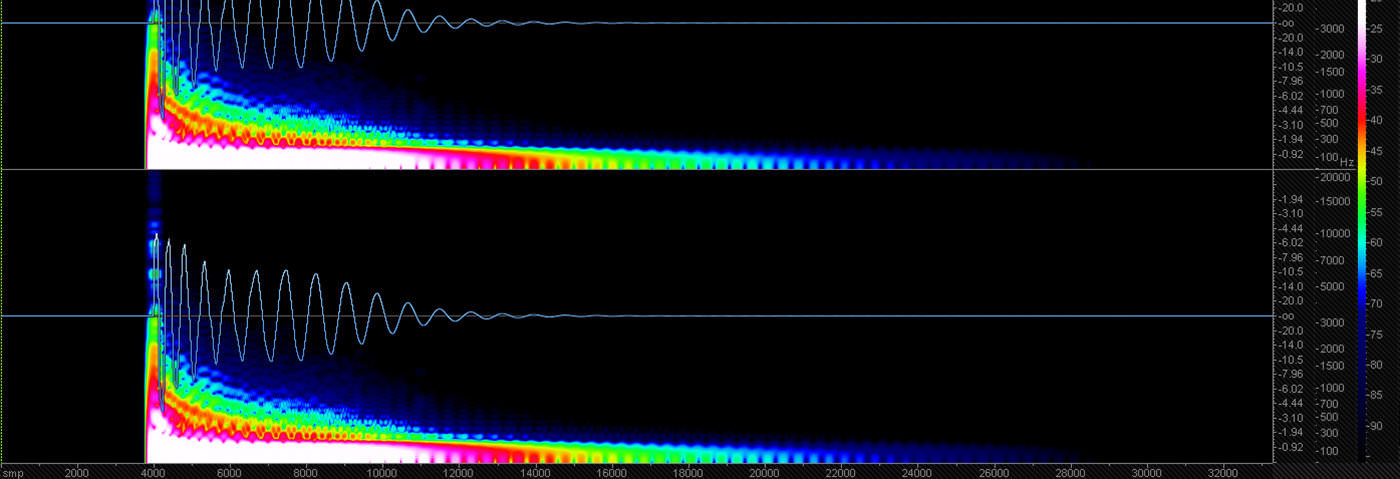
Combined they should sound like this:
Step 2
The next step is to use some EQ to sculpt the sounds. We’re trying to remove any harshness, mud or resonances that we don’t want.
High kick
Mid kick
Low kick
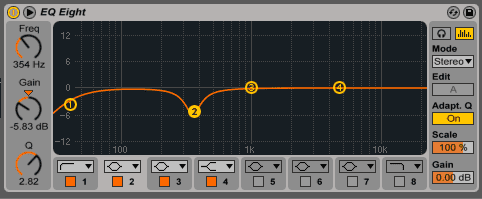
The differences are subtle but are essential for our final sound.
After applying EQ to all three layers, the overall combination now sounds like:
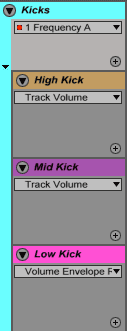
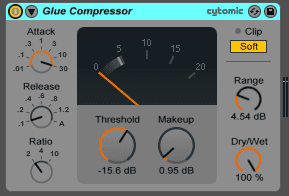
Step 3
Let’s now group the kicks together so we can process them as one:
Firstly, let’s tigthen the dynamics. Load an instance of the Glue Compressor. We apply subtle compression with about -5dB of gain reduction. You’ll notice an increase in the ‘click’ sound in the kick drum. This is partly due to the character of the compressor which accentuates the high-mid frequencies of audio signals passing through it.
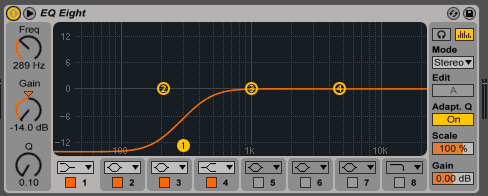
Step 4
Now we have compressed the whole sound we need to re-shape the frequencies.
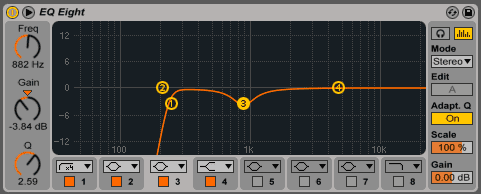
Load up an instance of Ableton’s native EQ Eight.
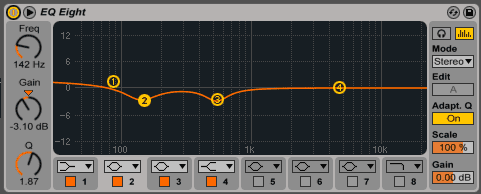
We’ve reduced the lows around 120Hz and some low mids around 800Hz which were too ‘muddy’ for our overall sound. By reducing in this range, it allows the other frequencies of the kick to breathe,
We have also boosted the lowest frequencies with a low shelf boost around 80Hz to help develop the sub and introduce more low punch of the kick.
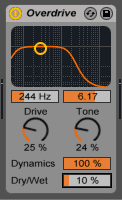
Step 5
Overdrive! And why not!
It’s important to experiment as much as possible and overdrive often can introduce a whole new energy and texture to your sound.
One of the great things about adding distortion to drums is not just the tonal character added, but also the way it softens the transients, whilst simultaneously adding volume. Essentially what happens is the metered volume comes down as is cuts the transient, but the perceived or audible volume comes up. A win-win for all those who are proponents of mixing music as loud as possible.
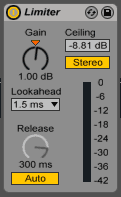
Step 6
Taking the volume up a further gear, we’re going to apply a limiter to the kick.
The limiter clips the top of the transient off but make sure you play around with the release as too little or too much could end up making it sound messy or thin.
It’s often the case that setting the release to Auto can offer the best results.
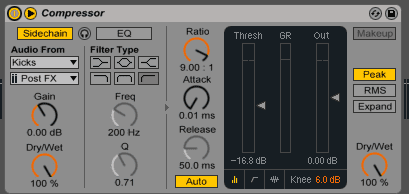
Step 7
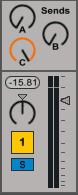
Time to introduce the reverb.
Start by sending your kick to an empty available bus. We’ve used Bus C for this. Dial it in all the way.
On the bus we went straight in and applied the Ableton reverb with a Dark Hall setting.

The preset was edited to the desired pre-delay and decay time that we felt worked for our kick. You can use any reverb you like for this.
Next up is a bit of sidechain compression. The compressor is routed so that it is triggered by the kick drum group. This gives the reverb the classic pumping effect and some allows for more space in the mix.
To take these techniques further try experimenting with different distortions and saturation plugins on the kick and other reverb plugins. You can even try flanger, chorus or more colourful plugins to add a unique character to your kick drum. Often the stock plugins available in our DAW are more powerful than you might realise.
So finally let’s see what the master sounds like.
We started with this:
And now it sounds like this:
If you enjoyed this tutorial you might find our book ‘The Secrets of Dance Music Production’ a helpful resource for similar tutorials. For more information click here.