This channel is sponsored by
 Roland Cloud is your creative hub for Roland hardware and software. Access legendary recreations of Roland Classics, find new sounds for your favorite products, and download updates and companion apps to make music fast and easy. Visit Roland Cloud
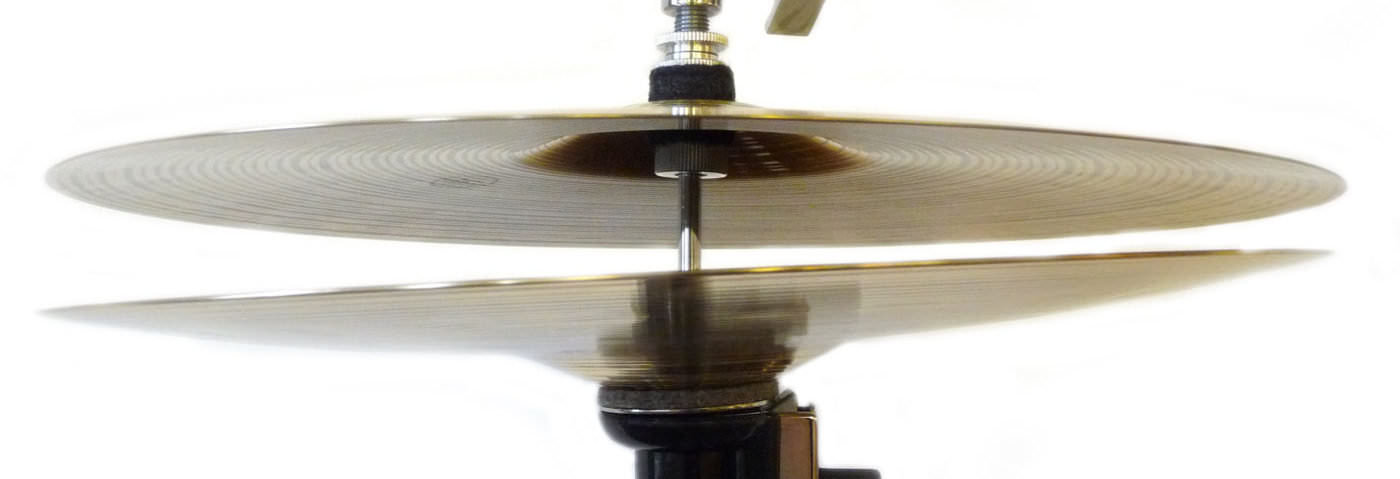
Looking to add a bit of energy into your hi-hats? Instead of using a sample to program the hats, why not use a synthesiser? In this tutorial, we take you through how to do just that.
Samples, samples, samples. Our endless libraries can give us anxiety sometimes due to how deep they go and lord knows last time we decided to organise them. As creatures of habit we tend to go to the same sample packs for the same thing and as much as this becomes part of our sound it can get a little repetitive. It’s important to inspire ourselves by finding and using new techniques to essentially get the same results.
Synths are generally associated with bass, lead or pad sounds, but it is not to often that we think of using a synthesiser as a drum machine (even though that is what drum machines are!) When using a synth to make drum sounds not only can we end up with something a little more unique but we are given control over parameters that we just wouldn’t have with a sample.
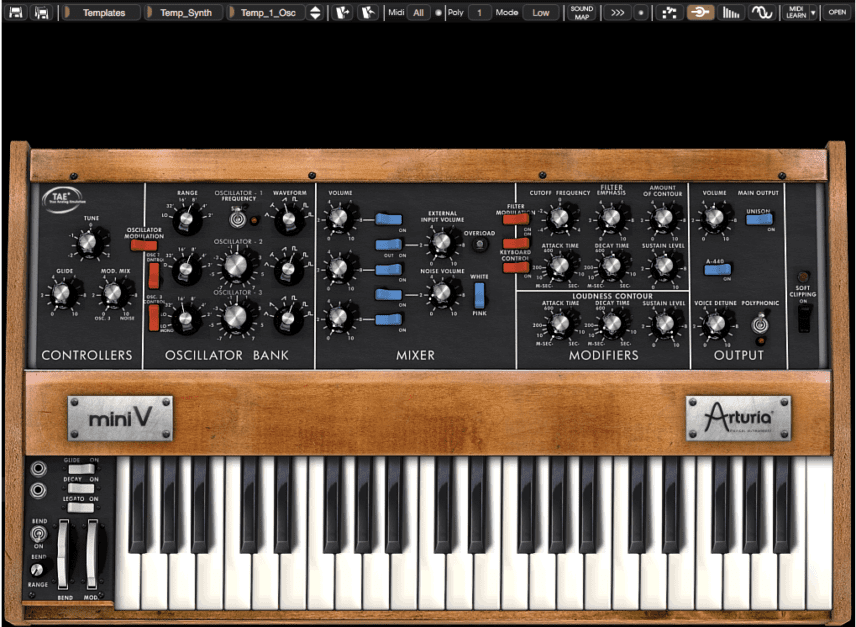
Today we’re going to be showing you how to use the Arturia Mini V to create some incredibly unique hats that will add energy and individuality to your tracks. Here we have a pretty basic house track with a funky bassline what seems to be rolling nicely, but lacks that “pick me up” percussive rhythm that it desires.
Let’s load up the Mini V and use the Temp_1_Osc preset to get a fairly simple starting point.
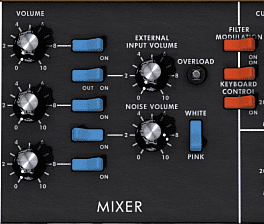
Start by switching off Oscillator 1 and increasing the Noise Volume. You will have a choice between White and Pink noise. Pink noise has a darker tone which we find is not as suitable for making hats although you may find it works perfectly in your track! If you haven’t loaded the template, please make sure that all oscillators are off otherwise we will be generating pitch which we want to avoid.
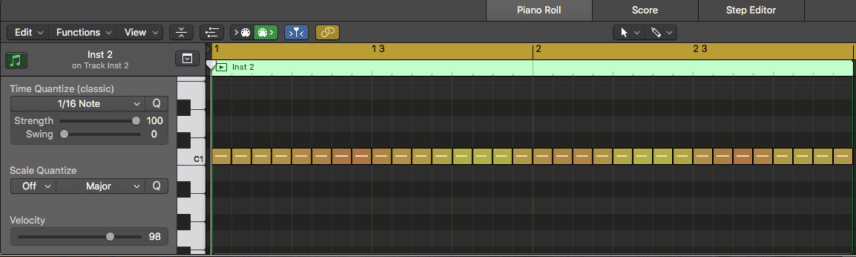
We’re going to jump straight into adding some MIDI as this will make the next step easier. In order to add energy to the rhythm, we feel that adding some 16ths should do the job. A little fluctuation in velocity will give it a nice natural feel and ensure that it doesn’t sound too static. It doesn’t matter which note you choose as they will all be the same sound with the Noise Oscillator selected!
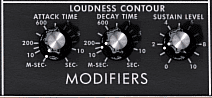
Let us go back to the Mini V synth and start taking a look at the filter and envelope section. In order to get tight and short hats, we will need to edit the LOUDNESS CONTOUR, specifically the Decay and Sustain. Try pulling these right down and then adding slowing until you find you can hear the desired effect.
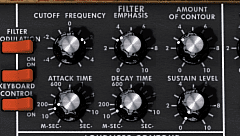
Next, its time to edit the FILTER section. They have named the parameters differently than usual here so just to help you out, EMPHASIS is resonance and AMOUNT OF CONTOUR is envelope generator. We’re going to add some Emphasis to thin out the sound a little and dial in the Cutoff until happy.
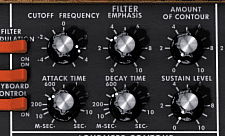
Using the Contour and the Attack, Decay and Sustain dials in this section we should be able to get a little cutoff modulation adding further movement to the sound. Guaranteed, these are minimal changes but production is all about the small details.
Let us start getting a little wacky with the Mini V’s modulation matrix. Press open in the top right-hand corner to see what’s hiding beneath this simple beast.
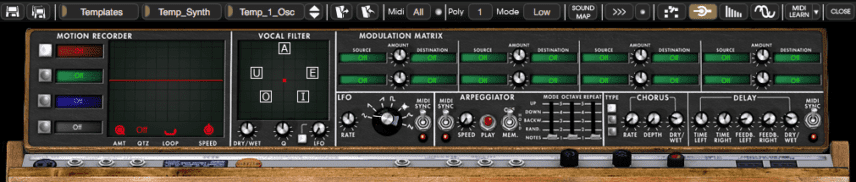
The Vocal Filter is where the true weirdness lies in this synth… It is indeed a very unique modulation unit that can add some wild artefacts to the sound you are sending through it and it is going to be the next tool to help take our hats to a new sonic dimension. It’s actually fairly simple to use despite the odd interface. Start by clicking and holding in the middle of the vocal filters interface and dragging up or down; you will notice a thin red circle expanding. Press play so that you can hear what effect it is having on your hats.
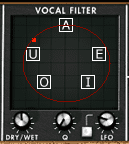
The fun really begins when you turn the LFO on. This is going to make the small red dot on the circle move clockwise through the different vowels. The small grey square will turn it on and the dial will increase the speed. Use the DRY/WET to dictate how much of the effect you want and the Q to hone in on a more resonant Q.

The hats gain a somewhat more percussive sound when processed this way and it’s not to everyone’s liking but we did say we were going for something unique. The sound reminds us of hats that would come from a modular rig.
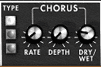
Towards the right, you’ll find the Chorus. We are going to apply some of this to increase the chaos and add some stereo width.
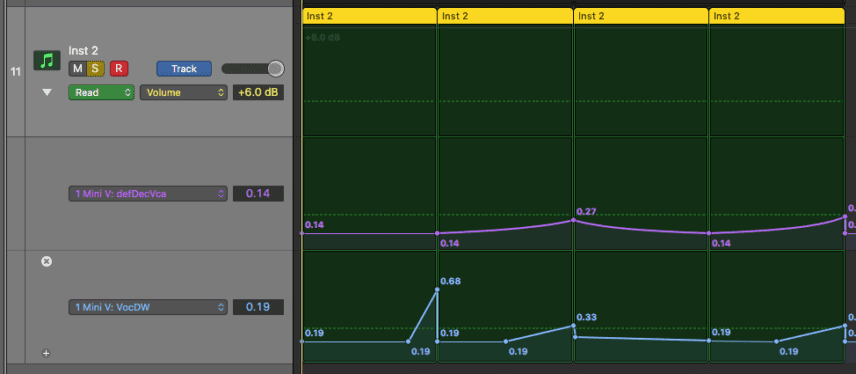
The trick is now to modulate the Decay in the LOUDNESS COUNTOUR section and the DRY/WET in the vocal filter. Together they can create chaos and harmony, but more importantly movement within the hats themselves that would be otherwise impossible to do with a sample. Here is how we have decided to automate the two.
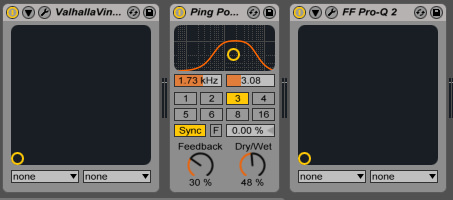
We have also added an EQ with a low cut and some side chain just to help it pump a little. The low cut seemed necessary as the Vocal Filter was adding some unwanted low frequencies. Here is the track with the new hats helping it move and groove. Happy hat synthesising!
If you enjoyed this Beat Dissected you might find our book ‘The Secrets of Dance Music Production’ a helpful resource for similar tutorials.
Tutorials is sponsored by
Roland Cloud is your creative hub for Roland hardware and software. Access legendary recreations of Roland Classics, find new sounds for your favorite products, and download updates and companion apps to make music fast and easy.