u-he are makers of award-winning software synthesisers and effects including Diva, Repro-1, Zebra2, Hive, Bazille, Presswerk and Satin.
Visit U-he
Technique » Synth Secrets »
How To Make A Synthwave ‘Laser Gun’ Bassline
This channel is sponsored by

In this Synth Secrets, we show you how to create an analogue synthwave bassline inspired by Trans-X’s synth-pop classic, ‘Living On Video’.
‘Living On Video’ by Canadian synth-pop band Trans-X is a standout in a decade of pretty incredible songs. It’s got dispassionate female vocals, a wicked vocoder, and of course that unstoppable bassline, which switches up from beefy to laser gun blast in the break after the chorus. Check it out:
By changing up the bassline with a few quick tweaks, it adds drama and surprise to the song. Trans-X used a Roland SH-101 (which can be seen in the video, worn keytar-style) for the bassline. We’re going to make a version inspired by it using the Roland Cloud SH-101 and Ableton Live.
Don’t forget you can click on any image to see a larger version. We annotated the images with pink outlines where we have tweaked the synth.
Here is the finished bassline:
Step 1
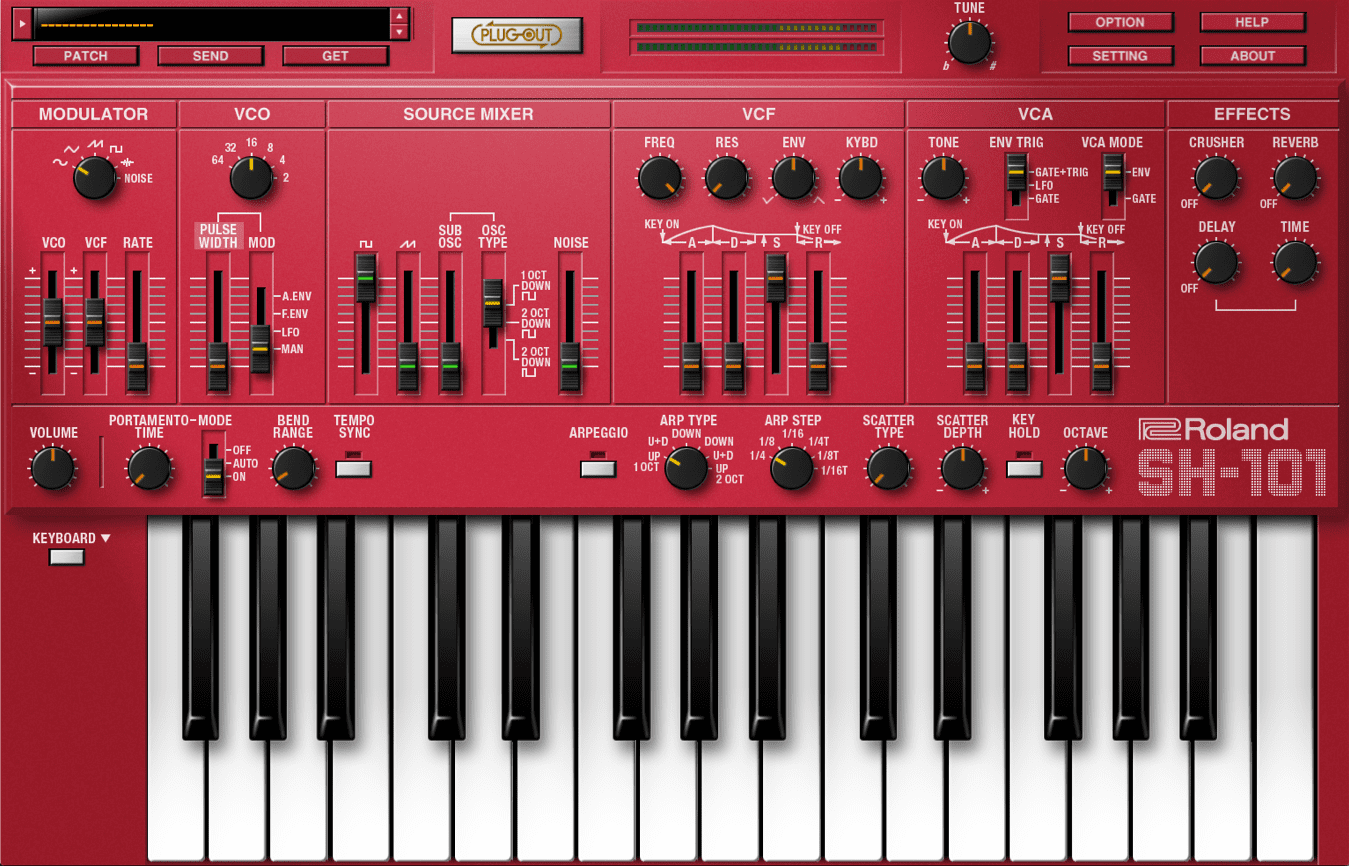
Start by loading Roland Cloud SH-101 onto the Bass MIDI track in Ableton. You don’t necessarily have to use an SH-101 emulation but it’s going to get you the closest in terms of the filter. Next, initialize the plugin by choosing an empty preset from the patch browser. This gives us a square wave with a fully open filter.
It sounds like this:
Step 2
The original song uses a sawtooth wave in its bassline, so lower the square wave slider to zero and bring up the sawtooth one to full. We could also do with some sub-oscillator so raise the Sub Osc slider to 64. Finally, change the octave setting from 16 to 32 feet. You should hear a nice, fat sawtooth bassline with a little low-end weight courtesy of the sub oscillator.
The bassline so far:

Step 3
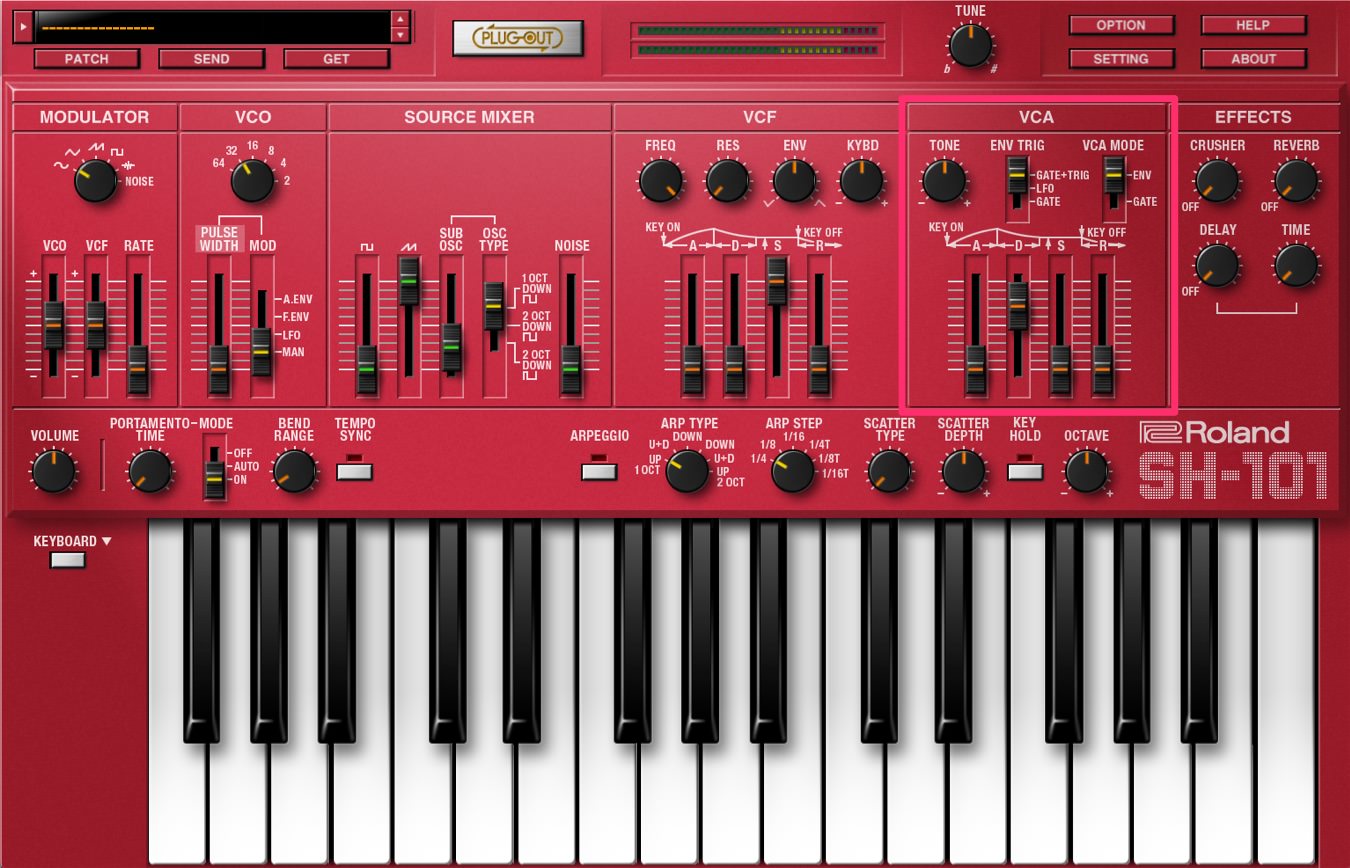
Let’s shape the VCA envelope next. We need a good bassline shape but not too short. Bring the Decay up to 184, and then lower Sustain to zero. Attack and Release can stay where they are at zero.
Top Tip: Hold down shift while you make adjustments for finer control.
There’s no real change to the shape of the bassline yet but here’s what it should sound like:
Step 4
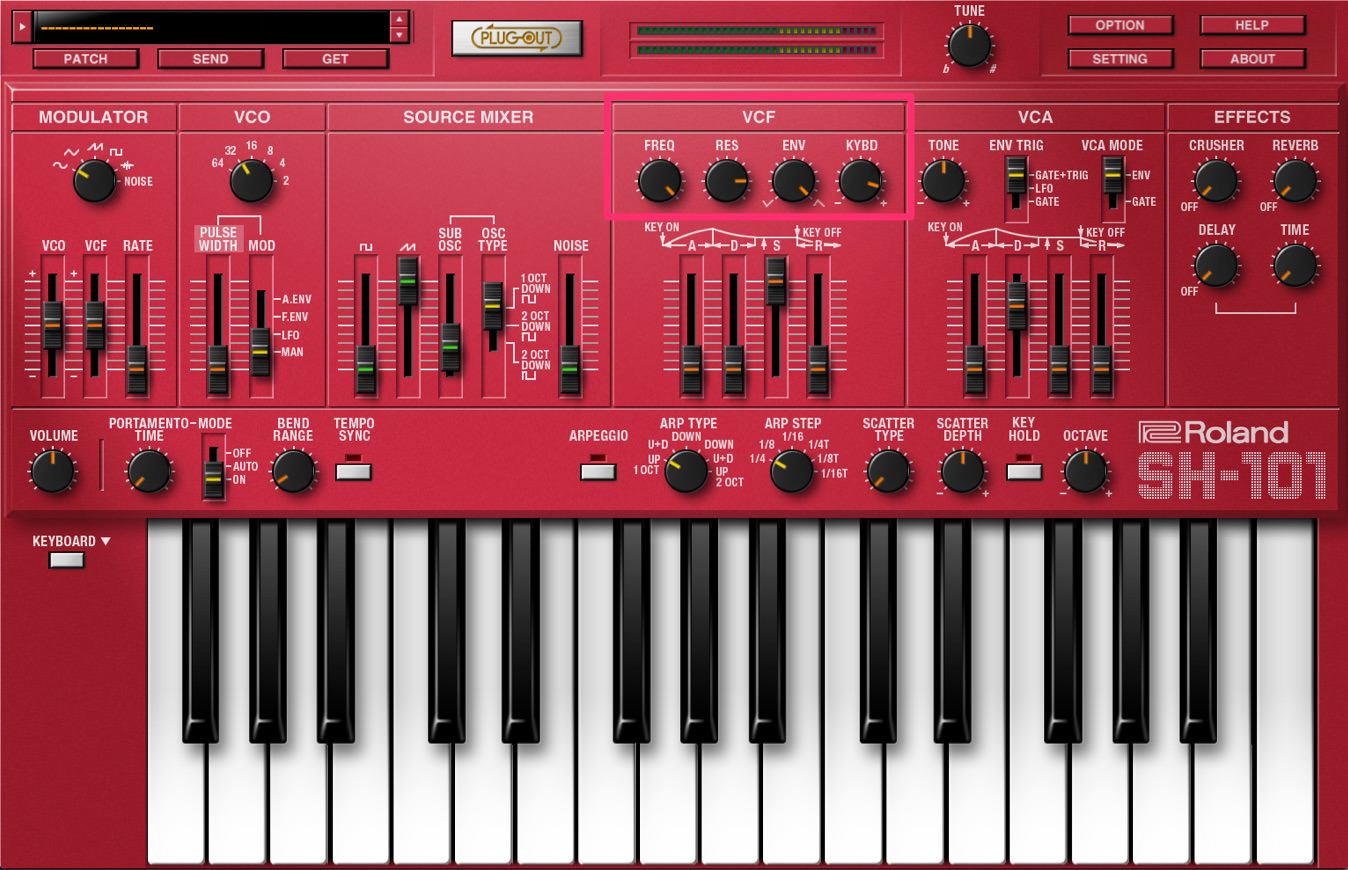
A big part of the sound of this is the filter and its settings. Let’s take care of this now. Leave the Cutoff open for now. We’ll automate that in the next step. Bring up the Resonance to 211. We want a squelchy sound without it sounding like water drops. Next, open the envelope to 126. We’ll adjust the filter envelope separately in a later setting. Finally, change the keyboard tracking (the Kybd knob) to 99.
The bass so far:
Step 5
Next, let’s create some automation so the bassline changes from a wide-open sawtooth to a laser gun halfway through the four-bar loop. Turn on automation and select SH-101 and VCF Freq. Draw in automation so that the cutoff frequency changes abruptly from fully opened to fully closed halfway through the four bars.
You should hear it change from a buzzy sawtooth to a whistle, like this:

Step 6
At last, we’re getting somewhere!
Don’t worry, as we’re not finished yet. It’s time to shape the filter response into a laser gun sound with the filter envelope. Leave Attack at zero, bring up decay to 94, lower Sustain to 94, and raise the Release to 79.
And now:

Step 7
The final piece to the synthesis puzzle is the LFO. The original bassline has a buzzy, fizzy top. We can replicate this with some careful programming with the LFO. First, turn on tempo sync. This will give us a faster LFO. Leave the LFO on sinewave and bring the LFO speed all the way up into audio rate territory. This is the buzz on the top. It’s a subtle effect though so we only need to let a little bit of modulation through. Bring up the VCF slider to 5.
The bassline with a little bit of buzz:

Step 8
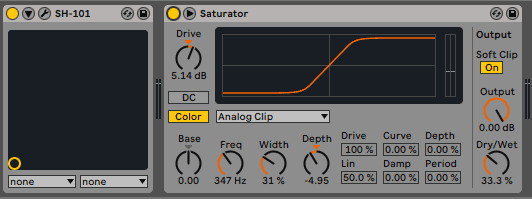
On the record, it sounds like the bassline has been recorded hot through the mixing desk. For the last step, let’s use saturation to fatten and distort the sound. Add Live’s stock Saturation plugin to the channel after the SH-101 plugin. Bring up the Drive to around 5dB. We don’t want to blow it out, just give it a little heat. Set it to Analog Clip for a warm feel and be sure to tick the Soft Clip box as well. Adjust the other settings to taste.
The finished bassline:
Here’s the bassline in the context of a track with additional compression and equalization.
While You’re Here…
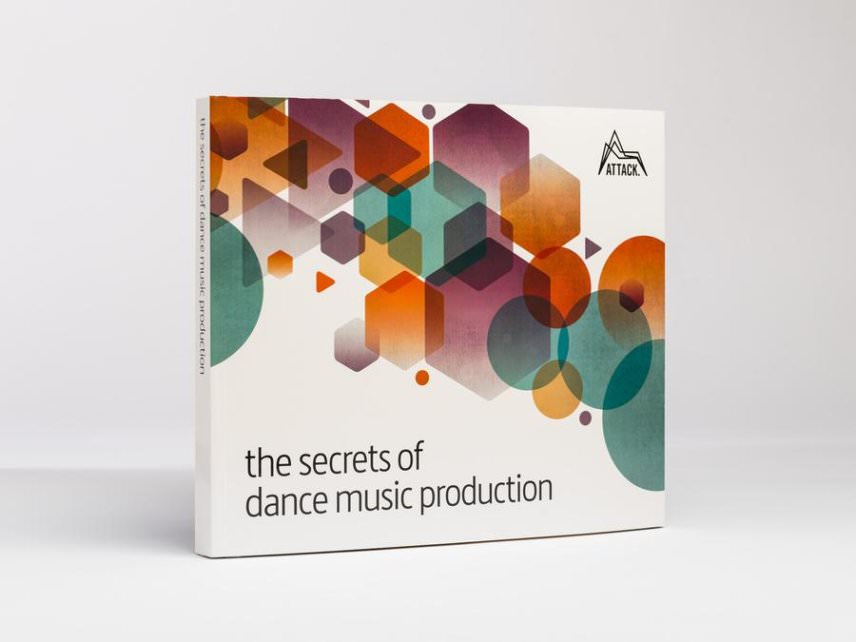
If you like this tutorial you might enjoy our book The Secrets of Dance Music Production. It is available from the Attack store!
Synth Secrets is sponsored by
u-he are makers of award-winning software synthesisers and effects including Diva, Repro-1, Zebra2, Hive, Bazille, Presswerk and Satin.
Download the demos and try them for yourself at www.u-he.com