
Dirty keys are a fairly common issue with vintage synthesizers. Luckily, giving them a good clean isn’t so hard to do – and can add years back to the appearance.
Ah, vintage synthesizers. Such lovely sound, so much work and expense to maintain. If you’re reading this, you’ve likely already embraced this aspect of the vintage synth life. There isn’t much we can do to keep them from getting old but we can save a few pennies by doing some maintenance on our own. Last time, we talked about changing out the internal battery. Today, let’s look at cleaning and replacing keys.
Keys get dirty. Perhaps your recent eBay acquisition appears to have come straight from the bottom of a flower bed. Or maybe the keys on the synths in your collection are starting to look a little grubby from prolonged use. It could even be that your little one hasn’t quite learned the distinction between drawing paper and keyboards. Whatever the cause of the grime, the good news is it’s not so hard to get those keys looking ivory-white again. This knowledge can also come in handy if you ever have to replace a chipped or cracked key.
Remember to be careful any time you open up electronic equipment. Make sure that it’s turned off and unplugged. Wearing an anti-static bracelet would not be a bad idea either. This article is for entertainment purposes only and Attack Magazine does not assume any responsibility for damage that may have been caused as a result. If you have any doubt about your abilities, consult a proper technician.
Polish Those Pearly Whites
Let’s start with the least labour-intensive step: cleaning keys from the outside. Dirt and oil from hands can build up over time, so it’s a good idea to give your keys a good clean every once in a while. We recommend a soft microfibre cloth and warm water. That should be enough to wipe away any accumulated grime. Add a little dish soap to the water if it’s especially dirty. Rubbing alcohol (Isopropyl alcohol or ethanol) works on more stubborn stains and marks. Dip a cotton swab in the alcohol and rub it over the stain. Be careful about using alcohol on other parts of the synth though, as it can take off the paint and colour along with the dirt.
Dirty On The Inside
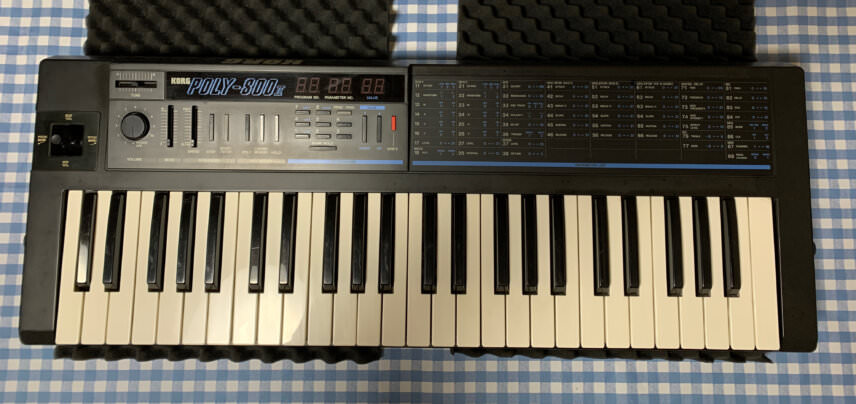
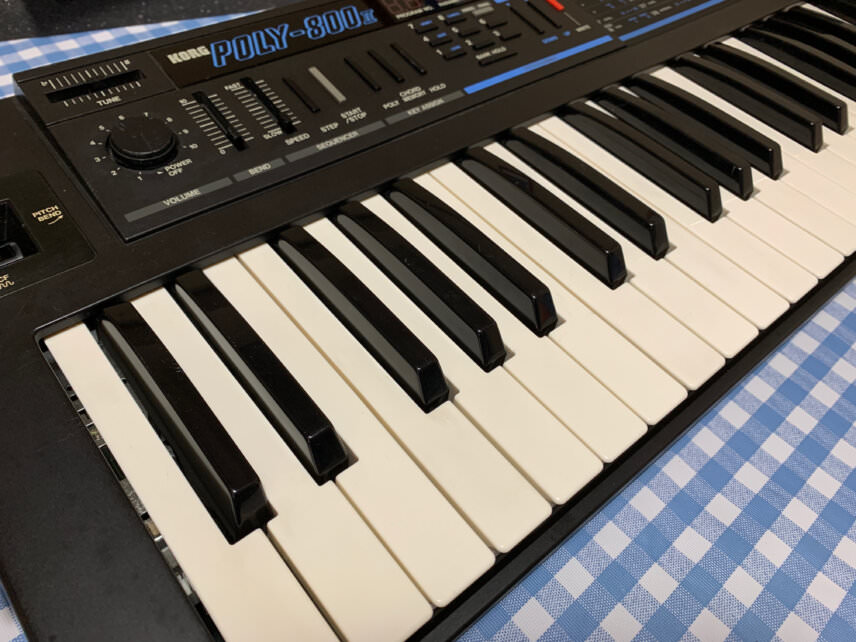
Sometimes a cursory surface wipe won’t do it though. Perhaps you can see dirt between the keys, underneath, all around. This is a common issue for machines that were stored for long periods of time in less-than-ideal locations, like basements, tool sheds, or possibly even the bottom of a dry well, as the Korg Poly-800 II we recently acquired seemed to have been. In cases like these, there’s no choice but to get that keybed out and clean each key individually. It may seem like a pain but giving all the keys a good washing can really spruce up a synth’s appearance. You also won’t feel like you need to take a shower after every play either.
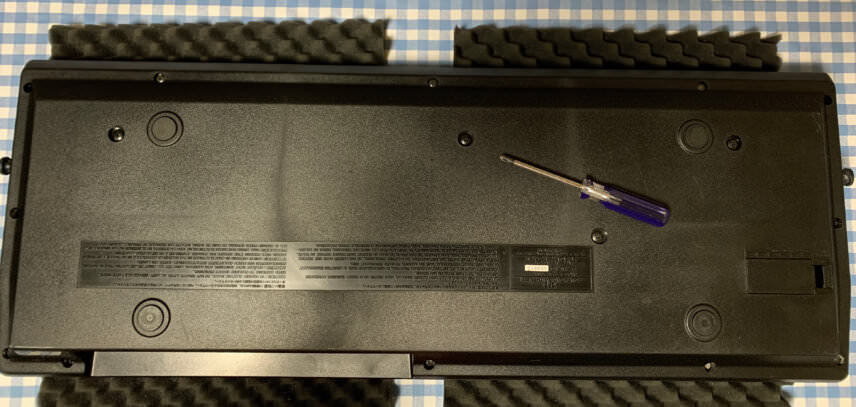
Most every synth is different in terms of its keybed and method of disassembly so it might not be a bad idea to try and find a service manual online before pulling things apart. No matter what though, make sure it’s turned off and unplugged before reaching for your screwdriver. You may also want to put down some foam padding to lay your synth on to prevent scratching your baby. Lastly, take lots of pictures as you go. You may think you’ll remember how it went together but we can almost guarantee that you won’t. Not that we’re speaking from experience or anything.
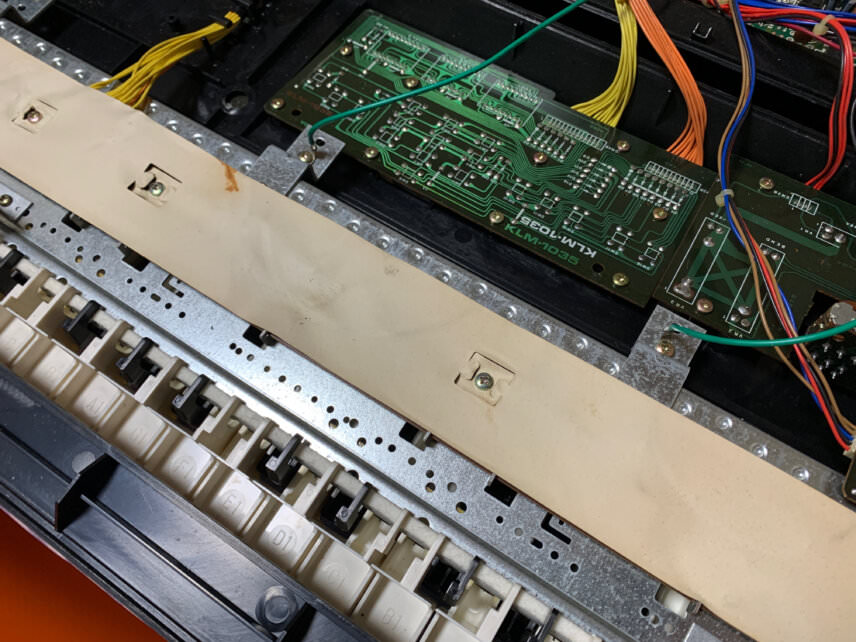
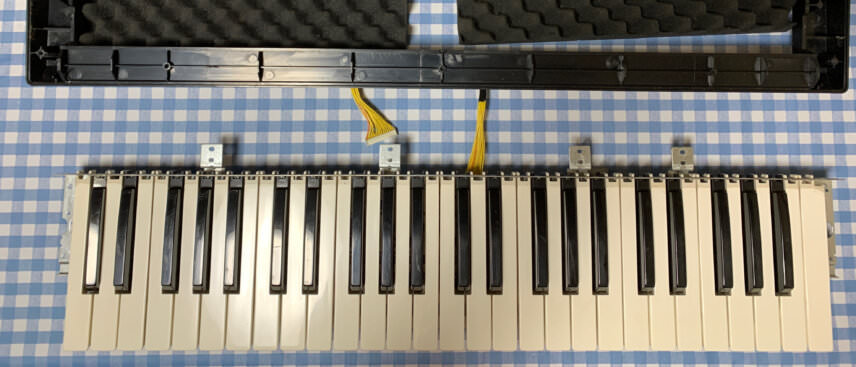
You’ll very likely need to pull the whole keybed out to get at the keys. First, remove the screws on the underside of the synth and open it up. There will likely be screws holding the keybed to the base of the housing and possibly to the sides as well. You may want to group the screws together or arrange them in some way to help you remember which ones go where. There are likely to be a number of different shapes and lengths. A good rule of thumb though is painted screws on the outside, metal ones on the inside.
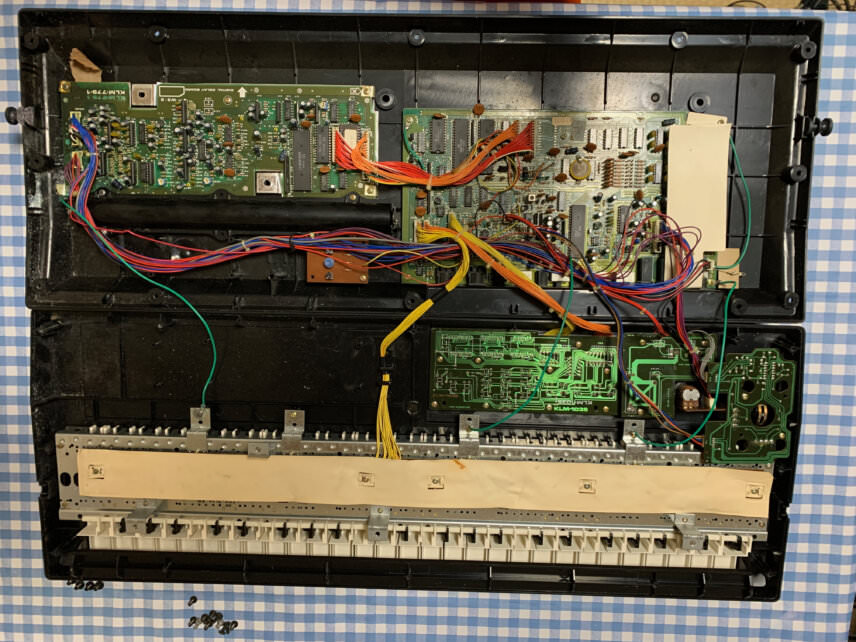
The keybed will be attached to a PCB via a bundle of wires or a ribbon cable. It’s best to disconnect this from the PCB before working. If it’s a thin plastic ribbon cable, be extra careful to not kink it. These are notoriously weak. Also if your synth has aftertouch, you’ll need to be aware of the aftertouch strip as well (usually somewhere under the keys). If you can avoid touching this, it’s best to stay away, as these can be temperamental. Remember, we’re only cleaning the keys, not taking the whole assembly apart.
Cleaning The Keys
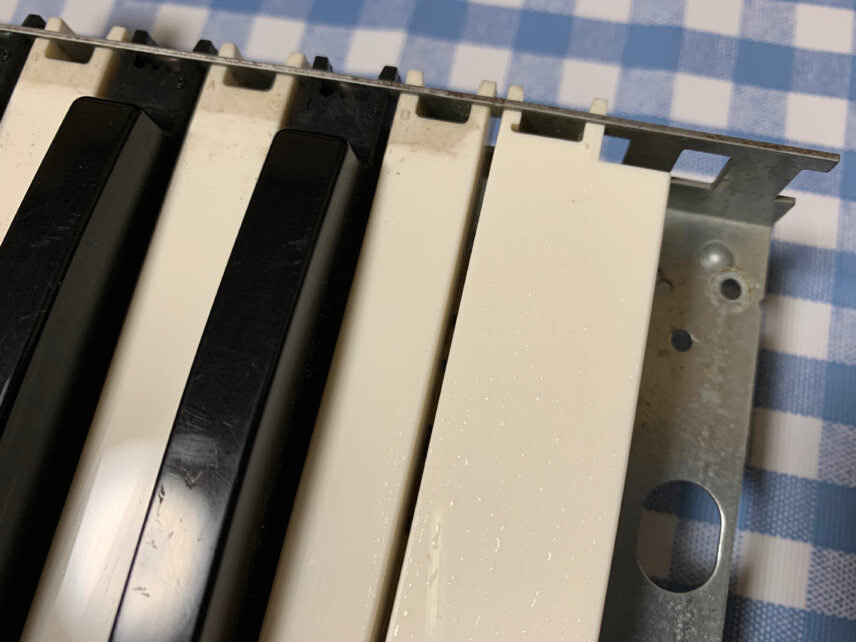
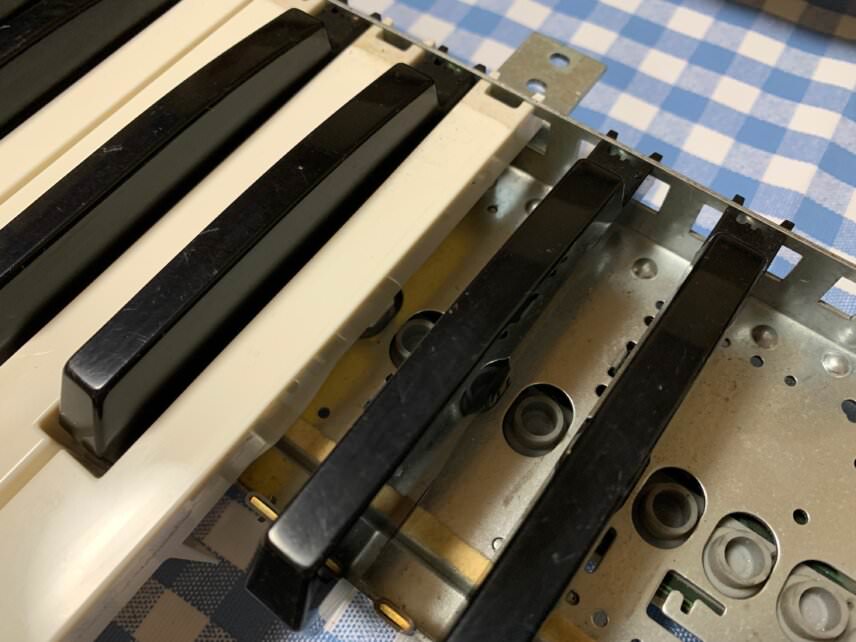
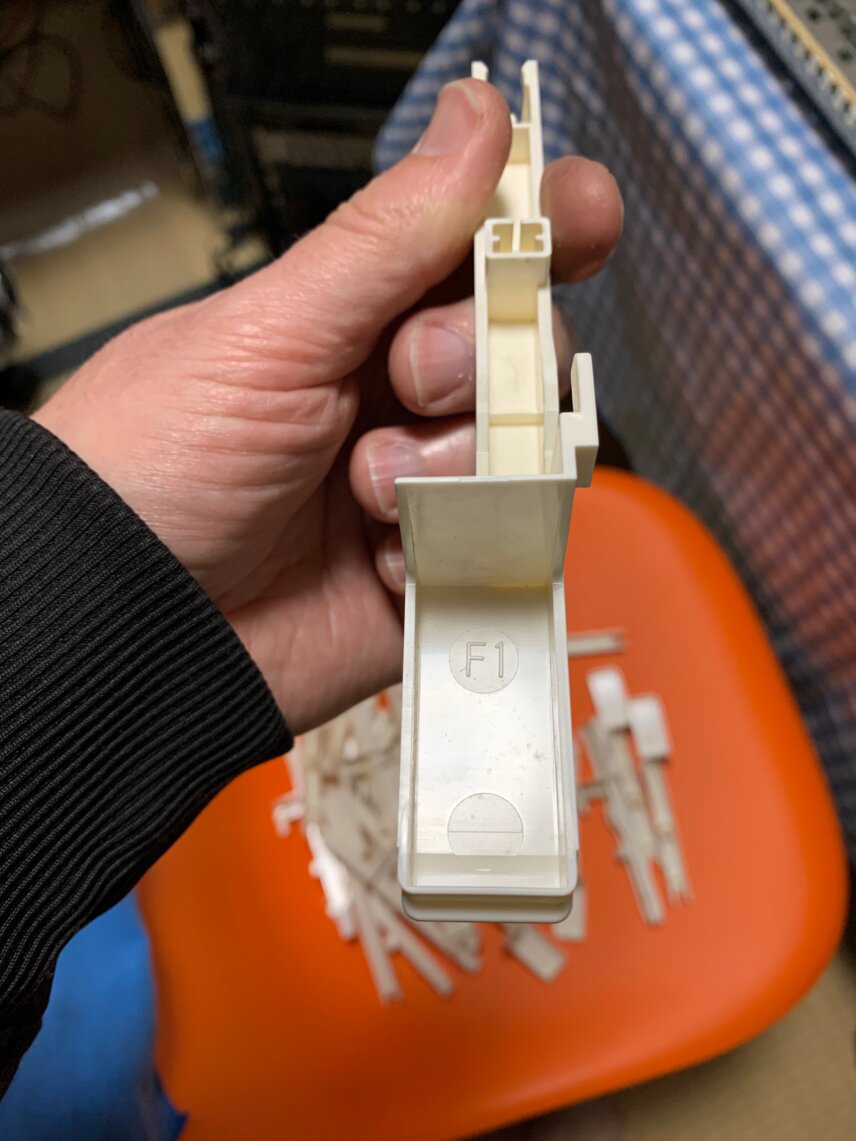
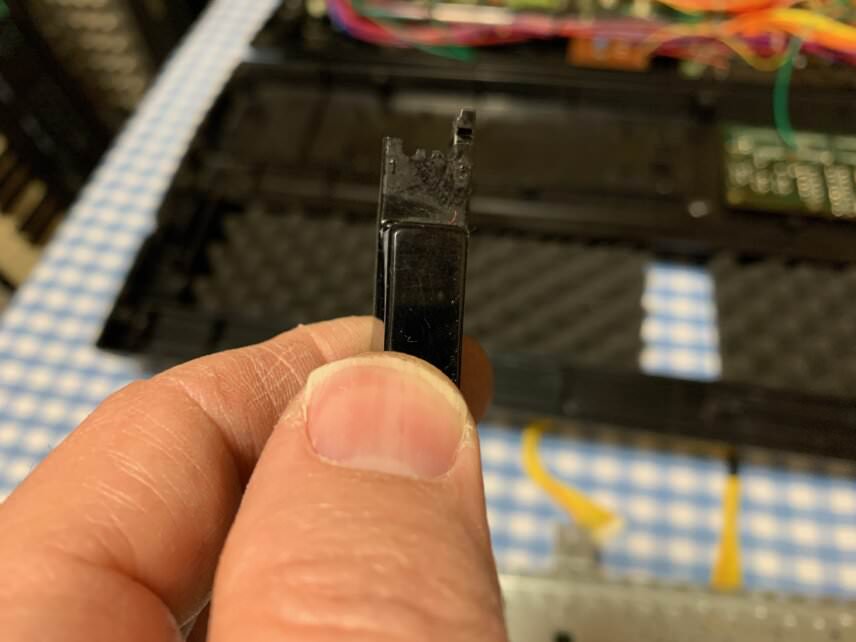
Once you have the keybed separated from the rest of the machine, you’ll need to remove each individual key. There are almost as many keybed assemblies as there are synthesizers, but the main idea should be the same: the key is hooked into the assembly via tabs on the end of the key, with tension provided by a spring. The spring could be under it, as with this Poly-800 ii, or it could connect behind it. Remove each key one by one, starting at one end and working your way down. The black keys will likely be blocked by the white, so remove those last.
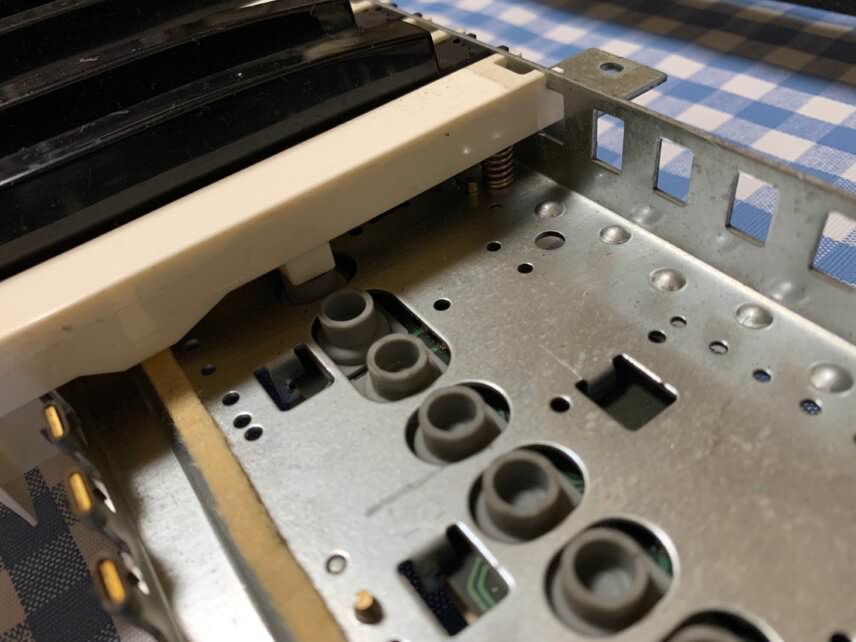

Next, it’s bath time. Take your keys – black and white – and place them in a bucket or other container for washing. Add warm water and a little dish soap and let them soak for an hour or so. While you’re waiting, feel free to clean out the dust bunnies, leaves, pencils, dead bugs, or whatever else has accumulated inside your machine. If the keybed is looking a little dusty, feel free to give it a hoover but be careful to not suck up any of the rubber plungers, as they’re what create contact with the keyboard PCB. In the future, we’ll talk about how to repair dead notes by cleaning these contacts.
After they’ve had a good soak, remove each key one by one and rinse them off. There may still be some grime clinging to them so use another microfibre cloth to get this off. Set them aside to dry. We usually give them one final wipe to make sure they’re clean and free of water before reassembly – you definitely don’t want any moisture inside your synthesizer.
Reassembly
The next step is putting the keys back in the keybed assembly. Each key will be marked with its letter position (C, D, E, etc.). Note that the top C key is uniquely wide. Don’t break that one. They’re always the most expensive to replace. Make sure you have replaced the spring correctly so you have the right amount of tension for each key.
Lastly, put the keybed assembly back in, making sure to reconnect any cables that you disconnected, and put back all the screws. Are there any left over? If so, check your pictures to see if you forgot anything. You did take pictures, right?
When it’s safe to do so, plug in the synth, turn it on, and test all the keys. No dead notes? Congratulations! If you do have a few bum spots, don’t worry. Turn it off, unplug it, go back inside, and check that you haven’t put back a key crooked, or accidentally moved a plunger strip. Are all the wires back in their correct sockets? If you can’t reverse engineer your mistake, call a tech. Better safe than sorry, after all.
Replacing Broken Keys
In the case where you just need to replace a broken key you probably won’t need to remove them all, although you may need to remove a few surrounding ones to get at it. As with cleaning, remove the keybed assembly, disengage the key from the housing, and then slot in the new one. Make sure to hold onto your spring, as the replacement key may not include one.
Replacement keys are available from dedicated synth part stores as well as on the usual auction sites like eBay and Reverb.
The more time you spend inside your synthesizers and other gear, the more comfortable you’ll be with doing minor maintenance and repair. Just remember to go slowly, document the process, be safe, and have fun.