One of the most common issues with vintage gear is a dead internal battery. We show you what to look for and how to change it.
Vintage gear breaks down. It’s a fact of life. For fans of classic hardware, it’s just what you have to put up with for access to the fantastic sound. Repairs can be costly though. It’s not just the financial outlay, however. There’s also the time the repair takes. Depending on the workload of your technician, that could be months – or even years. (We’re not exaggerating. Our Roland JX-10 has been away longer than some people are in university.)
Thankfully, some basic repairs can be done at home and with a minimum of technical fuss. Things like cleaning, refreshing key contacts, and working the noise out of potentiometers are all fairly easy to do. We’d like to cover them all in future installments of Hardware Focus, but this time, we’re going to look at perhaps the number one issue facing owners of vintage synthesizers, drum machines, and other hardware: the dead internal battery.
Why Does Gear Need A Battery?
Before Sequential Circuit’s groundbreaking Prophet 5 synthesizer, if you wanted to save a patch you had to physically jot down settings on a piece of paper. Dave Smith changed all that by creating a synth that remembered your settings. This soon became the norm and most every synth since has had patch memory. However, the synthesizer requires an internal battery to save the patches while the machine is powered off.
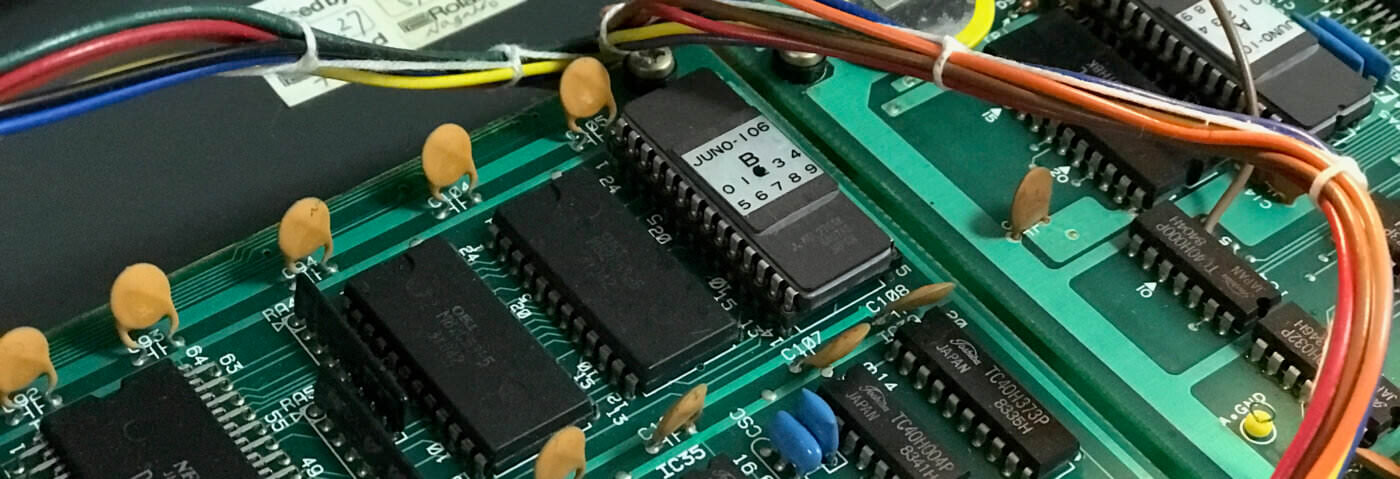
Usually a CR2032 three-volt coin-style battery (although not always, particularly on older models), this is attached to the PCB and makes sure that your carefully created patches (and sometimes the factory patches as well) are still there the next time you power the instrument on. The trouble is, these are only rated to last for a few years. It’s quite possible that the Yamaha DX7 you’ve just bought on eBay still has the original battery in it. If it hasn’t died yet, it will very soon. And if you happen to have a Korg Poly-61 or other, older model, that battery could be rupturing and corroding the PCB as you read this.
It’s therefore a good idea to open any vintage gear you buy as soon as possible and assess the health of the internal battery. This is doubly true if the machine was manufactured in the early ‘80s before they started using the more stable CR2032 batteries. The last thing you want is the battery to leak and take out some expensive (and rare!) components with it.
Safety First
Before we go any further, we want to stress that opening up any electrical equipment can be very dangerous. Unplug the instrument from the wall before taking a screwdriver to it. The danger of electric shock is very real when working on this kind of gear. You’ll also want to wear some kind of anti-static bracelet to prevent any sensitive components from being fried. Lastly, wear a mask and make sure you’re working in a well-ventilated area when soldering, as there will be fumes and some smoke from the hot solder.
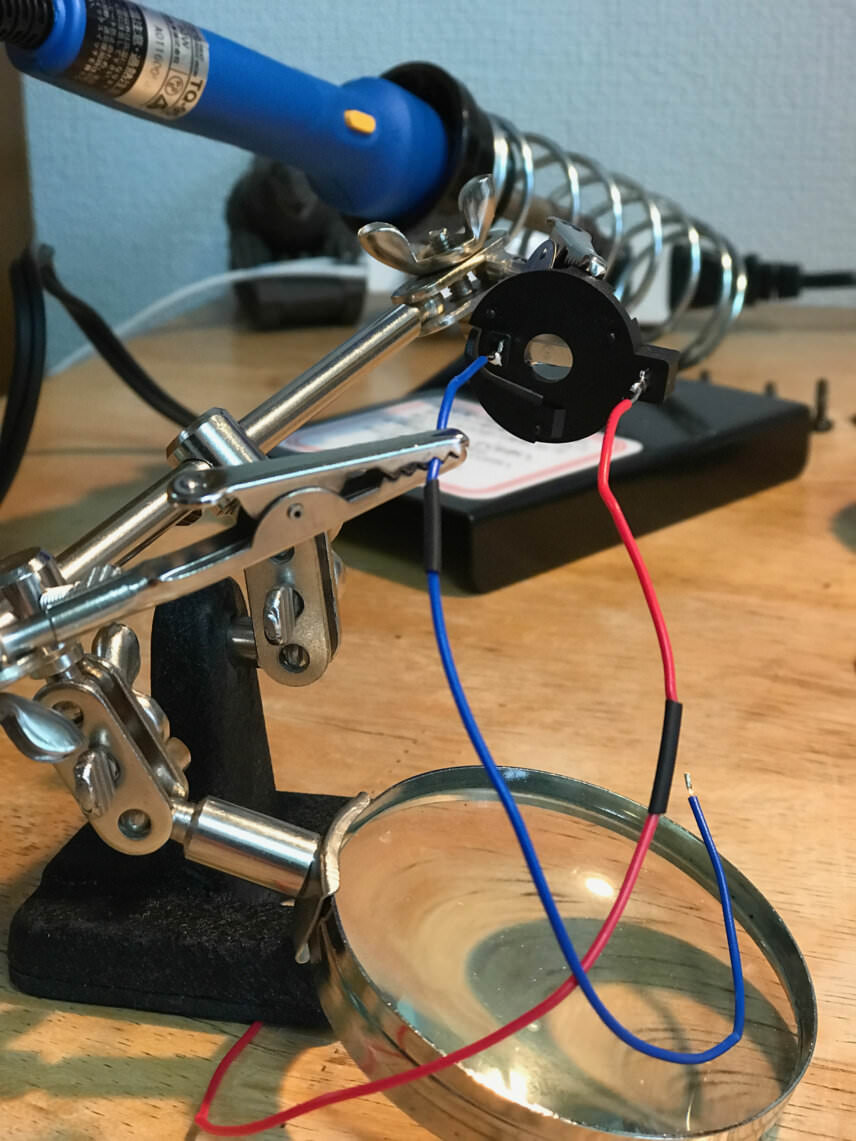
As for soldering, if you’ve never picked up a soldering iron before, we recommend buying a small DIY kit to build up your confidence. Soldering is not difficult to do but like any other skill, it requires practice. And that expensive vintage synth you just mortgaged your house for is not the best thing to practice on. Desoldering is actually more difficult than soldering, and you’ll need to know how to do that too. Grab a broken DVD player or other piece of electronics and practice removing components from that. Stay away from old TVs and monitors though. They can hold dangerous amounts of electricity even when powered off and need to be properly discharged.
Lastly, Attack assumes no responsibility for any damage to yourself or equipment. This article is intended for information purposes only. If you have any doubt about your abilities, consult a proper technician.
Preparation
Before you start pulling things apart, make sure you have backed up any patches that you want to save. Disconnecting the battery will instantly wipe away all of them, and possibly the factory presets too. Every instrument saves differently. Older ones may require you to save the patches as an audio file and some will require a SysEx dump to your computer. Check your owner’s manual or online for information about your specific situation.
You’ll also need to buy a battery, obviously. While some older machines require something other than a CR2032 battery, we’re going to restrict this article to the latter, as they’re by far the most common.
As the battery will need to make contact with the circuit board in some fashion, you can’t just use a store-bought CR2032 as-is. There’s no battery compartment, as with a portable radio (unless you bought one of the Casio CZ series, which do indeed have compartments that take standard-size consumer electronics batteries).
You’ll need one of the following:
- A standard CR2032 battery and holder
- A CR2032 with legs already soldered on
Both have their good points and bad points.
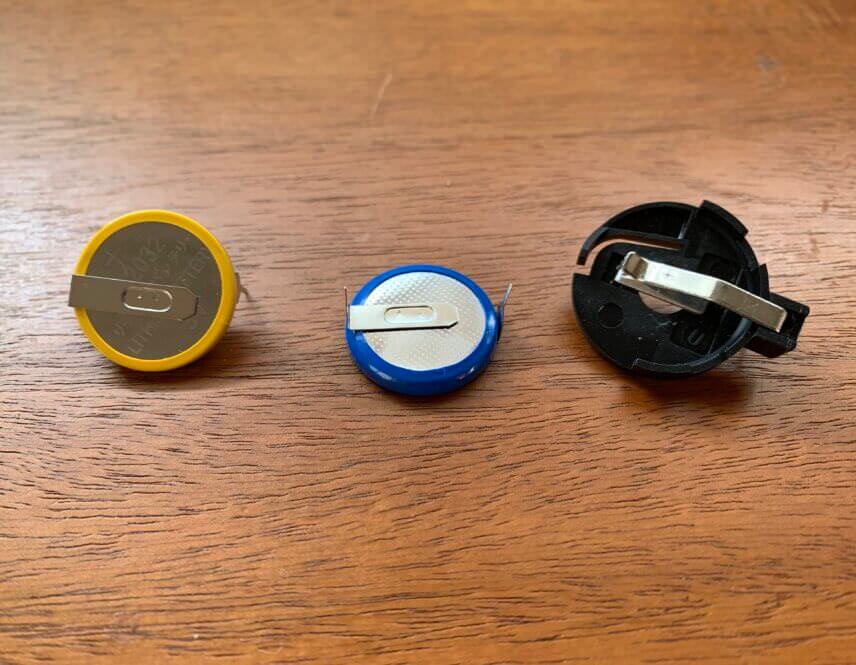
Installing a holder will make changing the battery the next time a snap – just swap out the old battery and drop in a new one. However, the legs that need to be soldered to the board are usually too close together for the hole spacing and will not bend. They will require wire extensions that need to be soldered on. You will also need some electrical tape or other material to affix the holder to the board so it doesn’t move around and possibly cause a short.
As for batteries with prefixed legs, they’re also not a perfect fit but the legs can be bent. However, you’ll have to desolder it to remove it when it’s time to put in a fresh battery.
We prefer the second type. Despite the possible extra work in the future, there’s less chance of an electrical short. It’s also simpler and less work, and easier to do. For this article, we’re going to stick with the second option.
Note that it is possible to solder your own legs onto a standard, store-bought CR2032 but as we’ll discuss soon, applying heat directly to a battery is not always the best idea and so is not recommended for beginners.
Lastly, how do you know that you need to change the battery at all? If the presets were gone when you got it, it’s time to change the battery. If you have a multimeter, you can use that to test how much change is left (there should be around three volts). Depending on the era in which your gear was made, there may even be a message telling you to change the battery. Unless the battery is full (likely because it was recently changed) we put in a new one as a matter of course. We’re going to have to do it soon anyway. Batteries die.
Installation
Step 1
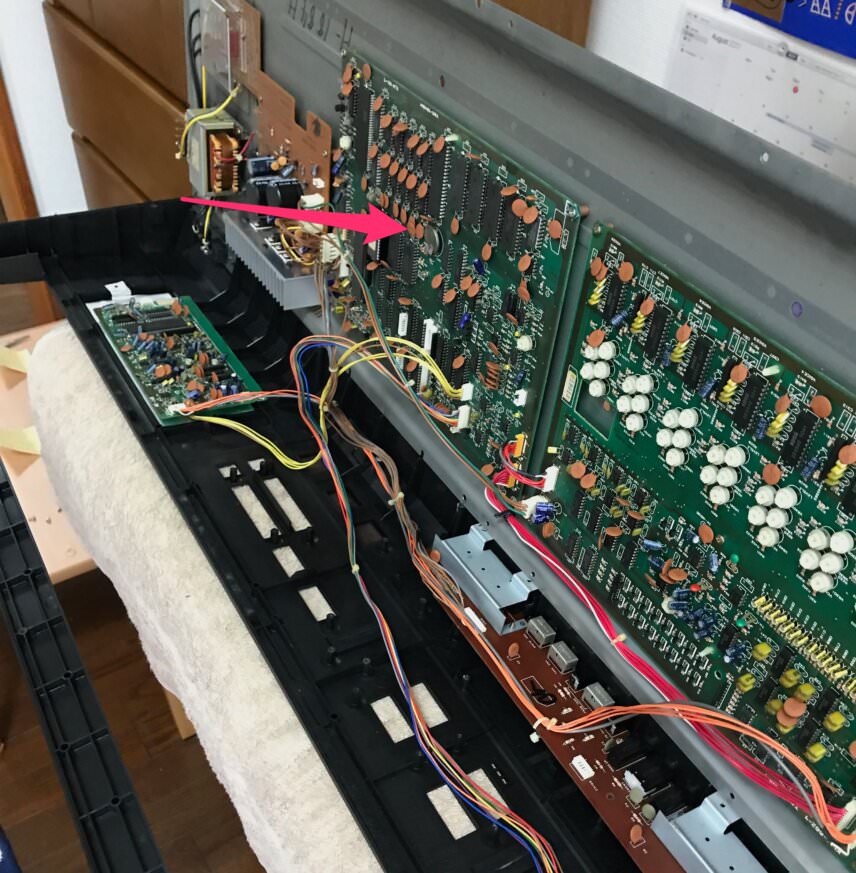
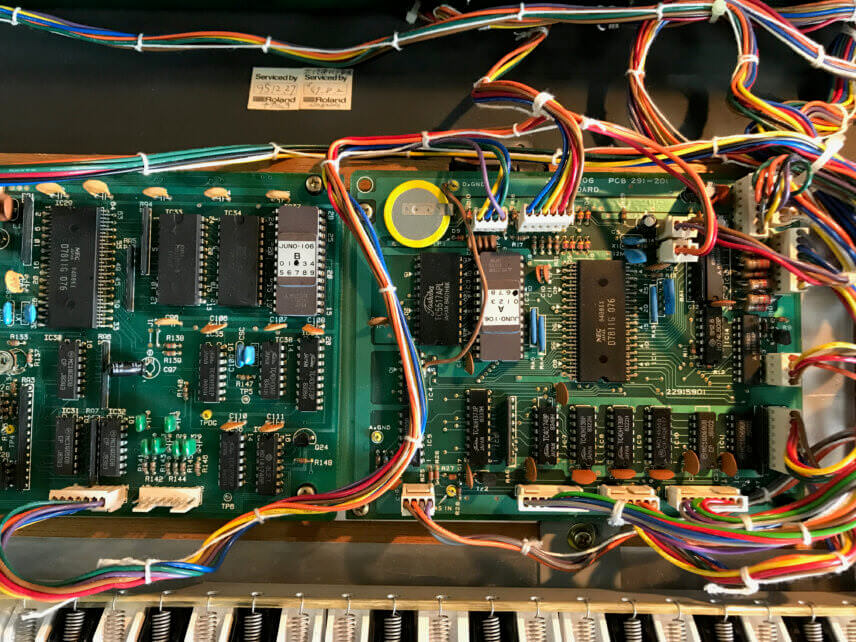
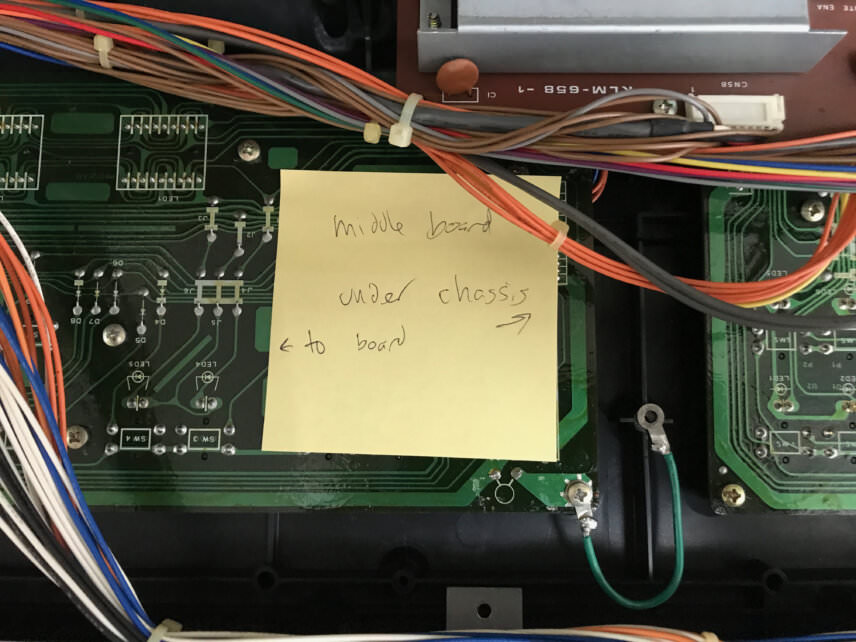
Accessing the battery will likely be the most difficult part of the process. It doesn’t matter what you’re working on – synthesizer, drum machine, effects unit – it’s always invariably on the PCB board at the very bottom of the unit. That board will have to be removed from the machine, as you’ll need to access the underside to do the soldering. Make sure you take lots of pictures and document the dismantling process, especially any cables that you unplug. We can’t tell you how many times we’ve put stuff back together wonky because we thought we remembered how we took it apart.
Step 2
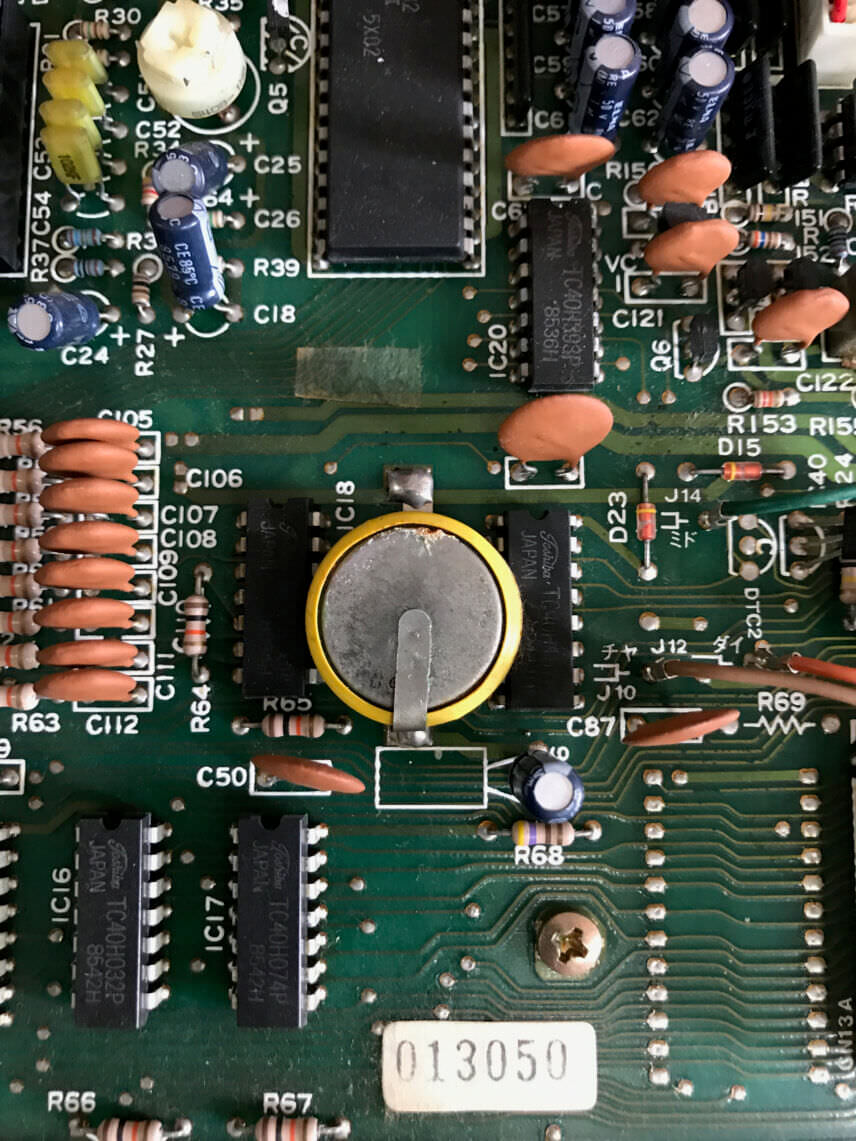
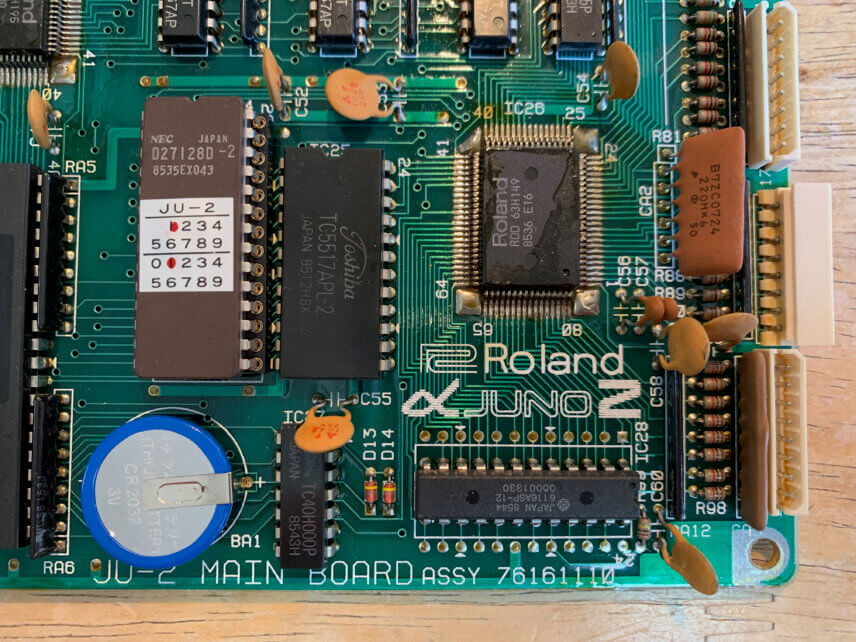
Take the PCB out and place it on a table or workbench. Locate the battery on the top of the board and note where the plus and minus holes are. The new battery will have to be oriented this way to work. Take a picture as it might look different after you get the new battery in.
Step 3
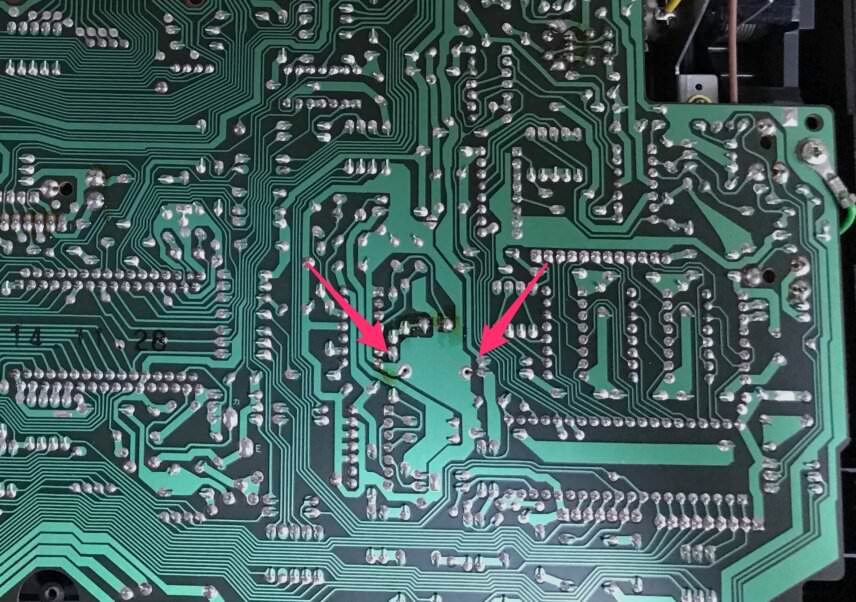
Flip the PCB over and locate the solder points for the battery. There will probably be two although there could be three. You need to desolder these points. We recommend using a pair of snips to cut the bad battery away from its legs first. Too much heat could result in the battery exploding. Note that some older synths may have surface-mount solder tabs rather than through-holes for mounting the battery. In this case, lucky you. You don’t have to remove the PCB from the unit.
Desoldering is tricky whether you use the solder sucker method or desoldering braid (also called a wick). You need enough heat to melt the solder and need to hold the soldering iron against it long enough to clear away the liquified metal, either by sucking or soaking into the braid. Too much heat for too long, however, can damage the trace, the metal ring around the hole that connects to the circuit. This is why it’s a good idea to practice on junk first.
Step 4
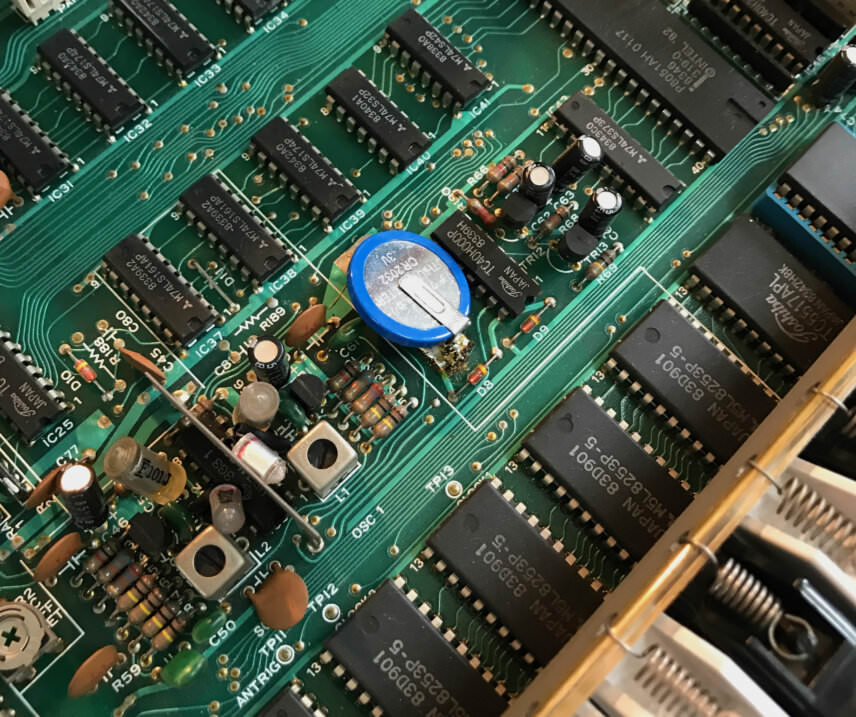
Once the old solder has been cleared away and the legs removed, it’s time to put in the new battery. Make sure you have it oriented correctly. The pin soldered to the top of the battery is the plus side. The leg coming from the bottom is minus. Insert it into the holes. You may need to bend the legs to make it fit. The legs will break if bent too many times, so we recommend buying a pack of five or 10 batteries rather than just one for this very reason. This is a good rule of thumb when buying components: always buy more than you need in case something goes wrong.
Once in, flip over the PCB. You’re now looking at the underside. If you find that the battery won’t stay put, you can use some tape to hold it down. (Be sure and remove this after you finish.) Next, flow solder to the two holes. Make sure that solder has covered the entire metal ring around the pins. If there are any open spaces, add more solder. The solder should now look like a small mountain piled up around the pins. Any spaces or breaks in the solder can interrupt the flow of electricity. If you’ve done it correctly, the battery should now be held firmly in the PCB by the solder.

Step 5
Put the PCB back into the instrument. Retrace your steps and reconnect everything as it was before. You may want to power up and check that it works before you put all the screws back in the housing. Make sure it’s closed up and snug and try powering it on. If it powers on, good job. Turn it off, unplug and power cord from the wall, and put back in all the screws. If it doesn’t power on, don’t panic. Turn the power off, unplug it, and go back in and check that everything has been put back correctly. Also, check that the battery is oriented correctly. Then try again.
Step 6
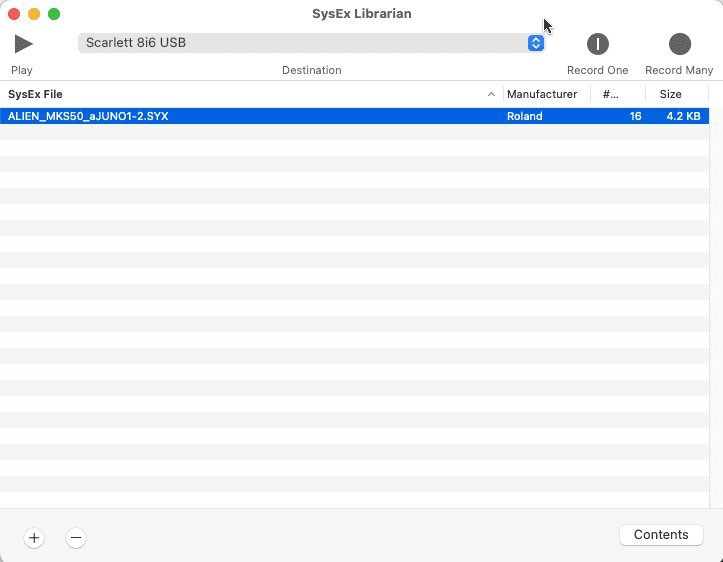
The final thing to do is re-install the patches. Don’t freak out if no sounds come out of your synth when you first power it on. Removing the battery likely wiped all the patches from the memory. As with saving patches, installation differs between machines. Some, like the Korg Poly-800, will need an audio file. Others will need a SysEx dump. You can use SySex Librarian or other program to handle this. Still others may have presets saved to ROM that can be accessed through a factory reset. Check your instrument’s documentation for more.
While vintage gear does require occasional maintenance, we find that spending time inside your machines is valuable and enjoyable. It can bring you closer to these machines that you care so much about.
Happy maintenance. Just remember to be careful.