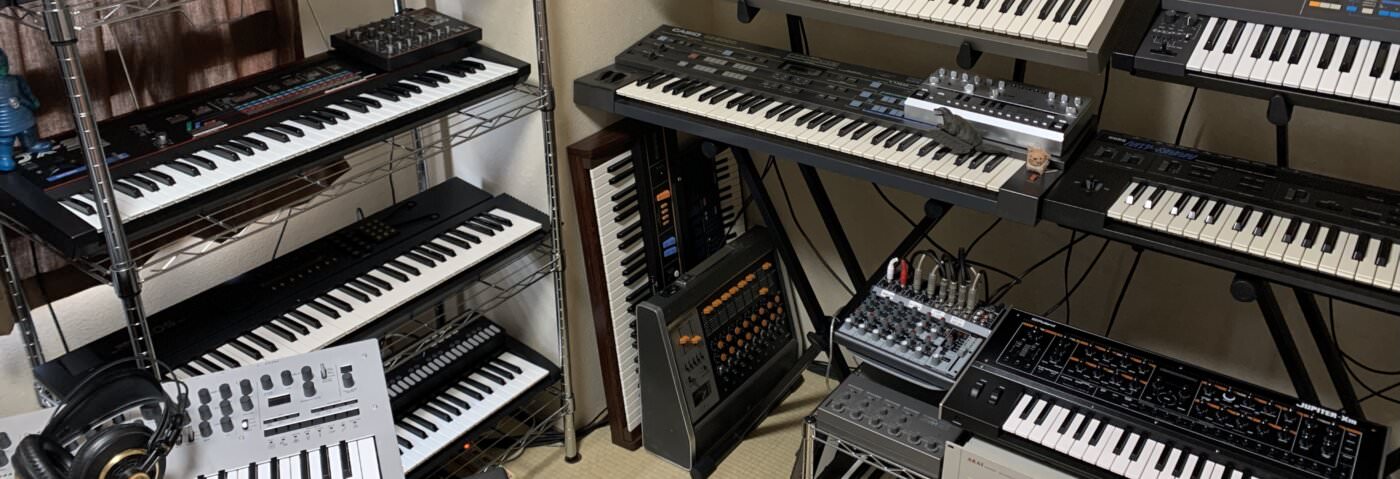
MIDI routing can get cumbersome and complex. We untangle the cords and look at solutions for managing a studio full of MIDI gear.
New to production and thinking about expanding your studio to include a few pieces of hardware? You likely started with one piece of gear and successfully got it connected to your DAW and now you’re thinking about buying more. A wise choice but how to get everything hooked up and talking to the computer or master sequencer? The good news is it’s really not that complicated. The bad news is there is no one solution fits all approach. There are any number of ways to go about connecting things. It all depends on your studio situation.
In this article, we’ll look at four different ways to connect your gear. All offer answers to the same question: how do you make your gear talk to the computer and main sequencer? The way that you go about it will depend on the size of your studio (and budget!) and also how fastidious you like to be. It’s likely that your studio will eventually resemble a combination of elements from all of these methods.
If you haven’t already, we recommend reading up on how to connect the MIDI of a single piece of hardware to your computer. We assume that you already have a master controller set up. Note that this piece will only focus on MIDI. We’ll save advanced audio routing for another day.
USB Hub
Many modern musical instruments can transmit MIDI via USB cable. This makes hooking instruments up extremely convenient as you don’t need to buy any specialized cables. You don’t even need a five-pin DIN MIDI interface-just connect a USB cable from your computer to the instrument and be done with it. Additionally, USB can transmit MIDI information two ways, unlike traditional MIDI cables which are one-way only. USB: what’s not to love?
The only hangup when working with USB instruments is how to connect more than one device simultaneously. In this case, the humble USB hub is the way to go. Connect it to a USB port on your computer and from there, run cables out to your various devices. If you’re planning to power any instruments via USB, you’ll want a powered USB hub.
Set each instrument to a different MIDI channel and choose the corresponding channel on your DAW or sequencer to control it. (See below for more on how to do this in your DAW.)

Daisy Chain
This method relies on having lots of gear with MIDI Thru ports. However, this is less common to do these days as modern instruments are often built without that precious Thru port. It’s also not realistic if you have a large studio, for reasons we’ll get into soon. However, if you happen to have a few pieces of vintage gear, this could be a viable solution for you.
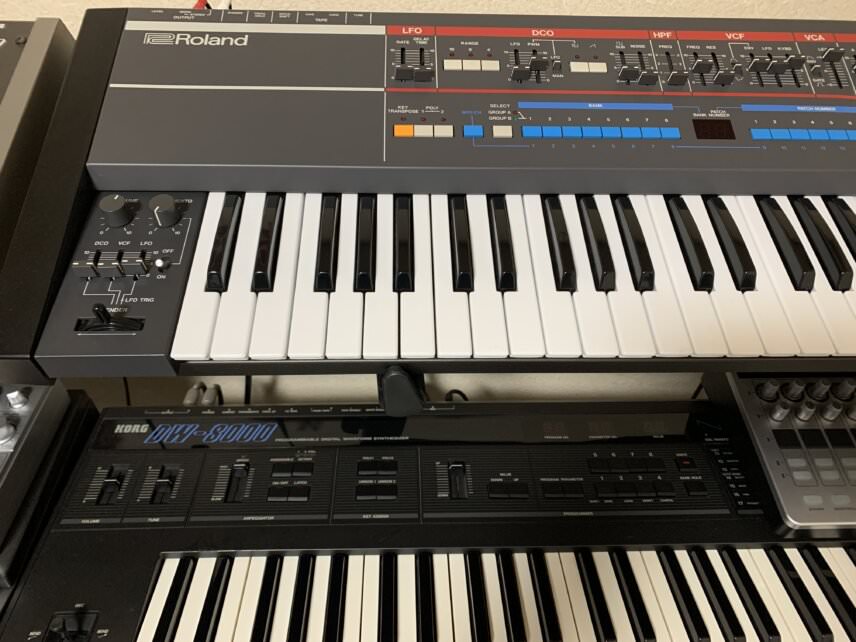
When MIDI was first released in the early ‘80s, instruments with the new protocol had three five-pin DIN MIDI ports: In, Out, and Thru. It took manufacturers a few years to decide on a standard for pin orientation and port order (much to the frustration of anyone trying to plug in a MIDI cable blindly on the back of a vintage synth) but in general, they were all equipped with these three. In was (and still is, of course) the port for receiving note and performance information from a sequencer or other instrument. Out was for sending information on to other instruments or back to a sequencer. Thru was what you’d expect: it passed along any information entering the In port unchanged.
In this way, you could connect two or three instruments along one MIDI chain. Indeed, we called this daisy chaining. Just set each instrument to a different MIDI channel, make sure MIDI thru is turned on in each piece of hardware (and set correspondingly in your DAW or sequencer), and you’re good to go.
This method has fallen out of favour, however. For one, daisy chaining is only ideal with a few pieces of gear. Too many in a line will create latency and could result in timing issues or other problems. Also, as previously mentioned, many modern manufacturers don’t bother to include the Thru port now as it’s an extra expense that may not be used. We find it convenient to have though.
Thru Box
Instead of using the Thru ports on multiple instruments, one budget-friendly solution is to get a Thru Box. These small, often passive (don’t require external power) boxes act as MIDI signal splitters. Plug in one DIN MIDI cable and the signal can be split into four or five outgoing lines. Plug each of these into the MIDI In on your device and you’re ready to go.
MIDI Thru boxes are great if you have a relatively small studio and aren’t planning on expanding. They can be useful for adding connectivity to another one of the methods listed here. They can also act as MIDI extension adapters if you need to reach an instrument far away from your MIDI interface (and don’t have a very long MIDI cable at hand). Note that a thru box won’t help you get MIDI into your computer or sequencer-you’ll need a MIDI controller for that, either USB or otherwise.
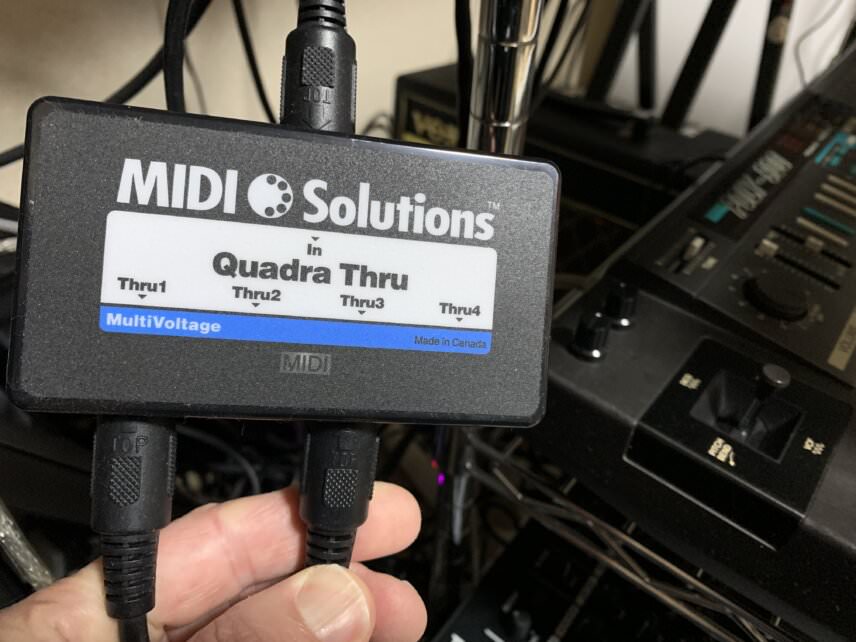
We personally have a few of these in our studio, both hooked up and laying in wait for when we might need it. They’re handy to have around no matter what kind of connectivity system you’re using (other than USB-only, of course).
MIDI Interface
While all of the previous methods listed have their pluses, they are not nearly as elegant as a dedicated MIDI interface. They also presuppose that you have MIDI ports on your audio interface. If you don’t, or you want something a little more centralized than daisy-chaining or a thru box, then an interface is for you. This is also better suited for those with large studios or plans for studio expansion-and for those who can’t stand cable spaghetti!
MIDI interfaces come in all sizes and configurations but they all act as hubs for your MIDI setup, with both In and Out ports (and sometimes Thru too). Modern interfaces will usually have USB or some other kind of computer connectivity, although some (and older models) will require DIN sockets and cables to interface with a computer or sequencer.
Aside from having all of your cables running to one place and thus easier to manage, having a set of both In and Out ports allows you to do significantly more than just sending note information out to trigger a synth or drum machine. Before USB, MIDI synths were designed to interface with computers and other peripherals through MIDI only. With SySex (or System Exclusive) and a librarian program, you can create patches on a synth and send them to the computer for storage, and likewise back out to the synth to play. Even if you only ever load patches from the computer, some synths will require a ‘handshake’, that is, having MIDI cables running to and from the synth, to make a proper connection. So a set of Outs is really handy to have.
A good MIDI interface will also allow you to use more than one keyboard as a controller. If your studio is large enough, it might not always be feasible to control every synth from a centralized keyboard. By having MIDI running out from all synths to an interface and then into your DAW/sequencer, you can use that synth itself to play and record notes.
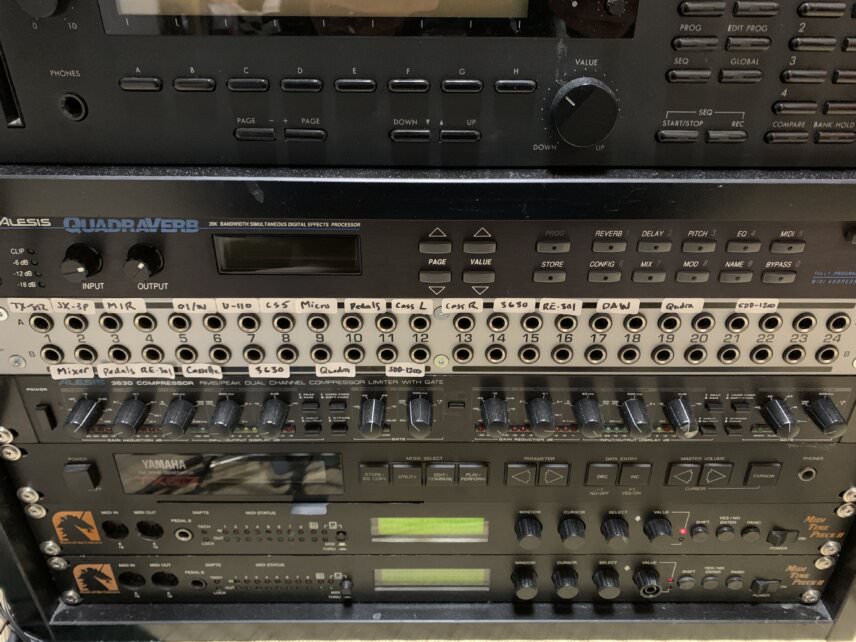
There are tons of quality MIDI interfaces on the market. iConnectivity’s mioXM has four DIN ins and outs plus four USB ports and computer connectivity. This desktop unit is a solid way to add an interface to your studio. If you need more ports, MOTU’s rackmount MIDI Express 128 has eight ins and outs and connects to the computer via USB.
Don’t be afraid to shop used either. We ourselves have two MOTU MIDI Time Piece II’s. They were designed to connect with much older Macs but the MIDI functionality still works as intended via DIN cables. As each has eight ins and outs, that gives us 16 of each. Plus we picked them up for mere pennies.
Connecting To Your DAW
You’ve settled on a MIDI solution and connected it to your computer either via USB, a MIDI cable, or some other way. Make sure that every instrument you want to control has a MIDI cable connected to its In port (or USB is properly plugged in if you’re going that route). Let’s get things set up in your DAW next so we can control all that gear. We’re using Ableton Live but the concepts are largely the same across DAWs. Check your DAW’s manual for specifics.
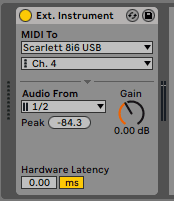
Create a new MIDI channel. Choose the stock External Instrument plugin from the list of Instruments. First, we need to assign this to the interface. Under the MIDI To setting, choose your interface from the dropdown menu. Next, choose the appropriate MIDI channel for that instrument. Remember, there are 16 channels of MIDI so you can assign a different channel to each instrument (or multiple channels to a single instrument if it’s multitimbral). Lastly, choose where the audio should come from.
Continue doing this as needed, selecting different MIDI channels for each one. Remember, if you have more than one instrument set to the same channel, they will all play the same notes. While this is usually not what you want, if you’re layering sounds it’s a handy trick to remember.
Finally, a word about early synths and MIDI. Although MIDI debuted in 1983, it took manufacturers a few years to iron out the kinks and establish standards. One annoying quirk of some of these early synths is that they will always start up in Omni mode. Unless you want that synth to play every note being sent to all synths on all MIDI channels, you have to remember to reset the MIDI channel every time you power it on. Also, some synths are stuck on a single channel, usually number one, so keep this in mind when assigning channels.
Lastly, it can be helpful to keep a MIDI assignment cheat sheet around. This is particularly useful when your studio connectivity gets complex.
We realize that we haven’t discussed audio in this piece. We’ll devote a future Hardware Focus to this exclusively.
*Attack Magazine is supported by its audience. When you purchase through links on our site, we may earn an affiliate commission. Learn more.