
Using Deft Lines and Young Phantom by Native Instruments, we show you how to make a drill beat including Note Expression on the 808.
We’ve covered drill before. The genre continues to morph and over the last few years, some of the biggest tunes are drill. We’ve also seen a rise in drill patterns being used in other genres where samples, synths drill drum patterns and slidey 808s make an appearance.
On Attack, the most downloaded session of all time is a drill tutorial! So, why not revisit it, especially on the back of some great instruments we had the chance to get our hands-on from Native Instruments.
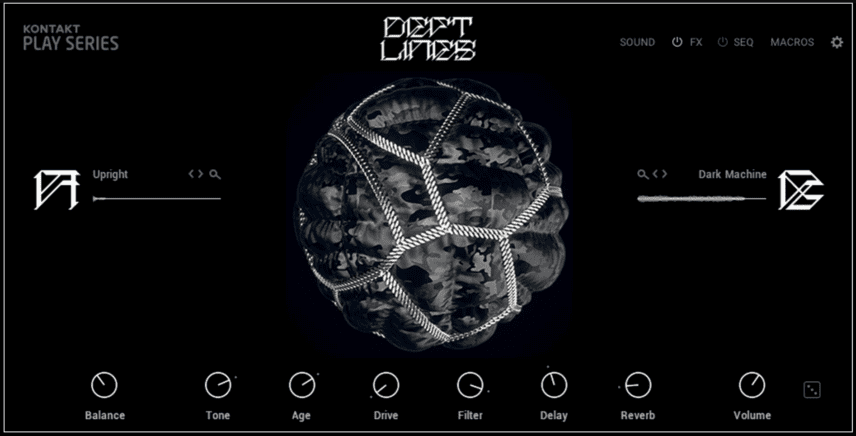
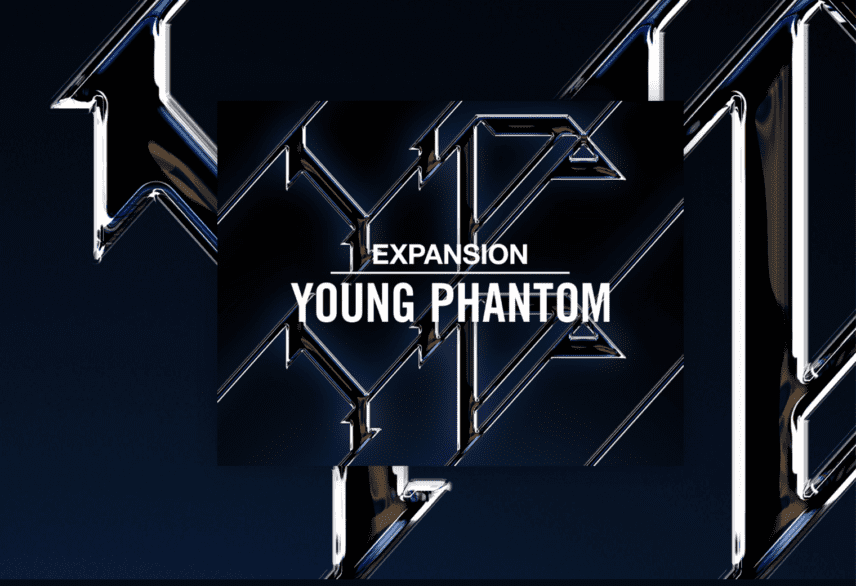
In this tutorial, we’re using Deft Lines, the latest Play Instrument from Native Instruments and Young Phantom to make a beat in the style of Dutchavelli or M24. The drum parts come from Young Phantom and the musical elements from Deft lines.
Download the Ableton Live 11 (with samples included) session to follow along. Just input the details once! The email will shortly follow.
Spec
Tempo
144 BPM
Swing
0%
Sounds
Native Instruments
STEP 1
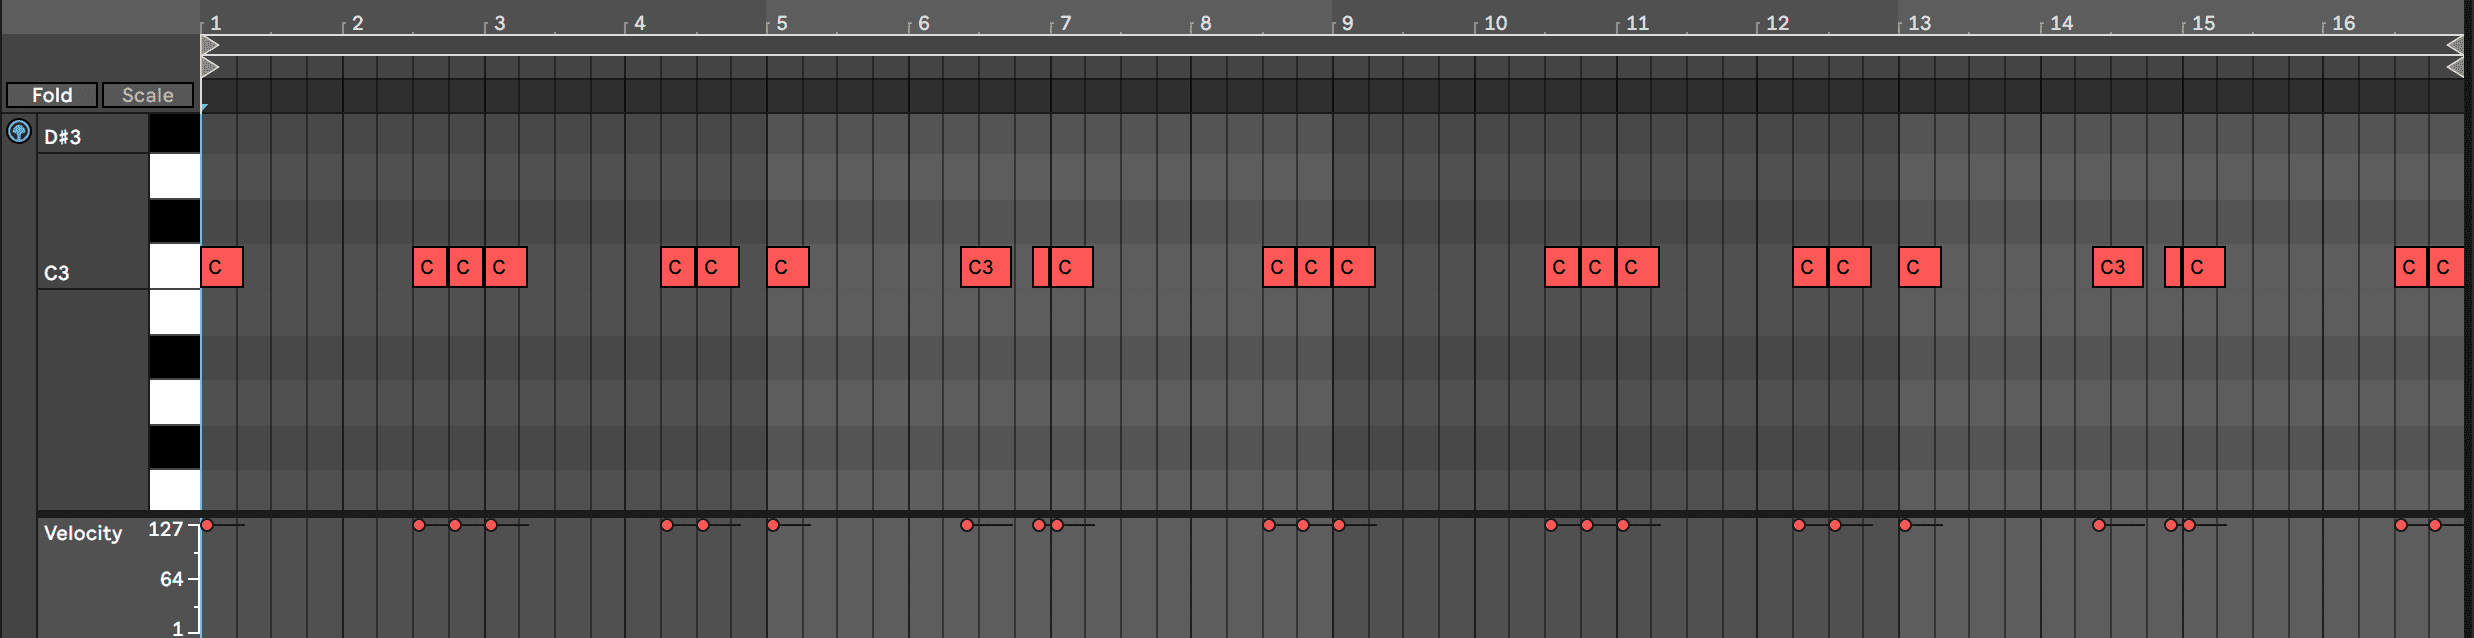
Load up your Simpler and drop in Kick Lone Girl 1.Wav from the Young Phantom Library. One of the benefits of good sounds, is you don’t need to do a huge amount. Not at this stage anyway. Diall in a little more release, something around 3 secs does the trick. Also, copy the MIDI pattern below. There are gazillions of patterns you can do, but drill very much keeps kicks quite simple. It’s all about the knock.
Notice how the velocity is all at max. Like we say, we want this to knock.
Here’s our progress so far:
STEP 2
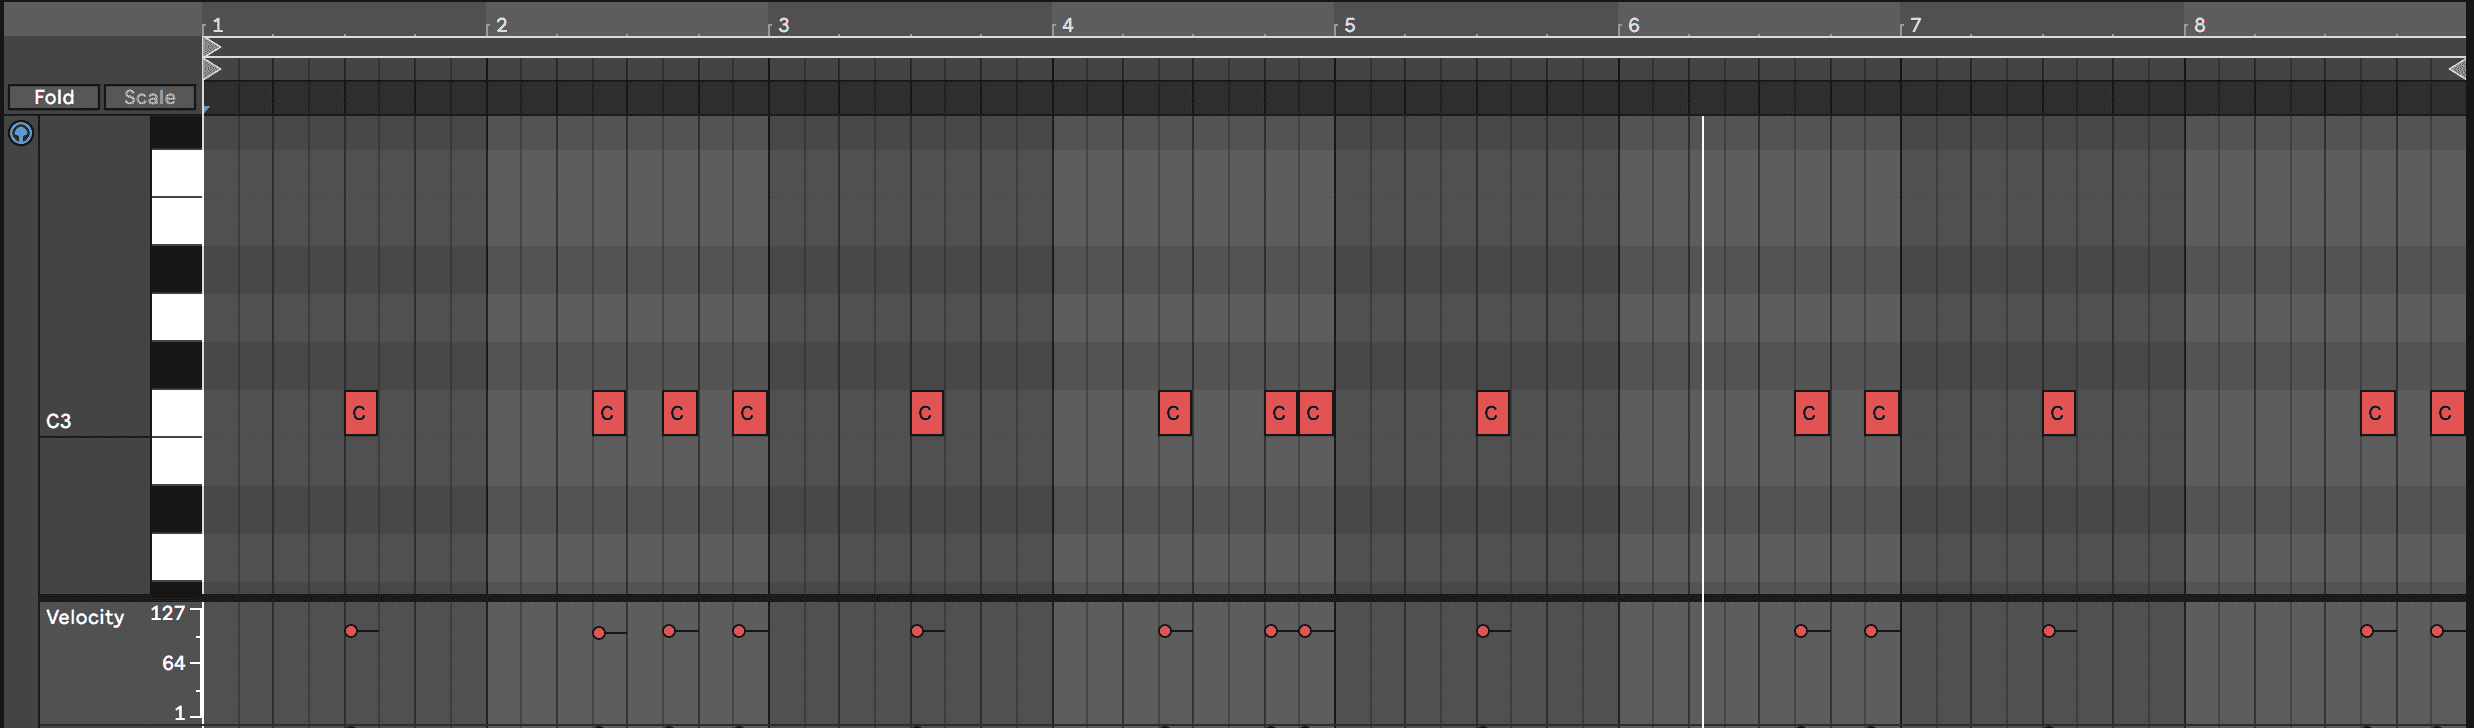
Load onto a new channel another Simpler. Drop-in from the same Young Phantom Pack, ‘Perc Lova 1’. Similar to Step 1, all we are going to do here is dial in the Release to 1.53s. As ever, do what you like, but in this case, we want the tail end of the one-shot, a tasty bit of reverb.
Here’s our progress so far:
STEP 3
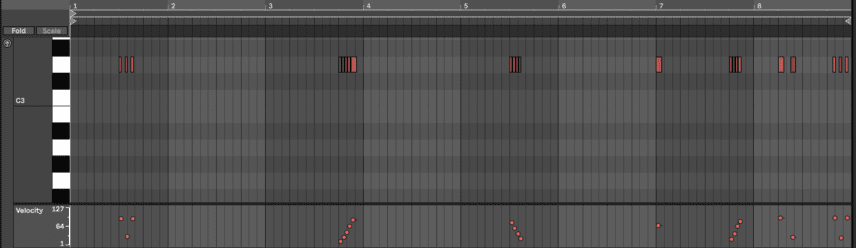
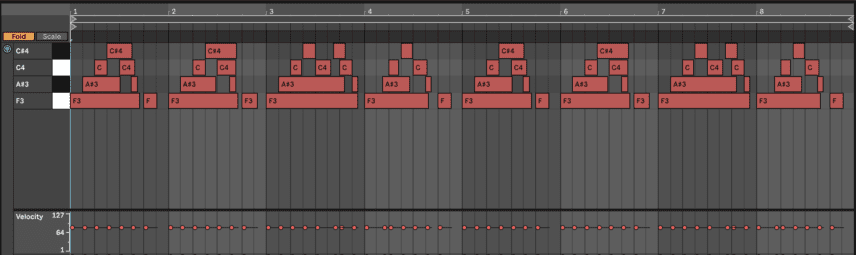
The famous drill hats. As we’ve written about before, drill hats borrow significantly from garage hats. You can also go pretty wild with drill hats, with a tonne of pitching, panning and layering. But, in this example, we are keeping it relatively simple.
You guessed it..load up a Simpler and drop-in ‘Perc Flame 1’. This is not a hi-hat one shot per se but the sound lends itself well to the driving rhythm that we need to keep this bouncing.
If you look at the MIDI we have a hi-hat roll. To make these more effective, push the Vel>Vol from 35%, its default setting, up to 100%. What this does is increase the intensity of any velocity programming. It can really help increase the effect of smart velocity programming.
Here’s our progress so far:

STEP 4
Load up a new track and add an instance on Simpler. We are going to make another hi-hat pattern that’s subtle and compliments the pattern in Step 3.
Find ‘ClosedHH Frontline 1’ and drop it into Simpler’s window. Reduce the Attack but only slightly. We’ve pushed it to 0.18ms. It’s small but just reduces the edge slightly.
Jump to the Controls tab and put pan 17L and Vel>Vol to 100%. Lastly, reduce the channel volume to -9.0dB.
Pay attention to the Velocity edits as it helps with the bounce. Lastly, draw in some Panning automation for good measure also.
Here’s our progress so far:

STEP 5
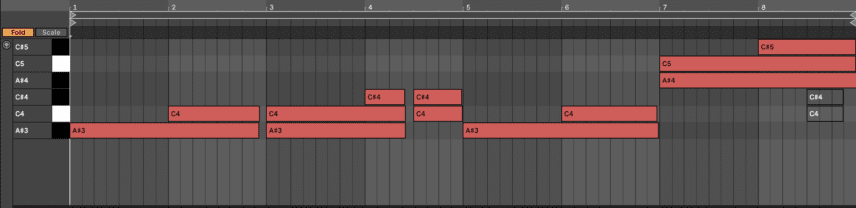
For Step 5 we will combine a few of the ‘magic makers’ that lift a beat. These are the triangle, a tom and open hi-hat. They are subtle but just give the beat that little something extra.
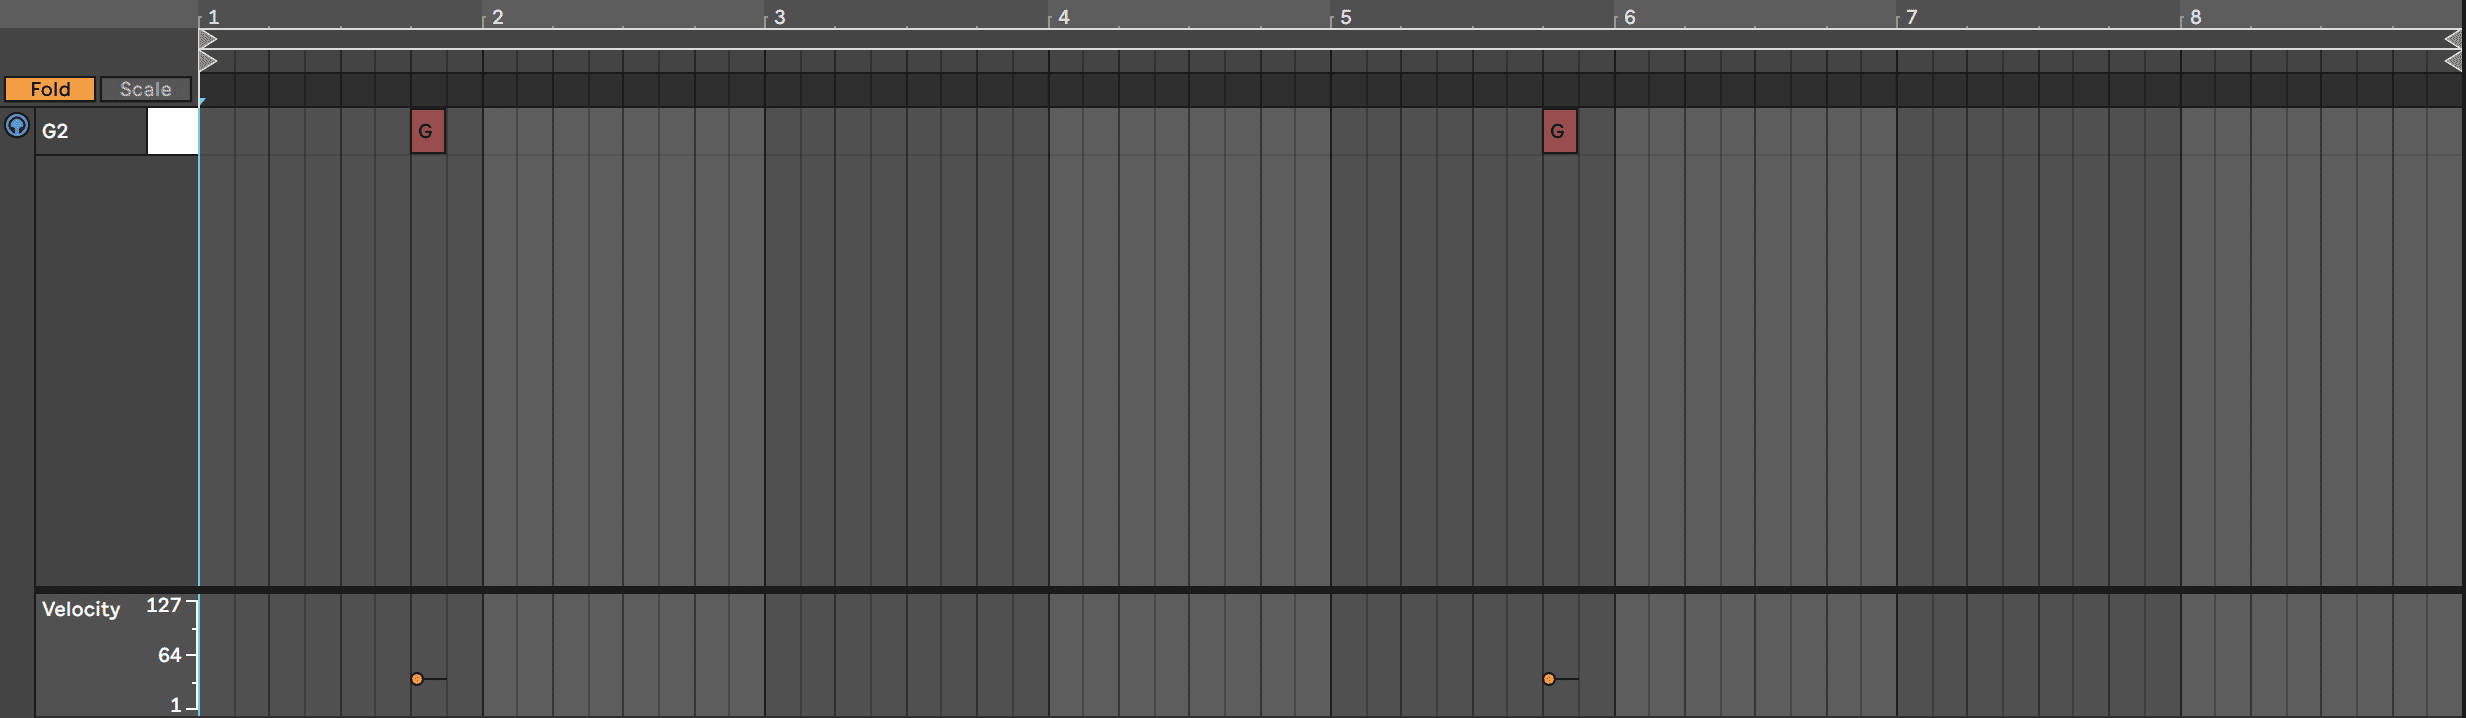
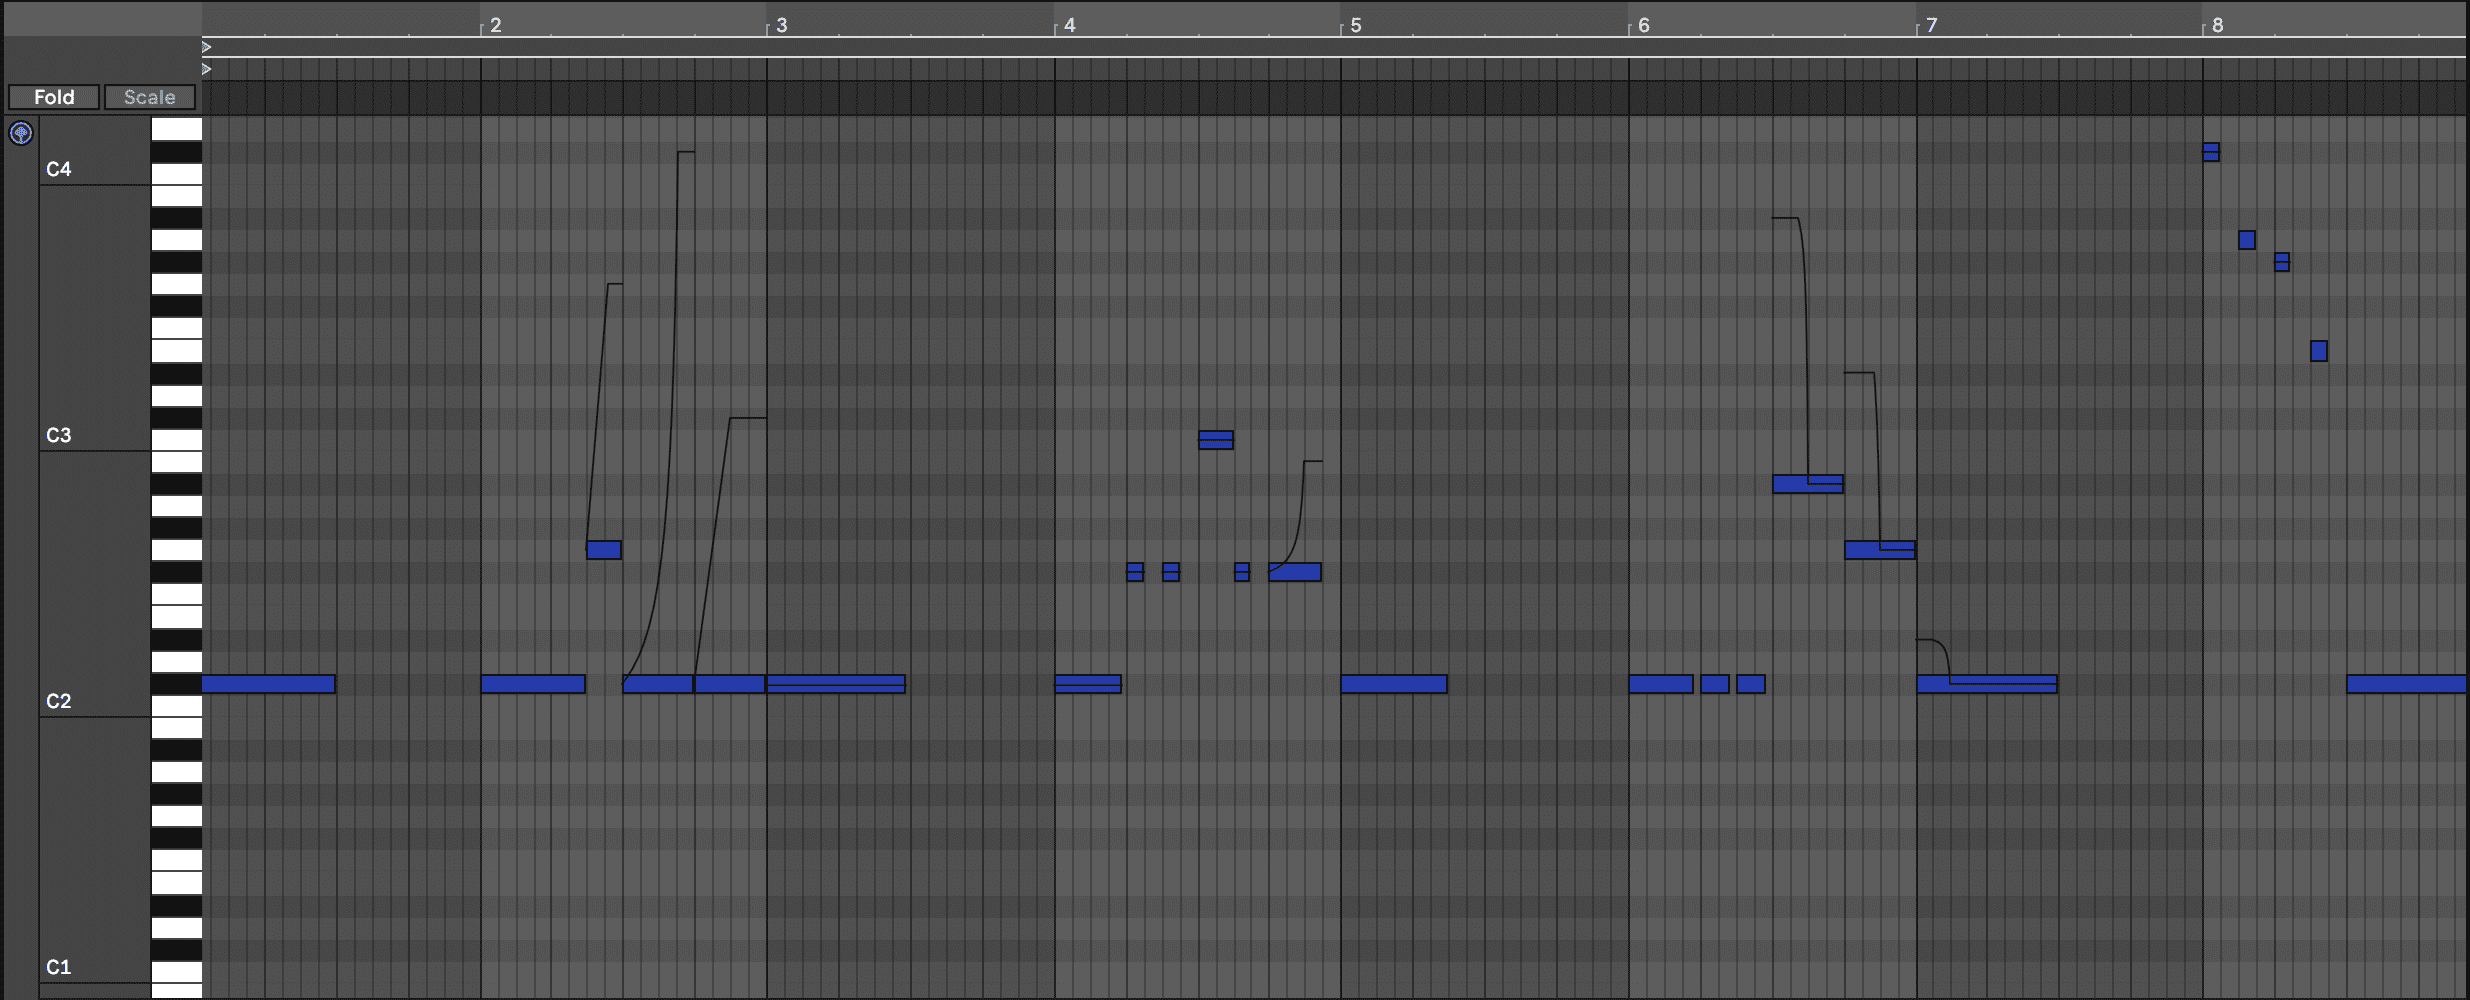
Open up yet another channel and drop in a new instance of Simpler. Drag ‘Triangle Hyperlocal’ into your window. Program the part below. Note the first hit is up and octave and the second down an octave.
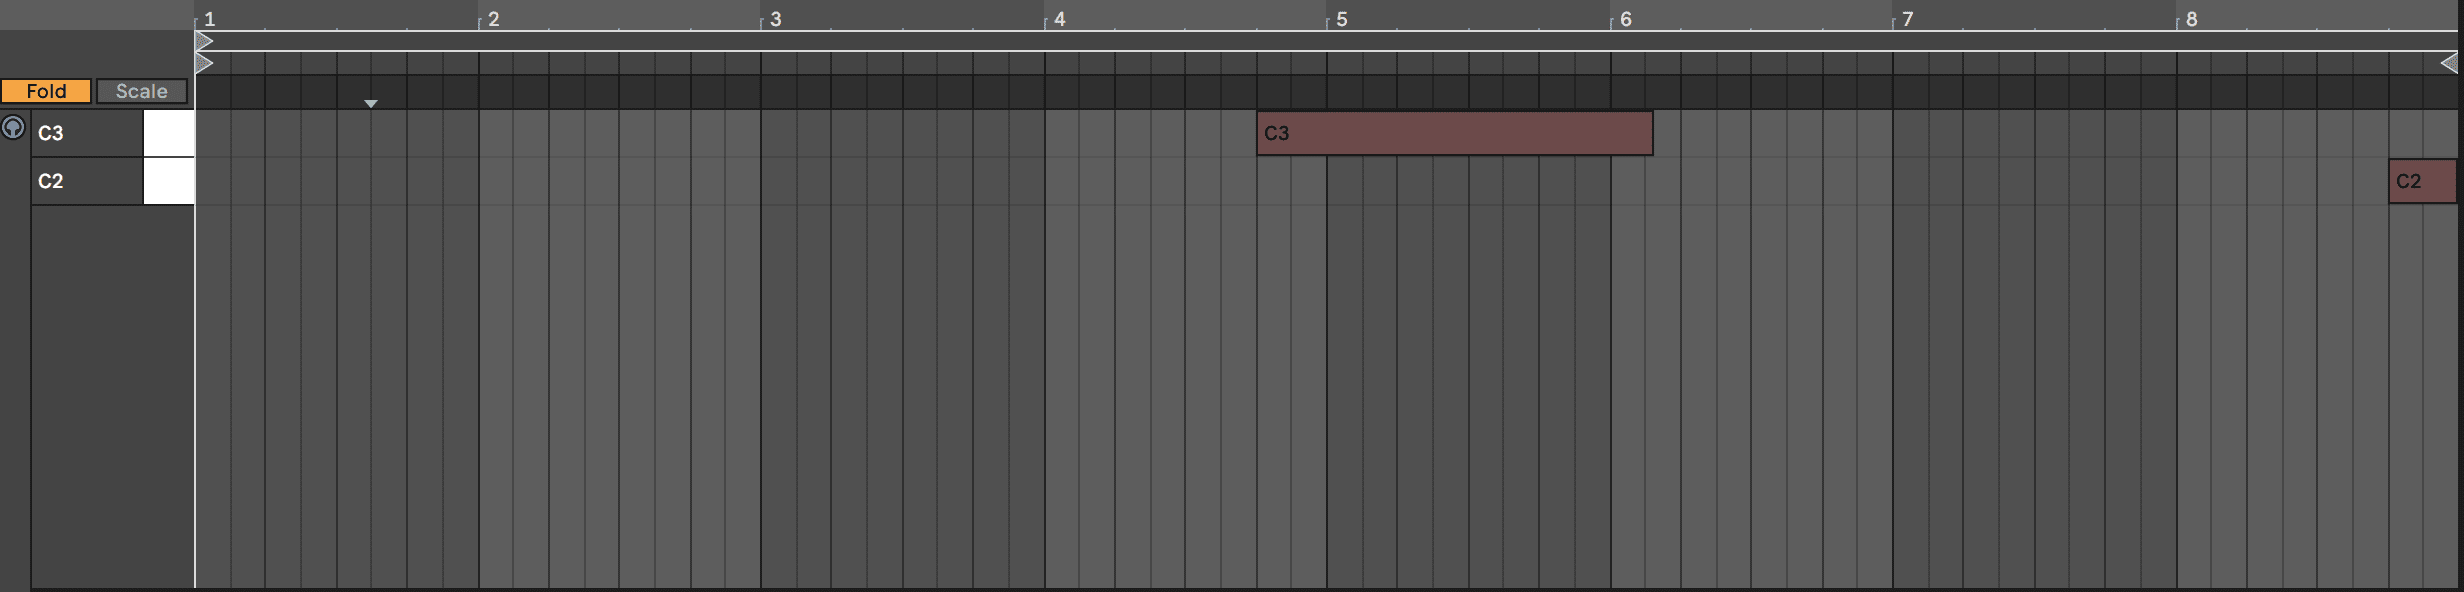
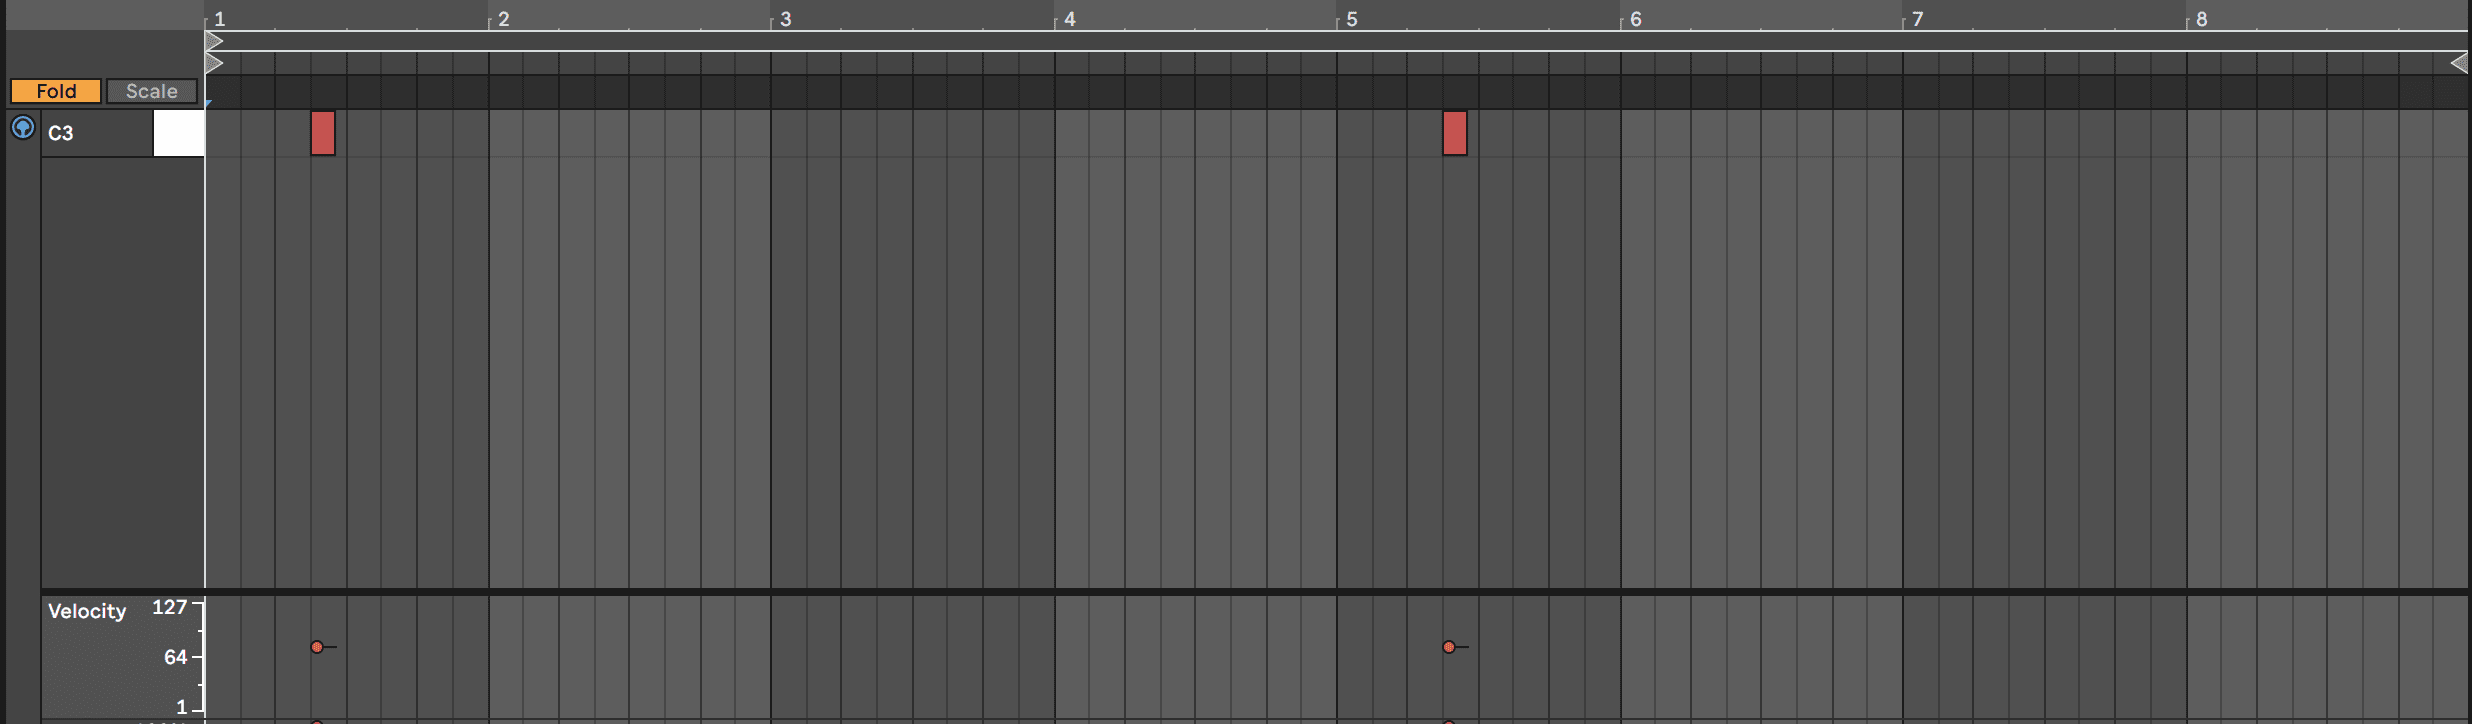
Next, add yet another channel and load in the tom one-shot ‘Perc From The Endz DS’. Nothing much to do here except to increase the Release to 640ms and program the part below.
Moving on, open one final channel, for the drums at least, and load up Simpler. Find ‘OpenHH Ten to None 2’ and drop it in the window.
This sounds fresh already so just program the part below:
Next group all the drums together and add an instance of Drum Buss to the group channel. Leave it in the default setting as it sounds pretty good already.

Here’s our progress so far:
STEP 6
MUSICAL ELEMENTS
A: THE PAD
For the musical elements, we want just a few things going on but with activity in each. Let’s begin with the pad:
Here’s the pad part:
To achieve the sound, we loaded up Deft Lines and used ‘Ghosty Bells’. It’s under the sub-category ‘Organ’. Like a lot of the Native Instruments gear we’re using, we’re happy with the sound as it is.
On the channel, we applied Half-time by Cableguys, in its default setting. It’s almost a prerequisite for trap, drill and even lo-fi house these days. Next in the chain, we sidechained it to the kick drum before rolling off some low end with an EQ. We boosted a little also around 160Hz.
Lastly, duplicate the pad part. Keep everything the same but on the second channel, tune the second pad down one octave.

B: THE PIANO
Next, let’s get the piano going. Here’s our piano part.
On a new channel, load up Deft Lines, place this MIDI part on the channel and find Old Movies Dark Piano in your sub-category Keys. Next, tune the whole instrument up 12 (an octave). You’ll find Tune on the main interface on the top right.
On the channel we have added Half-time, of course, a compressor to sidechain the piano to the hi-hats in Step 3 and Beat Repeat with the setting ‘Airpusher’. Beat Repeat is a less glamorous version of Gross Beat in FL Studio but does the trick. Lastly, add some Auto Pan – we just want to push it around the mix a little.
Next, duplicate the piano onto a different channel. Open Deft Lines and tune this part back to 0. Keep the settings the same. That’s one piano up the octave and the other down.

C: VOCAL CUTS
Load up a new channel and a new instance of Simpler. We want to take a vocal one-shot and use it as an effect.
Find Vocal Shine On from the Young Phantom Pack. Simply drag it in and turn the Volume, on SImpler, up to 5.14dB.
Here’s our part:

D: GROUP THE MUSIC ELEMENTS TOGETHER
Group the musical elements together. Now we can control them as a whole.
On the channel, add an EQ Eight, an Auto Filter and a Glue Compressor. Take the Auto Filter and automate it to process a frequency sweep at the end of 8 bars.

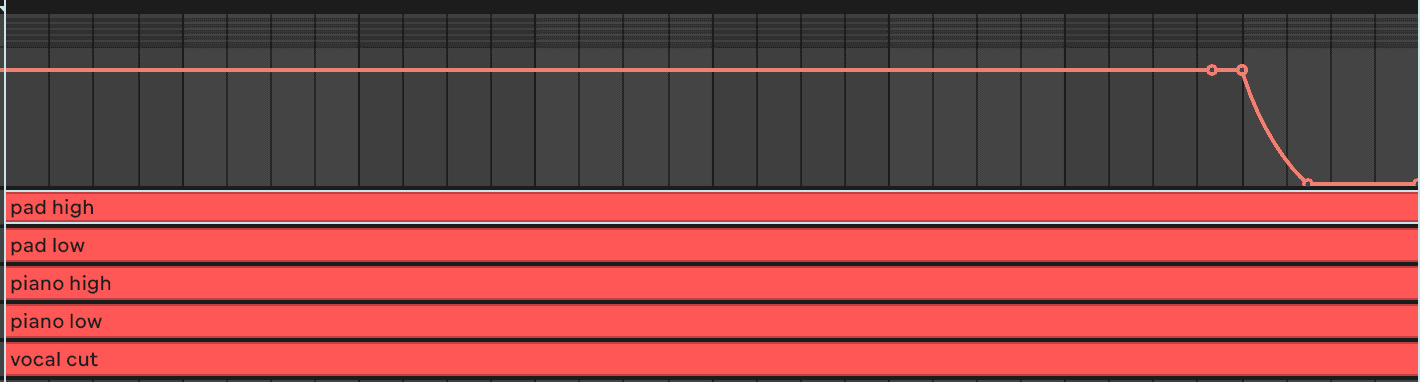
Here is our progress so far:
STEP 7
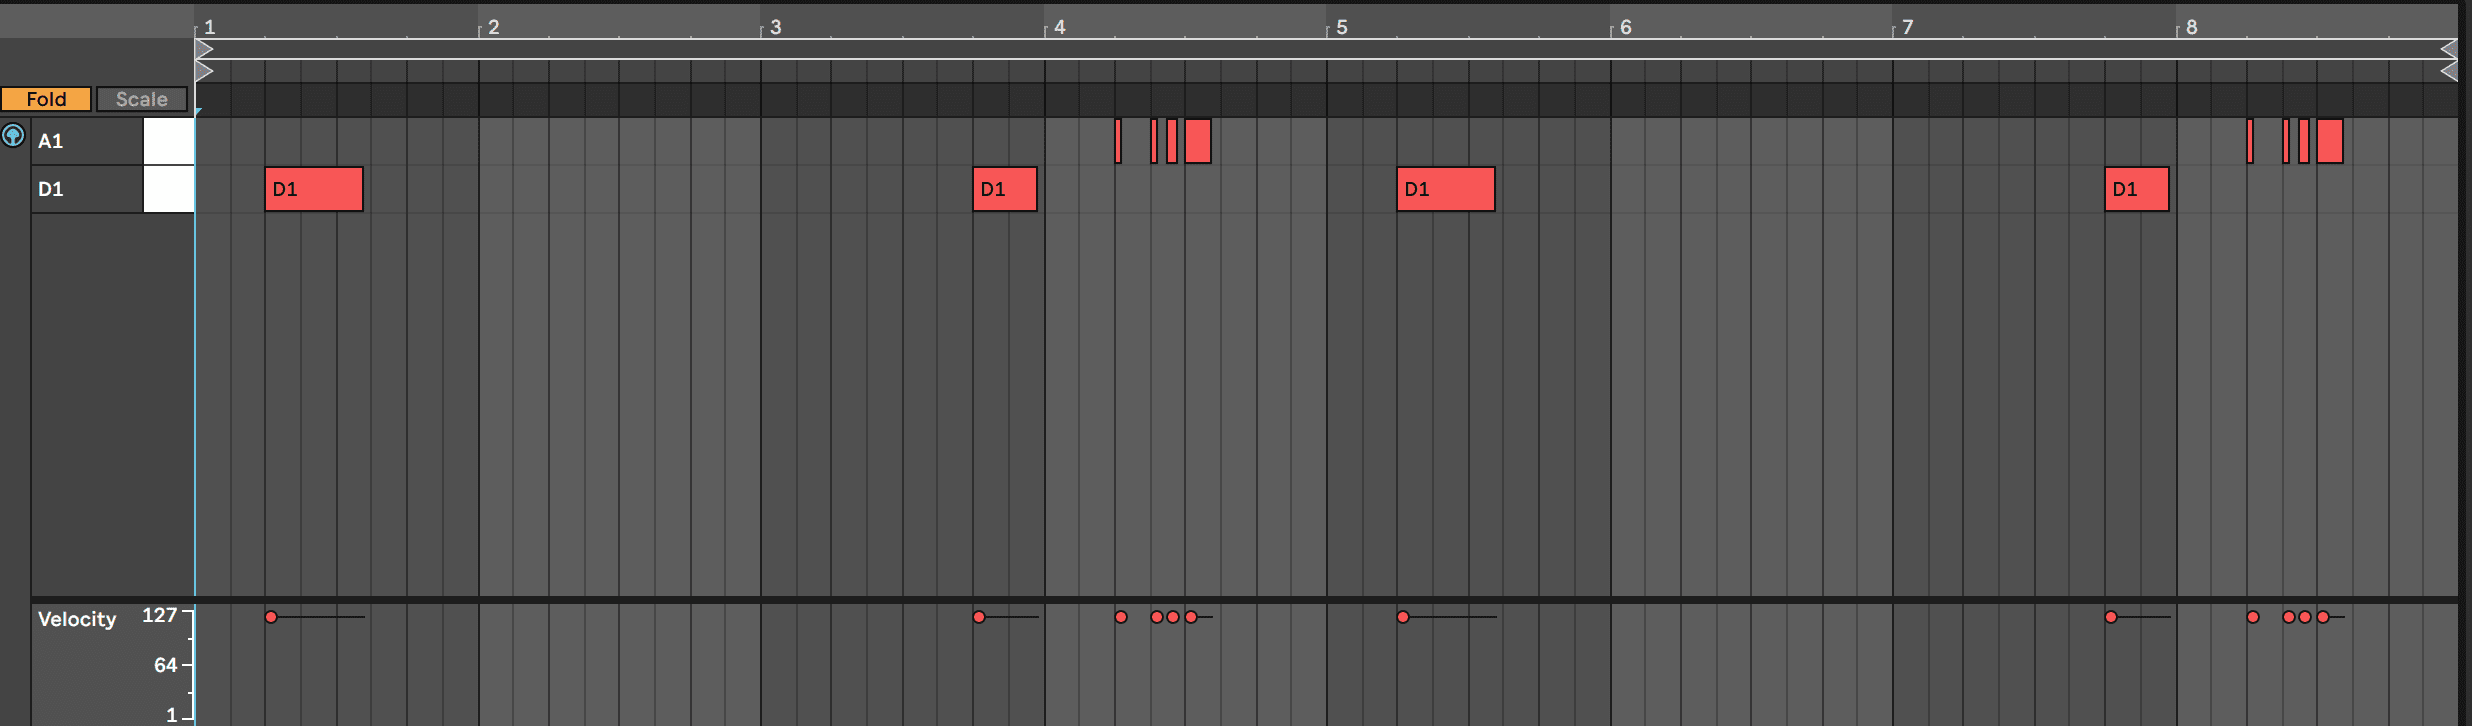
Slidey 808 bass is as ubiquitous with drill as 909 drums with techno. It’s generally easier to do in FL Studio however in Ableton we find Note Expression works pretty well.
Load up into a new Simpler from the Young Phantom Pack the 808 Bass B Vague. Don’t let the name fool you, this is anything but vague..
Diall in the Attack to around 130ms and drop the Decay to 1.00ms (it’s minimum setting). Drop release to 13.7ms and Volume goes up to -7.43dB. In each step, we are working with the ADSR to make the sounds tighter. This will make mixing far easier, or indeed less to do, as the sounds work better, to begin with.
As the one-shot is in the wrong key, click on the Controls tab and Transp it down by -1st and Detune to -11ct. It’s still ever so slightly off but it works well enough. Pitching 808’s bang into key can be tough – especially if the one-shot has some modulation. It’s worth paying attention to the tuning of the one-shot.
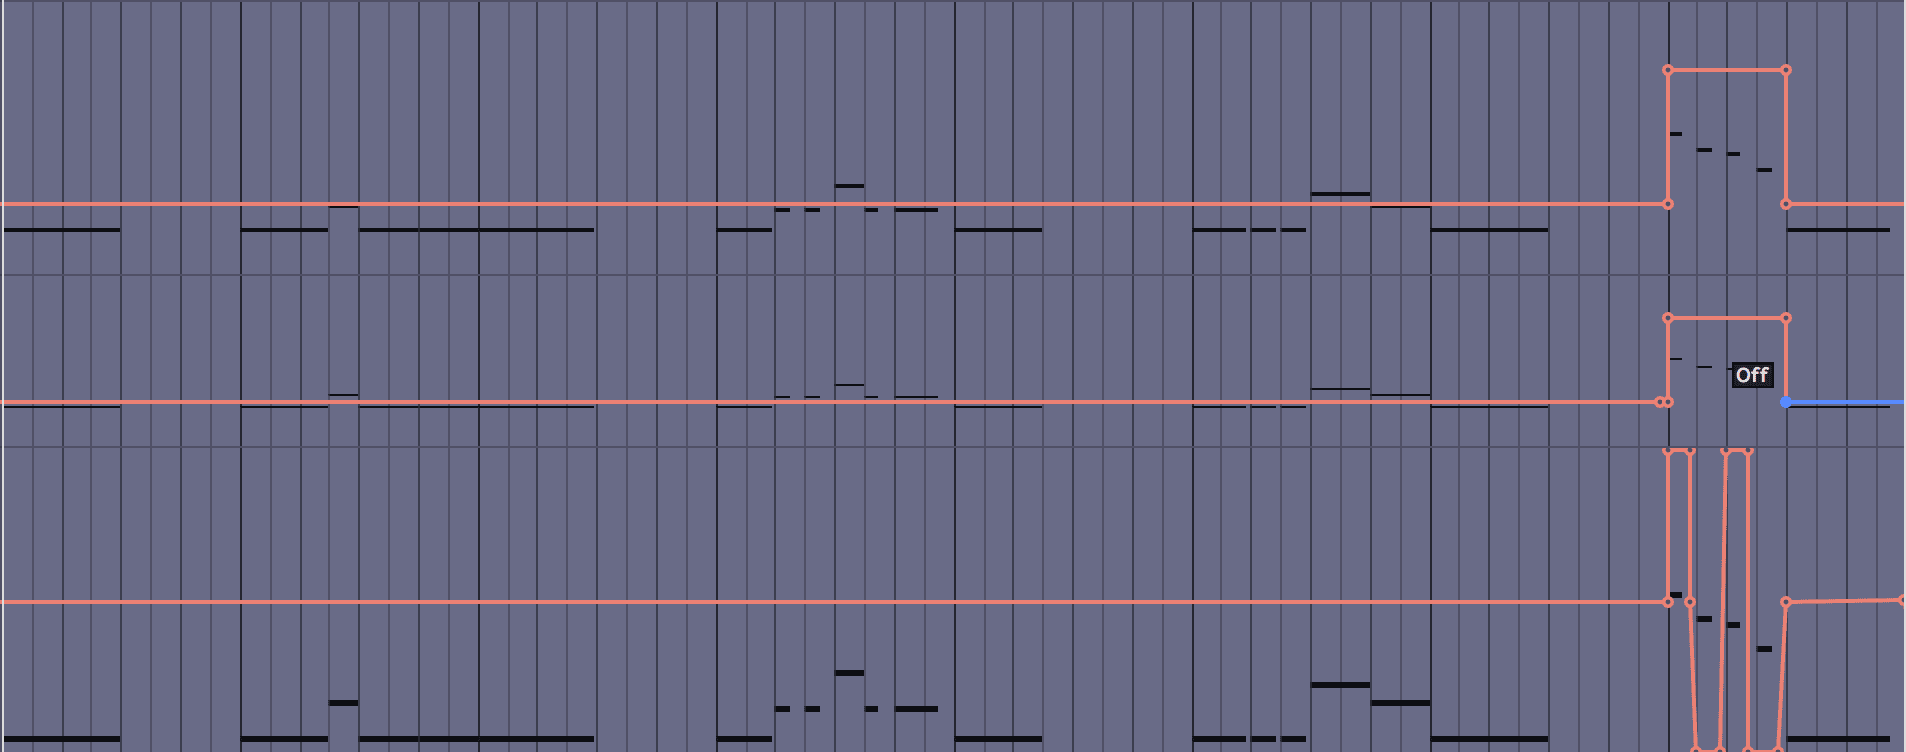
Here is our MIDI part. Notice the Note Expression on some of the notes. It works similar to pitch bend.
On the channel add a compressor, a limiter, an EQ and reverb. We want to automate the EQ and reverb to toggle on at a certain point.

On the pic below you will see, that in bar 7 we have automated the EQ to turn on, the reverb to turn on and panned for each note to be panned hard left and right on the rundown of notes.
Lastly drop the channel volume. We have it at -11.2 dB.
Here’s our progress so far:
Step 8
More what I like to call ‘magic makers’. These are the extra ‘bits’ that add that layer on top. They are not totally necessary but hey we like the pack and we’re enjoying the sounds.
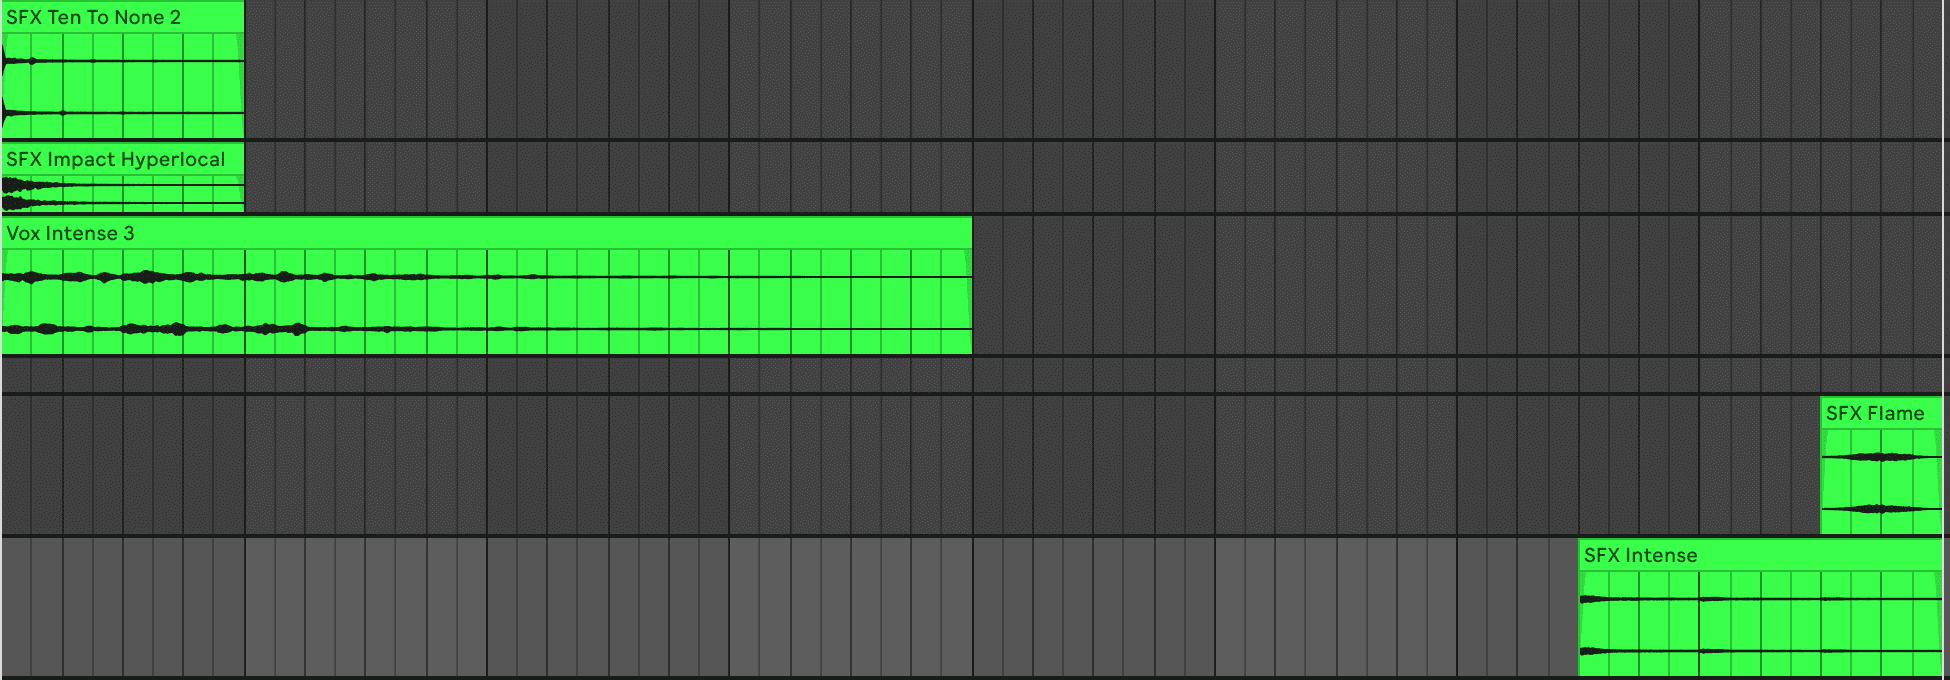
In the order, working down the screen below we are using SFX Ten To None 2, SFX Impact Hyperlocal, Vox Intense 3, SFX Flame and SFX Intense.
We have done very little processing, if any, maybe a touch of reverb on the Voc Intense. But that’s it. Group them together and just played with the levels.
Here’s the arrangement
Here’s our progress so far:
STEP 9
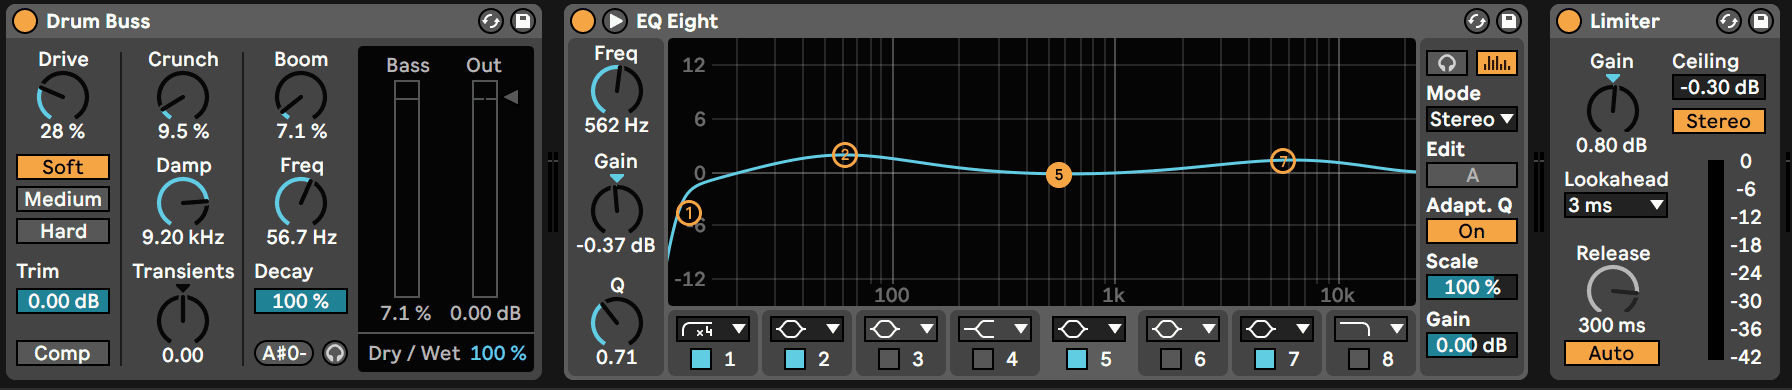
To end with, load up a Drum Buss on the Master channel, followed by an EQ and a Limiter.
Also, add a little Volume drop to make space for the imaginary vocalist! You never know. It could end up on GRM Daily if you’re lucky.

Here’s our final track:
While you're here, you may enjoy...

The Secrets of Dance Music Production
The world-leading book on dance music production. Comes with samples too.

Replicants – Elektron Analog Rytm Sample Pack
Electro sounds for the Elektron Analog Rytm. Free your spirit.


