
Flex your sound design muscles by restricting yourself to one sample for every element in a song.
A great way to improve your sound design chops is by limiting yourself to one sample and making an entire track from it. It really forces you to go outside your comfort zone and think about sound in a different way than usual. The sound you choose will also affect the process – working with a harmonically rich sound like a piano sample will be entirely different than trying to make music from, say, a snare sound. This is our challenge today.
As we want to make an electro track, we decided to work with a TR-808 snare. Although there’s some harmonic content, a lot of it is white noise – not particularly useful for making bass or melody. We’ll get it done though, largely through EQ, compression and distortion and saturation. Click any image to see a larger version.
We’ll go from this basic TR-808 snare:
To this electro jam:
Step 1: Snare
We start by setting our DAW to 134bpm and dropping an 808 snare onto a new audio track. We grabbed Snare 808 RK.aif from inside Ableton Live. We arrange it in a standard backbeat pattern so it hits on bars 2 and 4.
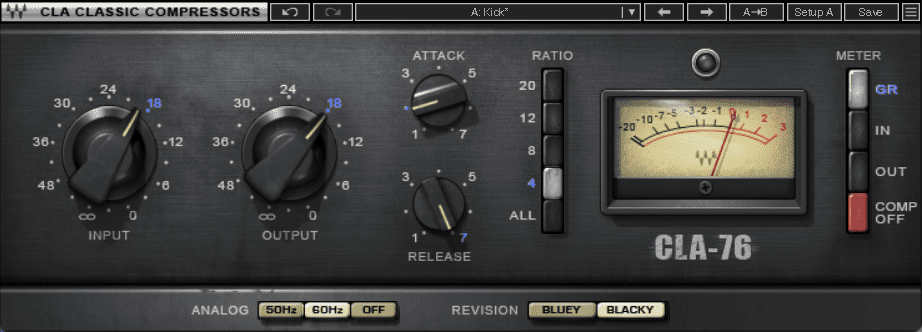
It’s a little vanilla so let’s add some processing. First, we call up Waves CLA-76 and give it a little compression, mostly for colour. We go with a ratio of 4, Attack at 3, Release at 4, and push it hard at the Input stage.
Next, Arturia’s Pre 1973 mic pre emulation adds some saturation. We drive it hard into the Type 1 Transformer and boost frequencies a little at 133Hz for weight and 2720Hz to zap the highs.
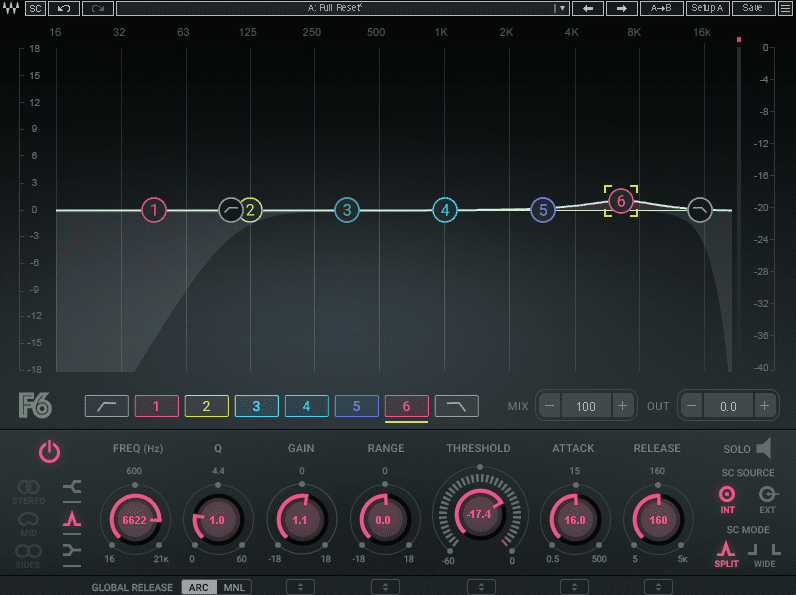
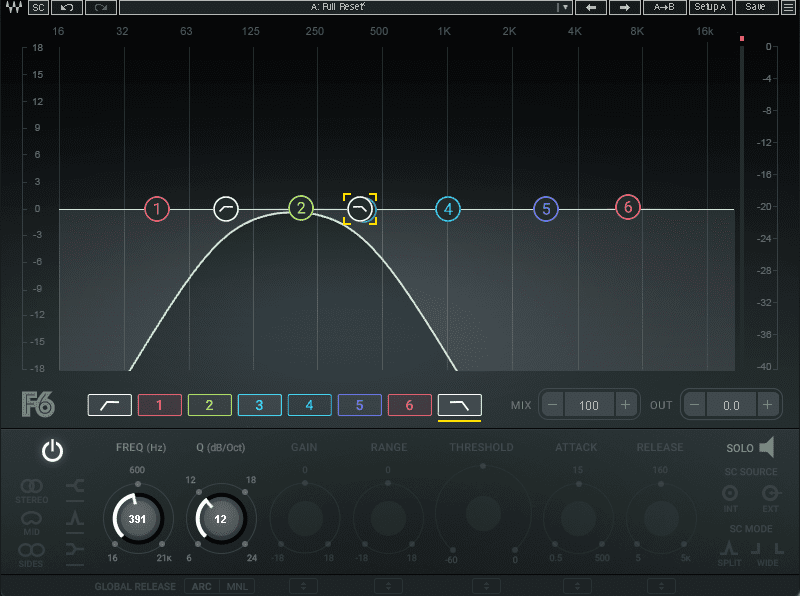
Finally, an instance of Waves’ F6 EQ plugin cleans up the lows and highs, and gives us a little boost at 6620Hz for snap.
Here’s our finished snare:


Step 2: Kick
Let’s turn our 808 snare into an 808-style kick. This will be far be the most complicated transformation.
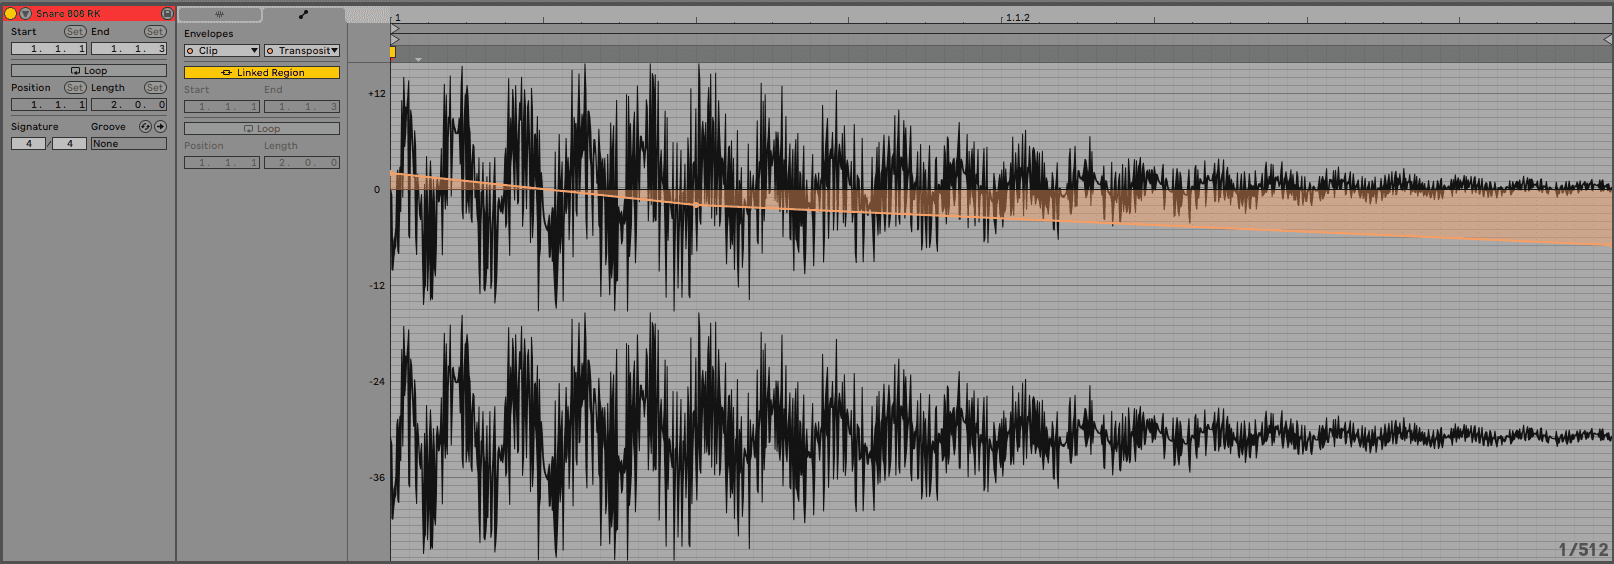
We start by dropping the same sample into a new audio track. Double-clicking on the file reveals its properties. We engage Warp, choose the Complex Pro warp algorithm, and then drop it 12 semitones to lower the pitch.
Although the snare already has a bit of a pitch envelope applied, let’s exaggerate this effect to give it an 808 boom quality. We click on the automation logo within the sample file, choose Clip and Transposition, and then draw in a pitch drop. Finally, we copy the sample across the timeline in an 808-style pattern.
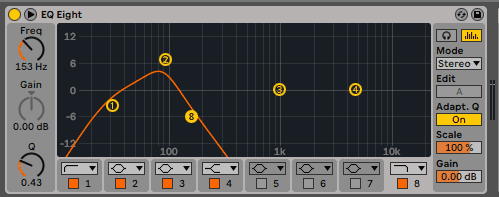
There’s a lot more work to be done. Let’s enhance the bass and get rid of that white noise top. We drop EQ Eight onto the channel, shelve out the highs at 160Hz and the lows at 30Hz, and then boost 7.5dB at 90Hz.
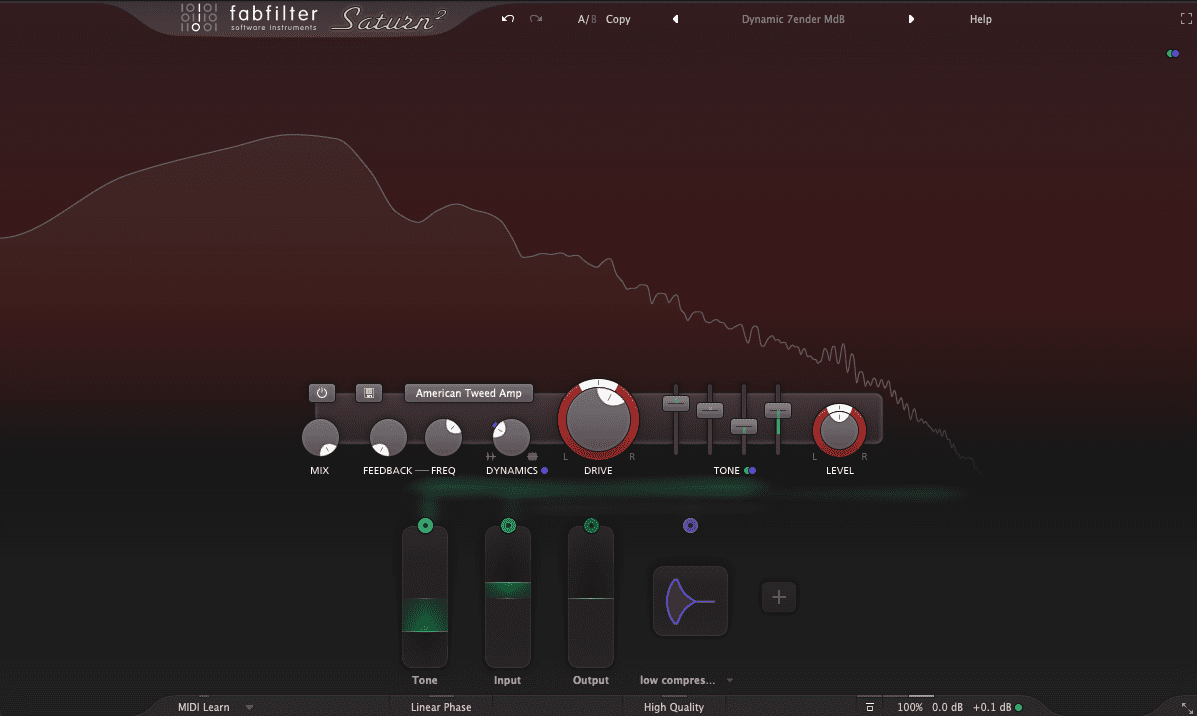
That’s the noise taken care of but now it sounds like it’s under a pillow. Let’s bring out some harmonics with saturation. Using the American Tweed Amp model, FabFilter’s Saturn 2 adds some much needed upper frequencies. We further shape the tone of individual EQ bands to really boost the bass and highs.
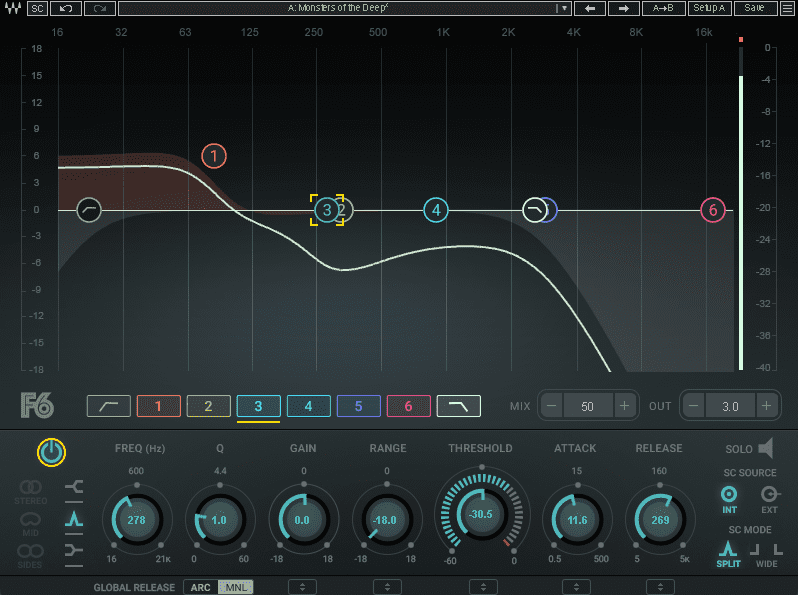
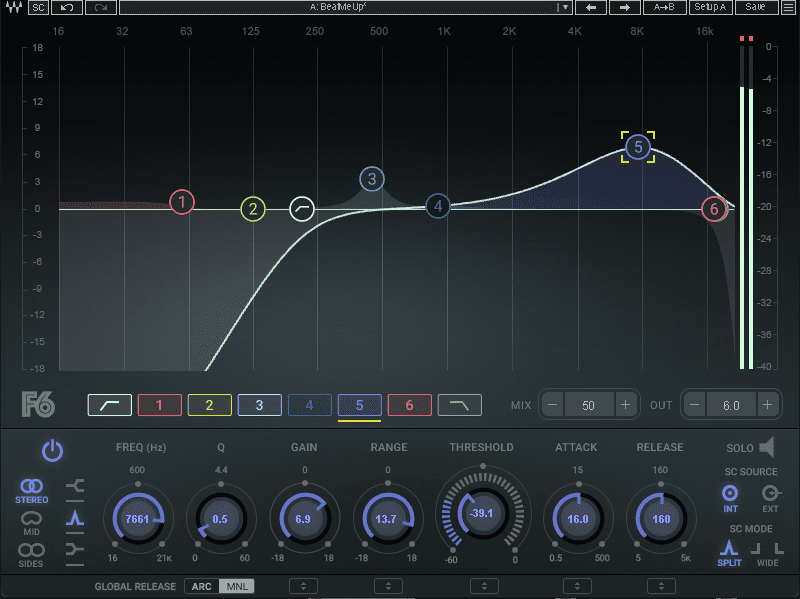
Next, another instance of Waves’ CLA-76 sculpts the sound, giving it more of a kick shape with a fast Attack and slow Release. Likewise, Waves F6 boosts the bass more. The Monsters Of The Deep preset further enhances the kick-like properties by dipping the mids with dynamic EQ when the sound plays.
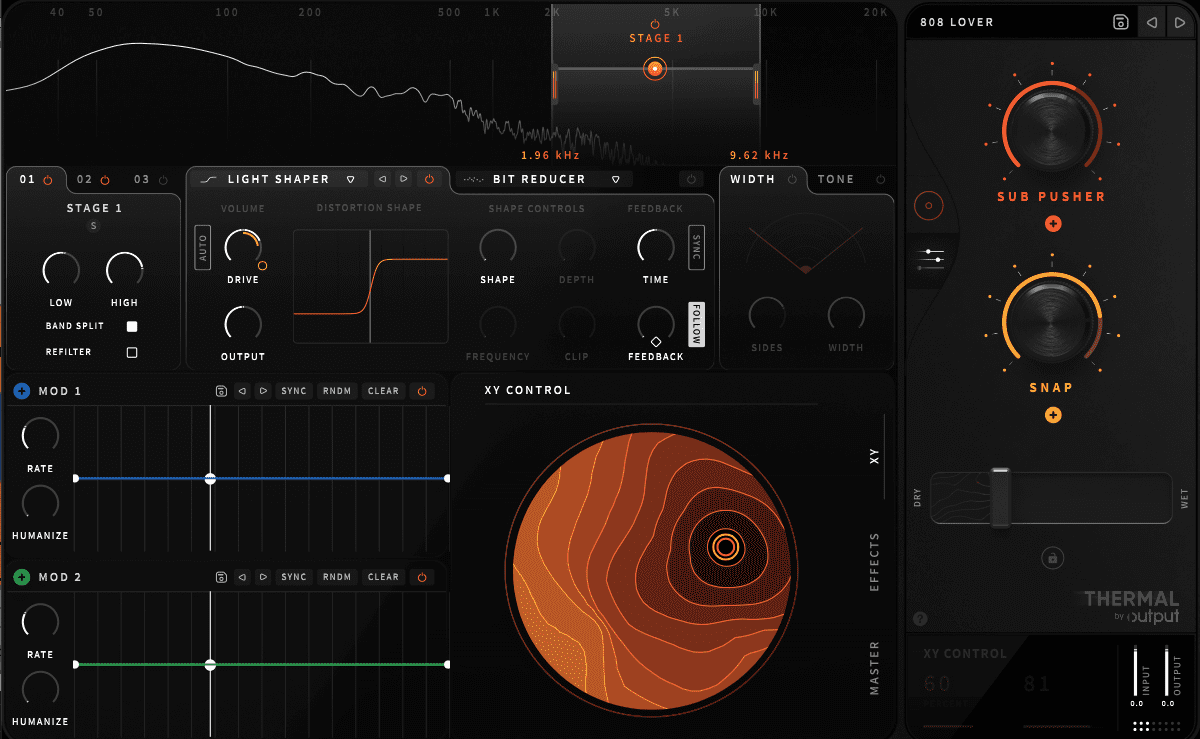
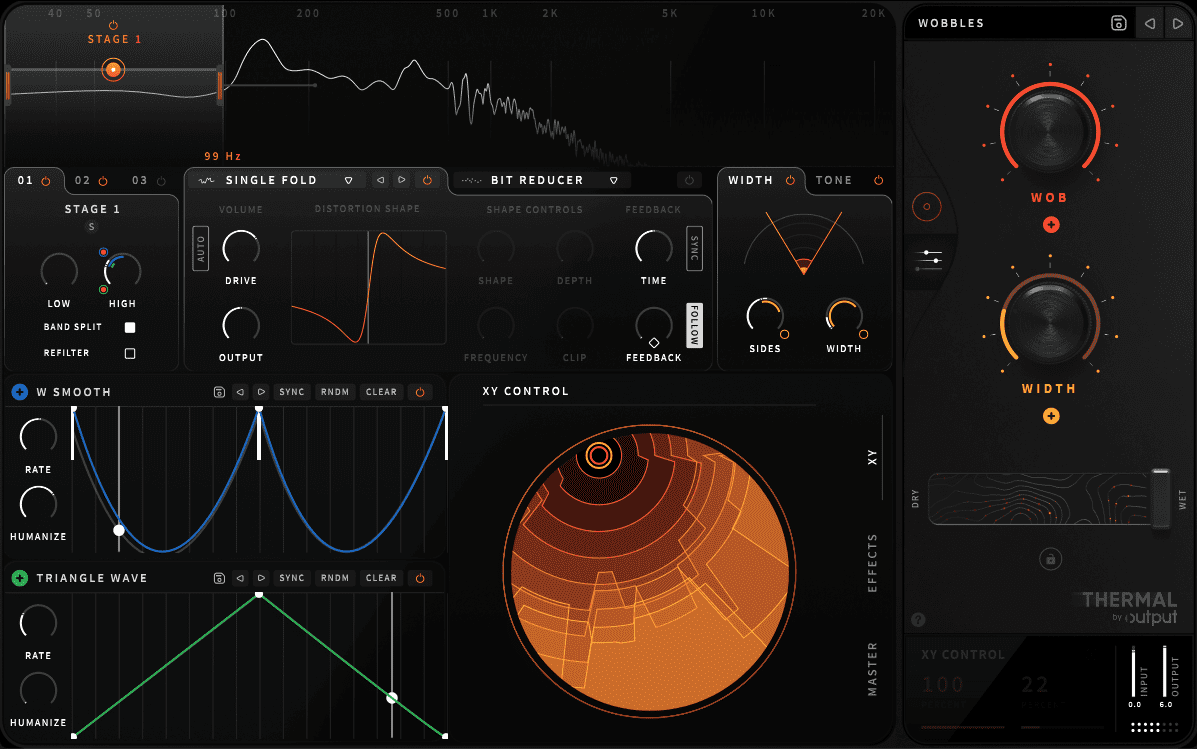
There’s more. Thermal by Output is a distortion plugin that’s perfect for adding synth-like overtones. We used the 808 Lover preset to further bring out the highs and give it an almost sawtooth-like feel.
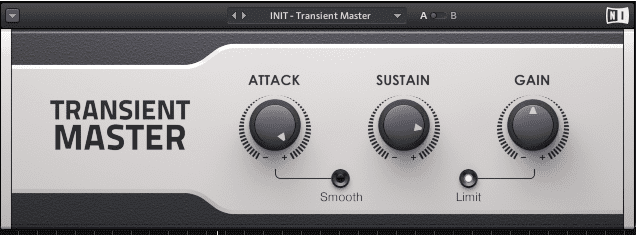
Lastly, one more EQ Eight to boost a little at 200Hz, and Native Instruments’ Transient Master to accentuate the Attack portion of the kick and pull out the body a little with Sustain.

Step 3: Hi-Hats
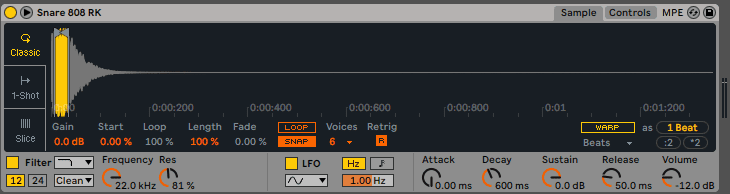
After the odyssey that was the kick, the closed hi-hats will be much easier. We create a MIDI track, open Simpler, and drop the same 808 snare sample onto it. We program some notes so the snare’s pitch is an octave above normal. Next, we drag the sample start and end points in Simpler close together until we have a nice, clicky sound. Finally, we turn up the resonance to 81% to give it some bite.
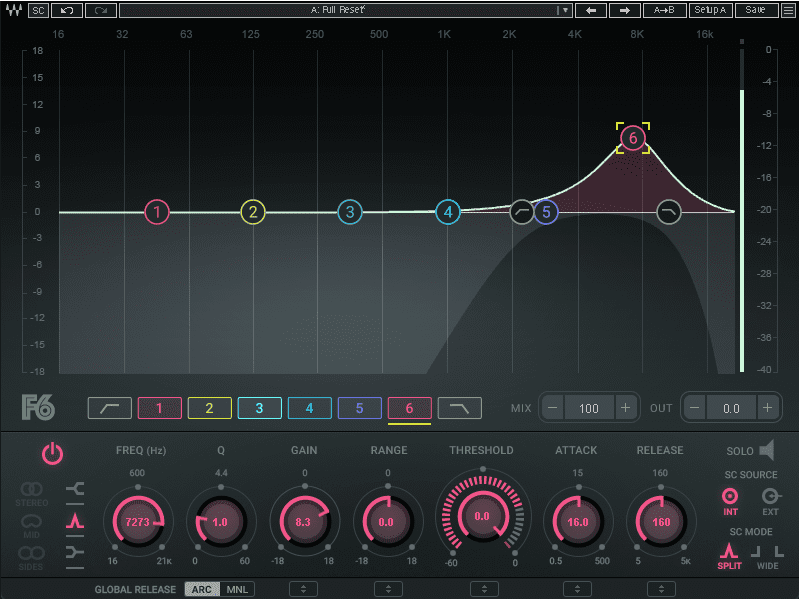
Next, we use Waves F6 to remove all the lows below 2200Hz and the air above 10600Hz. We also boost dramatically at 7200Hz to bring out the highs in that area.
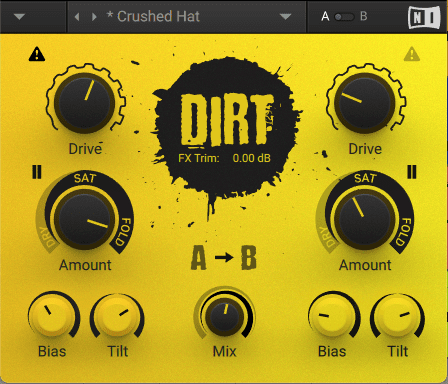
Our hi-hats are a little bland so let’s use distortion to excite them. Dirt from Native Instruments is just the ticket. We start with the Crushed Hats preset and adjust it until it sounds nice and dirty.
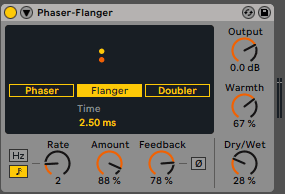
We want to add some motion to the hats so we drop in Ableton Live’s stock Phaser-Flanger. We set it to Flanger mode for a metallic sheen, choose a slow modulation rate of 2, increase Amount to 88%, Feedback to 78%, and Dry/Wet to 28%.
Step 4: Bass
Our kick is very full and bassy so we’d like a mid-bass sound for our bassline. We’re going to play it chromatically so we start with a Simpler and drop in the same 808 snare sample. We program in a bassline and then filter out some of the highs using the Simpler’s onboard filter controls.
It still sounds like a pitched-down snare so let’s use EQ to shape it. Using Waves F6, we drastically cut out the highs and some of the lows. We’re left with a vaguely 808 tom-type sound.
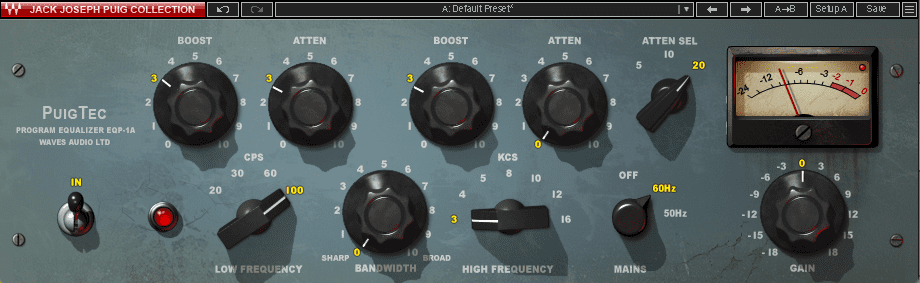
Let’s continue shaping with EQ, this time with Waves PuigTec to boost the lows at 100Hz using the PulTech trick, and the highs with a boost at 3kHz.
We can use saturation to give it more tone and character. Output’s Thermal running the Wobbles preset really gives it some life, resulting in an almost FM bass-type sound.
Finally, another instance of Waves F6 brings out the highs with dynamic EQ. We also cut some bass to make room for the kick.

Step 5: Melody
To create a melody from our snare sample, let’s use Simpler and an arpeggiator.
We start with the sample loaded in Simpler in a new MIDI track and pull the start and end points close to make a short burst. We also lower the cutoff frequency and increase the resonance a little to give it come character. Next, we program in some long notes playing octave chords, add Ableton’s Arpeggiator device before the Simpler and set it to an Up & Down Style.
Next, we add a Waves CLA-76 compressor with an ultra-fast attack and slow release to accentuate the transient.
It doesn’t sound very interesting so let’s use Native Instruments’ Dirt to fix that. We start with the Acid preset, which uses saturation to bring out harmonics.
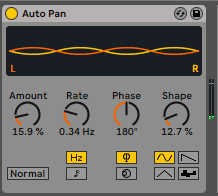
We have a lot of mono elements in the mix, which is not very interesting to listen to. We can fix that with Ableton’s Auto Pan, which will push the melody out to the sides and help it stand out in the mix. A low Amount and slow Rate are all we need.


Step 6: Sends and Buses
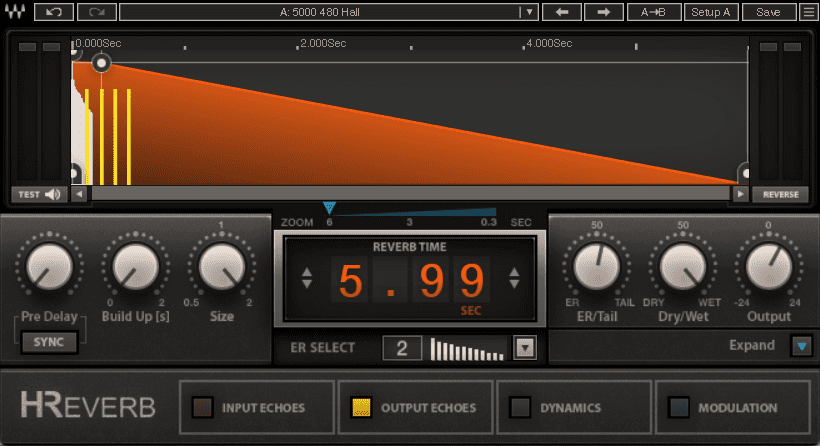
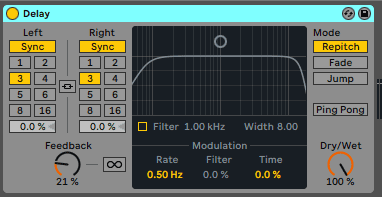
We’re just about done so let’s add some polish and shine. We put Waves H-Reverb running the 5000 480 Hall preset on a send and direct the snare, hats, bass and melody to it. For the delay, we go with Ableton’s Delay.
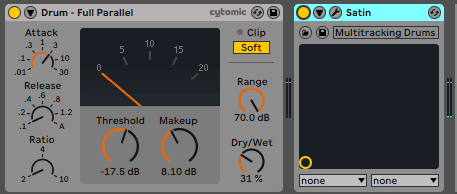
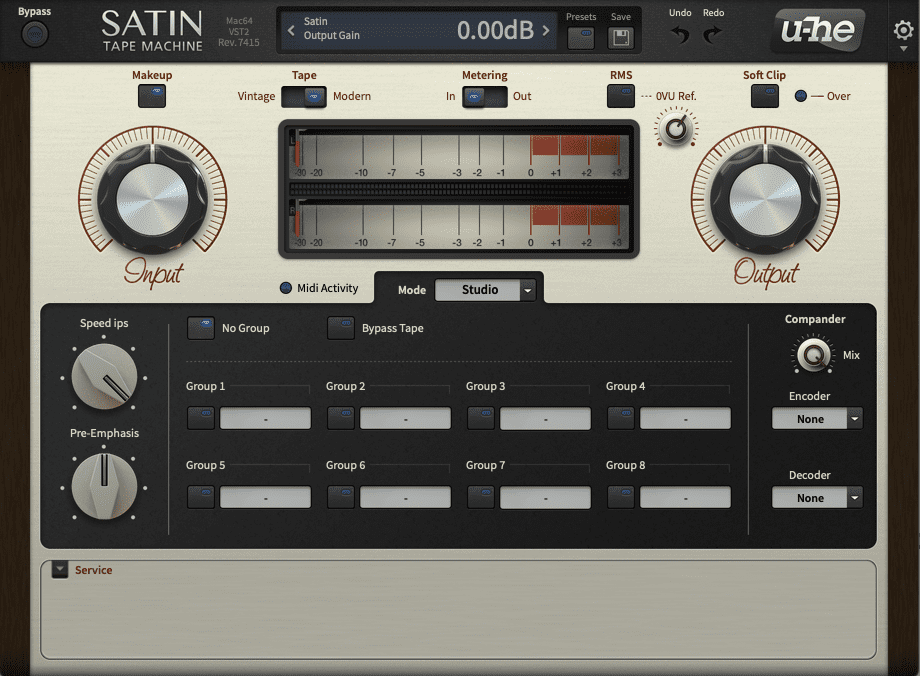
We group the drum sounds together into a single bus and add Cytomic’s The Glue plus u-he’s Satin to it to help the drums gel together.
*Attack Magazine is supported by its audience. When you purchase through links on our site, we may earn an affiliate commission. Learn more.