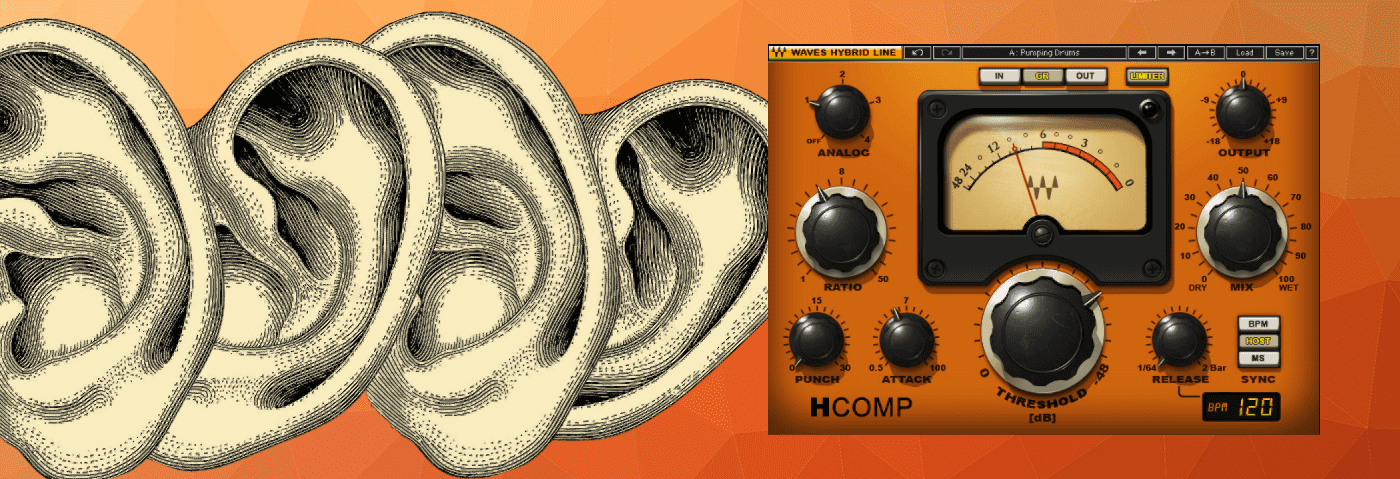
It can be difficult for beginners to hear compression. We walk your ears through it using Waves’ H-Comp Hybrid Compressor.
Compression is an indispensable mixing tool. It can help smooth out uneven performances and add punch and weight to drums and bass. It can also be difficult to hear what’s going on, especially if you’re a beginner. Instead of just whacking a compressor on your track, twiddling a few dials and hoping for the best, it can be useful to train your ears to hear exactly what the compressor is doing.
In this tutorial, we’ll take you through setting a compressor on a house drum mix bus and highlighting each of the major functions – threshold, ratio, attack, release and parallel settings – along the way. This walkthrough is aimed at beginners, although more advanced producers may want to test their ears on the audio as well. Note that we’ve exaggerated some of the settings to make them easier to hear.
We’ll go from this uncompressed rhythm track:
To this one, fully dialed in:
N.B: We recommend following along with headphones or studio monitors as some of these results can be subtle. As ever, click any image to see a larger version.
An Overview of Compressor Controls
For this tutorial, we’ll be using Waves’ H-Comp Hybrid Compressor, a modern-style compressor with all of the usual parameters. Let’s take a look at what those are.
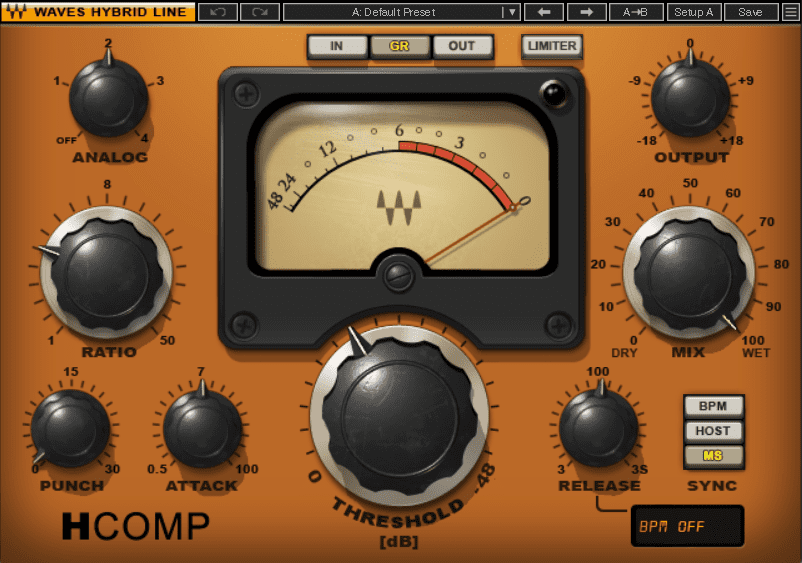
- Threshold: Threshold sets the point (in decibels) where the compressor starts working.
- Ratio: This sets how much gain reduction occurs. This is measured in ratios (2:1, 4:1, etc). The ratio expresses the relationship between input and output levels. For example, with a 2:1 ratio, for every two decibels that cross the threshold, one decibel will be output. Lower ratios are more natural and transparent while higher ratios sound squashed.
- Attack: Think of attack and release as envelope settings that affect the performance of the compressor rather than overall volume. On a compressor, attack sets how quickly it applies gain reduction to the signal that crosses the threshold. Slow settings will let transients through while fast ones will clamp down on them.
- Release: This is the other half of the compressor envelope. Release tells the compressor when to let go and stop compressing. A fast release will reset the compressor quickly, while a slow one will keep compressing for a long time.
- Output/Makeup Gain: You may want to balance the outgoing signal to that of the incoming signal. Some compressors, like H-Comp, will do this for you automatically with its makeup gain.
- Parallel Compression/Mix: Modern-style compressors will often have a mix or wet/dry knob to blend between the affected and dry signals. This is called parallel compression.
Step 1: Deciding Goals
Before you reach for a compressor, the first thing you should do is decide what your end goal is. This will help determine the settings that you make. Are you trying to even out a live performance? Squash some drums? Create a pumping effect? All of these will require a different approach.
Our goal today is to tighten the dynamics on a drum bus and glue the sounds together. We’d also like to add some character and want to use parallel compression as well. Our bus is made up of three separate tracks: a Drum Rack with a TR-505 kit, a 909 kick drum and a percussion loop. We’ve done a little processing on each track in terms of EQ and saturation, but there’s no specific compression on them. Normally we might compress each element, but we want to see – and hear – exactly what’s happening with the bus compressor.
Here’s the drum bus with no compression:
Here are the three individual channels:
Step 2: Setting Threshold
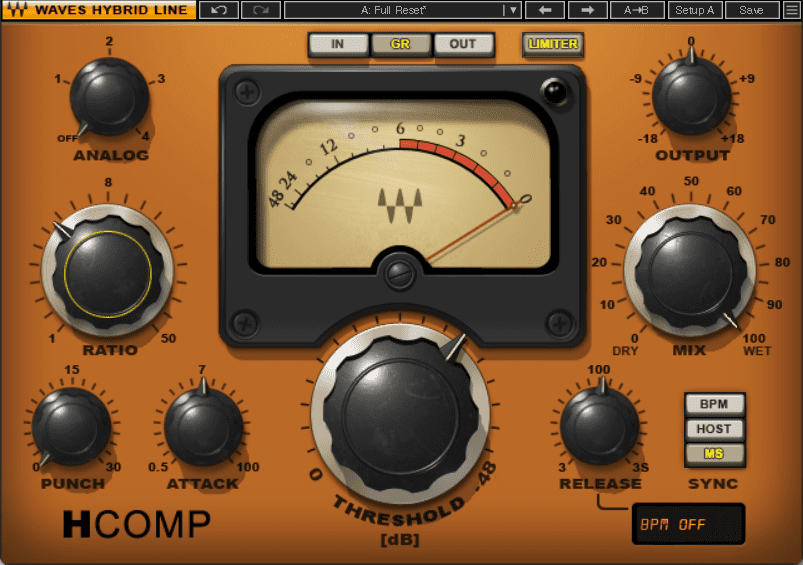
Let’s get started with compression. We place a copy of H-Comp across the drum bus and call up the Full Reset preset. The first thing we want to do is make sure that the Punch and Analog dials are turned down to 0. We also deselect the Limiter, as we’re not using these parameters in the tutorial.
Next, let’s set up the compressor so that we can go through each function step by step and really hear what’s happening. We turn the Threshold down to 0.0dB. Next, we turn the Ratio down to 2.00, or 2:1 as a starting point. We’ll adjust this more in the next step, but we need to be able to hear some compression happening to properly set the Threshold. We can leave Attack and Release in their default states for now.
Before we start cranking down the Threshold, let’s think about our goal. As we plan to use parallel compression down the line to inject some dynamics back into the beat, we can get a little heavy-handed with the compression. The compression will change as we tweak the other parameters, so we don’t need to be too precious about the threshold settings yet.
We sweep it from 0.0dB all the way to -48dB and then back to the spot that we like, which is -31.5dB.
Sweeping the threshold point:

Step 3: Setting Ratio
The next step is the ratio. As we explained before, ratio indicates how much gain reduction occurs for any 1dB past the threshold. We’re shooting for a ratio of 4:1, which will give us 4dB of reduction at 1dB over, 8dBs at 2dBs over, etc.
This time, we sweep the knob from 1:1 (no compression) to a full 50:1, which is limiting. We then back it off to 4:1.
Sweeping the ratio:
Step 4: Setting Attack for Transients
As we stated in our original goal, we’d like to use compression to add punch to the transient portion of the audio. We need to set the attack slow enough, then, to let the transients through. So far, we’ve been working with attack (and release) at the default halfway position.
As before, we’ll sweep the knob, starting at the fastest position (0.5ms) and ending at the slowest (100ms). Then we’ll back it off to 11.7ms, which sounds the best for this application. Notice how smashed the transients are with the Attack at the fastest setting.
Sweeping the attack:

Step 5: Setting Release for Vibe
Next, we’ll do the same with the Release setting. Long release settings essentially mean the compressor is on all the time, effectively lowering the volume across the board. We want to find a happy medium and hopefully get some movement happening with the rides as well.
We start at the fastest setting, 3ms, and increase until 100ms, and then come back to 36ms.
Sweeping the release:

Step 6: Setting Parallel Compression
For the last step, we want to use the Mix knob to blend the uncompressed signal back in, making use of parallel compression. This reintroduces some of the dynamics that we lost with compression while maintaining the vibe and character of the squashed signal.
This time, we start at 0, which is completely dry, and bring the compressed signal in until we reach 100% wet. Then we go back to a good blend – in our case, around 70% wet. That’s our drum bus finished.
Sweeping the Mix knob:

As an alternative, here’s another version, this time with less threshold (-14dB), the mix fully wet, and with H-Comp’s Punch mode engaged to add extra snap to the transients. The Analog knob provides some hardware-style saturation.
With alternative settings:
*Attack Magazine is supported by its audience. When you purchase through links on our site, we may earn an affiliate commission. Learn more.