This channel is sponsored by
 Roland Cloud is your creative hub for Roland hardware and software. Access legendary recreations of Roland Classics, find new sounds for your favorite products, and download updates and companion apps to make music fast and easy. Visit Roland Cloud
In our latest tutorial we look at how to make a drone using a simple kick drum one shot. Sound design need not be a ‘dark art’ and it doesn’t have to be difficult to create highly effective results. In this tutorial we’ll cover a basic technique for getting started.
Drones are one of those mythical sounds that can be created from almost anything. They’re heavily used in techno, and for good reason; their ominous and cave filling sonics draw immediate attention to the track. They add an extra texture, immediately alter the mood and often you’ll find they bring a tasteful touch of dissonance to a track.
Fans of sample packs will know all too well that drones will often come in the bucketload but it’s worth learning how they are made so you can sculpt and create them from scratch. For the purpose of this tutorial, we’ll use a simple kick drum one shot. Using audio manipulation and creatively applying our plugins we’re going to make a sound that would work well on a transition.
Whilst this has been made in Logic, you’ll find the same rules apply no matter which DAW you choose to use.
Here’s the sound we’re building today:
Step 1
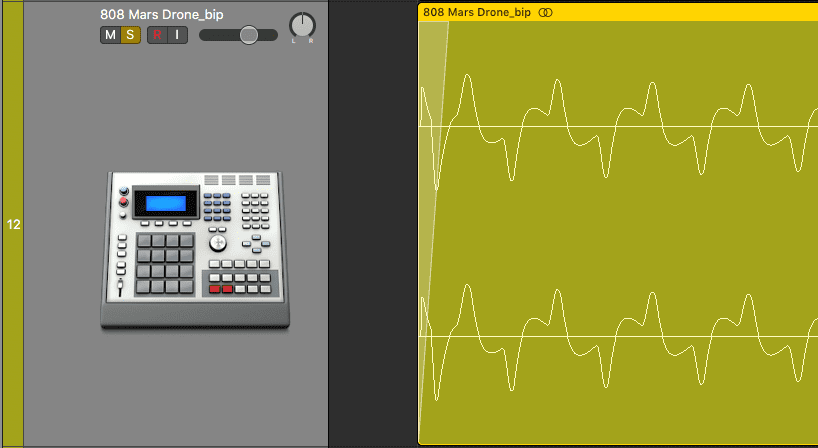
We’re starting off with a very simple 808 kick drum one shot. We’ve chosen a sample which is tuned harmonically with the rest of the track. You can do the same but do not worry too much as you can always re-tune it later or indeed leave it as is if you are happy with how it sounds.
We’re going to render it as a new sample but before we do we’ll tweak a few parameters within Logic’s EXS24. A little drive should add some harmonics, and dropping it down 24 semitones will increase its duration. The EXS24 works like an old fashion sampler in that the lower the pitch, the longer the duration of the sample. We then render it out as a new audio file leaving us with:
You can already see where this is starting to go, and we’ve only made a couple of edits. Next add a small fade onto the front of the audio sample to get rid of the click. This will make the entry smoother.
It’s a subtle difference but it pays dividends in the long run to do the basic housekeeping early on.
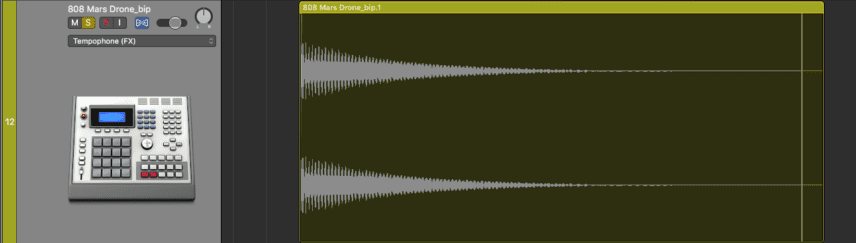
By using Logic’s flex tool we’re going to manipulate the audio. Flexing audio adds strange artefacts to the sound, which is what we’re after!
We’re going to try lengthening in temophone mode (made famous by all the 90’s garage artists – check any Oxide and Neutrino intro) as we’re trying to lengthen the sound.
At this point, the sound is too dark and low. However, before we head for the EQ we want to boost the energy levels. To do so, we duplicate the sound and on the
Step 2
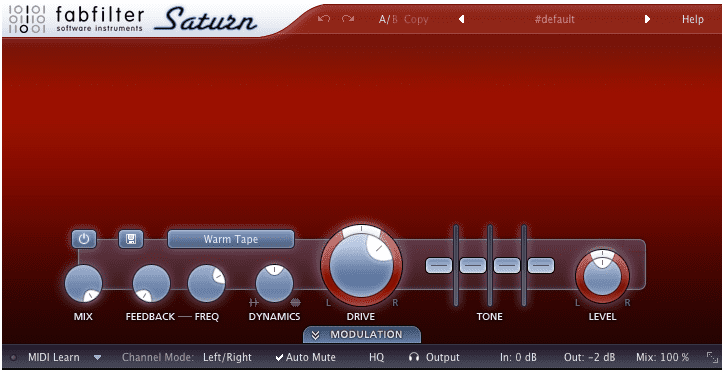
We then sum the two parts together in a bus track so that we can process them as one. This technique is very useful when layering sounds as it helps you sculpt the overall sound.
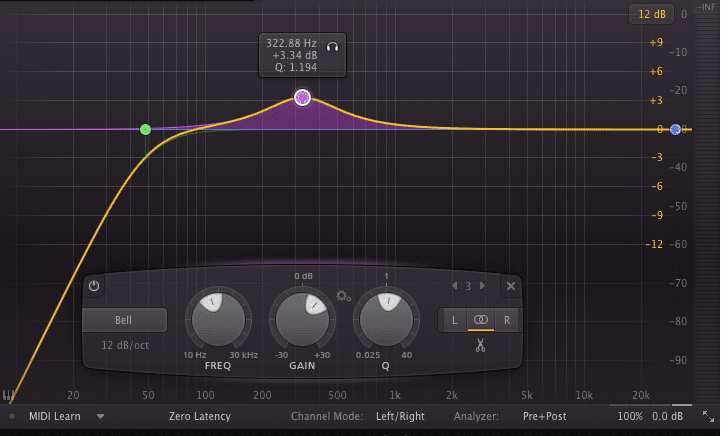
We apply FabFilter Saturn which glues the two together with fairly extreme tape distortion/saturation. We also use the FabFilter EQ to reduce the lows and boost the tasty resonance around 300Hz which helps give the part further character.
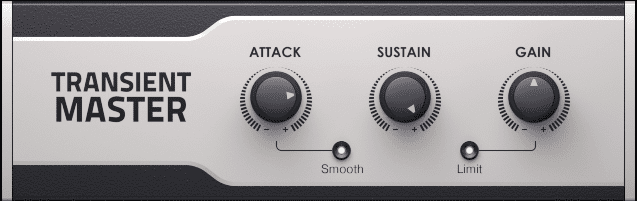
Next we go for a Transient Master from Native Instruments plus we add a reverb on a send. If you don’t have the Native Instruments Transient Master try any expander instead and copy the settings below. Tweak to taste.
For the reverb send, you can dial in as much or as little as you wish. Play around until you find a setting you like.
Step 3
Let’s try layering this part with another drum sound to provide some extra sheen. We’re going to use a cymbal, pitched down using EXS24’s parameters with added drive.
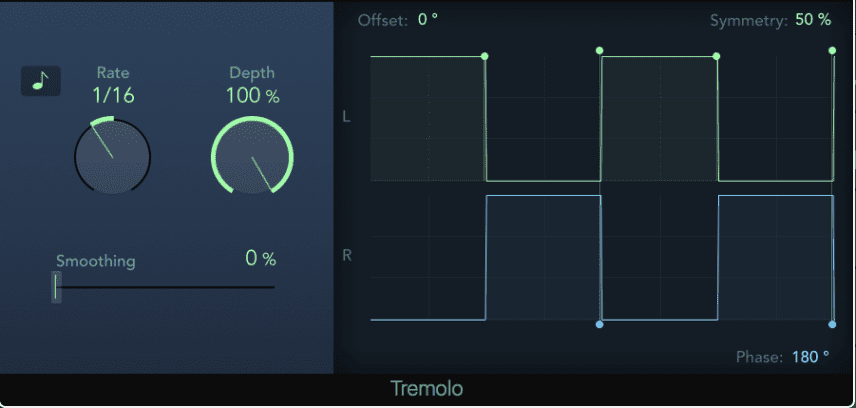
Reaching for our tremelo plug in, we’re looking at some fairly unorthodox settings to get it to bounce from side to side. We’re trying to acheive some stereo depth to help fill the space.
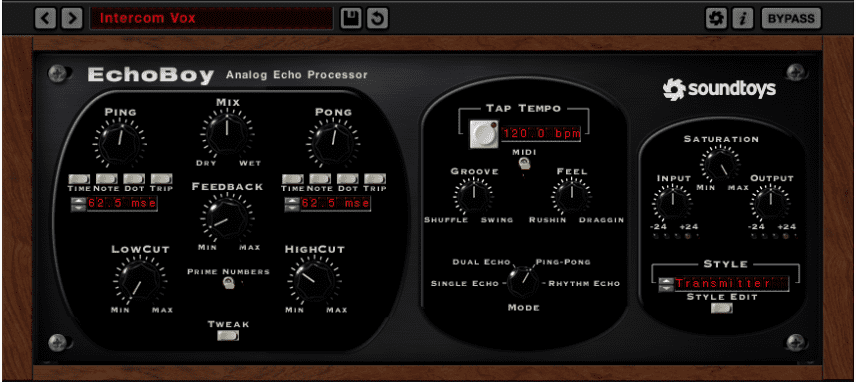
The sound needs to diffuse a little so we’re adding Echoboy by Soundtoys. Again any echo or delay plugin should serve you well here. With the Echoboy, we’ve found this great preset called Intercom Vox which smoothes out the tremolo effect on the cymbal and adds spacial character.
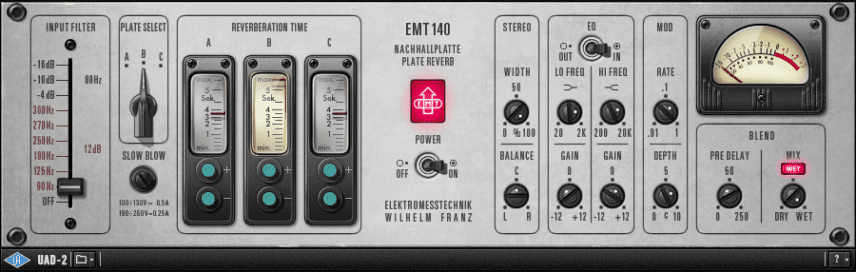
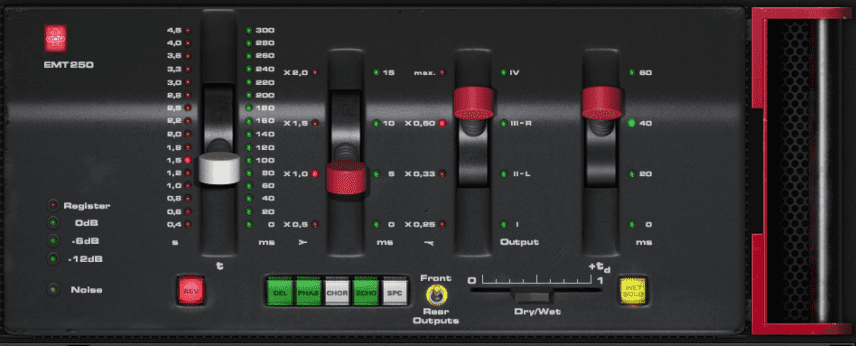
Last but not least, some reverb to make it even more eerie and push it into the distance. We’re using the UAD EMT 250.
Step 4
The last step is to balance the cymbal with our first sound and voila we have our drone.
The cymbal is really there to support the original sound so we’re going to reduce its volume in the mix. The focus should be on the lower drone created from the kick drum one shot which will give us that epic boom and impact.
We’ve rendered the two together to create a new stereo file and automated some side chain from the file decay so that it discreetly disappears into the ether.
Tutorials is sponsored by
Roland Cloud is your creative hub for Roland hardware and software. Access legendary recreations of Roland Classics, find new sounds for your favorite products, and download updates and companion apps to make music fast and easy.