This channel is sponsored by
 Roland Cloud is your creative hub for Roland hardware and software. Access legendary recreations of Roland Classics, find new sounds for your favorite products, and download updates and companion apps to make music fast and easy. Visit Roland Cloud
It may be one of the oldest audio tricks around but there’s still plenty of life left in tape stop effects, especially when used in tandem with other techniques. In this tutorial, we’ll be looking at how tape stop effects can bring movement and interest to your beats, pads, and breakdowns.
Ah, the humble tape stop effect. Originally literally the sound of magnetic tape slowing down, the effect has since made its way into DAWs where it’s been digitized into plugins. Some DAWs have it built-in to their functionality, such as Logic, while others come loaded with it as a native plugin. We’ll be using Kilohearts’ Tape Stop but there a variety of alternatives available if you don’t have this one to hand.
While the standard tape stop effect is a little old hat these days, in this tutorial we’ll show you how to use it creatively, employing automation, LFOs, and even multiband processing to add rhythmic movement to beats, pads, and breakdowns. To enlarge any image, just click on it.
Here’s some audio of a breakdown from both before and after tape stop effects.
Before tape stop effect:
With tape stop effect:
Basic Tape Stop Effect
Let’s see how it works with drums. We want to create an effect where the beat slows down at the end of four bars. We load an instance of Kilohearts Tape Stop on our drum buss.
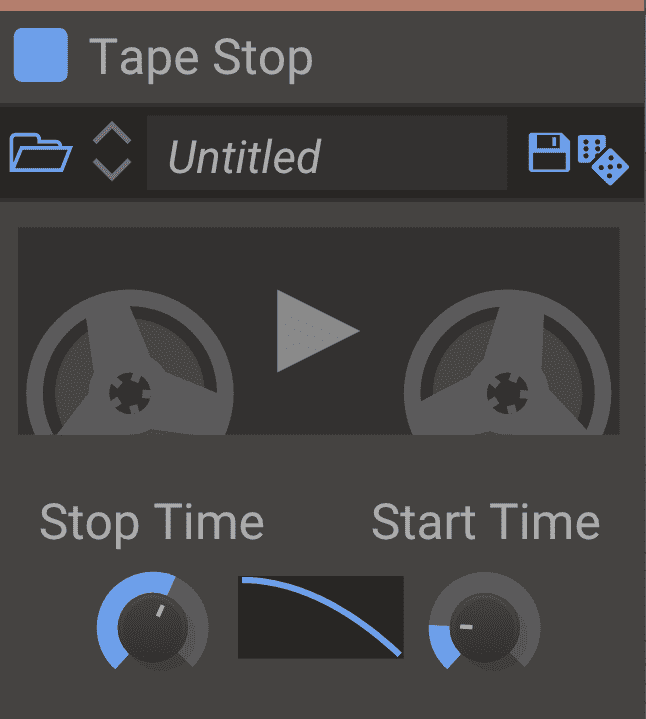
Tape Stop is a relatively simple plugin with few controls, so it’s easy to master quickly. In the center there’s a graphic representation of a reel to reel tape player. Press the play button to “stop” and “start” your audio. It sounds like the audio is playing on a tape machine and the playback is being affected by the slowing down and speeding up of the tape motor.
We draw in some automation so that the tape stop effect kicks in at the end of the loop. You can adjust the stop time on the plugin to create short, fast stops or long, drawn-out ones. You can further adjust the effect by dragging the start/stop curve up or down. We’re going to ignore the start time dial now as we’re only making it stop.
Before tape stop effect:
With tape stop effect:

You can also employ a tape stop effect as a handy way to transition between two parts of a song, say a verse and chorus. Here we’ve strapped Tape Stop across the master buss and automated it to stop at the end of four bars.
Here is the section before Tape Stop:
Here is the same section with Tape Stop:
Here is the same section with Tape Stop automated rhythmically:
Rhythmic Tape Stop Effect
Slowing down a beat is all well and good but it’s not exactly cutting edge, is it? Let’s get a little more creative and see how rhythmic tape stop effects can add movement to a hi-hat pattern.
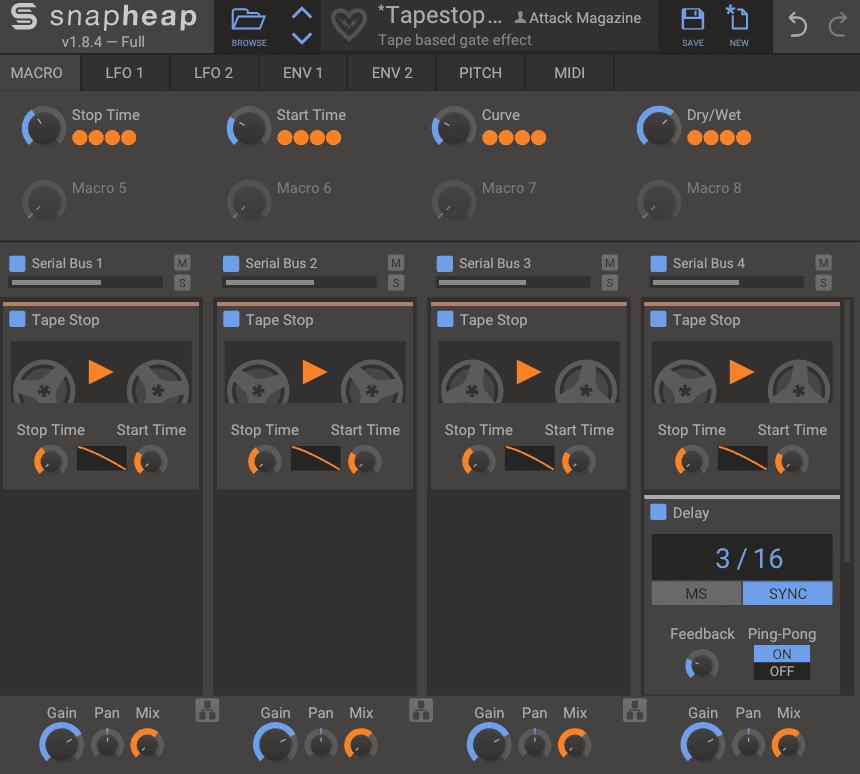
This time we’re going to affect only the hats. We load Kilohearts’ free Snap Heap, a snapin host plugin, onto the hats track. The preset Tapegate is a good starting point as it uses LFOs to trigger the tape start/stop effect. We play with the start and stop times and curve settings until the tape stop effect is rolling rhythmically with the hats.
Next, we add a delay to the fourth snapin lane by clicking in the space below the fourth Tape Stop. We want our delays to lock in rhythmically with the beat so we set the delay time to sync to host tempo. The default setting of 3/16 should suffice.
Lastly, we adjust the mix amount using the Dry/Wet macro to about 2 o’clock to allow some of the unaffected signal to come through.
Before tape stop effect:
With tape stop effect:
And in context with the beat:
Stereo Motion Tape Stop Effect
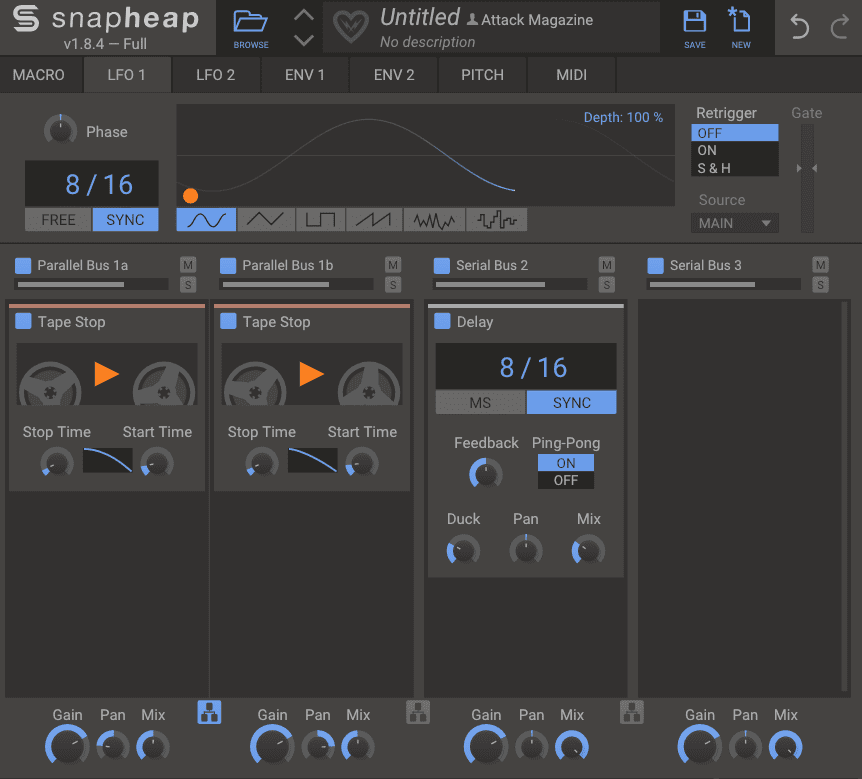
Let’s see how we can use Tape Stop and Snap Heap to add stereo motion to a static pad. We create an instance of Snap Heap on our pad track, which is in dire need of some movement. We load a copy of Tape Stop into lanes 1 and 2 of Snap Heap, and click the icon at the base of the two lanes to process the signal in parallel instead of in series. We pan each lane apart (around 9 o’clock and 3 o’clock sound good) and adjust the mix to 50/50 wet and dry so the signal is not overwhelmed by the effect. We further adjust start and stop times and curve to match the feel of the song.
It’s an interesting effect a but it’s a little uncontrolled. Let’s tame it with some LFOs. We access LFO 1 and assign it to the first Tape Stop by clicking in the lower-left corner of the LFO’s graphic and then dragging down on the plus symbol on the left Tape Stop below the triangle image, making sure it is 100% assigned. We set the LFO to a sine wave that oscillates at 8/16, synced to host tempo. We assign LFO 2 to the start/stop button on the second Tape Stop, again with 100% modulation. Lastly, we sync the LFO to host tempo with a similar 8/16 but set the wave to square to differentiate it from LFO 1.
Lastly, we add a delay to the third lane, synced to host tempo at 8/16 to match the LFOs. We choose a ping-pong delay for more stereo activity. We play with the wet/dry knob, testing the mix amount, and settle on 30%.
Before tape stop effect:
With tape stop effect:
And with a beat for context:
Multiband Tape Stop Effect
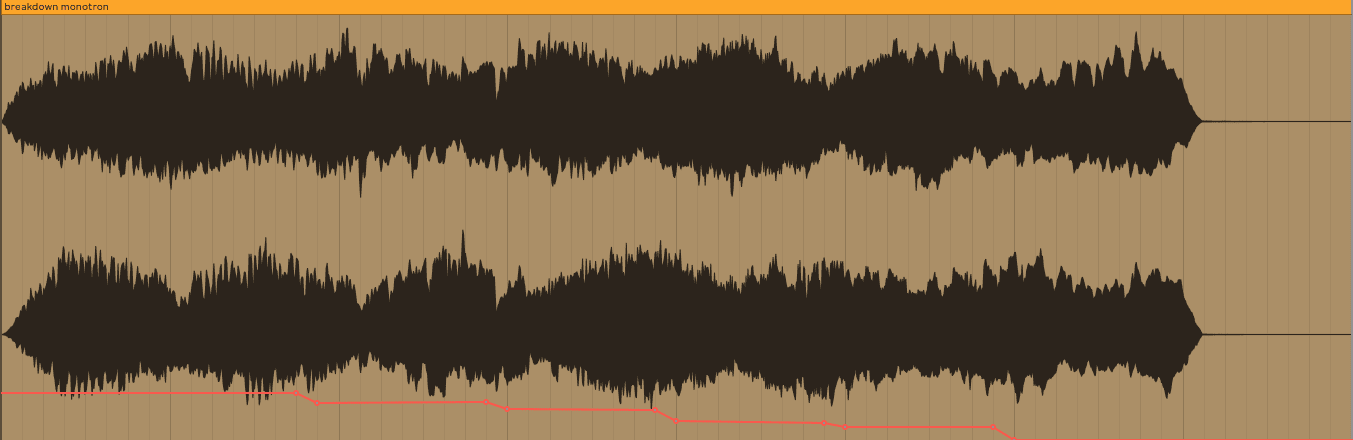
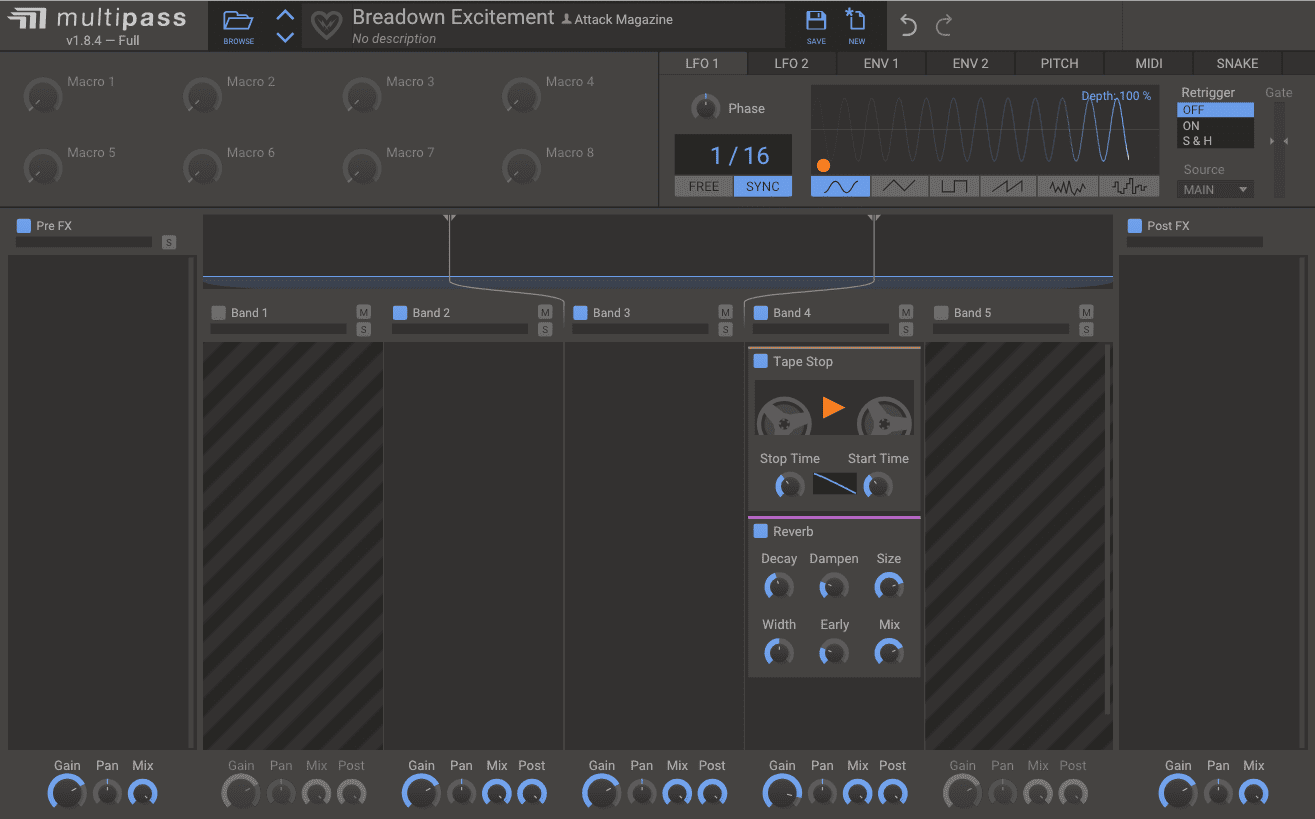
Lastly, let’s use a tape stop effect to increase tension in a breakdown leading to a drop. In our breakdown, we have a noisy, almost atonal synthesizer part played on a Korg Monotron. It could use a little more rhythmic intensity. We don’t want to affect the entire signal though, as it’s already fairly noisy. Multiband processing used in conjunction with a tape stop effect is just the thing to add the movement we want without going overboard. We’re going to use Kilohearts’ Multipass multiband snapin host to achieve this.
We load Multipass onto our Monotron channel. The default setting gives us three frequency bands to work with. Let’s affect just the highs. We load a copy of Tape Stop into the 3.o kHz slot. The default settings are fine as is, as we’re going to create all of our motion with an LFO and automation.
We click on LFO 1 and assign it to the stop/start button on Tape Stop at 100%. We make sure the LFO is set to sine, and engage the Sync button so it clocks to our DAW’s tempo. We want our tape stop effect to start slow and get faster as we approach the drop, increasing tension, so we create an automation lane for the LFO’s speed, starting slow at 16/16 and speeding up to 1/16. We’ve left our increments between changes natural-sounding to match the freehand playing of the line but feel free to make yours more rigid if your tracks call for it.
Lastly, we add a big reverb to the lane and increase the gain to help it stand out in the busy mix.
Before tape stop effect:
With tape stop effect:
And here it is again in context of the whole breakdown:
Tutorials is sponsored by
Roland Cloud is your creative hub for Roland hardware and software. Access legendary recreations of Roland Classics, find new sounds for your favorite products, and download updates and companion apps to make music fast and easy.