Cause and Effect
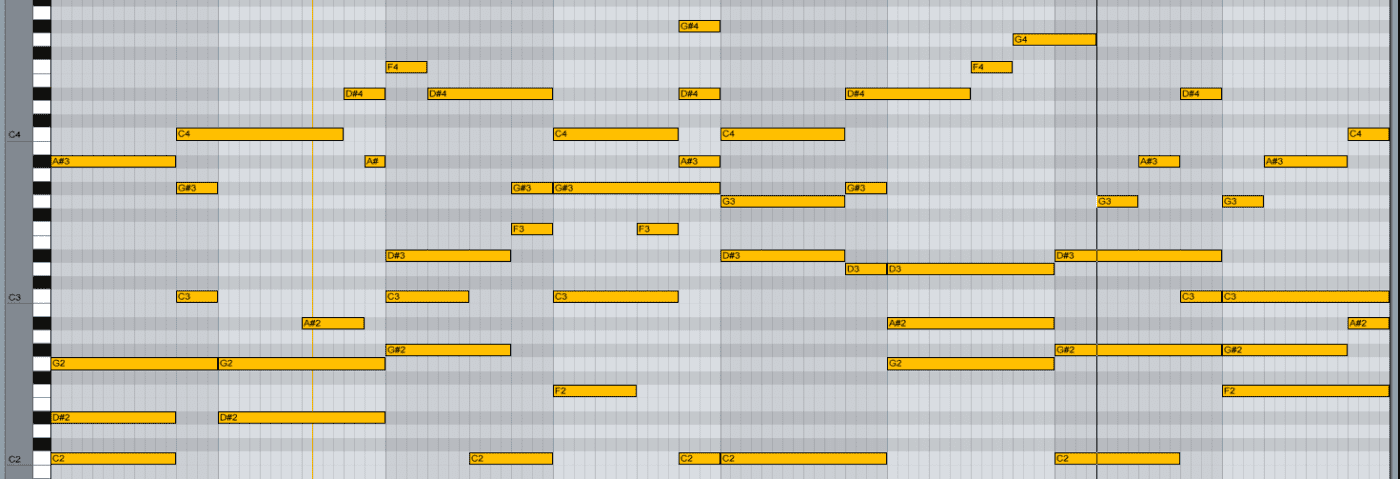
The arpeggiator effectively turns our polyphonic chord part into a monophonic pattern, so at this stage we may want to consider reintroducing some degree of polyphony. A simple approach is to find a way to make the notes overlap with each other, whether by extending the release time of the synth (making sure it’s set to polyphonic mode, of course) or using effects. Effects can work wonders on arpeggio sequences; here we’ve added a ping-pong delay with band-pass filtered feedback, followed by a large reverb space. As the notes echo and overlap they create interesting harmonies.
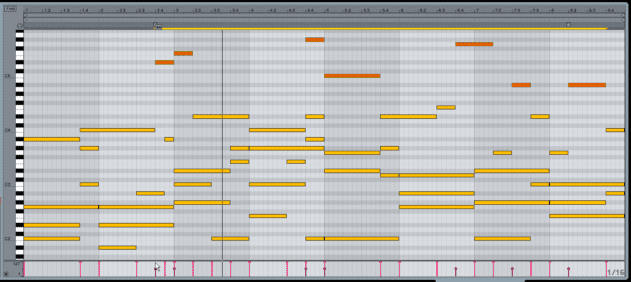
This example makes use of the velocity envelope in Live’s arpeggiator that increases the velocity value of a sequence slowly whilst notes are held. The velocity value can then be used to control filter cutoff in the synth.
Notice how panning is also determined by key position.
These options can sometimes allows you to simplify things in the note department, especially when combined with the Hold switch (sometimes called ‘latch’), which keeps the arpeggiator running the same pattern until new notes are played.
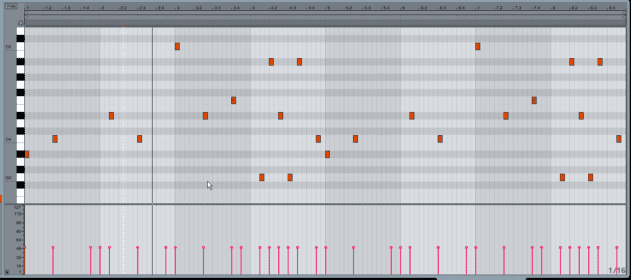
Hold could be applied to the melodic topline from before, with the underlying chords removed and the pattern sped up to double speed:
In fact, this is a lot of fun to play on its own, and makes it easy to conjure up some great sequences.
Depending on the settings of your arpeggiator, it’s worth remembering that even the simplest of all techniques – holding down a single note – also allows you to create gated pulse patterns…
…or octave spanning basslines.
Arps don’t necessarily have to jump around whole chords, and it can be quite effective to intersperse these single-note techniques with more complex sections.
Double or Quits
Now let’s take things up another step. The flexible nature of Live’s MIDI effects means we can build effect chains, such as routing one arpeggiator into another. Here we’ve bundled two into a MIDI Effect Rack…
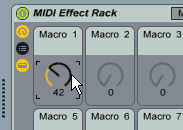
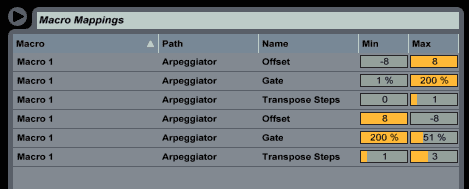
…which allows you control them using Live’s Macro system.
This lets you assign multiple parameters to one macro knob…
…which allows you to alter arpeggiator settings quickly on the fly, or record macro changes as automation data:




06.21 AM
In Ableton Live you can add the Scale Midi-Plugin and go crazy. Just draw in any notes and you’ll stay within your scale. If there is something you like you can use another channel to record the midi data!
10.33 AM
Thanks, Bruce! Ann thaks to you too, Larson, I’ve never used scale before.
02.57 PM
What a fantastic tutorial. Thank you
08.49 PM
Great walkthrough! Could you possibly share the (Analog?) preset used on pages 1 and 2?
12.58 AM
Another great article and tutorial from a GREAT website!! I’m still evaluating REAPER and wasn’t sure if it had a built in arp but I found one and was having lots of fun in minutes.