Arpeggiators aren’t just for simple chord parts. Bruce Aisher explores some more advanced uses.
We’ve covered the basics of arpeggiators before, but there’s a lot more potential to this humble tool than you might think. We can all play a few chords into an arpeggiator and come up with the same tired (but admittedly effective) patterns, but there are a number of ways in which we can step away from that well-worn formula and make things a lot more interesting. So, this time around we’re going to explore some more advanced uses (and abuses) of the arpeggiator features in Ableton Live and LennarDigital Sylenth1.
Live and Direct
Like most decent DAWs, Live has its own take on the arpeggiator. The arp can be applied to instruments by inserting it as a MIDI effect before your synth of choice. Live’s MIDI effects manipulate the MIDI data in real time, which means they work either during playback of recorded MIDI patterns or when you’re playing in real time using a controller keyboard. Most of the techniques we’re going to explore here also work when playing live with a keyboard, but it’s easier to visualise them (and usually easier to create them) by working with programmed MIDI notes.
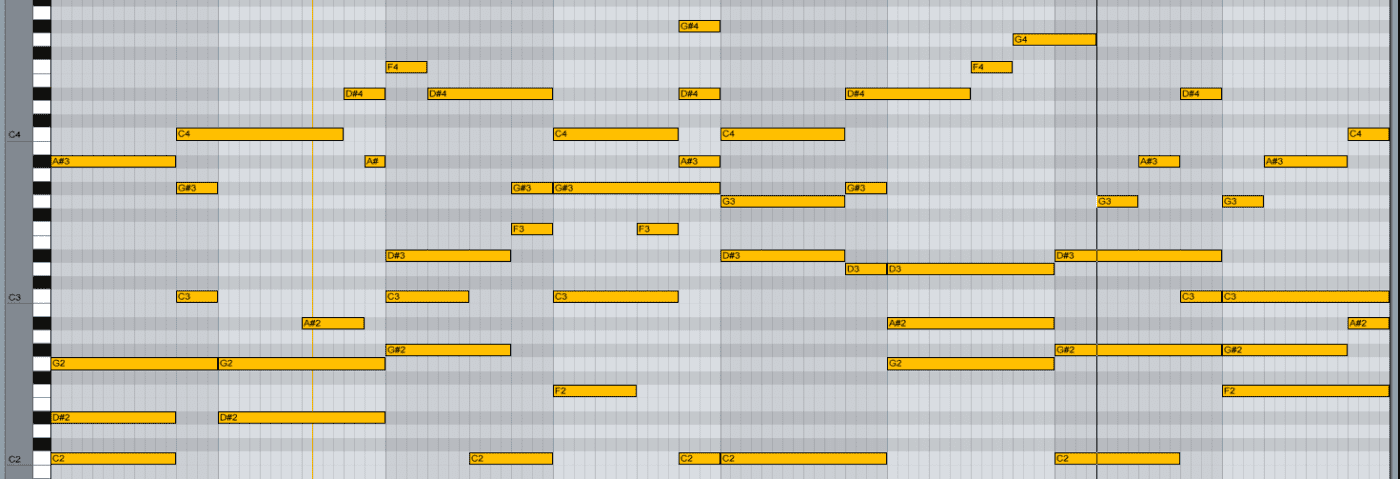
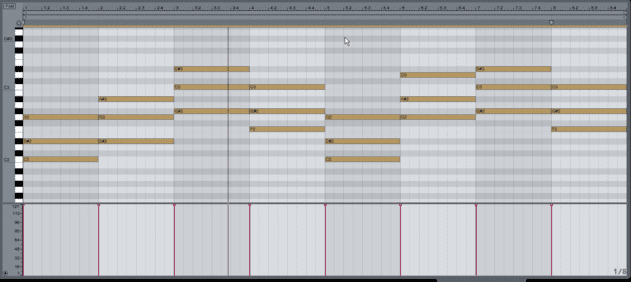
Let’s start with the most common approach: arpeggiating a simple chord sequence (in this case, triads played for a bar at a time). With the arpeggiator applied, our basic chord progression gets turned into the usual up-and-down pattern.
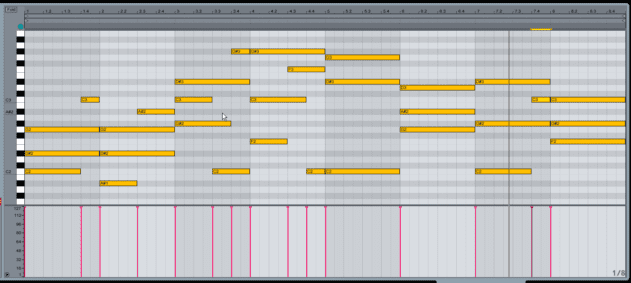
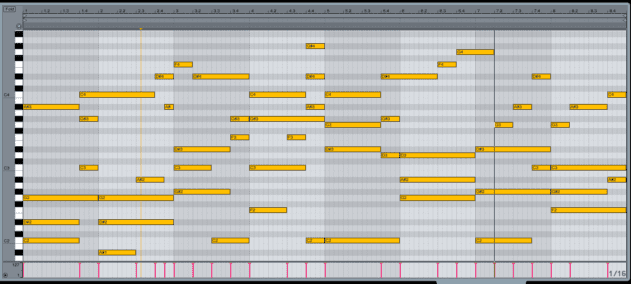
To begin making things more interesting we’ll alter the way in which the chords are played within each bar, chopping and shortening some notes and moving others up or down an octave. The chord progression remains the same, but the way the arpeggiator interprets the pattern changes quite dramatically.
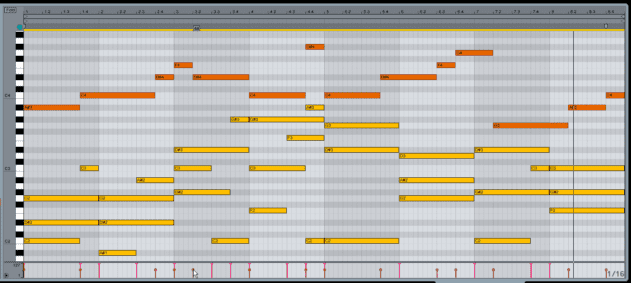
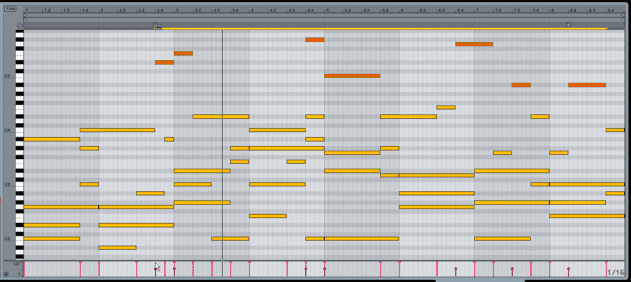
We can take this approach a step further by adding a melodic line on top of the newly rearranged chords (shown in red).
You can continue with this approach until the pattern gets quite complex. You could, for instance, add a few extra transitional notes just before some of the chord changes…
…or change the octave of the new melodic topline in places.
The beauty of this approach is that it comes up with unexpected results. The MIDI pattern we’ve ended up with in the final screenshot above looks a bit of a mess, but the arpeggiator makes sense of it all.
06.21 AM
In Ableton Live you can add the Scale Midi-Plugin and go crazy. Just draw in any notes and you’ll stay within your scale. If there is something you like you can use another channel to record the midi data!
10.33 AM
Thanks, Bruce! Ann thaks to you too, Larson, I’ve never used scale before.
02.57 PM
What a fantastic tutorial. Thank you
08.49 PM
Great walkthrough! Could you possibly share the (Analog?) preset used on pages 1 and 2?
12.58 AM
Another great article and tutorial from a GREAT website!! I’m still evaluating REAPER and wasn’t sure if it had a built in arp but I found one and was having lots of fun in minutes.