
Layering synths and cinematic strings is a sure-fire way to add size to a pad patch. In this article, we build a massive ambient pad with Lunacy Audio’s ‘CUBE.
There’s a reason that the music in soundtracks and trailers sounds so massive. The pads composers use are usually layered, with multiple instances of acoustic strings and synthesized washes. One such cinematic plugin is ‘CUBE’ by Lunacy Audio. It’s something like a super-charged vector synth, with eight layers of samples that can be cross-faded between each other. Today, we’re using it to create a rich and thick ambient pad. Then we’re going to try it in a techno tune.
If you like what you hear, Lunacy Cube is on sale until June 1st.
Here is the cinematic pad in action:
And here it is in the context of a melodic techno tune:
A Quick Overview Of Lunacy Audio CUBE
‘CUBE’ by Lunacy Audio is an award-winning, sample-based plugin with hundreds of sounds and presets to choose from, all bundled into a stunning and interactive 3D interface.
Step 1: Global Envelope and Layer A
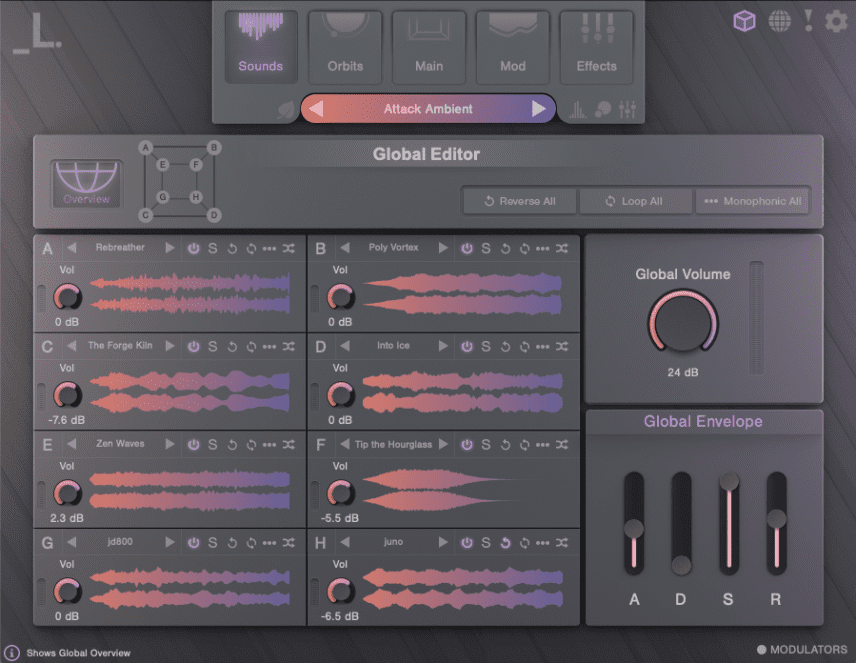
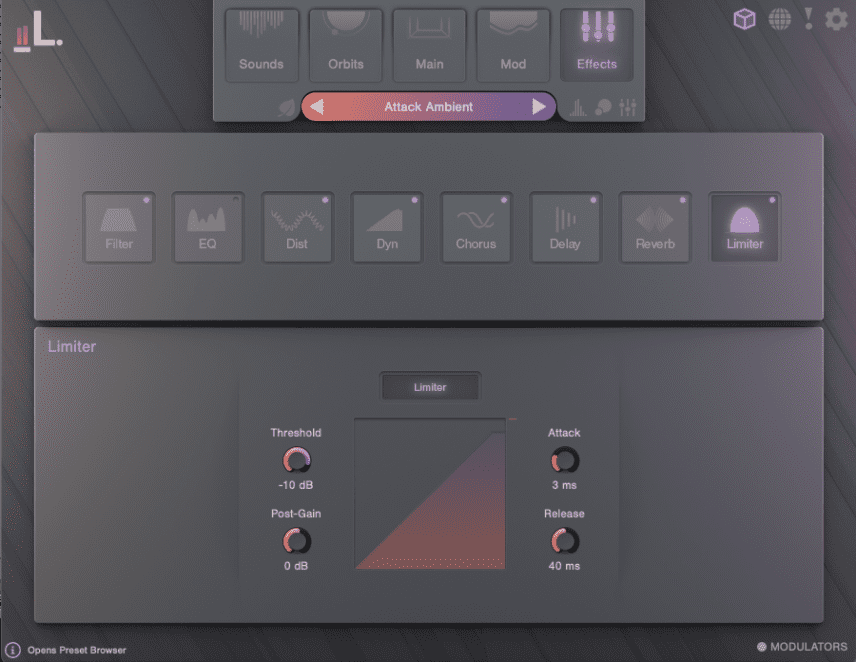
We add a copy of Lunacy Audio’s ‘CUBE’ to a MIDI track in Ableton and program in a melody line. Make sure all the effects are off except the Limiter. There are a lot of dynamics happening with the string samples so the extra bit of volume can be helpful.
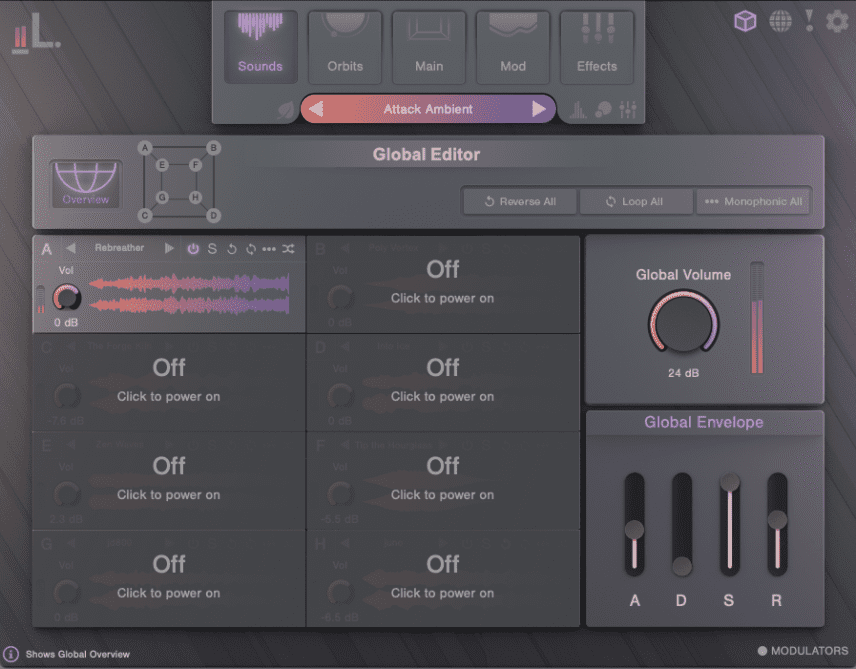
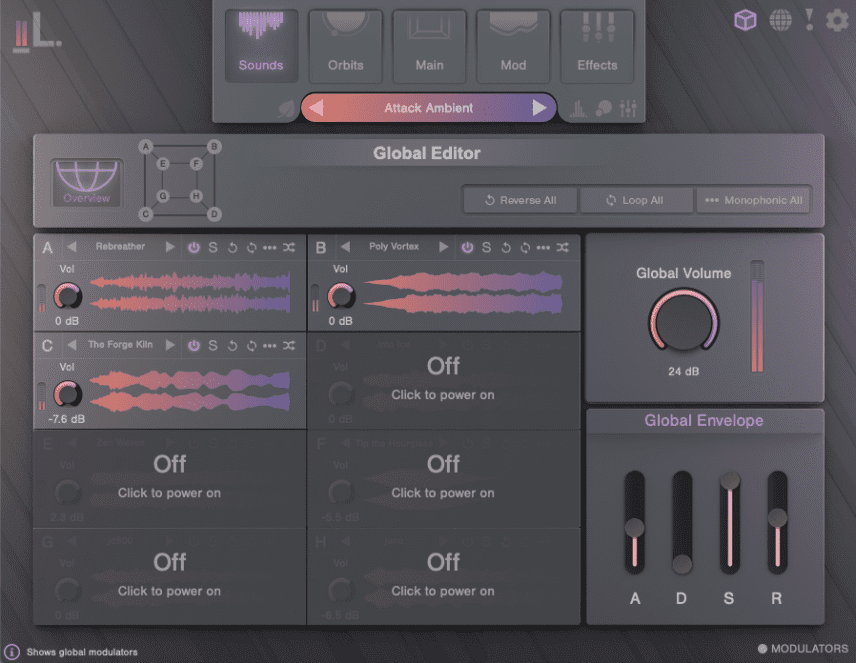
Next, in the Sounds Section, set the Global Envelope to something suitably pad-like. We’ve gone for a medium Attack for a nice fade-in, no Decay, full Sustain and medium Release so the sound continues after the note stops playing.
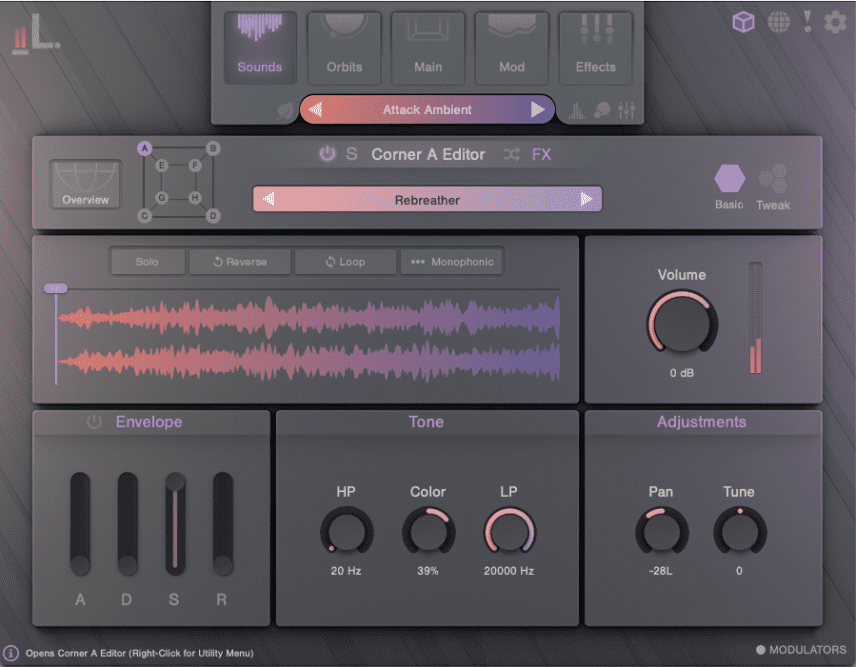
Next, choose among the preset waves for Sound A. We’re going to be building up a full patch over eight layers, so something subdued to start would be good. Click on the waveform to bring up the Sound Browser. From here you can search by type.
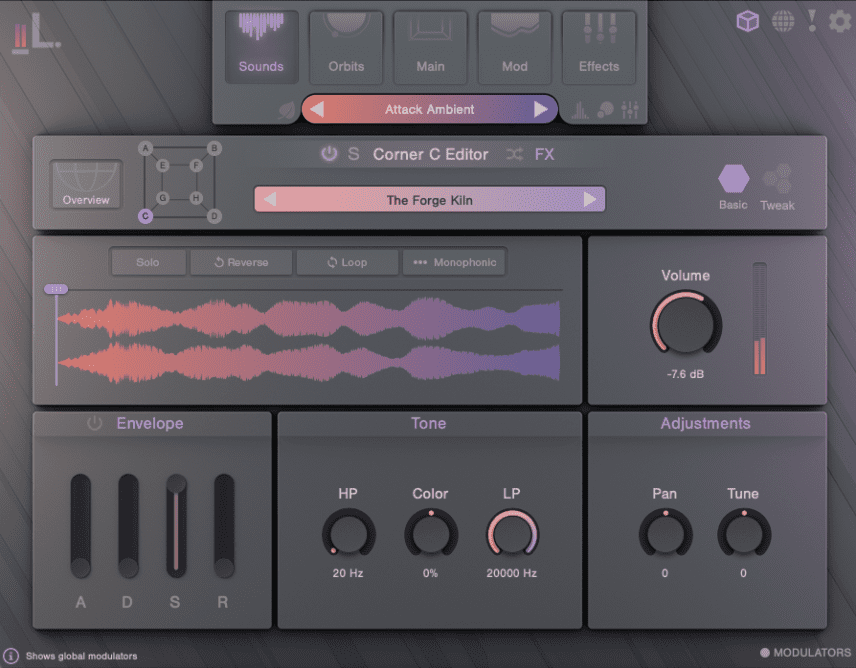
Once you have the sound, click on the waveform to bring up the Editor page. Here we can add some Color to the sound, as well as adjust the panning. We’ve panned this one left. As we go on, we’ll place the new sounds throughout the stereo spectrum.
Here’s the first later:
Step 2: Layer B
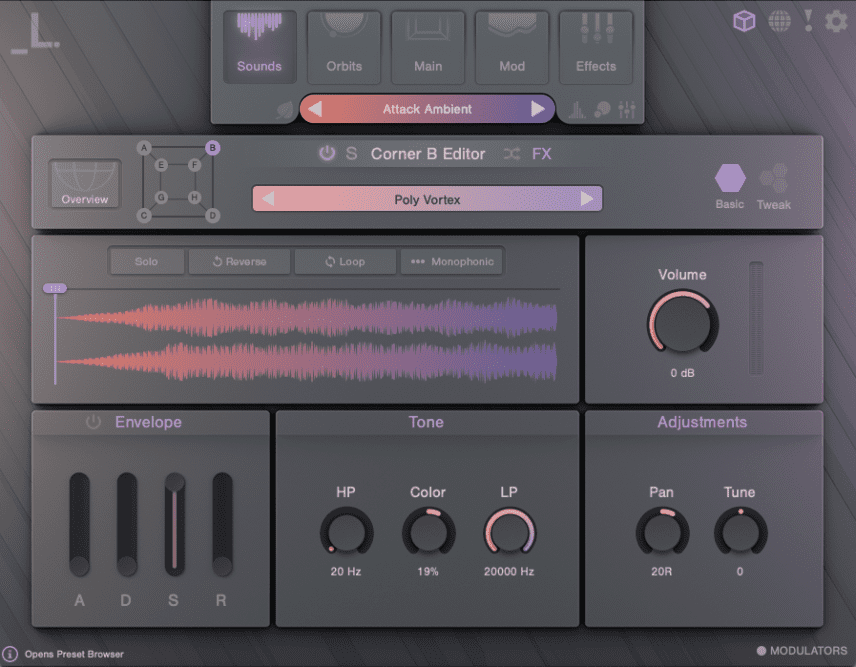
For the next layer, let’s add another synthetic string. We’re still staying dark and building it up as we go. On the Editor page, we adjust Color and Panning as well.
Now with the second layer added:
Step 3: Layer C
For the next layer, we go with something a little more upfront. This will be our main layer, so we leave panning set to right in the middle.
This is also a good time to take a look at the Orbit ‘CUBE’ map on the main Sounds page. This tells us where each sound will sit in the 3-D cube, and so how it will be cross-faded. We don’t need to worry too much about it now, but it’s a good idea to keep each sound’s position in the back of your mind.
Now with the third layer:
Step 4: Layers D-F
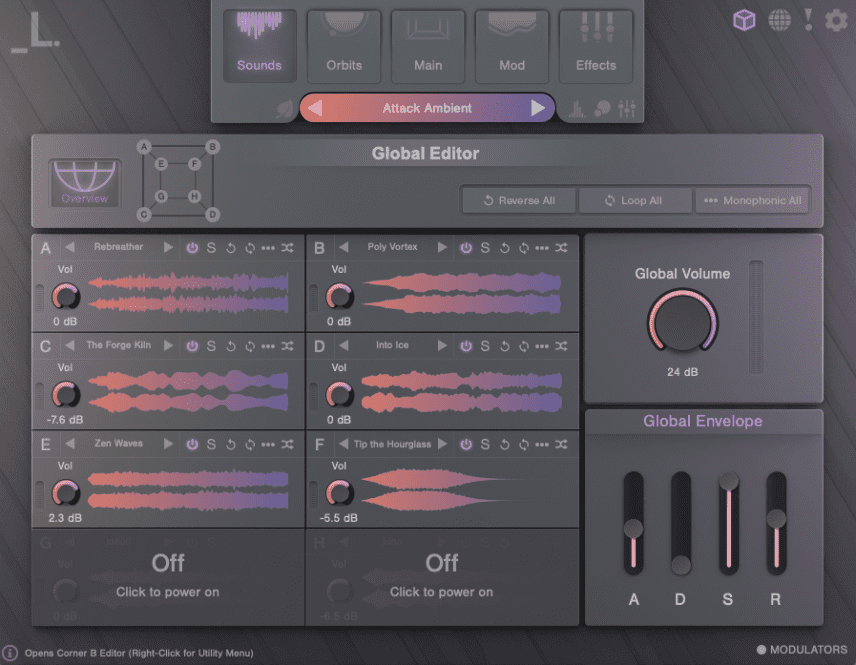
We continue adding layers from the stock waves, building up our pad with a synthesizer and acoustic strings. We also make adjustments to each sound’s panning, to fill out the stereo spectrum. It’s sounding really lovely.
Now with six layers:
Step 5: Bringing In External Samples
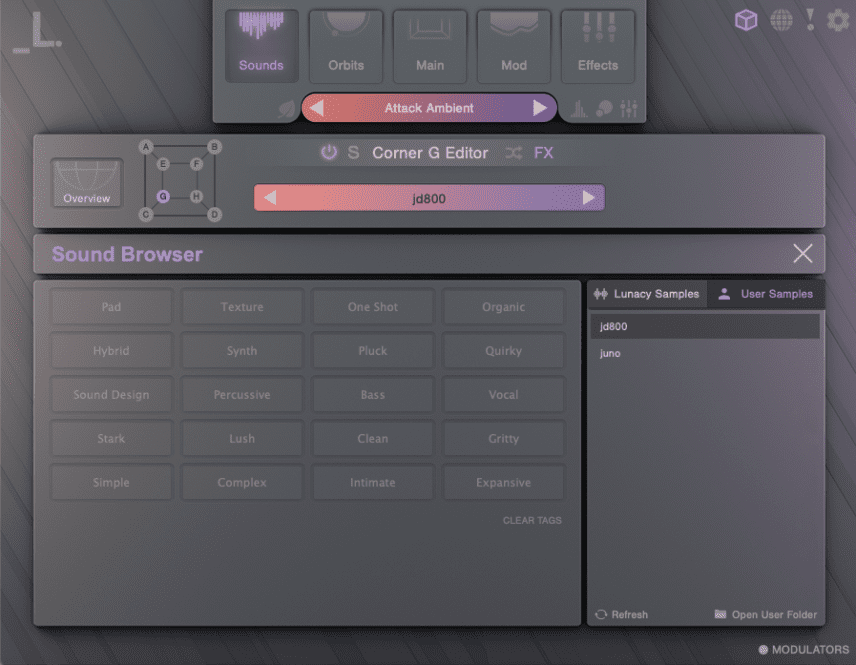
For the seventh and eighth layers, instead of going with another stock wave, let’s make one of our own. We drop a copy of Roland Cloud’s JD-800 plugin onto a new track and play a middle C. We then bounce it out and bring it into ‘CUBE’ by going to the Sound Browser and importing it to the User Samples folder.
We do the same with a Juno-60 sample, which we set to play in reverse on the Editor page. We bring down the cutoff on the lowpass filter as the Juno sound is dominating the whole patch.
All eight layers sound quite good:

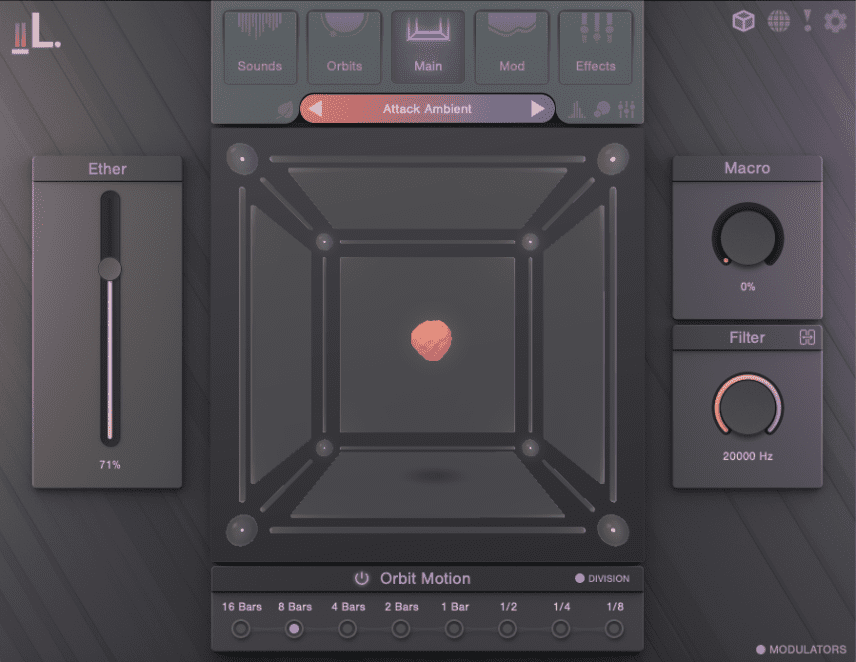
Step 6: Orbit
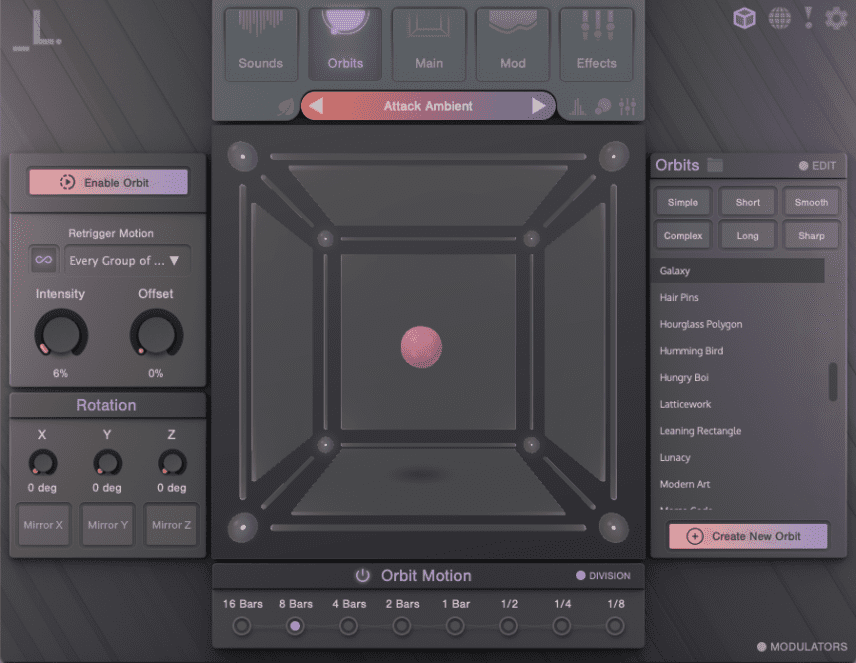
So far we’ve just been layering sounds, but ‘CUBE’ can do more than this. By engaging the Orbit function, we can set the volume to crossfade between all eight of the layers. Click on the Orbits button at the top. The orb in the middle of the cube is the playback head. The further away from the centre it gets, the lower in volume it plays.
We’re after subtle movement, something that will act more like modulation than vector synthesis. We go with the Galaxy Orbit preset and choose a nice, slow Orbit Motion of 8 Bars. That’s added some subtle movement.
Orbiting audio:
Step 7: Effects
Finally, we click on the Effects tab and start adding effects. ‘CUBE’ has quite a few of them (eight to be exact) and we’re using most of them. Start with the filter and take out some of the lows. Next, a little saturation in the Distortion section warms things up nicely. The compressor in the Dynamics helps everything to sit together. Chorus, Delay and Reverb finish things off.
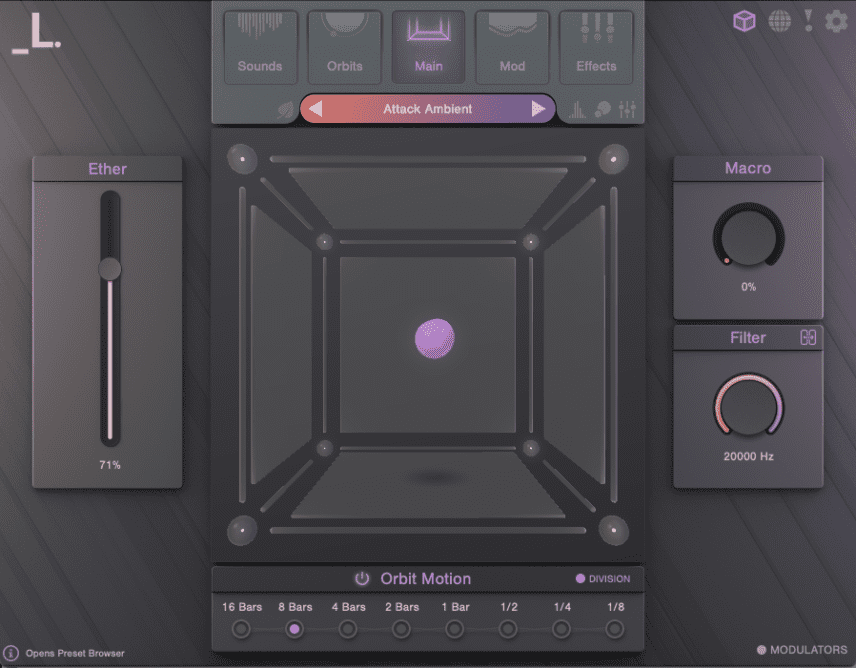
Finally, on the Main screen, we bring up the Ether slider to 70%. This controls the fades between dynamics and adds an airy touch to the pad.
The finished pad:
To recap, we’ve also taken our pad and worked it into a techno tune we’re building to give you some context.