
Technique » Synth Secrets »
Recreate Radiohead ‘Everything In Its Right Place’
This channel is sponsored by
 Roland Cloud is your creative hub for Roland hardware and software. Access legendary recreations of Roland Classics, find new sounds for your favorite products, and download updates and companion apps to make music fast and easy. Visit Roland Cloud
‘Everything In Its Right Place’ is the opening tune on Radiohead’s Kid A album released in 2000. We show you how to get the sound using Hive 2 by u-he.
If you’re reading this, you’re probably already familiar with the band, album, and sound. However, here’s a recap just in case.
‘Kid A’ is the fourth studio album by Radiohead, released in 2000. It marked a significant departure from their earlier sound, incorporating electronic and experimental elements. The album is known for its haunting and abstract lyrics, creating a sense of disconnection and alienation. It received critical acclaim for its innovation and artistry but, at the time, divided fans. It’s not held them back, as over the past twenty years, they have become one of the biggest bands of all time, mixing guitar music with electronic music with lots in between.
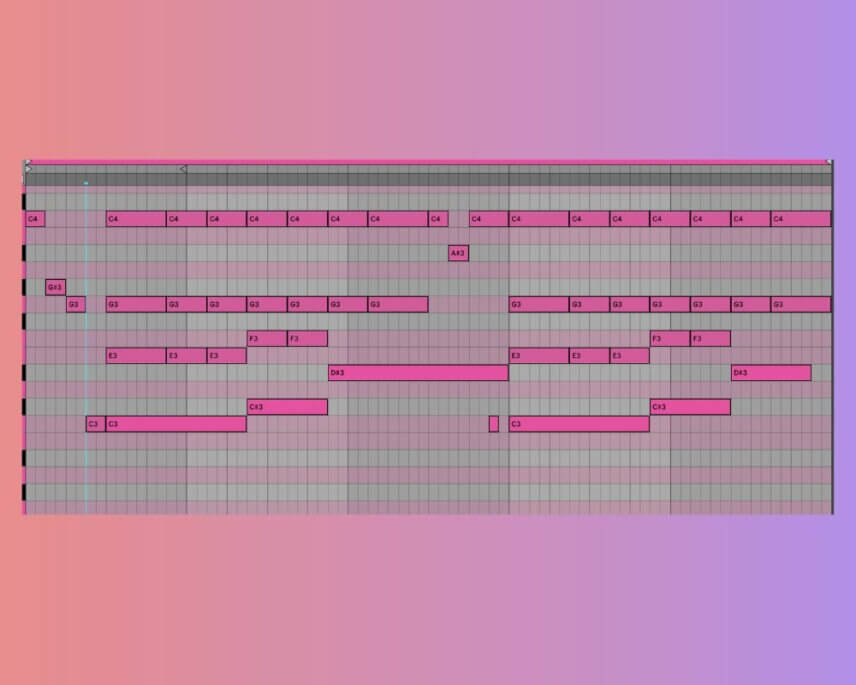
The opening track, ‘Everything In Its Right Place’ on Kid A, quickly established itself as one of the critical tunes from the album. Beginning with a descended C Minor arpeggiated chord, it was originally created on a Prophet 5 and subsequently played live by Thom Yorke on a Rhodes piano.
Both are, of course, extremely lovely pieces of gear, but you can use u-he Hive to get very close to the sound and it’s deceivingly simple.
So set your BPM to 124 BPM and let’s get into it.
Remember to click on any image to enlarge.
Step 1
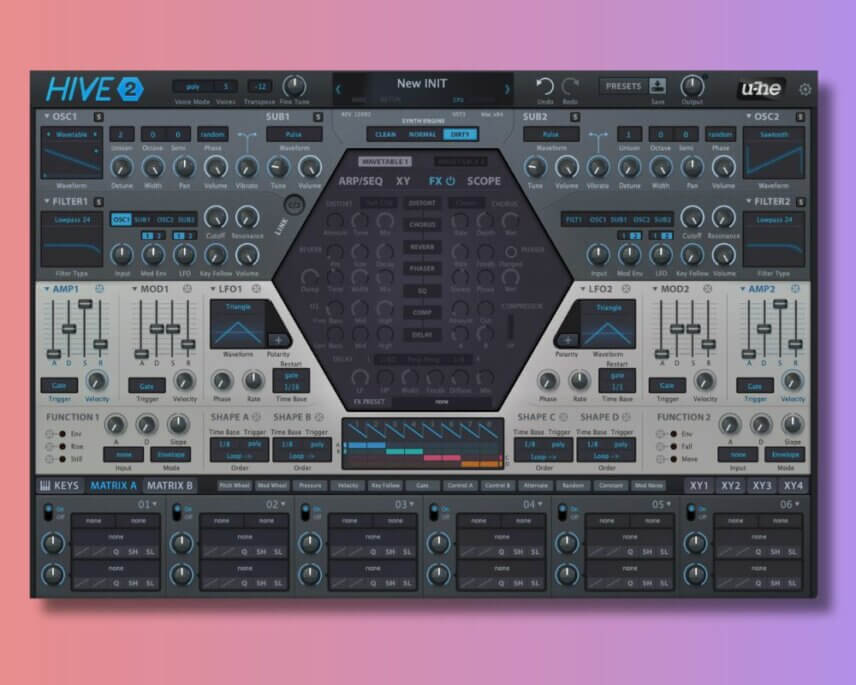
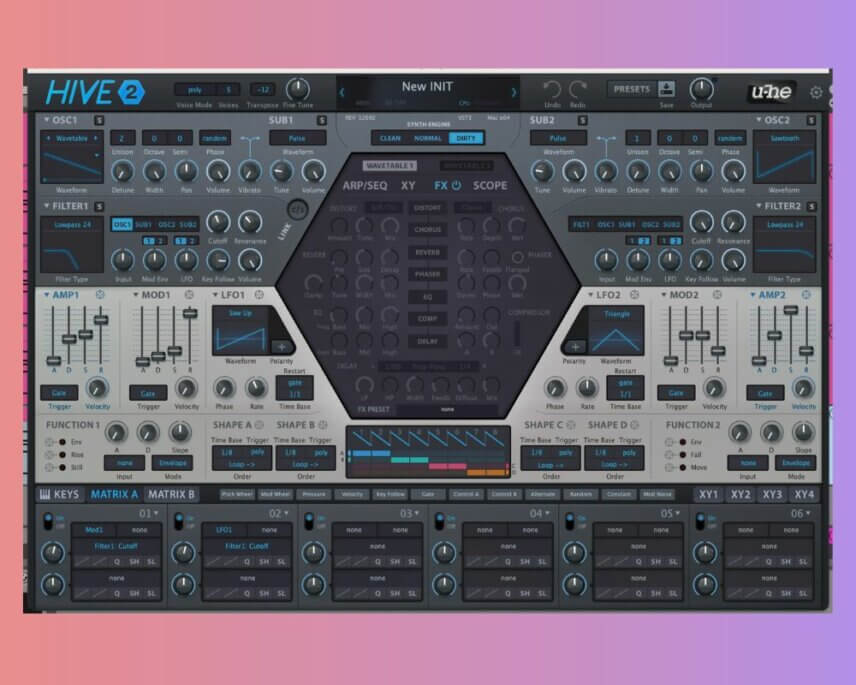
First things first, reset Hive, or whatever synth you are using to INIT or whatever the default setting is in synth. Don’t hit play – sounds awful at this point!
Now, head to the left and pull Voices down to 5. This is more important than you think. Next, move over to Fine Tune and detune the synth to -19 cents flat. While this doesn’t change the sound of the synth much on its own, it’s how the original recording sounds and can influence the interplay between the synth and other instruments, including vocals.
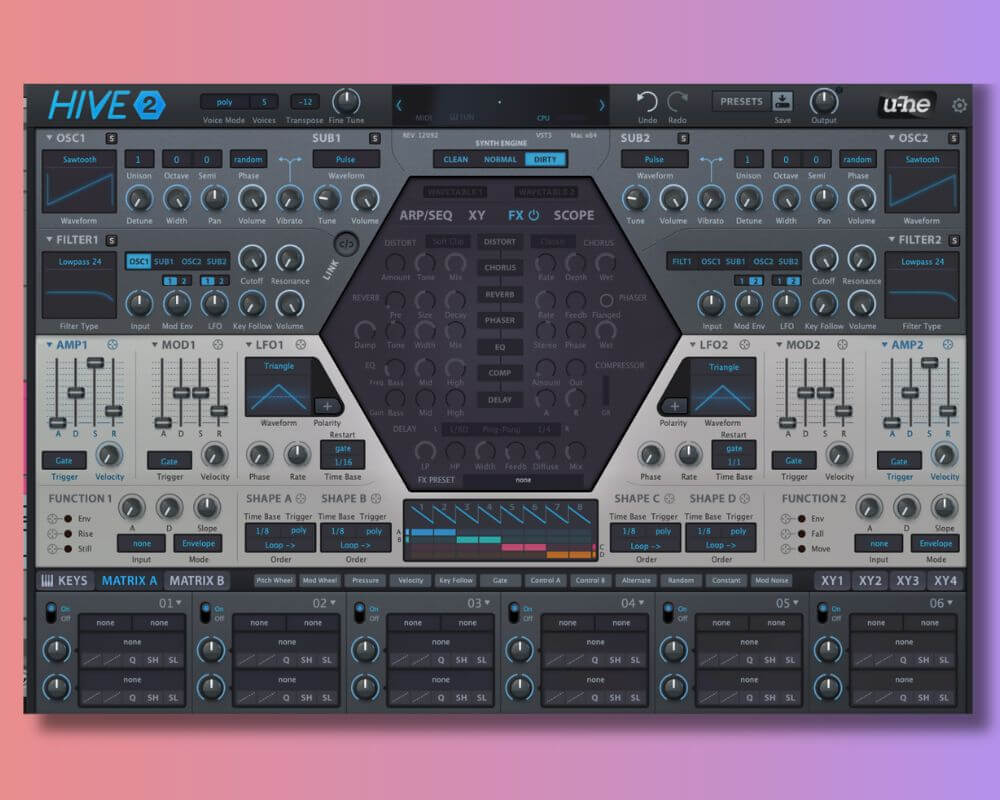
Lastly, switch SYNTH ENGINE mode to “DIRTY” – it just feels right and emphasizes the low mids and bass frequencies the way we want.
Here’s our progress so far:
Step 2
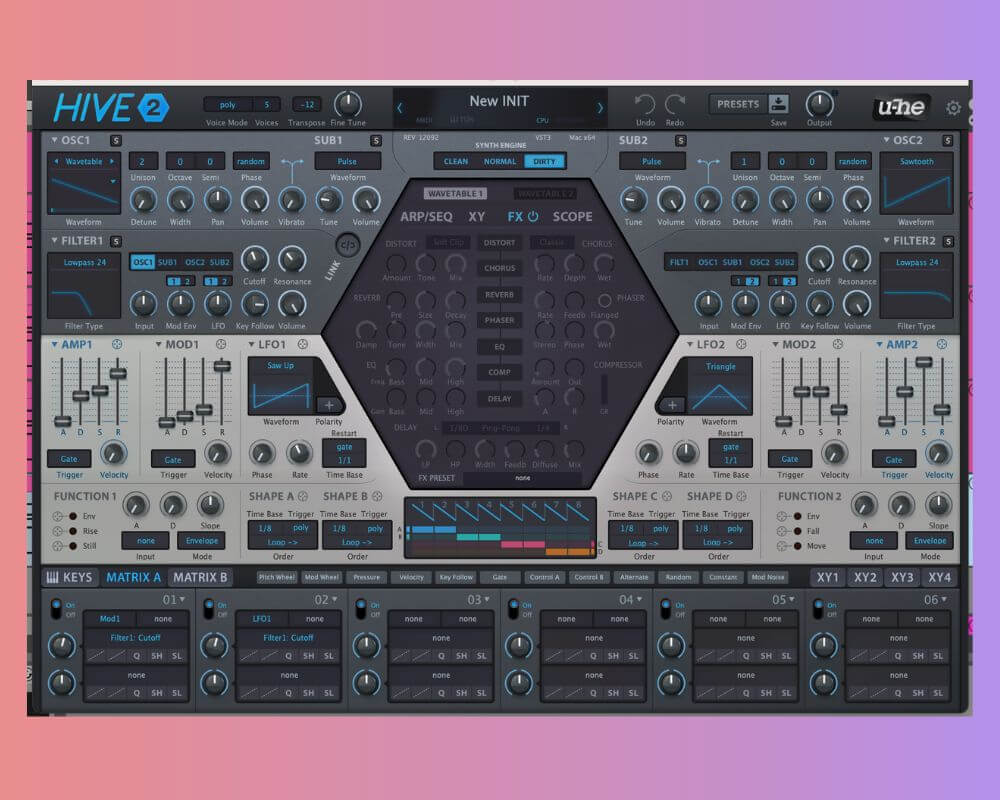
Lets start with OSC 1 (oscillator 1).
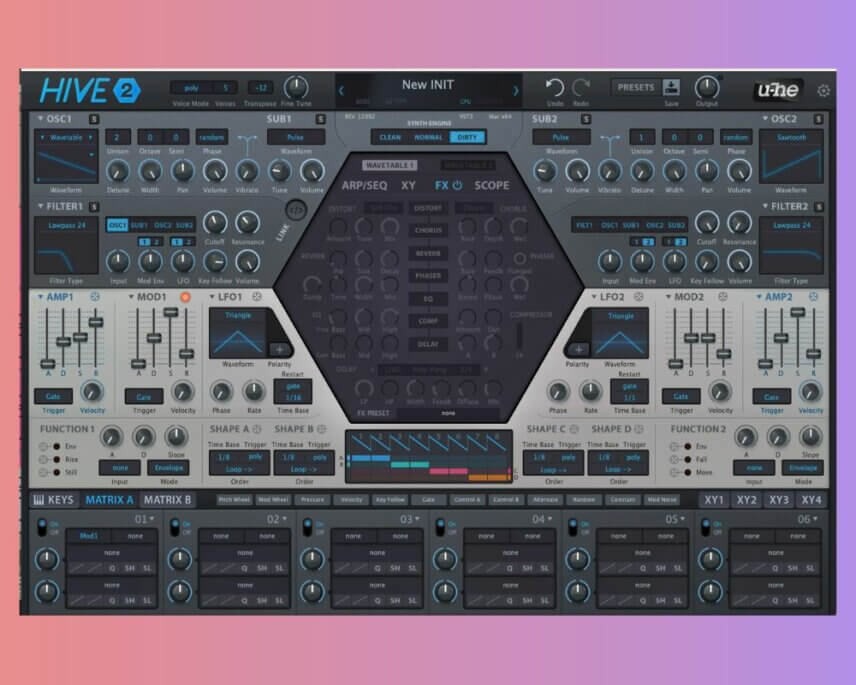
Change the waveform by clicking on it and choose Wavetable. A small triangle will appear, click that and choose from the sub-category ‘Simple’ and then ‘Six Waves’. You can leave the wavetable position as it is, that’s the slider on the bottom of the OSC 1 window, but as ever, tweak it if you like the sound.
The original sounds like it was double-tracked, two takes recorded, playing on top of one another, each take panned left and right, respectively. To mimic that, change Unison to 2 but leave the detune at 0.
Here’s our progress so far:
Step 3
We have some more work to do!
Move to the filter section and start by bringing the Cutoff to about 11 o’clock and push the Resonance up to about 10 o’clock. Hit play, it already sounds pretty good.
Next, push Key Follow to just shy of 3 o’clock. This helps the bass notes stay mellow while the melody notes and that pedal tone on note C4 really float on top of everything.
We want to shape it further. Head to the AMP1 envelope. Push the R (release) to 80%, bring S & D (sutain and decay) down to around 45% and 55%, respectively.
At the start, we mentioned the Voices was crucial. Well, the long release on AMP1 is key at making everything really flow together and there’s an argument here for limited polyphony in a synth being a good thing – having just 5 voices lets us use this long release without having a total mess of notes sustaining. Five voices give us plenty of richness and complexity but allow us to use long, sustaining sounds without the notes stepping on each other.
Here’s our progress so far:
Step 4
Next we want to work on the MOD 1 envelope but first we need to route it.
Start by routing MOD1 to the Filter 1 Cutoff. Now, turn the modulation amount, you can do this in the modulation matrix at the bottom of the screen, to about 1 o’clock. You can also do it by clicking and holding on the orange node that appears after MOD1 is routed to the cutoff.
Now on the MOD1 push the release to around 93% bring the decay right down to nearly nothing.The decay setting here is crucial. It provides a subtle “click” that makes things feel just right – or ‘in it’s right place’. Leave attack as it is and only a small amount of sustain. As ever, these are great controls to play with later and find your own sound.
Next also route the LFO1 to the Filter1 cutoff and change the shape to saw up. Hit the Polarity button to make it unipolar (that makes it so the LFO never decreases the cutoff, but instead starts at the nominal value and increases from there).
Now dial in some modulation amount (1 o’clock should do it) either in the matrix at the bottom or on the orange node. You’re hear it’s not quite right but it’s nearly right..! So, change the time base to 1/1 and turn the rate down a touch.
Here’s our progress so far:
Step 5
I’ll level with you, as much as we love Hive, it’s not Nigel Godrich’s studio! We can of course, get close.
Head to the FX section and turn on distortion (DISTORT). Leave it on Soft Clip. Bring the Amount and Tone up just a bit, pull down the dry/wet Mix a little. This puts a tiny bit of hair on the sound, emulating some of the subtle, pleasant, purposeful distortion one would expect in Nigel Godrich’s analog gear heaven.
And what’s an analog recreation without compression? Hit COMP and push the Amount to halfway.
Here’s our progress so far:
Final Thoughts
Try learning the song and playing it while tweaking the cutoff settings with your MIDI controller to get the full Radiohead experience. Or use the MIDI clips and play with parameters as it plays.
For a more authentic experience, you could duplicate the track, pan one version left and one version right, and play each one a little bit differently, adjusting settings, especially filter cutoff and the attack on the MOD1. Just because everything’s in its right place doesn’t mean you can’t move it around a bit.
Read more Synth Secrets on Attack or watch them on YouTube.
Looking for something else...

The Secrets of Dance Music Production
The world-leading book on dance music production. Comes with samples too.


Replicants – Elektron Analog Rytm Sample Pack
Electro sounds for the Elektron Analog Rytm. Free your spirit.
Technique is sponsored by
Roland Cloud is your creative hub for Roland hardware and software. Access legendary recreations of Roland Classics, find new sounds for your favorite products, and download updates and companion apps to make music fast and easy.