Roland’s surprise firmware update has added FM synthesis to its already powerful drum machine. Let’s see how to make the most of it.
Nobody expected it. Roland surprised everyone by releasing a free firmware update to the TR-8S that adds a few new effects and features as well as FM synthesis. It’s the latter that had us the most excited. We’re big fans of the Elektron Model:Cycles and FM synthesis in general. With its ability to create clean and inharmonic sounds with ease, it’s especially well-suited to drum synthesis. We have to say, we were not disappointed.
The new firmware adds a number of FM-based presets to the already extensive roster of ACB (Analogue Circuit Behaviour) and sampled-based sounds. This includes 55 percussion sounds (including 11 each of kick and snare) plus a number of musical synth sounds and basses. Each of these can be altered with the familiar Tune and Decay parameters, but the FM presets also have a Morph setting that can drastically alter the sound. Think of it as a macro combining a number of different parameters into one. Although on paper it looks rather limiting, in practice it frees you up from having to do the usual FM synthesis maths and lets you get on with sound design. The musical patches also have FM Coarse adjustment.
Let’s take a look at how to get the most from FM synthesis in the TR-8S. We’ll also check out three of the new effects: saturator, frequency shift, and ring modulation. Note that this tutorial assumes you’re already broadly familiar with how the TR-8S works so we’ll be focusing largely on the new sounds and effects. Click on any image to see a larger version.
We’ll show you how to make a beat entirely with FM sounds like this.
Here is the beat in context with melodic elements and effects.
Step 1
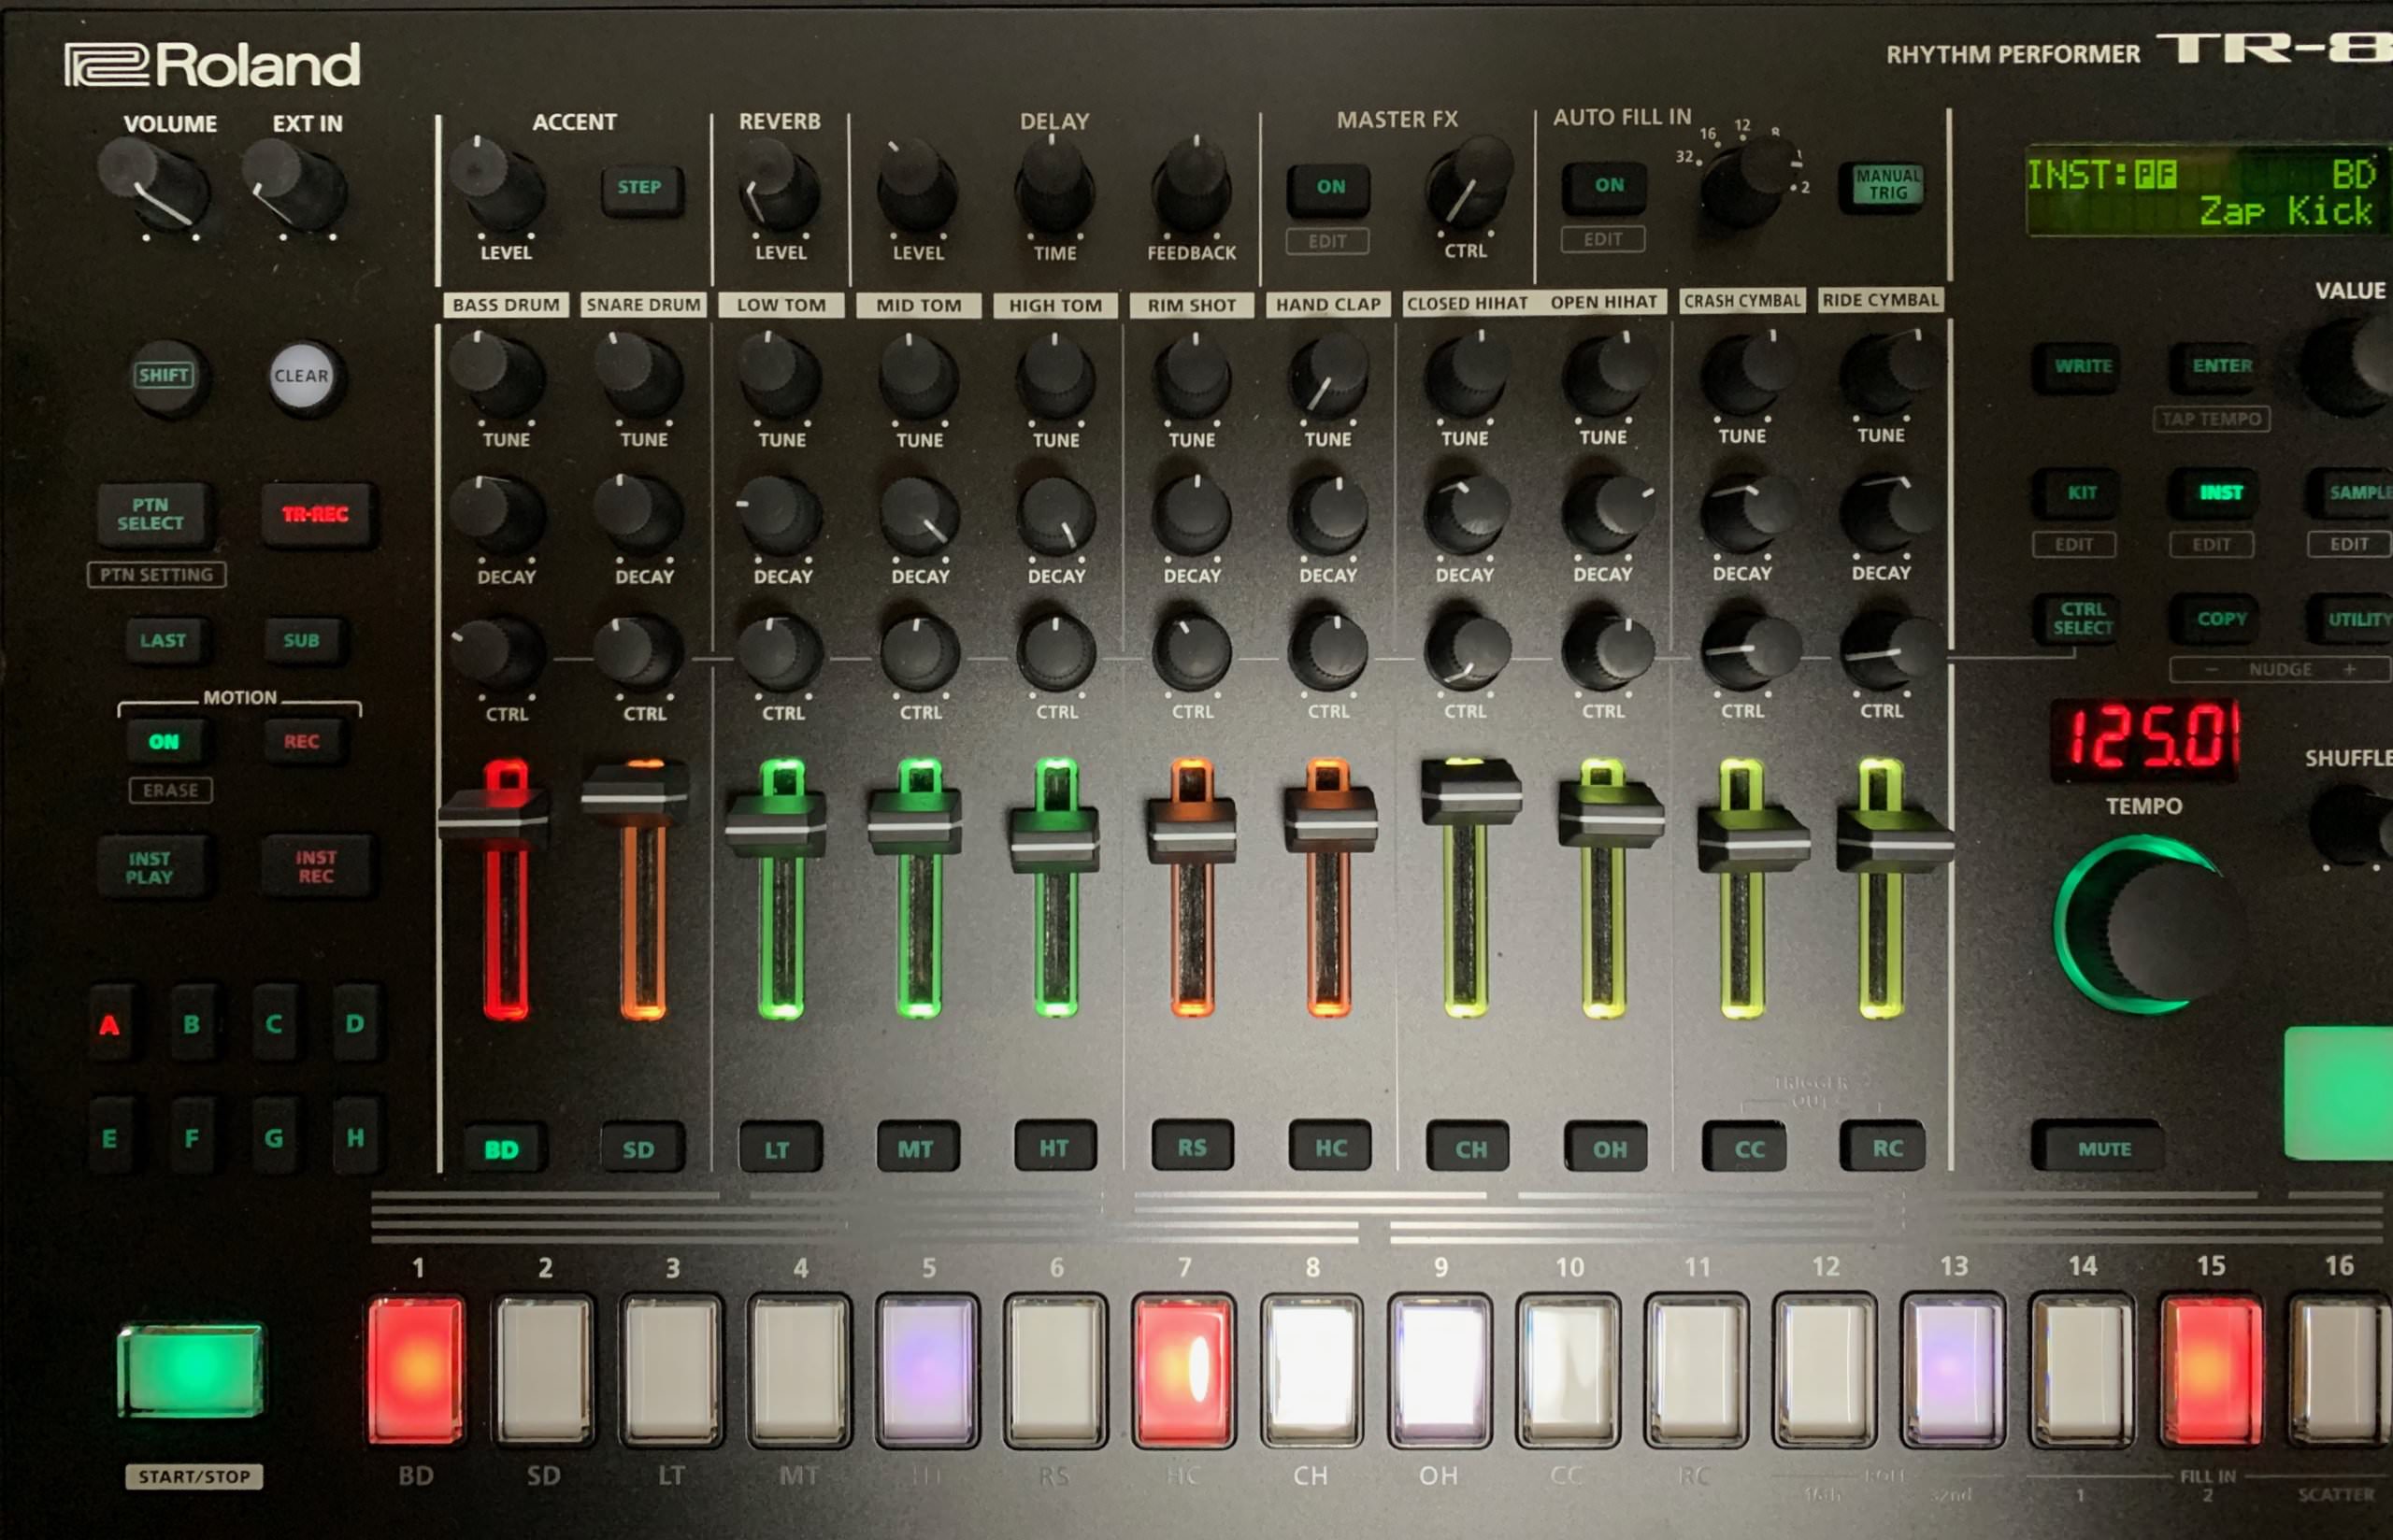
Let’s start with a kick. Press the BD button and then INST (instrument) to choose your preset. We’re hoping to make an electro-style beat so we choose Zap Kick, a solid, gut-punch kick with a pronounced click on the top. We program steps on positions 1, 7, and 15 for an electro feel. Press Shift + INST to access the Morph parameters. It functions a little differently on each preset. On Zap Kick, it adjusts the amount of sub versus click. Morph has both positive and negative values. We turn it down to -66 to emphasize the lows while still keeping some click intact.

Step 2
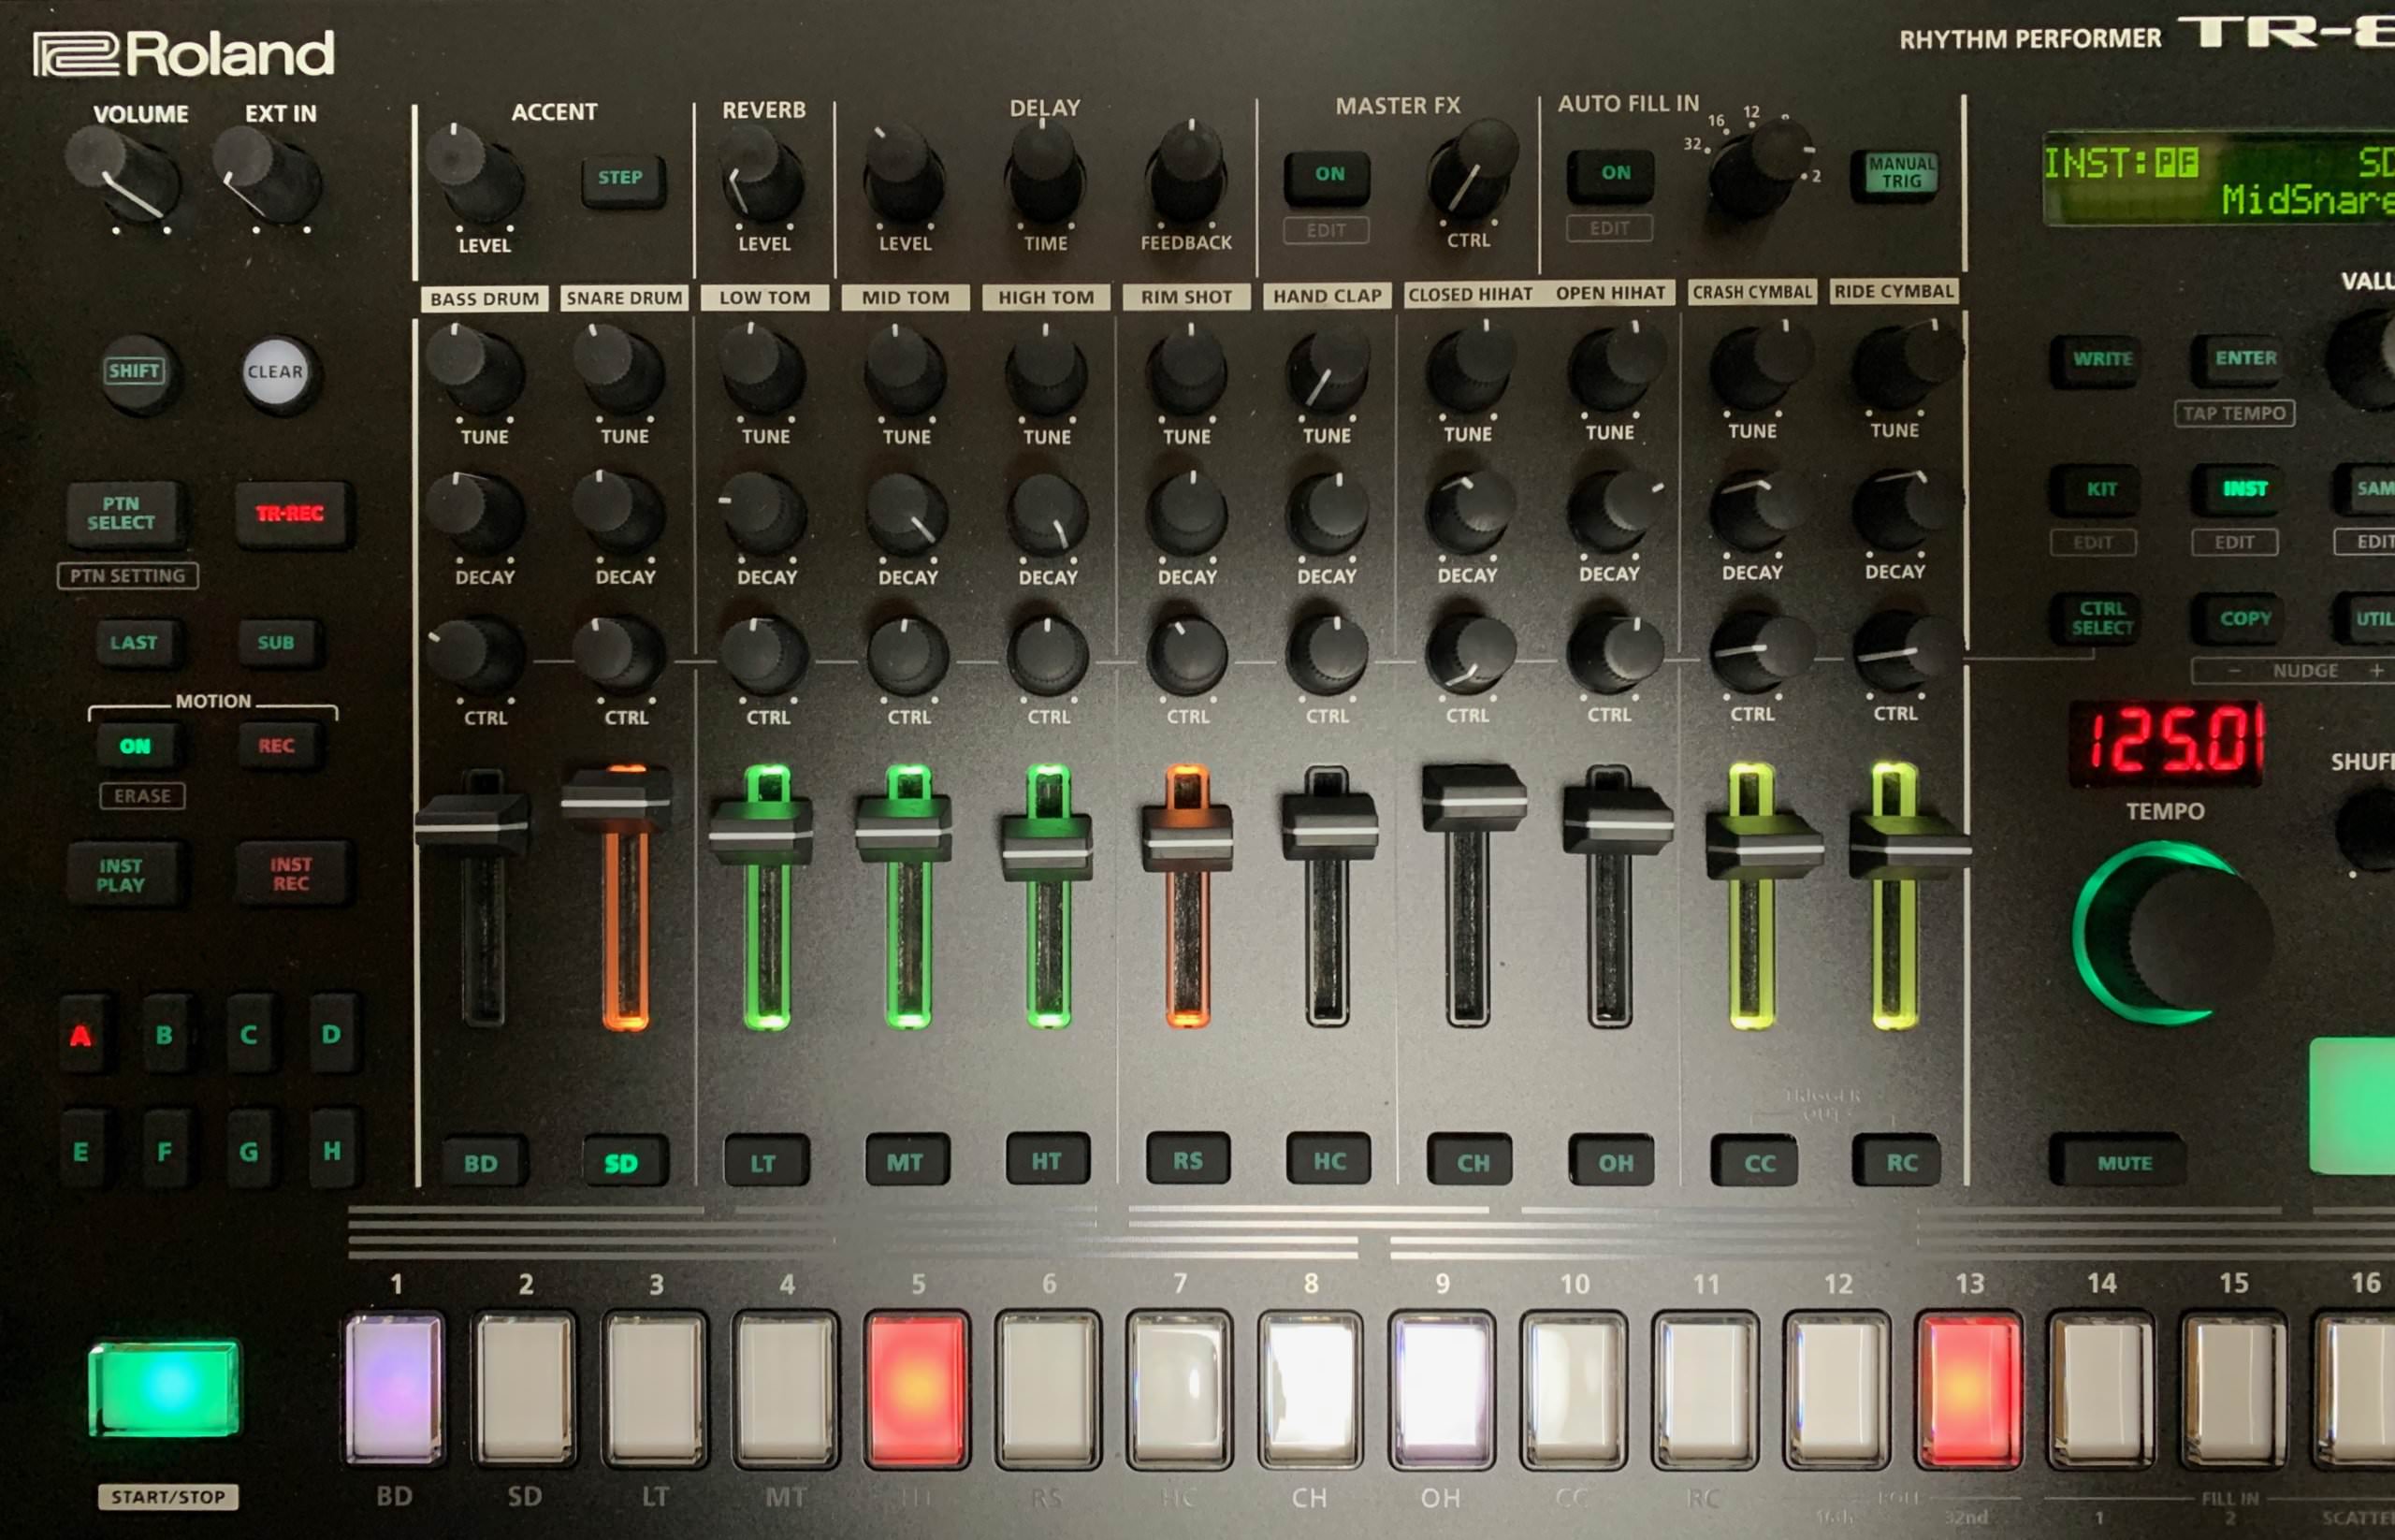
Next, let’s program a snare. We go with MidSnare. FM presets are clearly marked in the LCD screen with an ‘F’. We lay in steps on positions 5 and 13 for a typical backbeat feel. Let’s play with the Morph amount to see how it sounds. A setting of -15 gives us a good amount of top rattle. We adjust the pitch and decay to taste.
Top Tip: Put the Morph parameter on the CTRL knob for easier adjustments on the fly.

Step 3
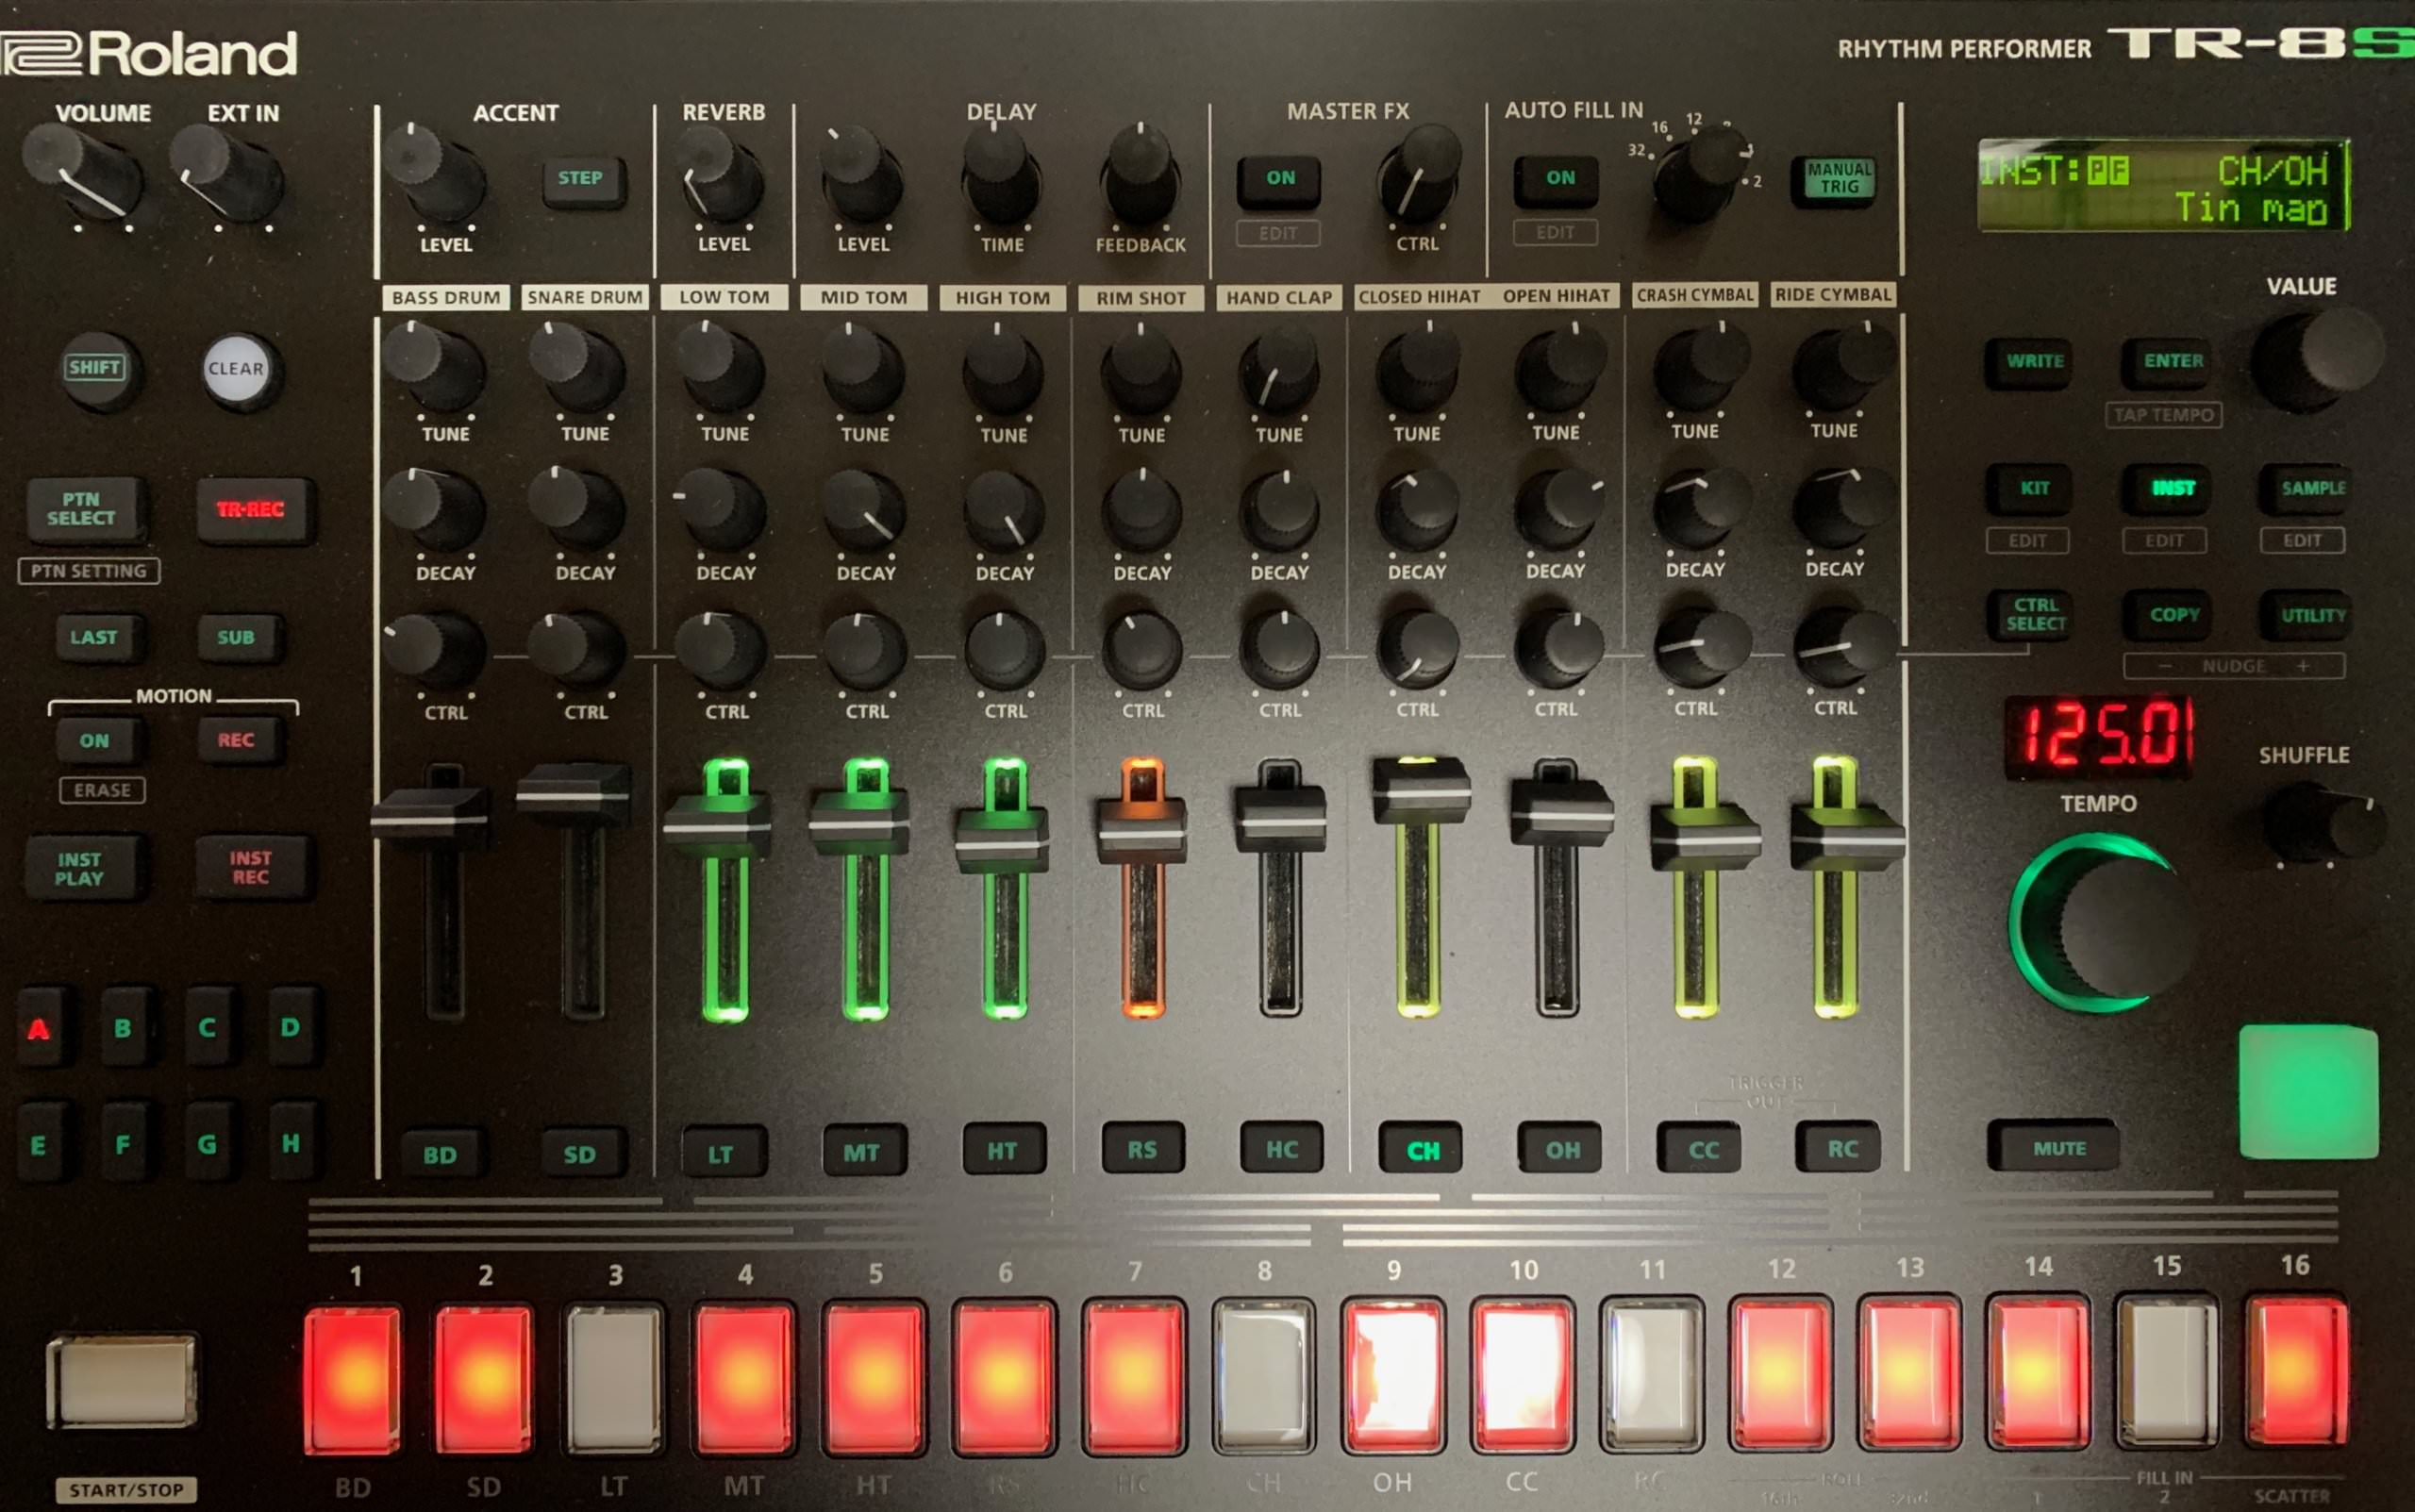
We’d like some metallic closed hats to give our beat a real electro edge, so we go with the Tin man hat preset. It sounds good as is but we turn down the delay slightly to make it more ticky. We program it in sixteenth notes, leaving some spaces for the open hats.
Step 4
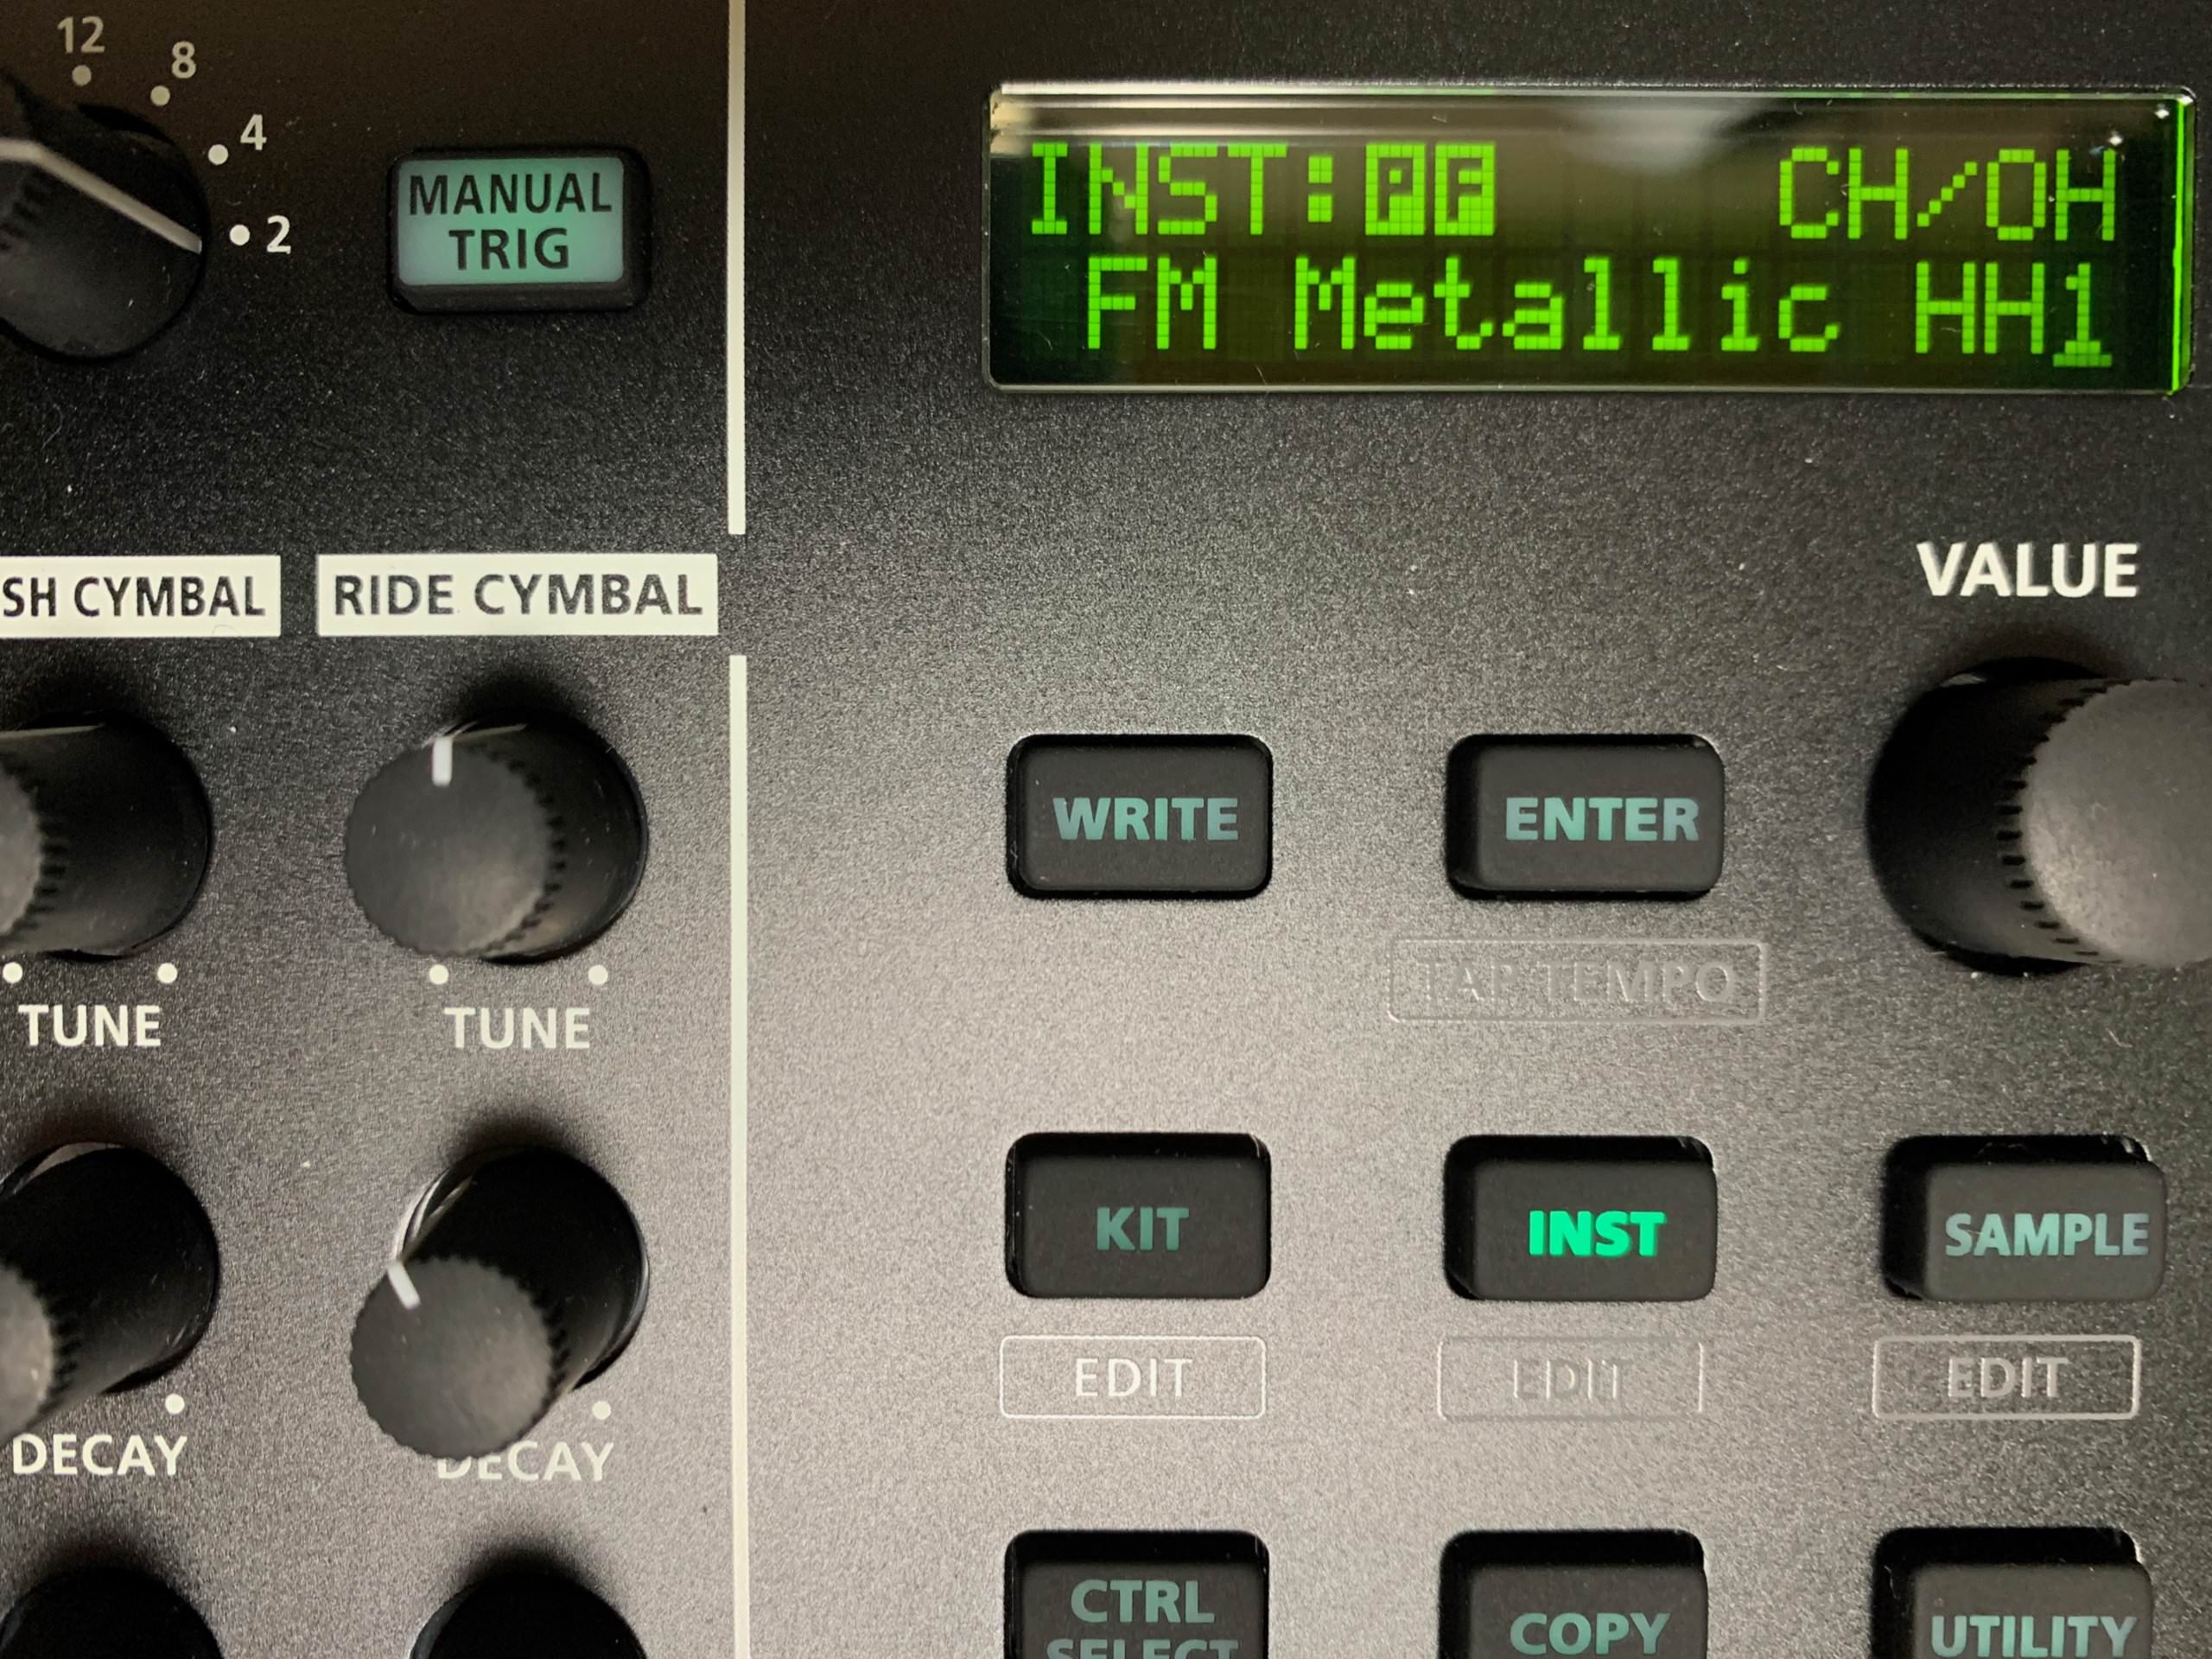
For our open hats, we go with a similarly inharmonic preset. FM Metallic HH1 fits the bill nicely. We program it on 3, 8, 11, and 15, and adjust the decay accordingly.
Step 5
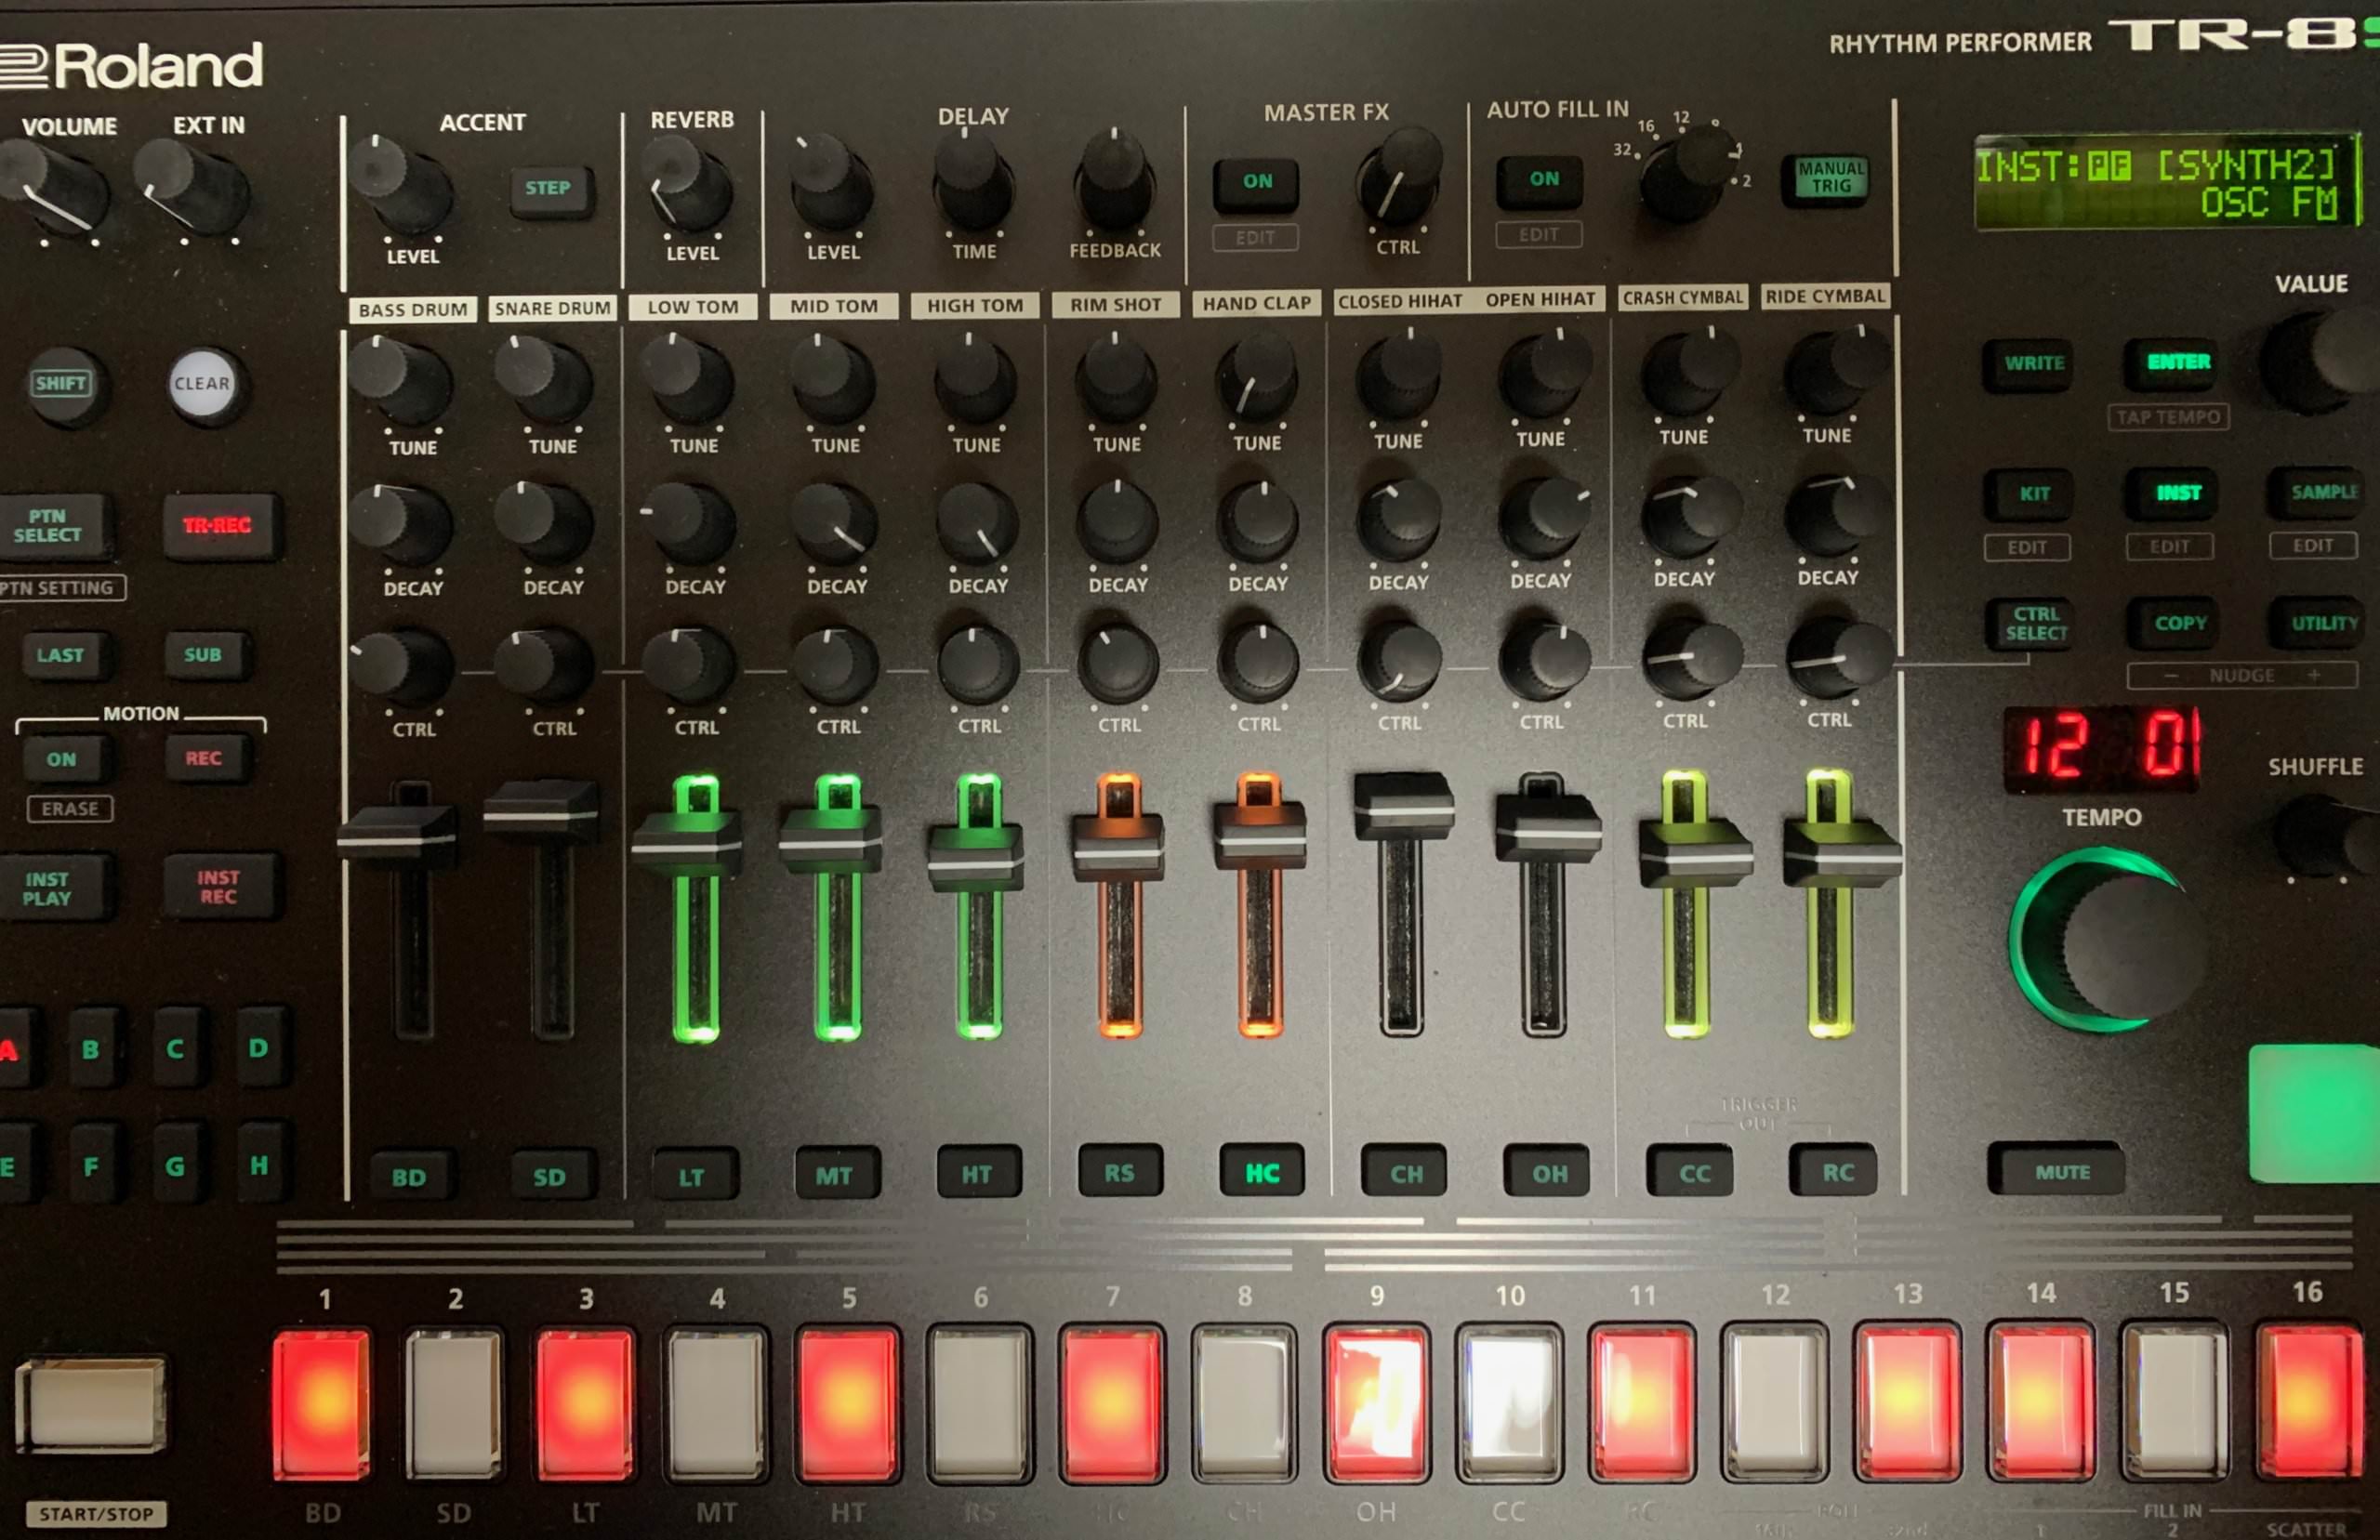
Lastly, let’s program a bassline. We use the HC channel and choose OSC FM, a juicy synth sound with room to work. It’s currently too high for a bass so we turn the tuning all the way down. Now it’s nice and low. Next, we turn Morph down to -124 to give it a more rounded feel. Lastly, we program in eighth notes with a slight variation towards the end of the bar.
The sound could be little more full so we use the Saturator effect to beef it up. The TR-8S’s Saturator is a three-band multiband effect combining overdrive and filters, meaning you can apply different amount and types of saturation to each band as well as adjust crossover points. We go with +7dB of gain for the lows and +1dB of gain for both mids and highs. That’s sounding good.
Top Tip: If you find that your tweaking has gone too far and your sound or pattern has gotten out of control, you can use the new Reload function to return to your last save point. Just hit Pattern, Kit or Inst button to reset.
The bass before saturation.
And now with a generous helping of multiband saturation.
Step 6
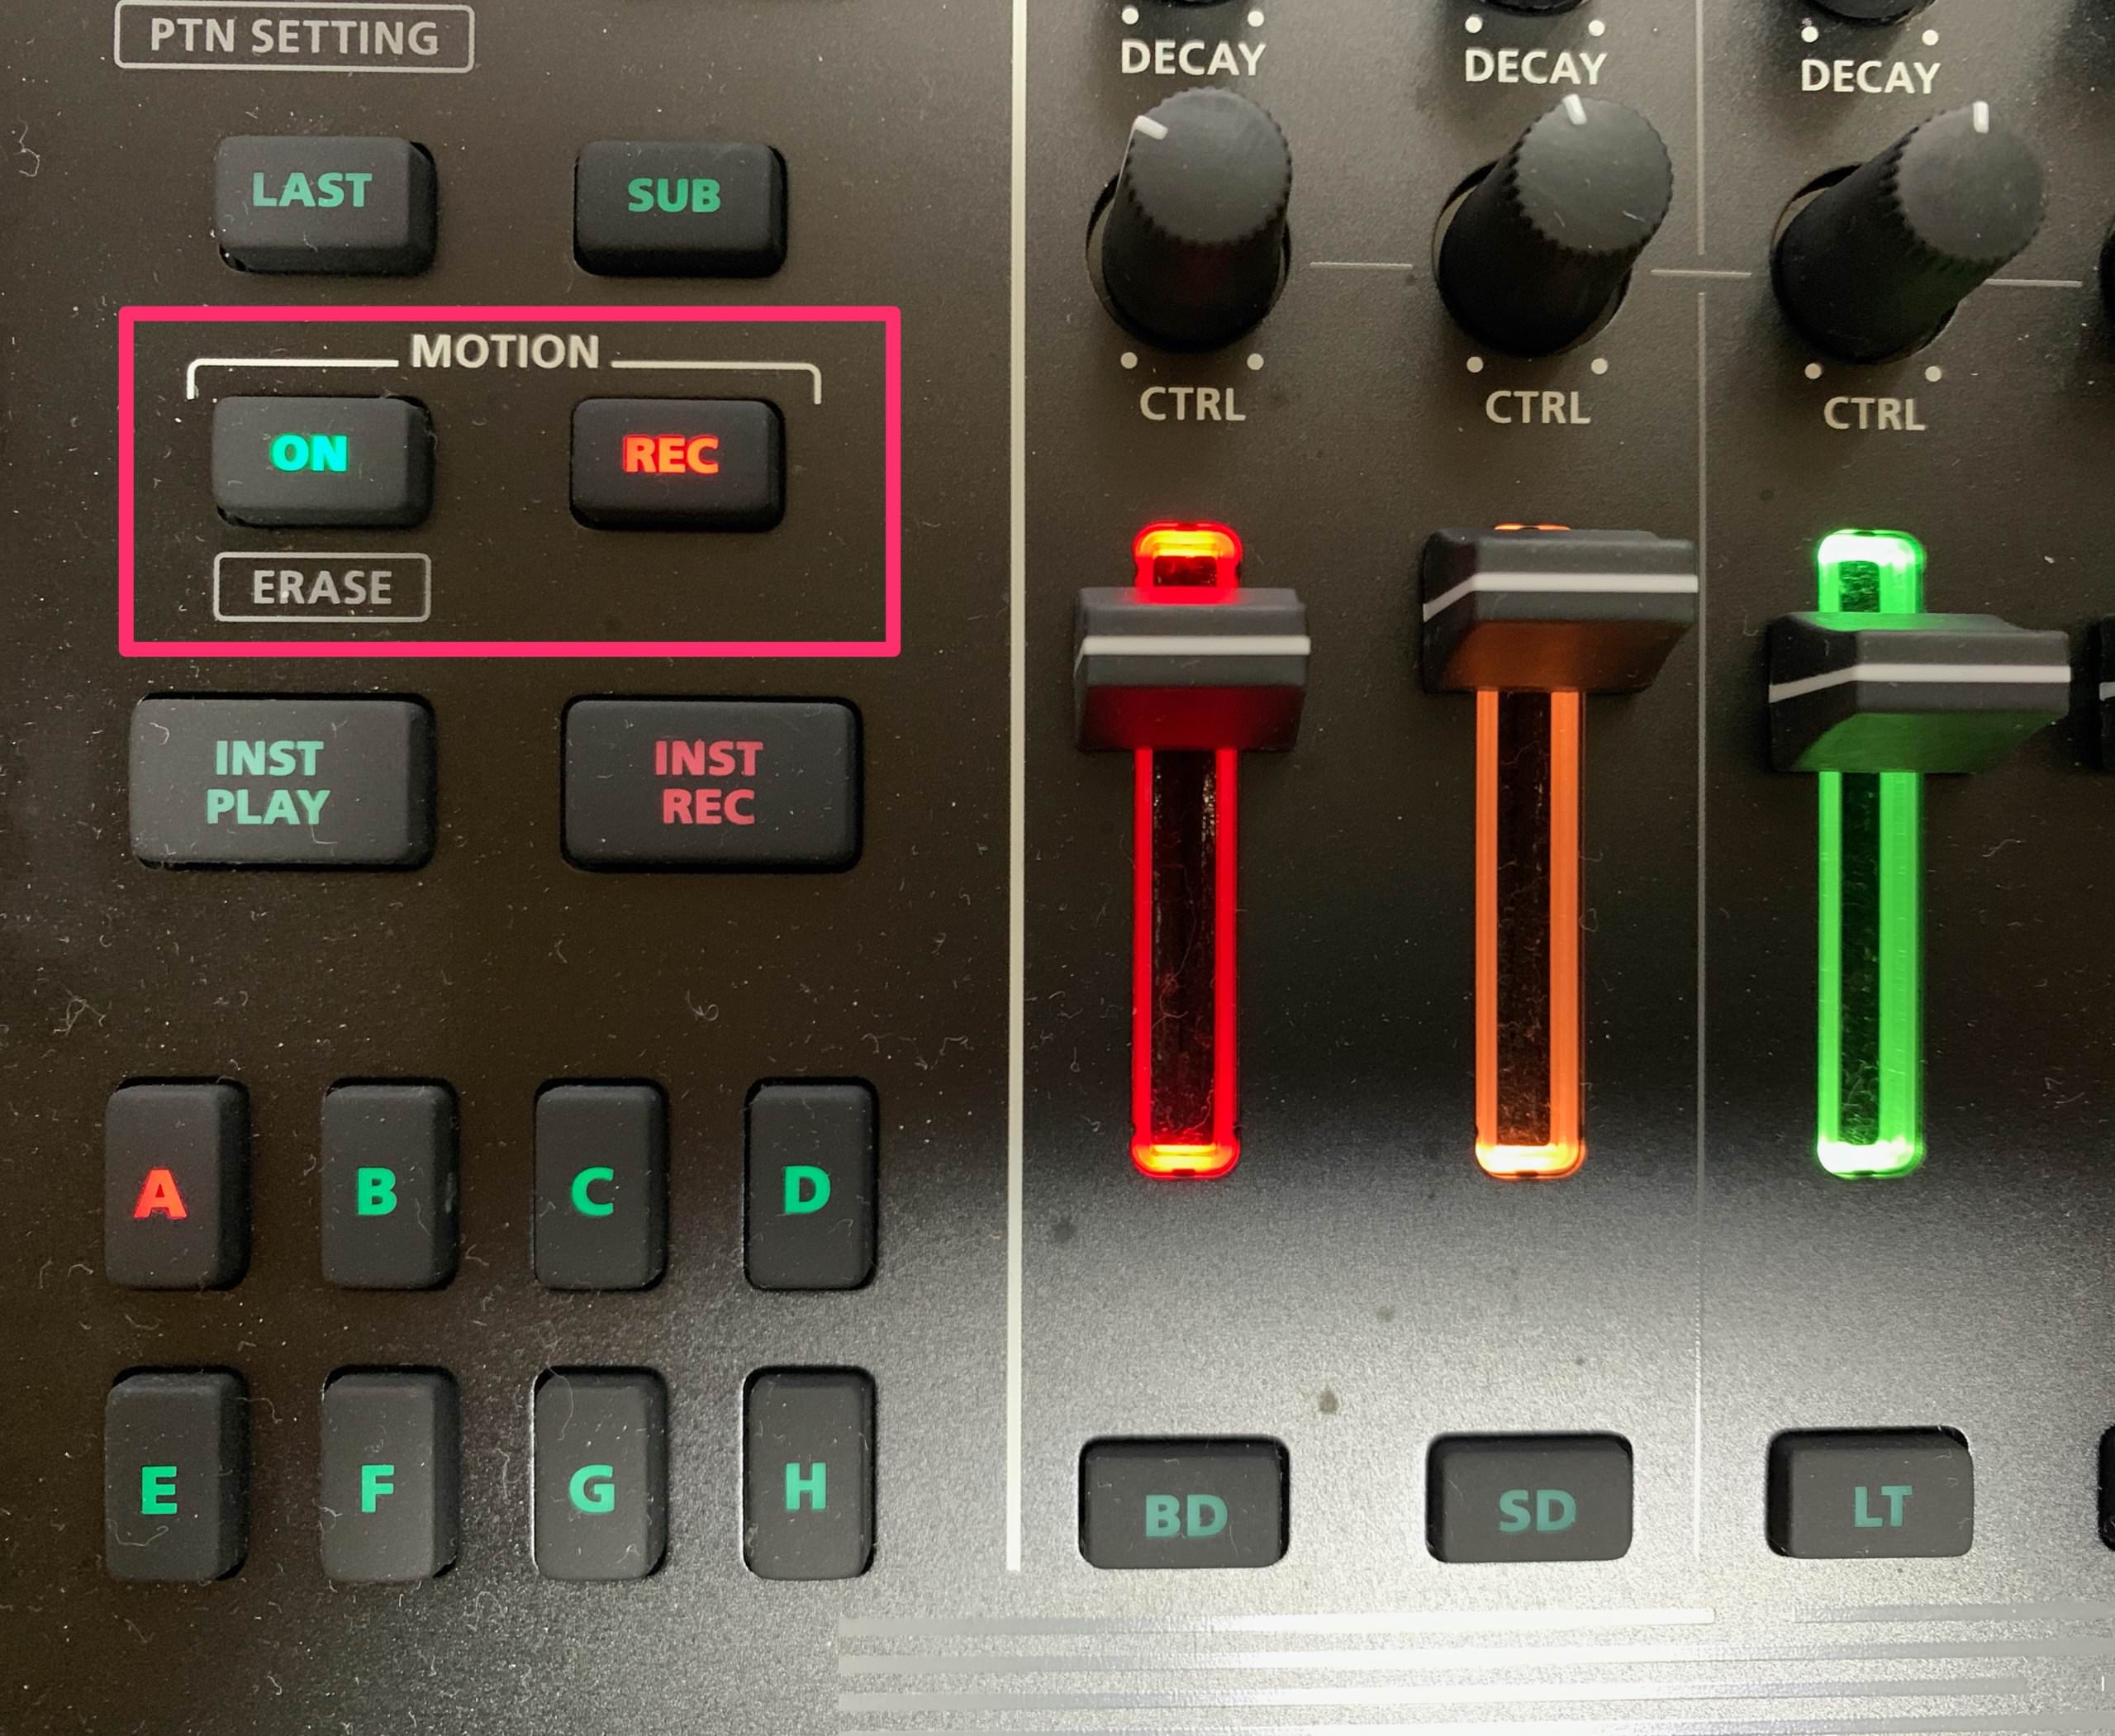
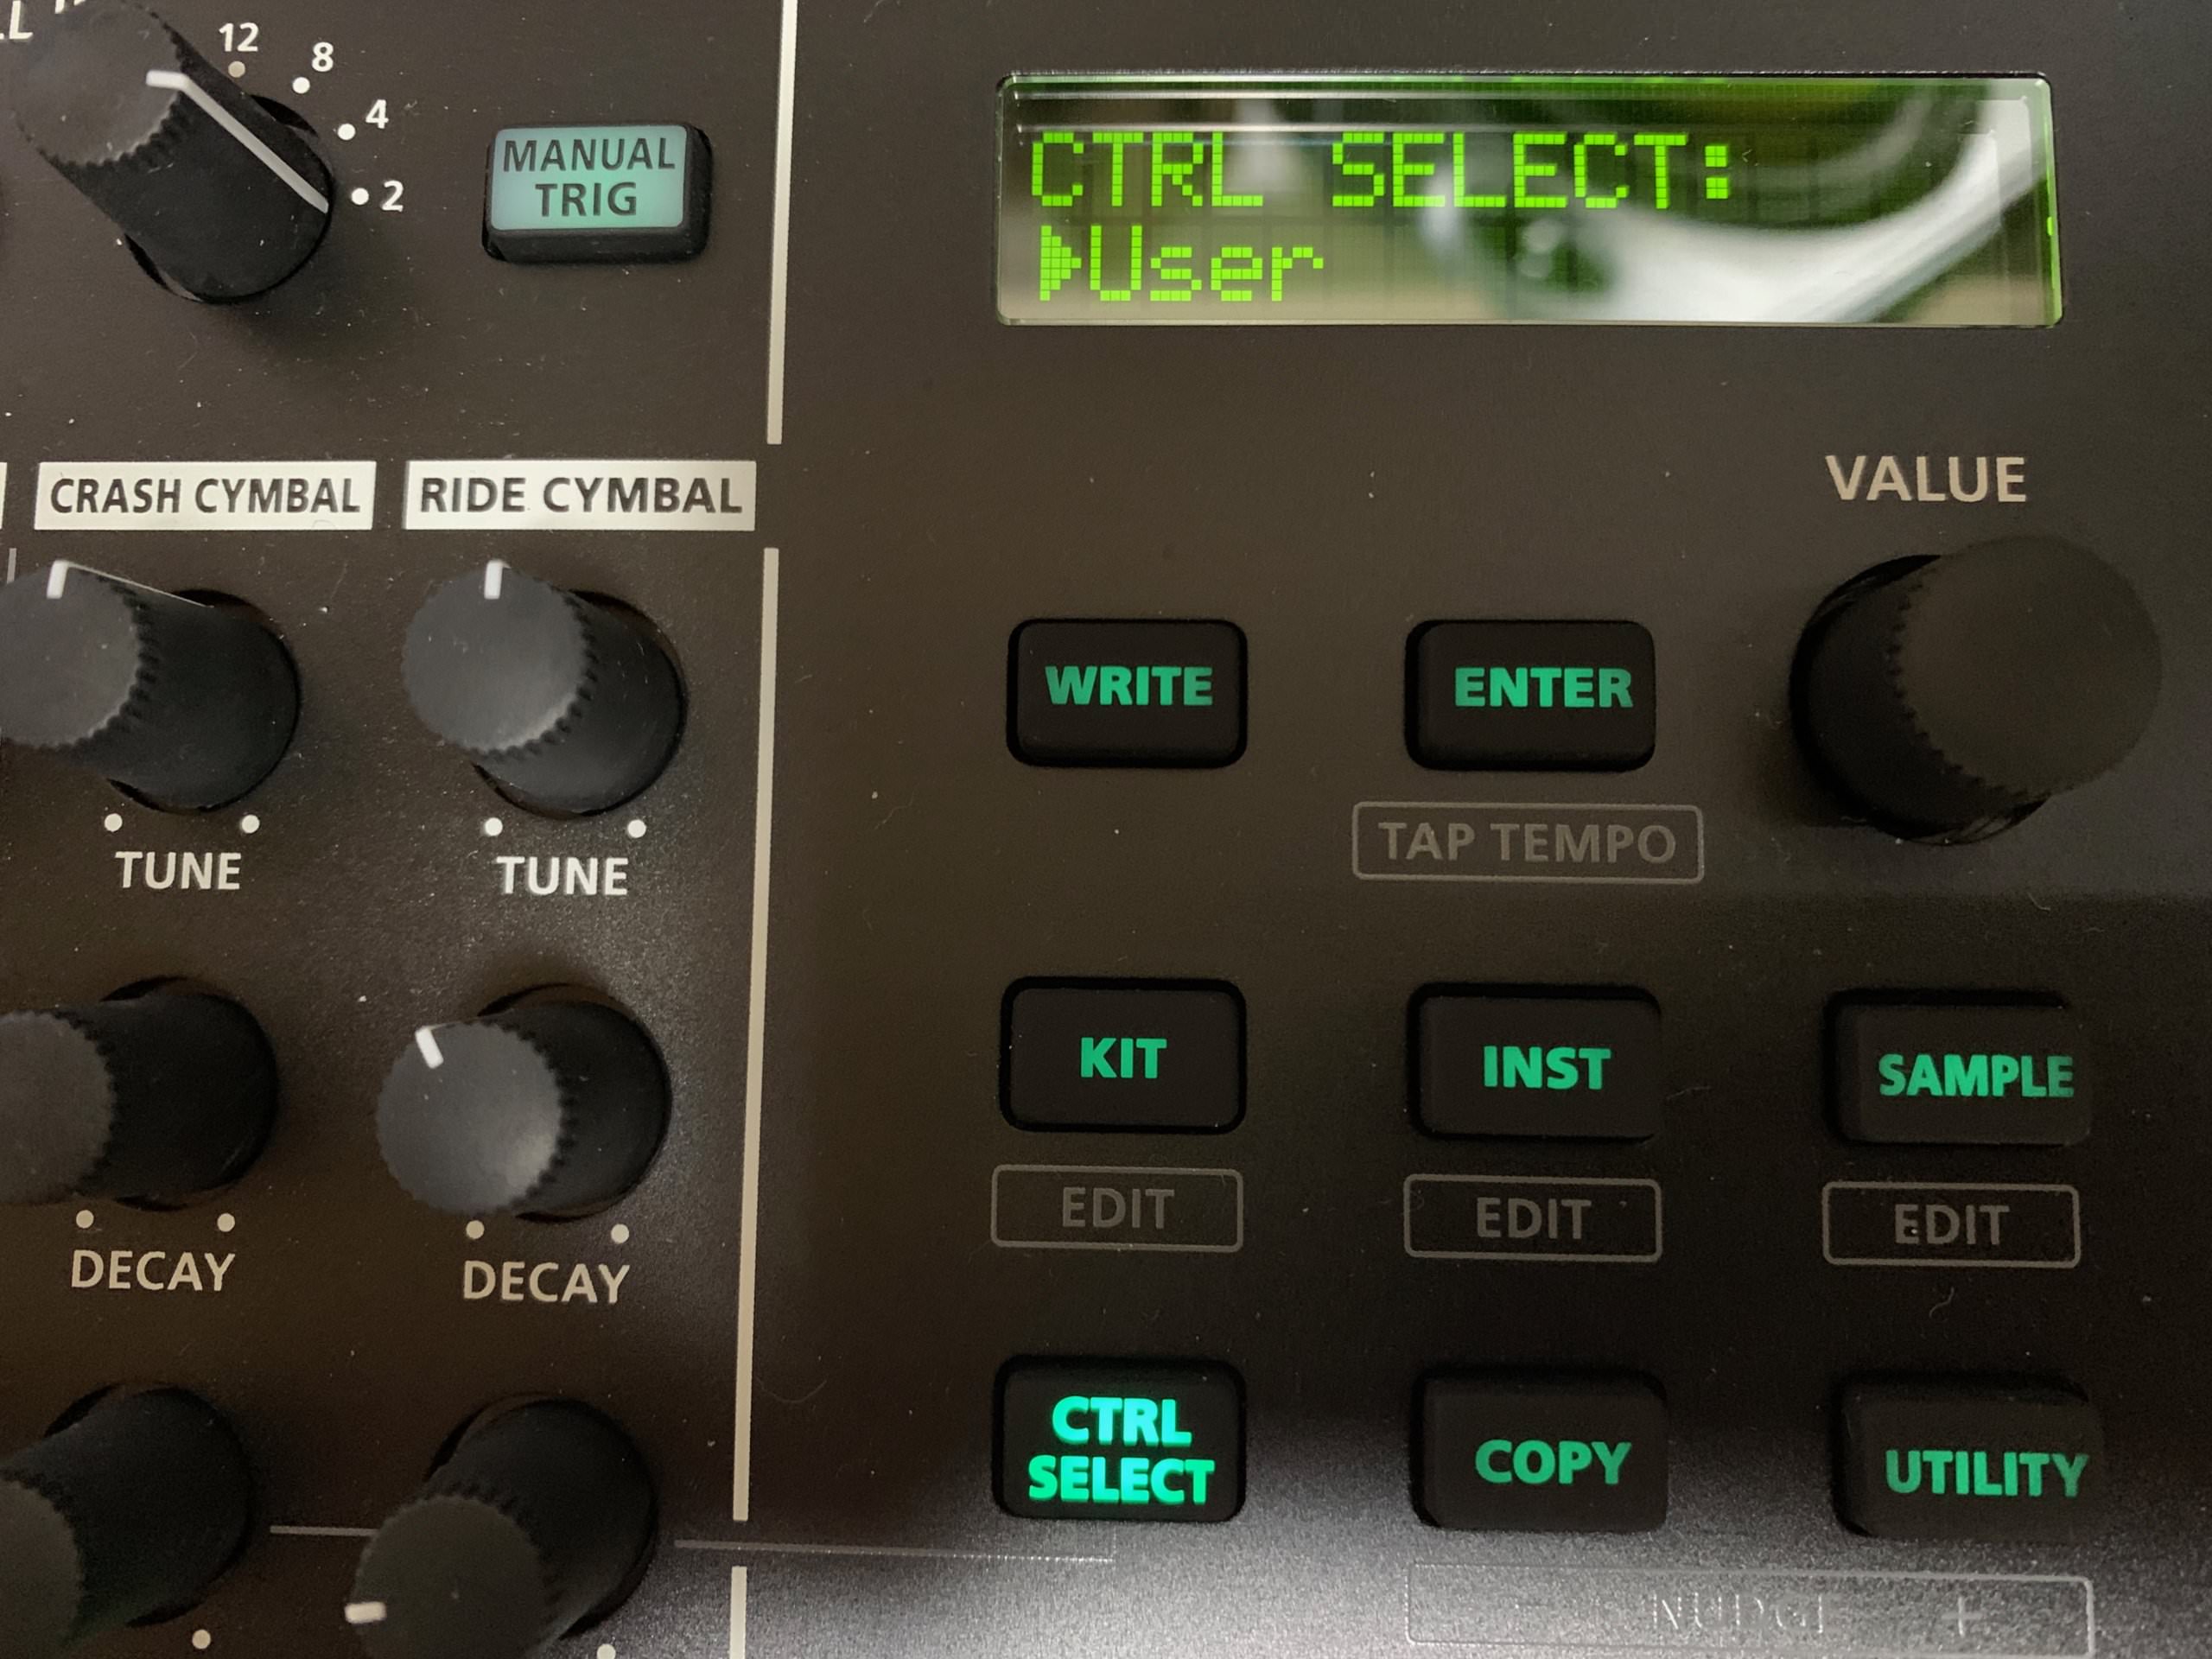
Our beat is coming along but the hi hats are a little static. Let’s liven it up with some Motion. We choose the new Ring Modulator for closed hats and Freq Shift for open hats and place them onto their respective CTRL pots. Now we have direct access to them while they’re playing and they can be recorded as motion data.
We engage Motion by pressing the On button and then Rec, and then tweak while it records. We record separate lanes of motion for the closed and open hats.
Step 7
Lastly, let’s use per-step Motion to turn our monotonous bass note into a full-on melodic bassline. First, we assign FM Coarse to the CTRL knob so we have access to pitch. Next, we turn Motion on and engage the Rec button. Finally, we hold down each step in the sequence with a note and turn the CTRL knob until we reach a pitch value that we like. Now our FM bassline follows a melodic progression.
Here is our finished FM beat.
And here is the beat in context of a song with added compression in Ableton Live.