In this latest Beat Dissected, we’re going to create a progressive, multilayered techno beat with plenty of swing inspired by Floating Points, Objekt and Martyn.
Beat Dissected is a regular series in which we deconstruct drum patterns, showing you how to program them in any DAW. Just copy our grid in your own software to recreate the loop. To enlarge any photo, just click on the image. In this particular Beat Dissected, we’ve also finished the pattern with a bassline.
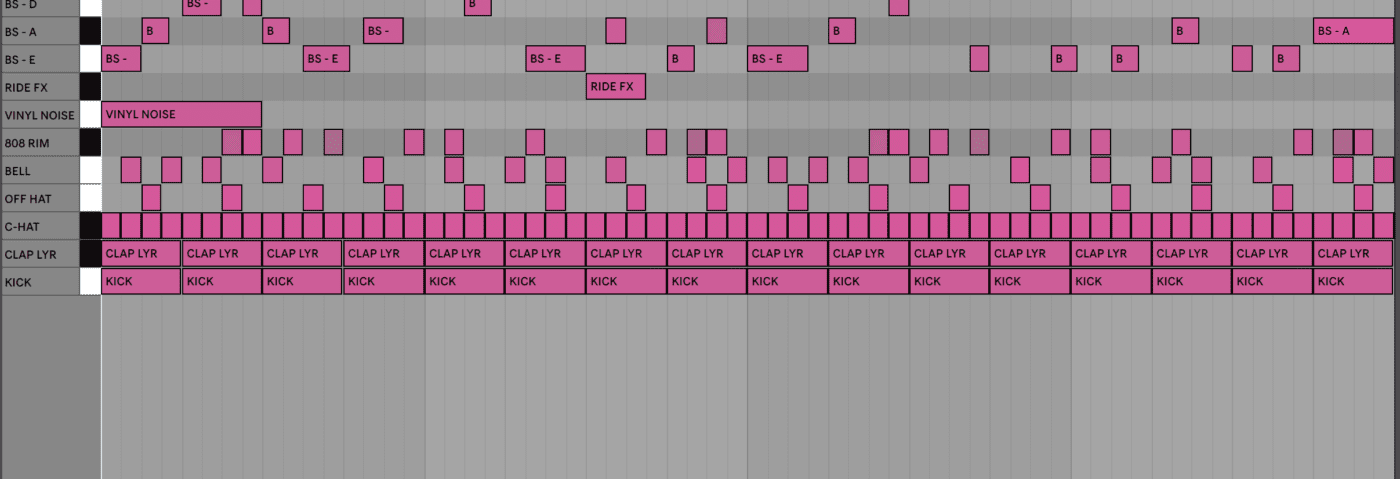
Here’s the beat we’re building today:
If you find this tutorial helpful you might enjoy our book “The Secrets of Dance Music Production“.
Spec
Tempo
135 BPMSwing
MPC 58%Sounds
Digital Drum Machines & Acoustic Drum SamplesStep 1
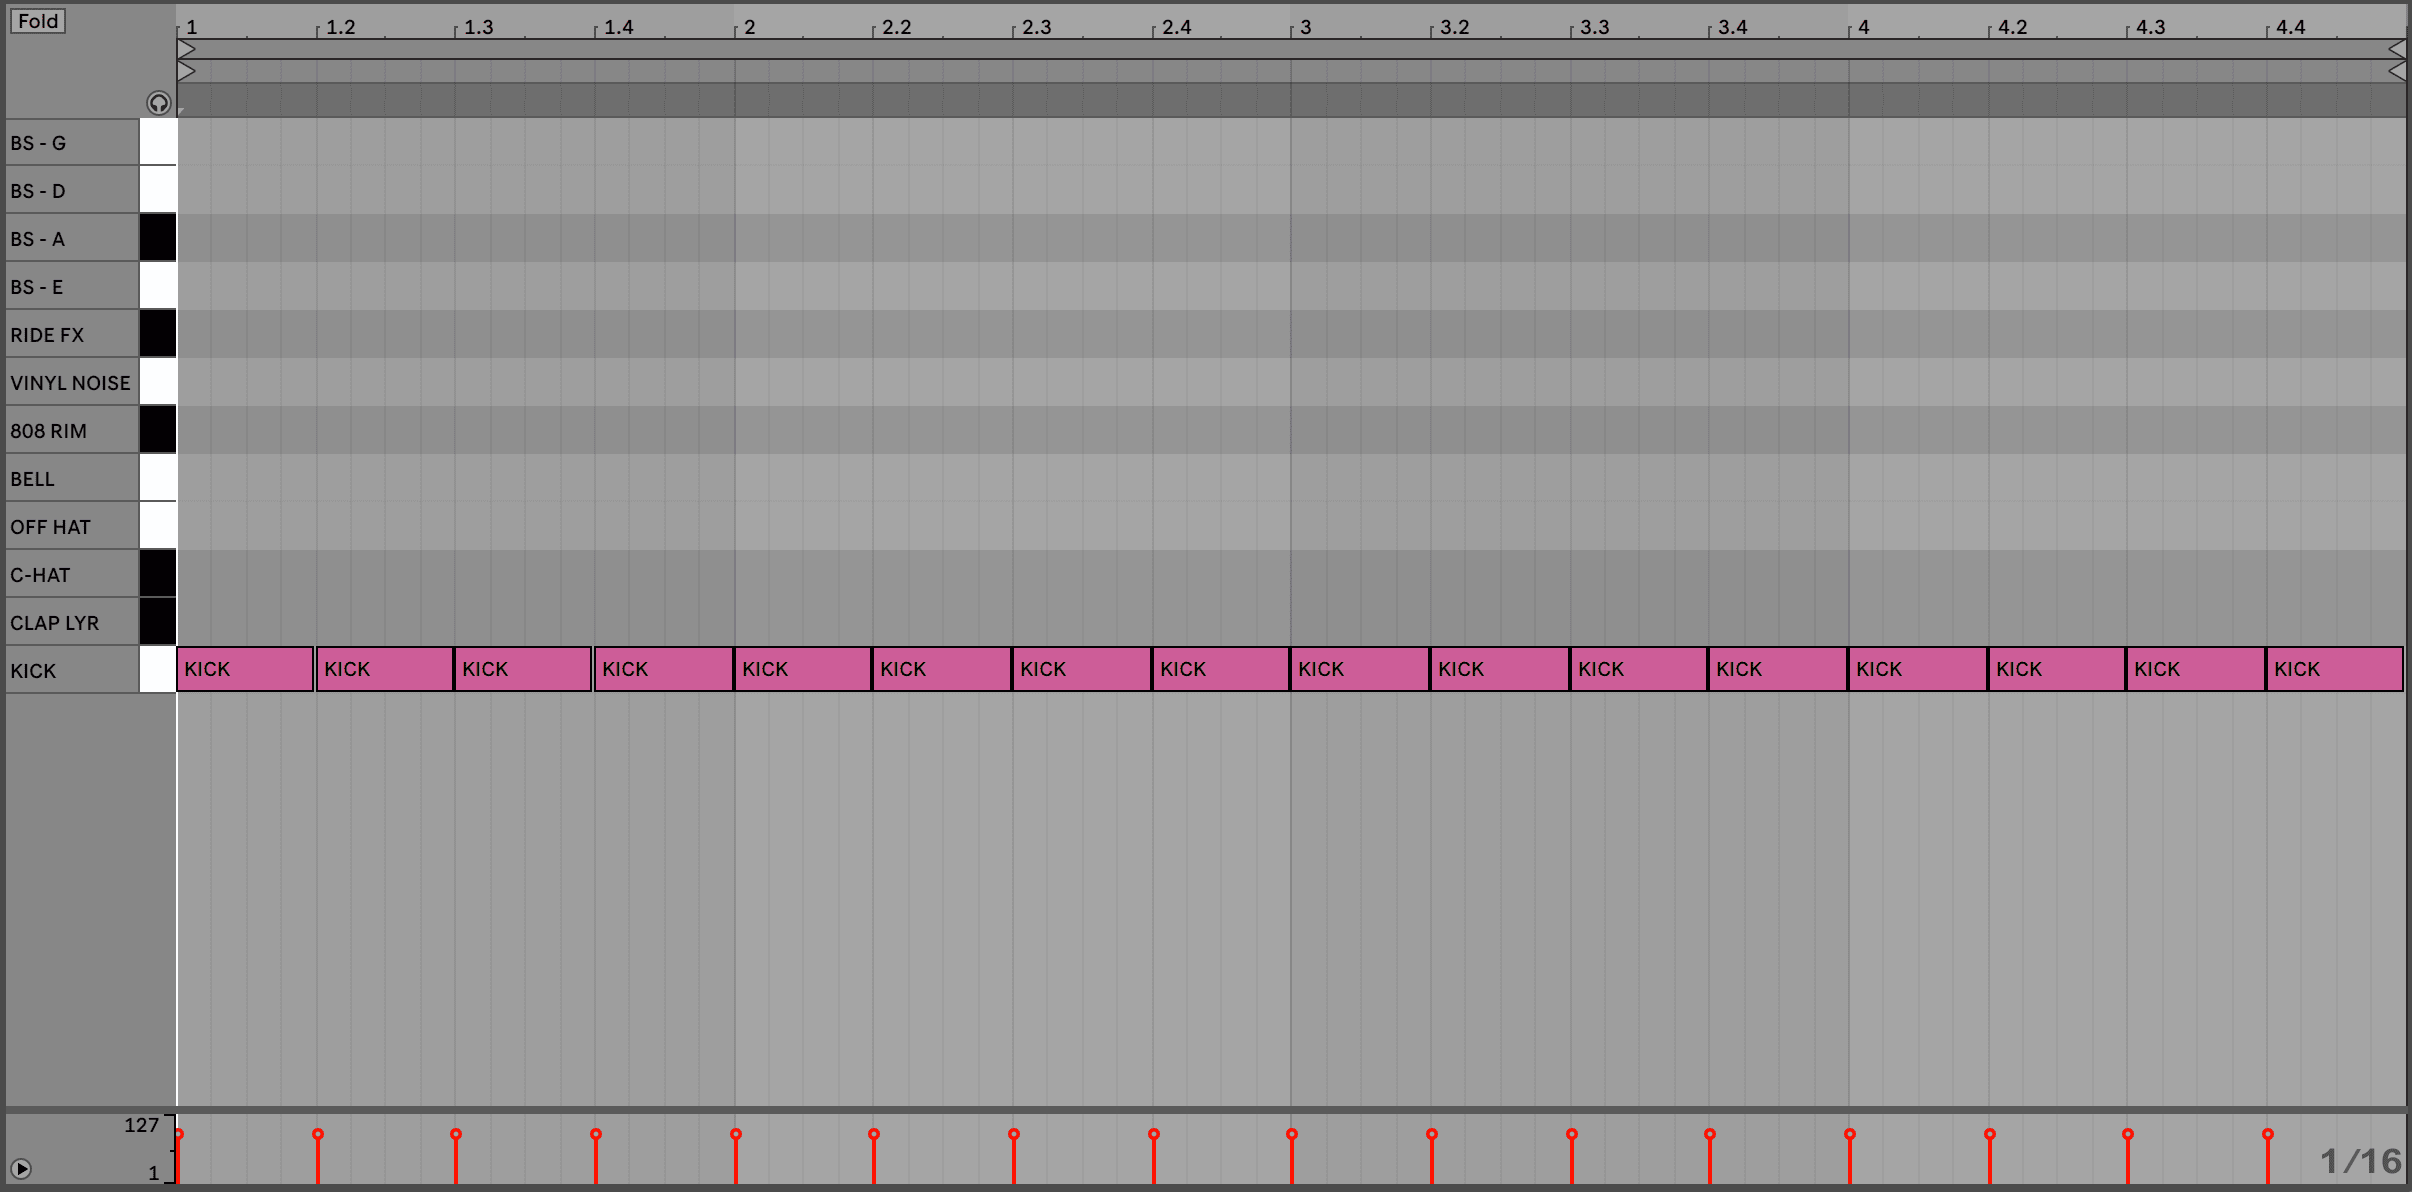
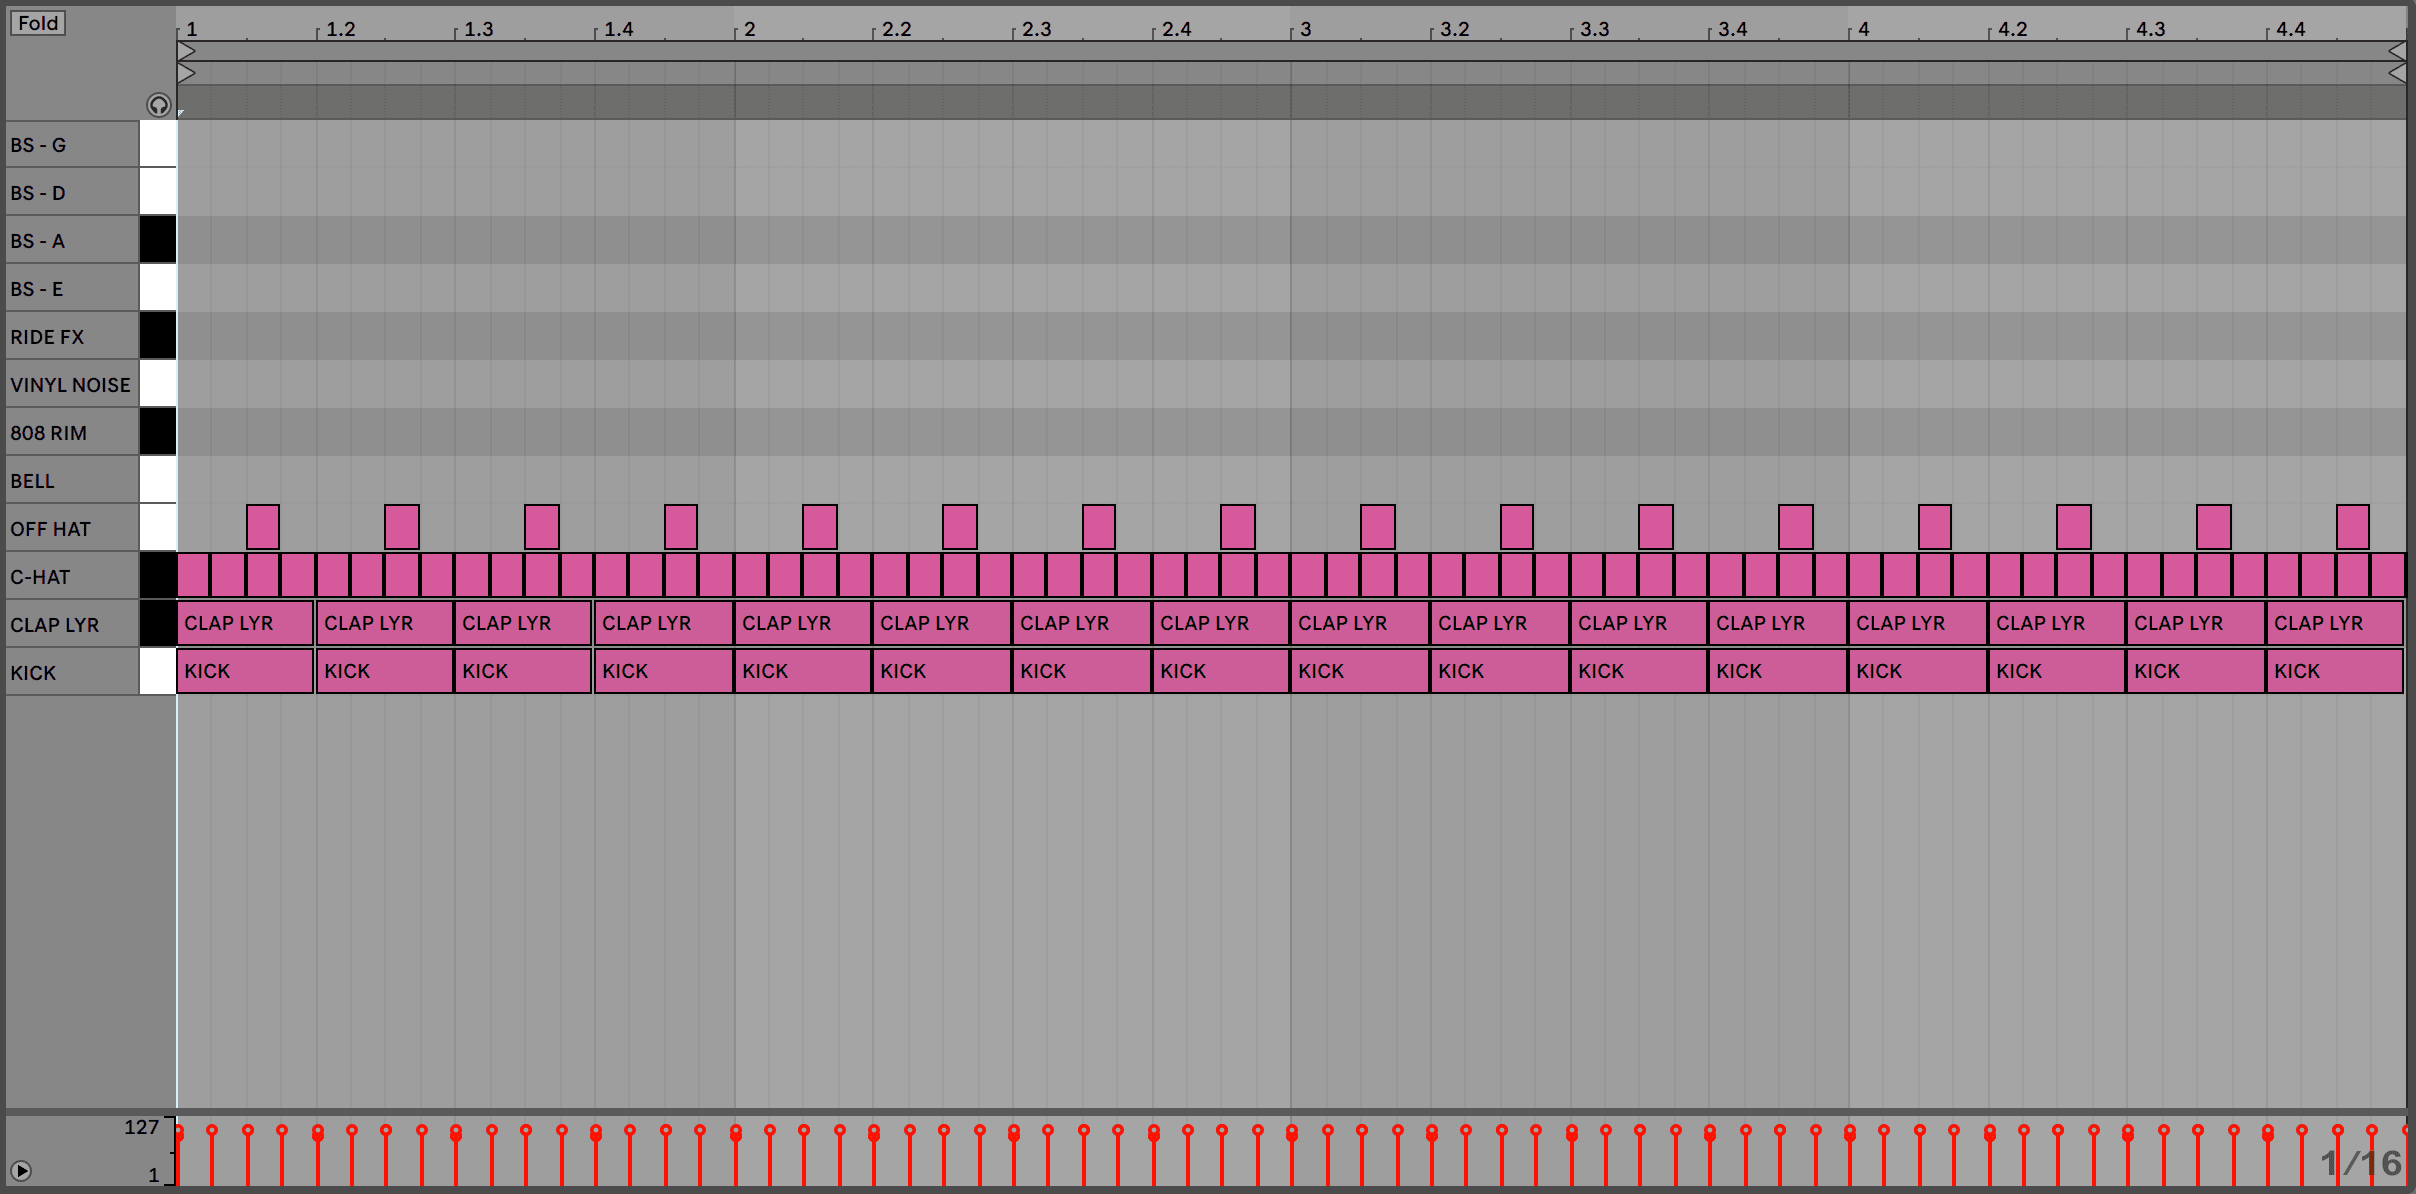
When working with swing, it’s a good idea to keep at least one element straight and this is usually the kick.
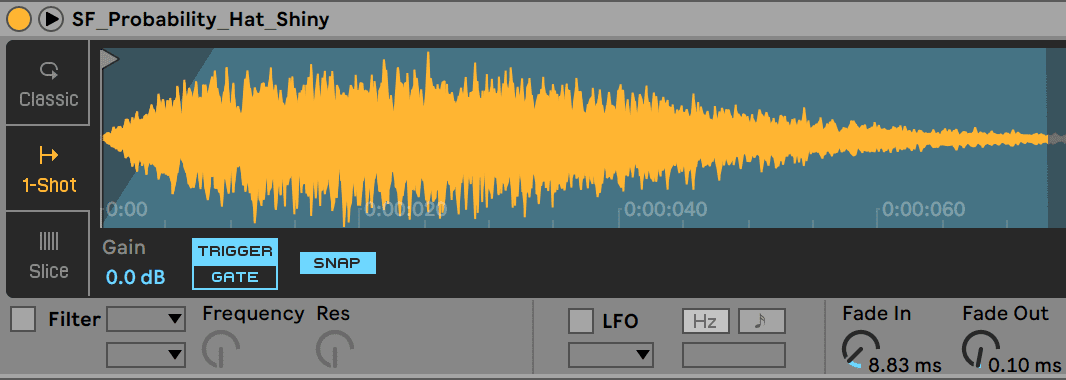
We’re using the “Ame Kick” one shot from Native Instruments’ Maschine because it has both a solid transient and substantial ‘oompf’ in the low end. To further emphasize the transient, we compress it while also EQing the muddy frequencies around 100 – 200Hz.
Step 2
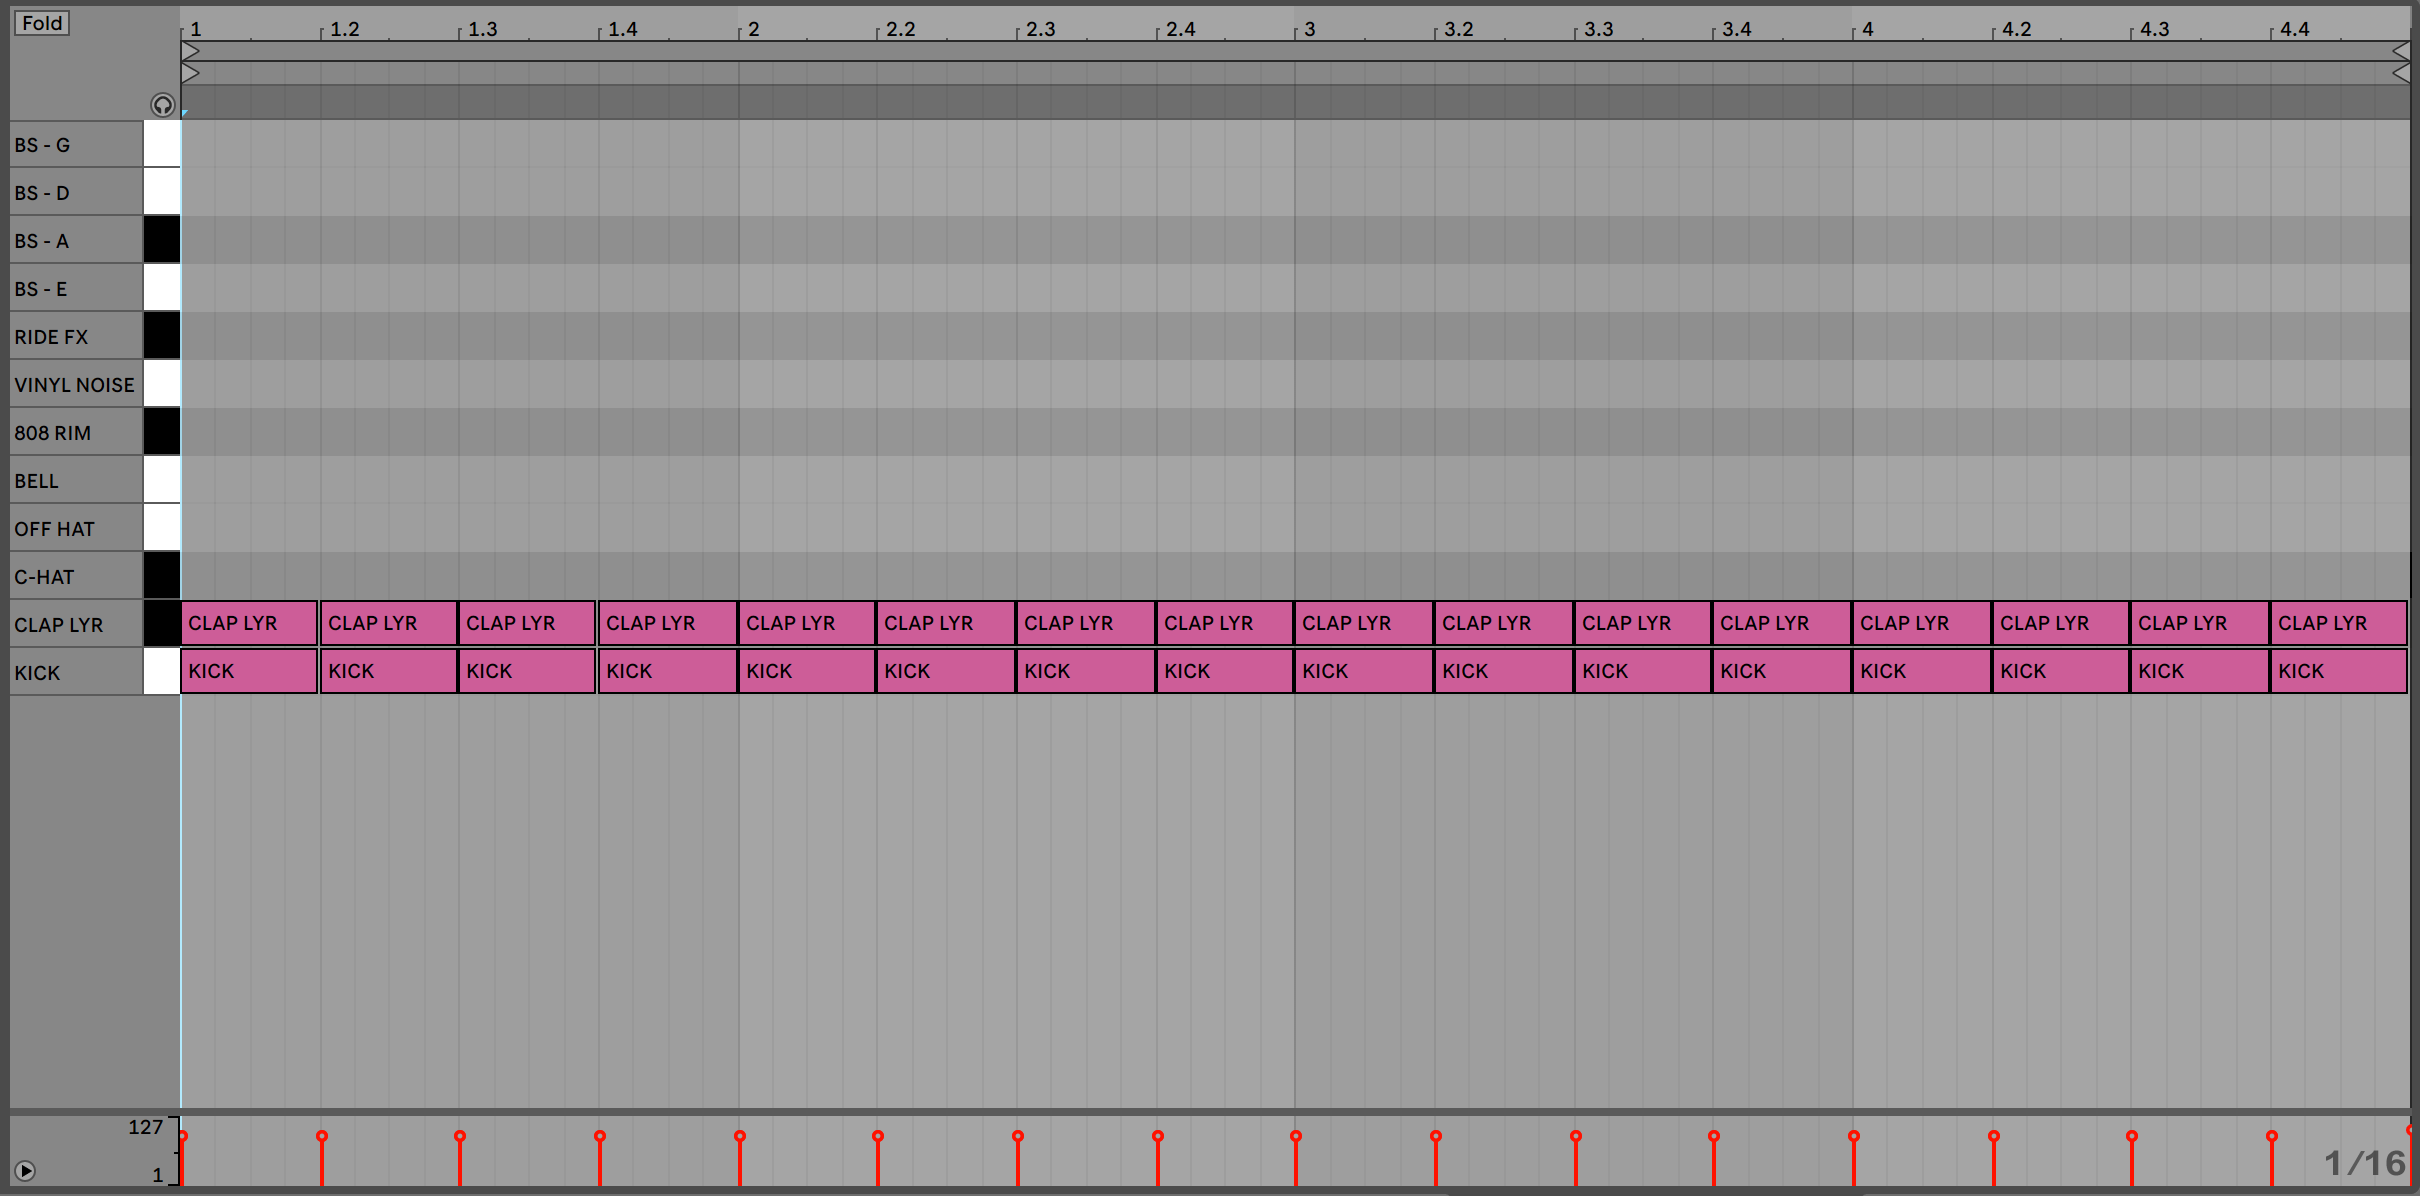
Let’s layer the kick with an alternative sound. This is a technique that has grown in popularity – again – lately as producers look to expand their sound beyond simply dragging and dropping one shots.
We’re layering a 909 clap sample but programmed at very low volume: -30dB. It’s subtle yet effective. The key here is to cut the low frequencies on the second layer around 600 – 1kHz while keeping it quiet in the mix. This leaves space for it to blend with the kick. We can also low pass the original kick from Step 1 sweeping away up to 3kHz to reduce the overlap with the new layer.
Step 3
Nothing says swing more than a repeating hi-hat pattern. We draw in a closed hi-hat note on every sixteenth note and apply a slight fade within Simpler. The small fade in gives us “ducking” and it makes it smoother overall which works well in this context.
Without swing, the hi-hat would sound repetitive and dry as everything is too fixed to the grid. To address this we add Ableton’s “MPC 16 Swing-58” from the Groove Library and also add a 808 hat sample on the off-beat.
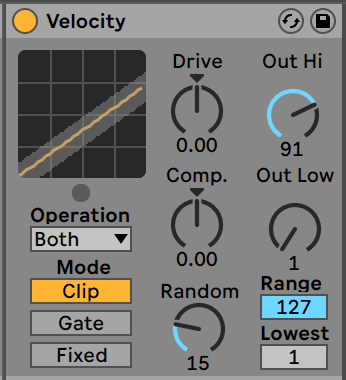
We want to make the hi-hat sound more live in order to make each hit sound ever so slightly different. The quick way to recreate this in Ableton, without having to record everything live, is to utilise the very under appreciated Velocity MIDI effect. The “random” knob on this engine automatically changes the velocity of every hit (within parameters you set) and instantly breathes life into programmed parts.
In this example we drag this device to our closed hat, increase the random knob to 15. We also lower the Out-Hi to reduce the maximum velocity allowed.
Step 4
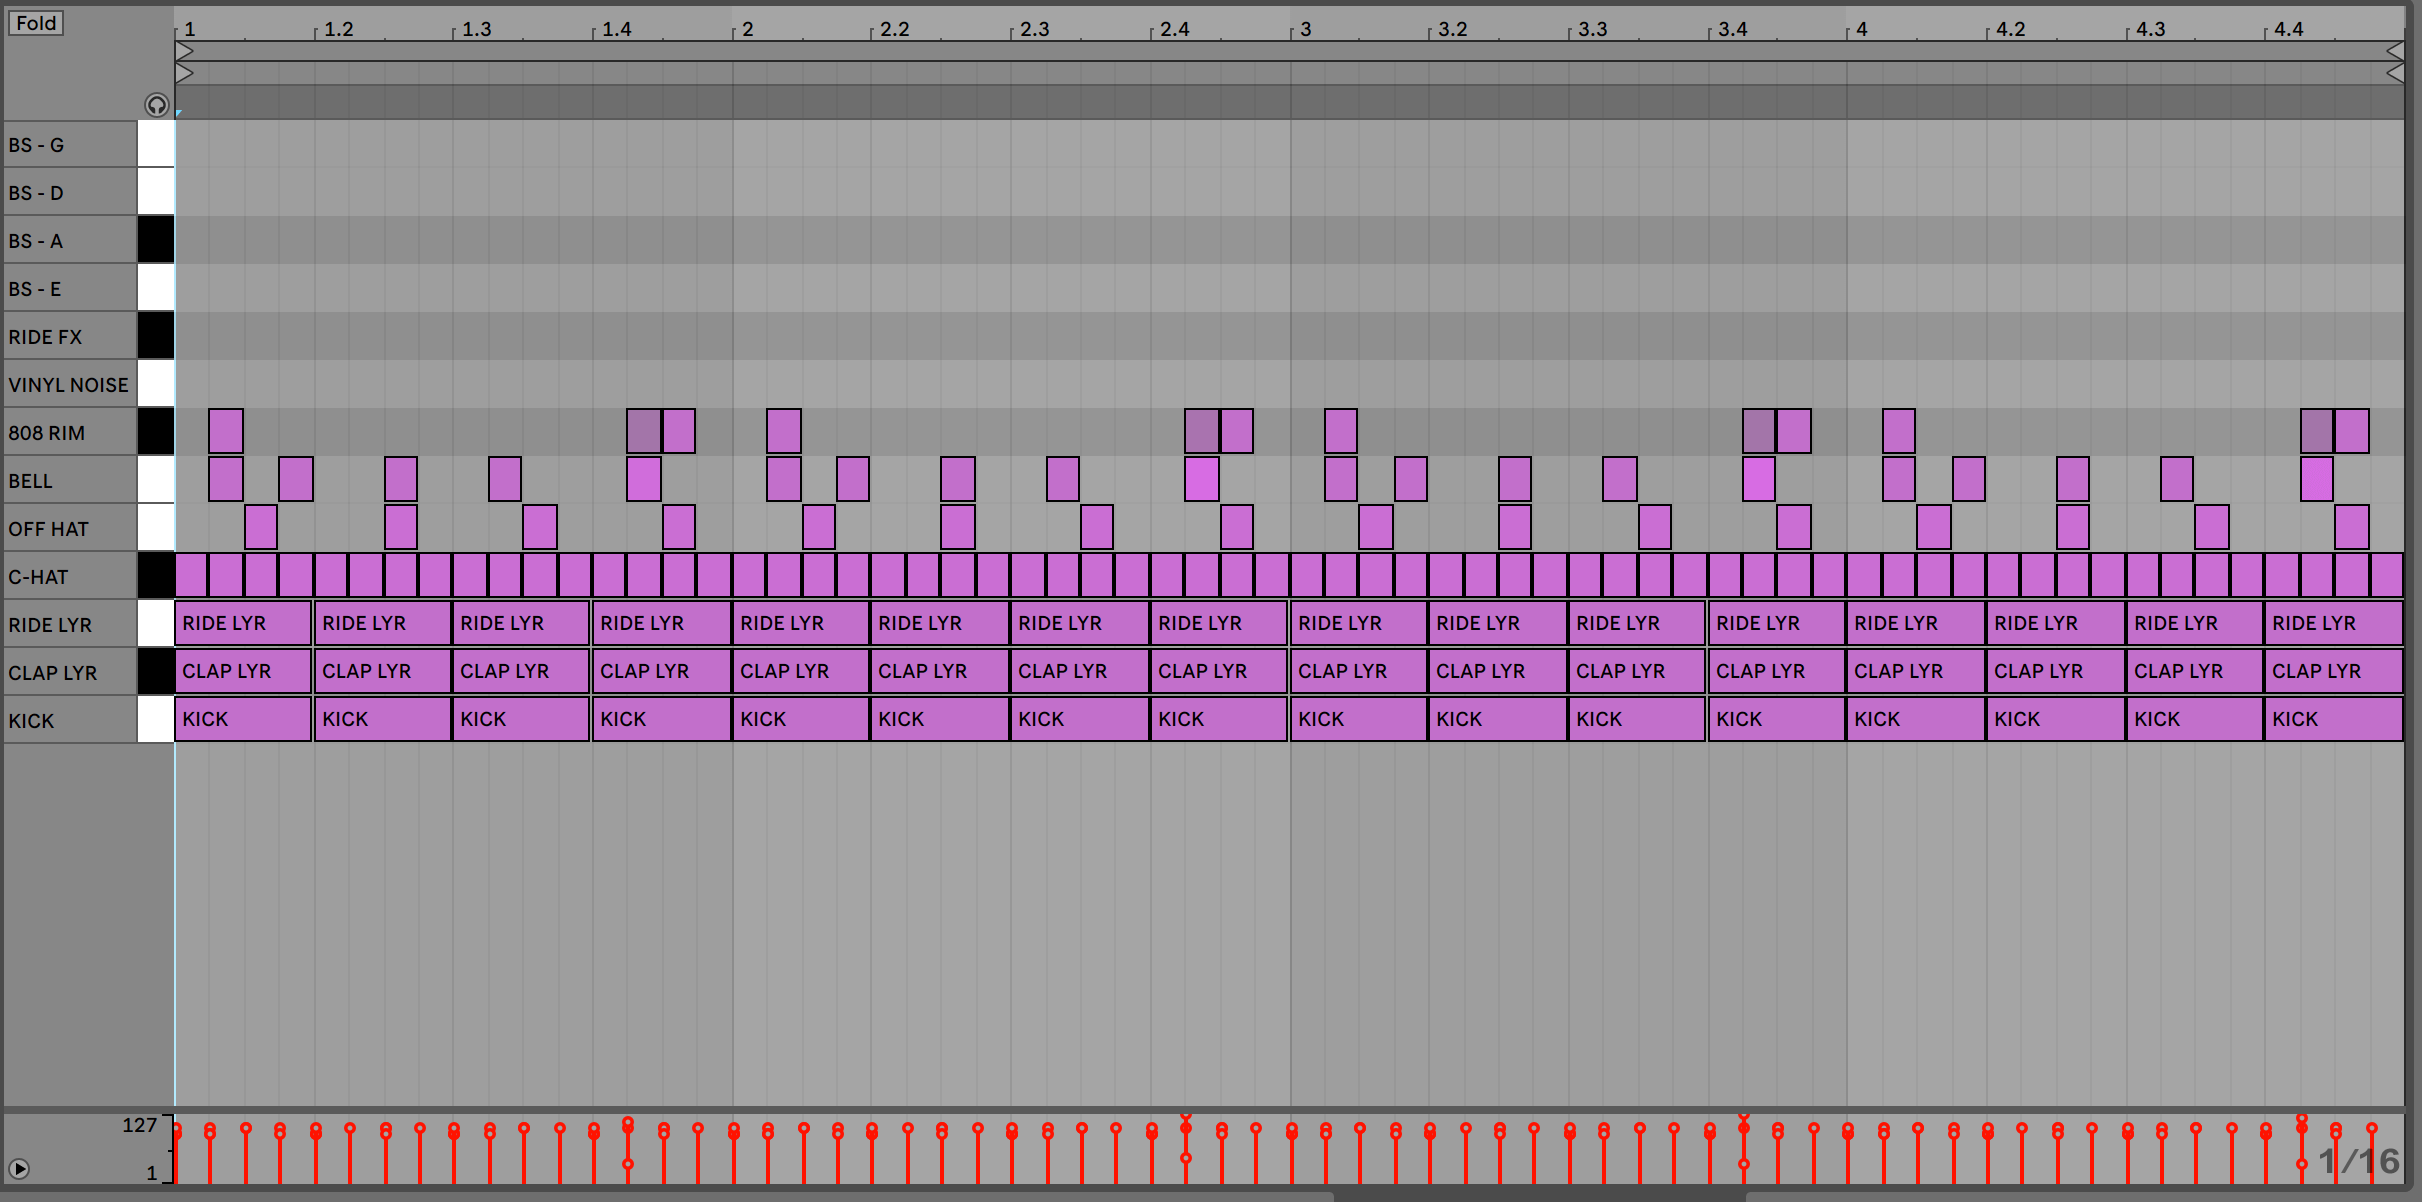
The next step is to add an 808 rim shot and a cowbell. These are programmed to emphasise the off-beats and syncopation. Both are very quiet in the mix but play an important role in adding further feel to the beat.
As in Step 3, we add the Velocity MIDI effect to both the rim shot and the cowbell. We increase the random knob to 14 for both.
Step 5
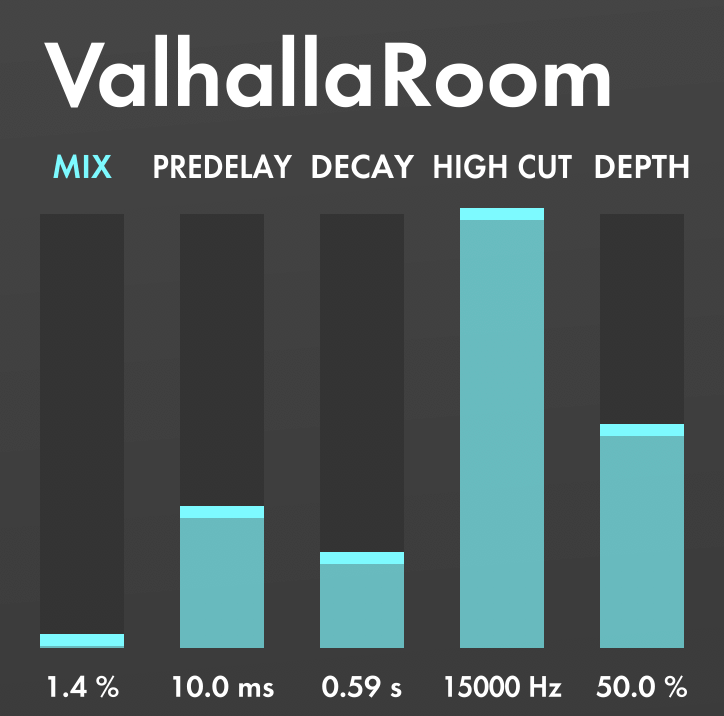
Let’s add some subtle texture. To do this we import a vinyl noise sample that starts on bar 1 beat 1 and lasts for all 4 bars. We also add a ride sample that has been warped and drowned with delay and reverb.


Step 6
The bassline! The key here is to keep it simple but also complex…
The simple aspect is that it is only made up of four notes. Simple right? The complex aspect is that the pattern changes every bar and, like the rim shot and cowbell, it emphasizes the off beats. You can see the notes below.
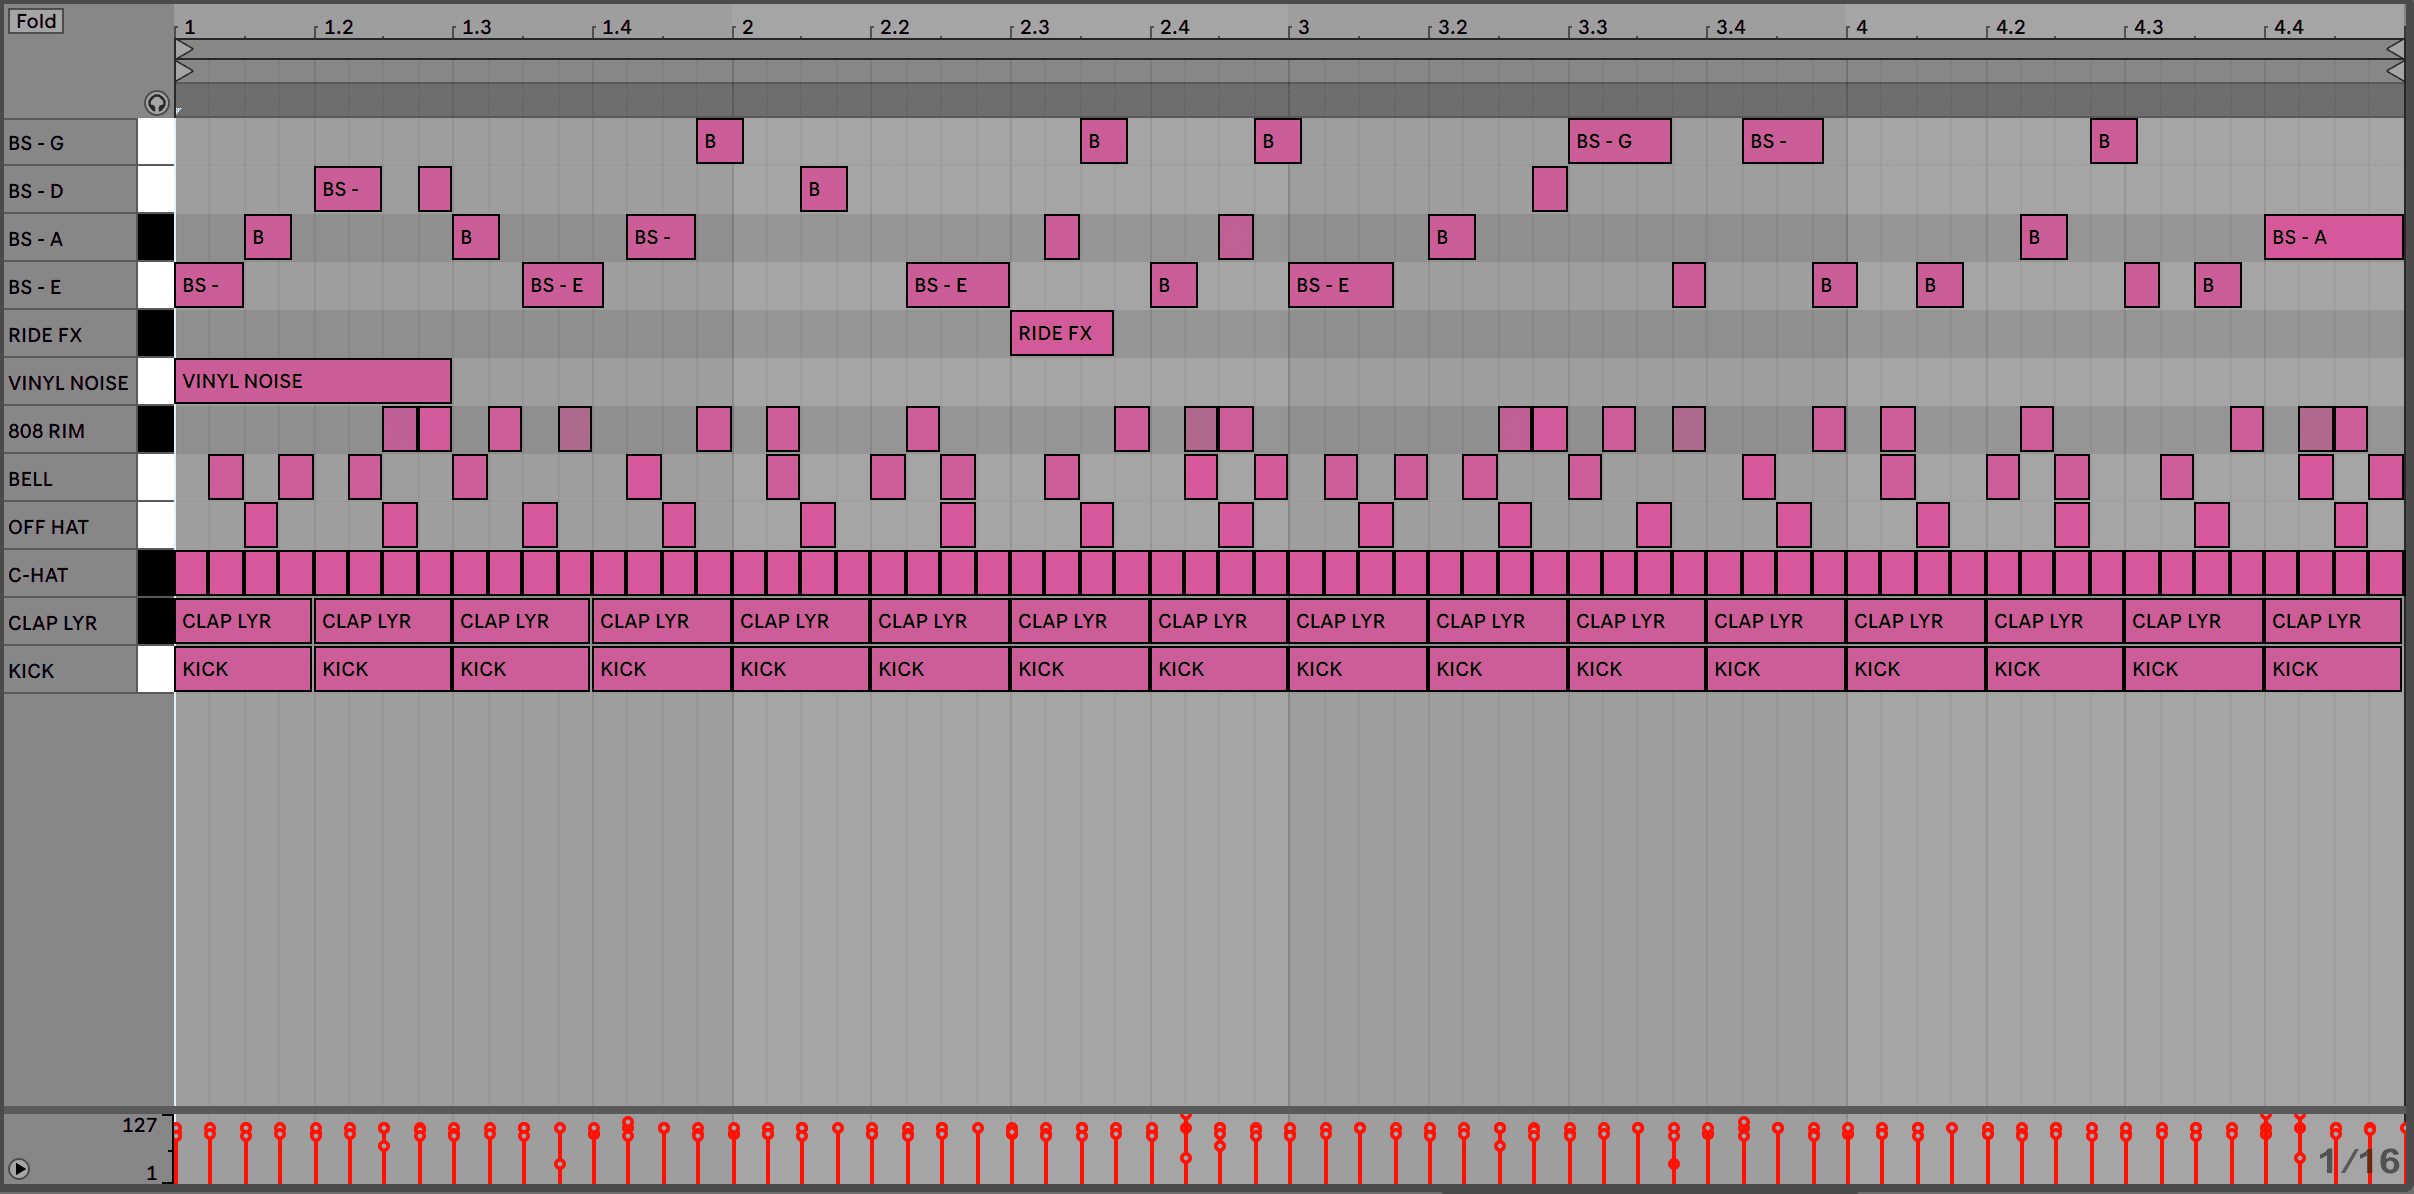
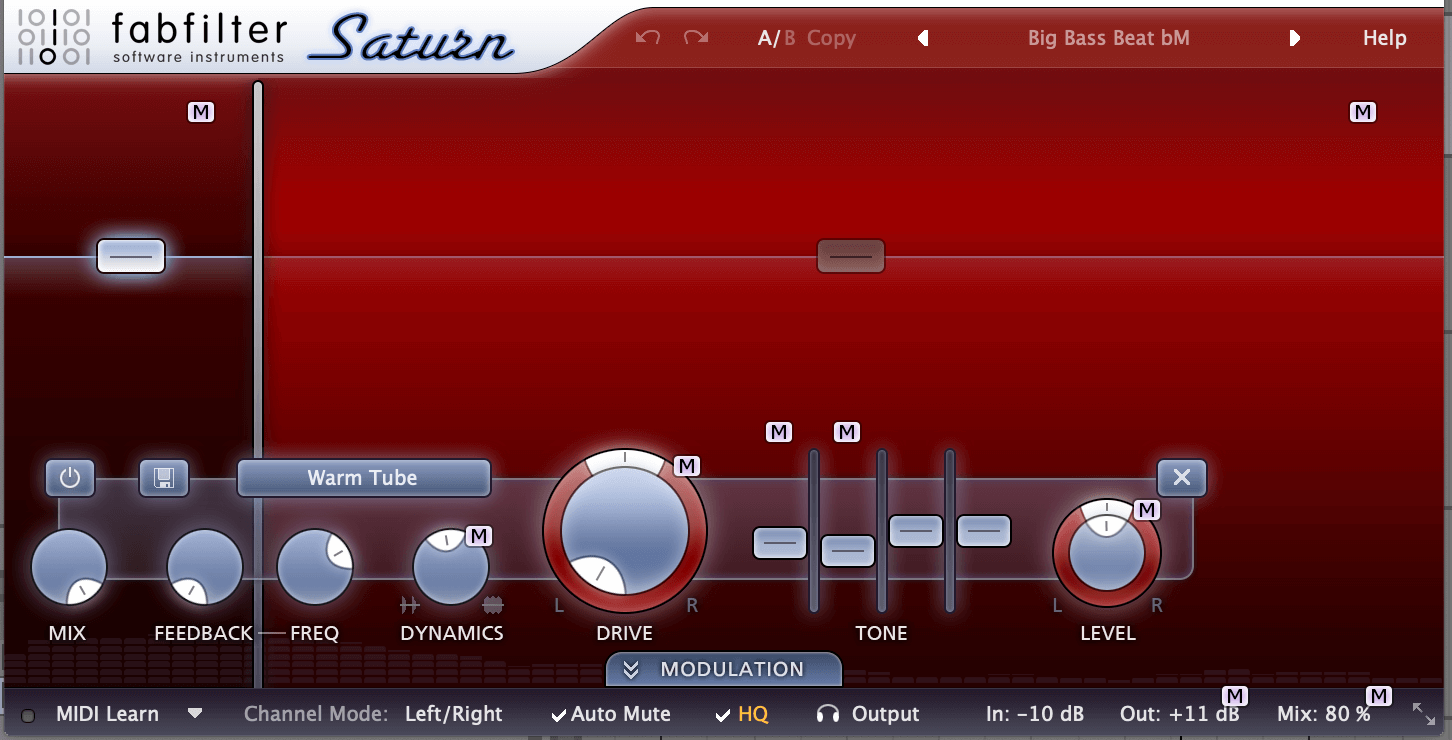
To create a similar bassline, we sample four low notes (E0, G0, A0 and D1) using Operator’s Electric FM4 Wow Bass preset. We dial in saturation for bite and compression whihc helps give our sound more sustain.

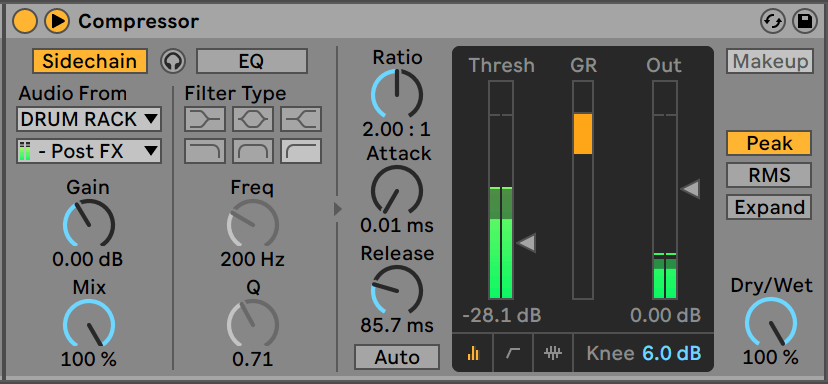
We then put the four notes in our Drum Rack as four separate hits and turn the release on each of their amp envelopes (within the sampler) to around 300 ms. This will prevent them from ringing out and giving us unwanted note overlapping. Finally, we add a compressor to each bass note which is sidechained to the kick.

Step 7
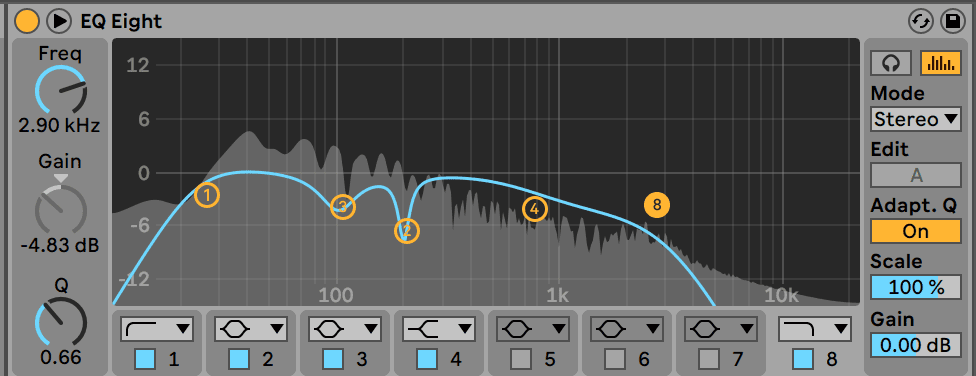
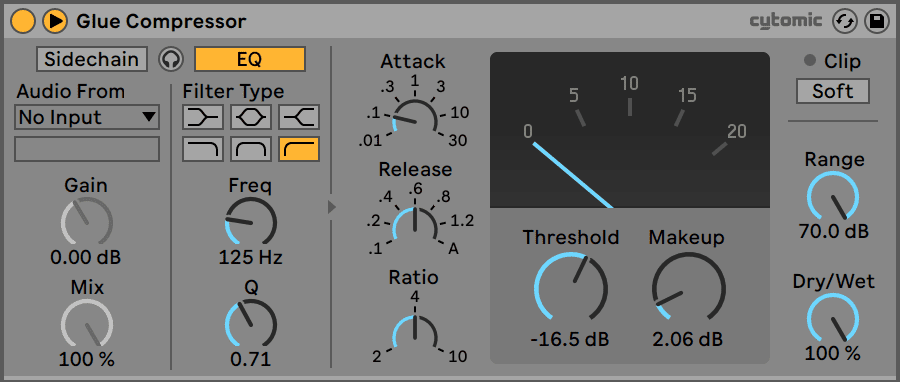
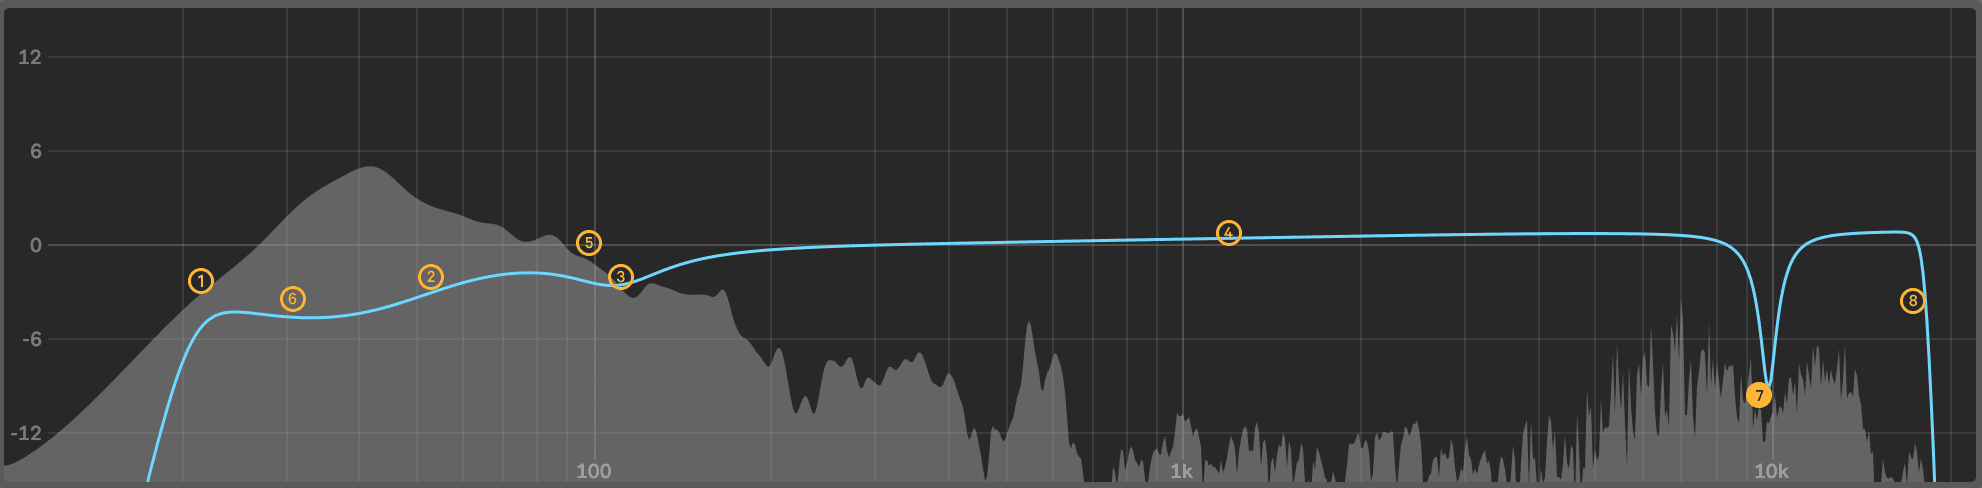
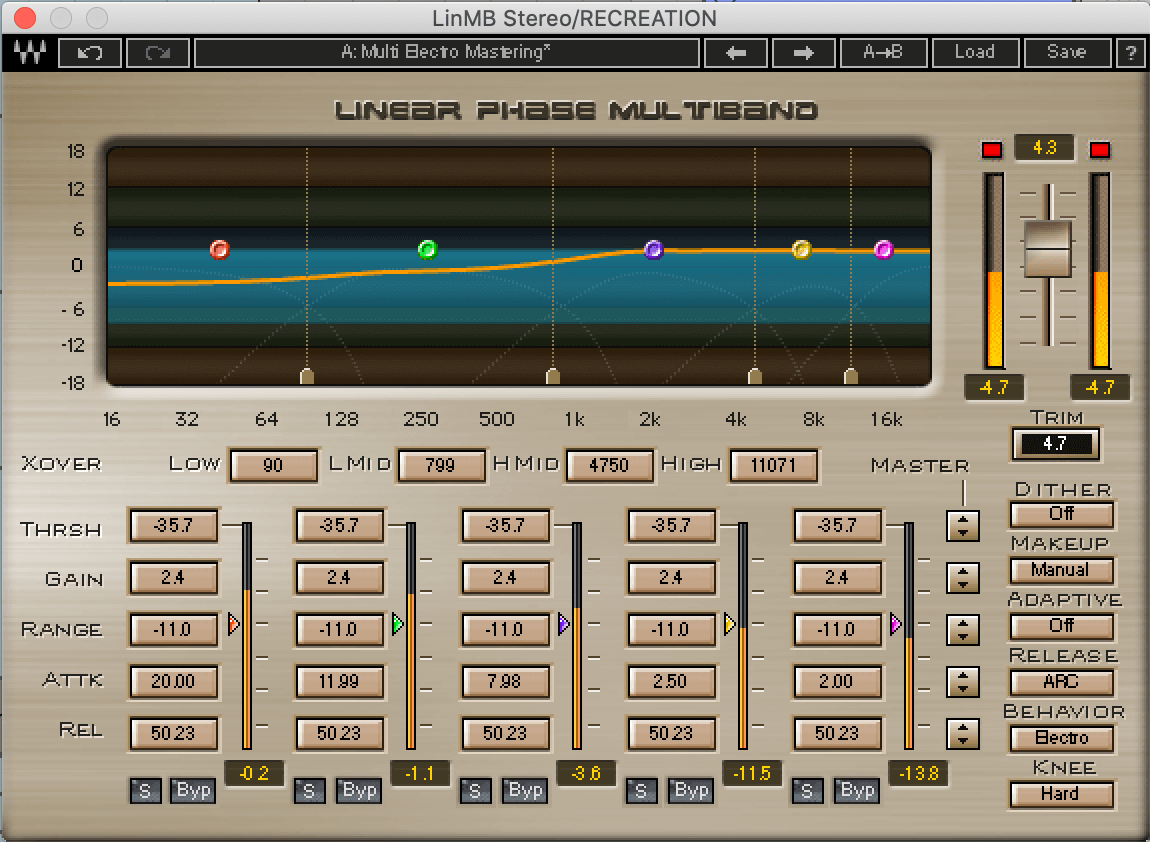
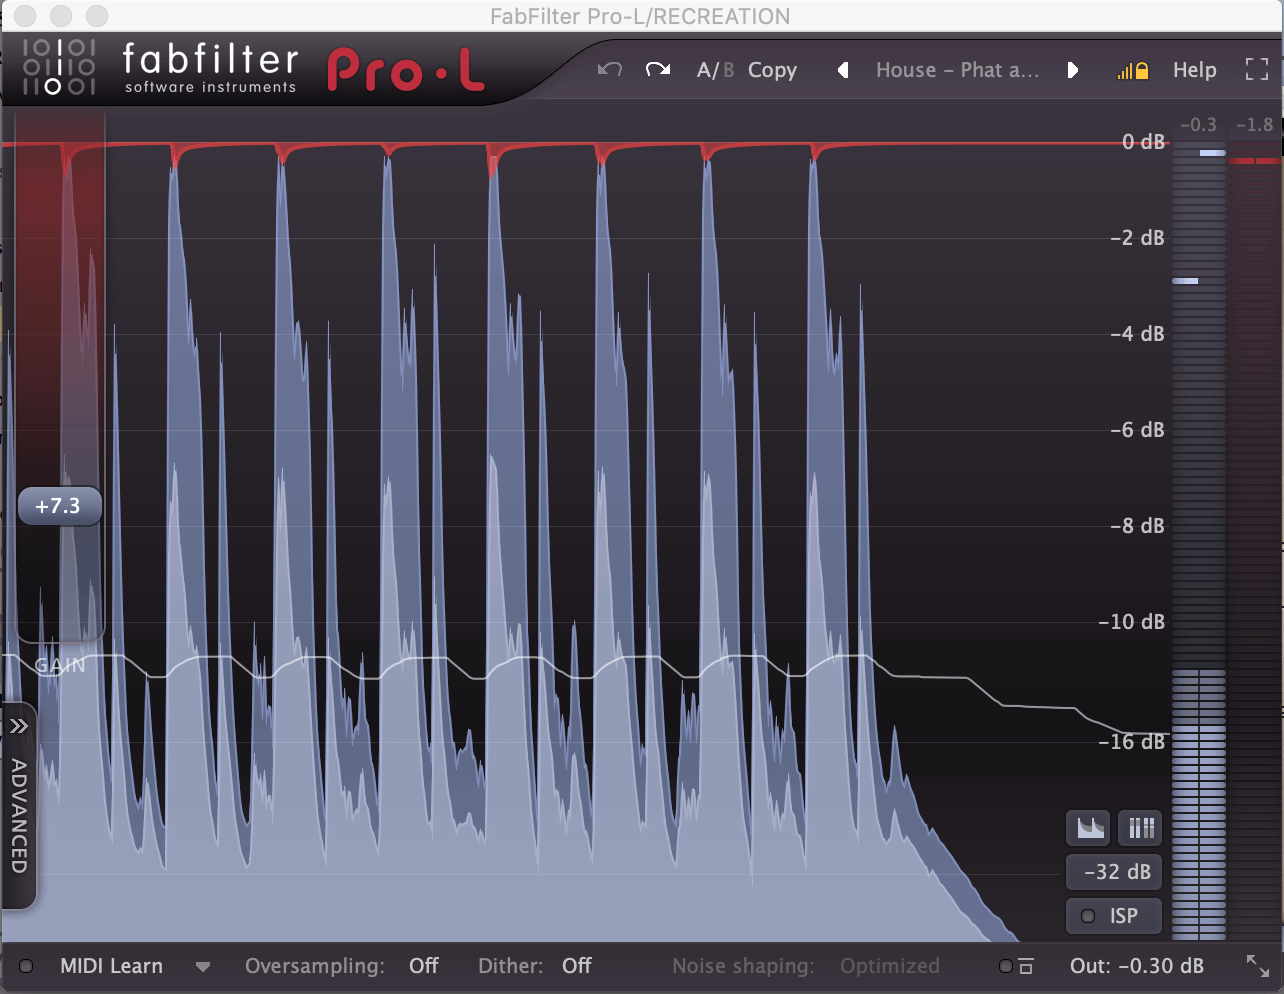
For the final stage, we process the drum rack channel in four steps: room reverb compression, saturation, EQ, mulitband compression and limiting. Remember any plugins you have that are similar will do the trick. You don’t need these exact units to achieve the same results.
And here is the final result: