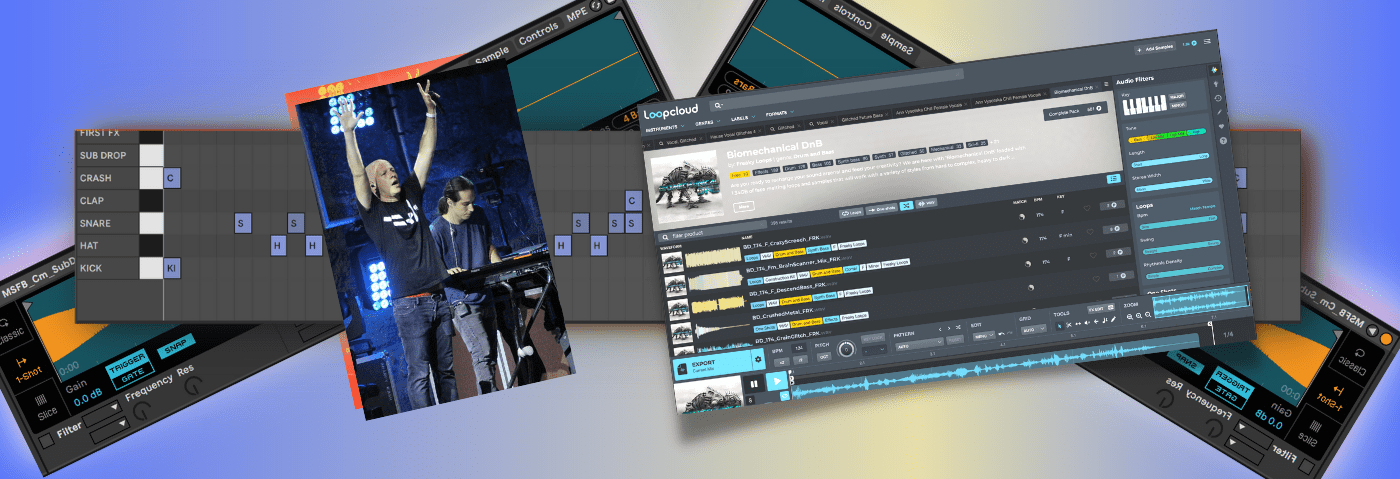
In this new Beat Dissected we’re using Loopcloud to program a glitchy beat inspired by Violet Visions’ remix of ‘Deeply Disturbed’ by Infected Mushroom.
The concepts of ‘glitch’ and ‘glitched effects’ are commonly associated with genres such as dubstep (the modern brostep iteration at least) and IDM.
However, don’t be a genre hugger. Glitch can work in various capacities and has even become mainstream. Many plugin manufacturers are catering to it for example Sugar Bytes Effectrix or Cableguys Shaperbox.
In our example, we are using a drum break. There are countless bangers that feature glitch drum breaks. Just look at Aphex Twin and the horribly overlooked Lanark Artefax.
But how about trance overlords Infected Mushroom? Don’t be fooled. Their sound is more than late 90s trance. We will be programming a beat inspired by Violet Vision’s 2003 remix of Infected Mushroom’s classic ‘Deeply Disturbed’ where the glitch beats and vocals caught our attention.
This break-driven remix features numerous drops but the one at the 01:36 mark has interesting sound design aspects that inspired this feature. The way the vocals work in tandem with the effects is a clear highlight.
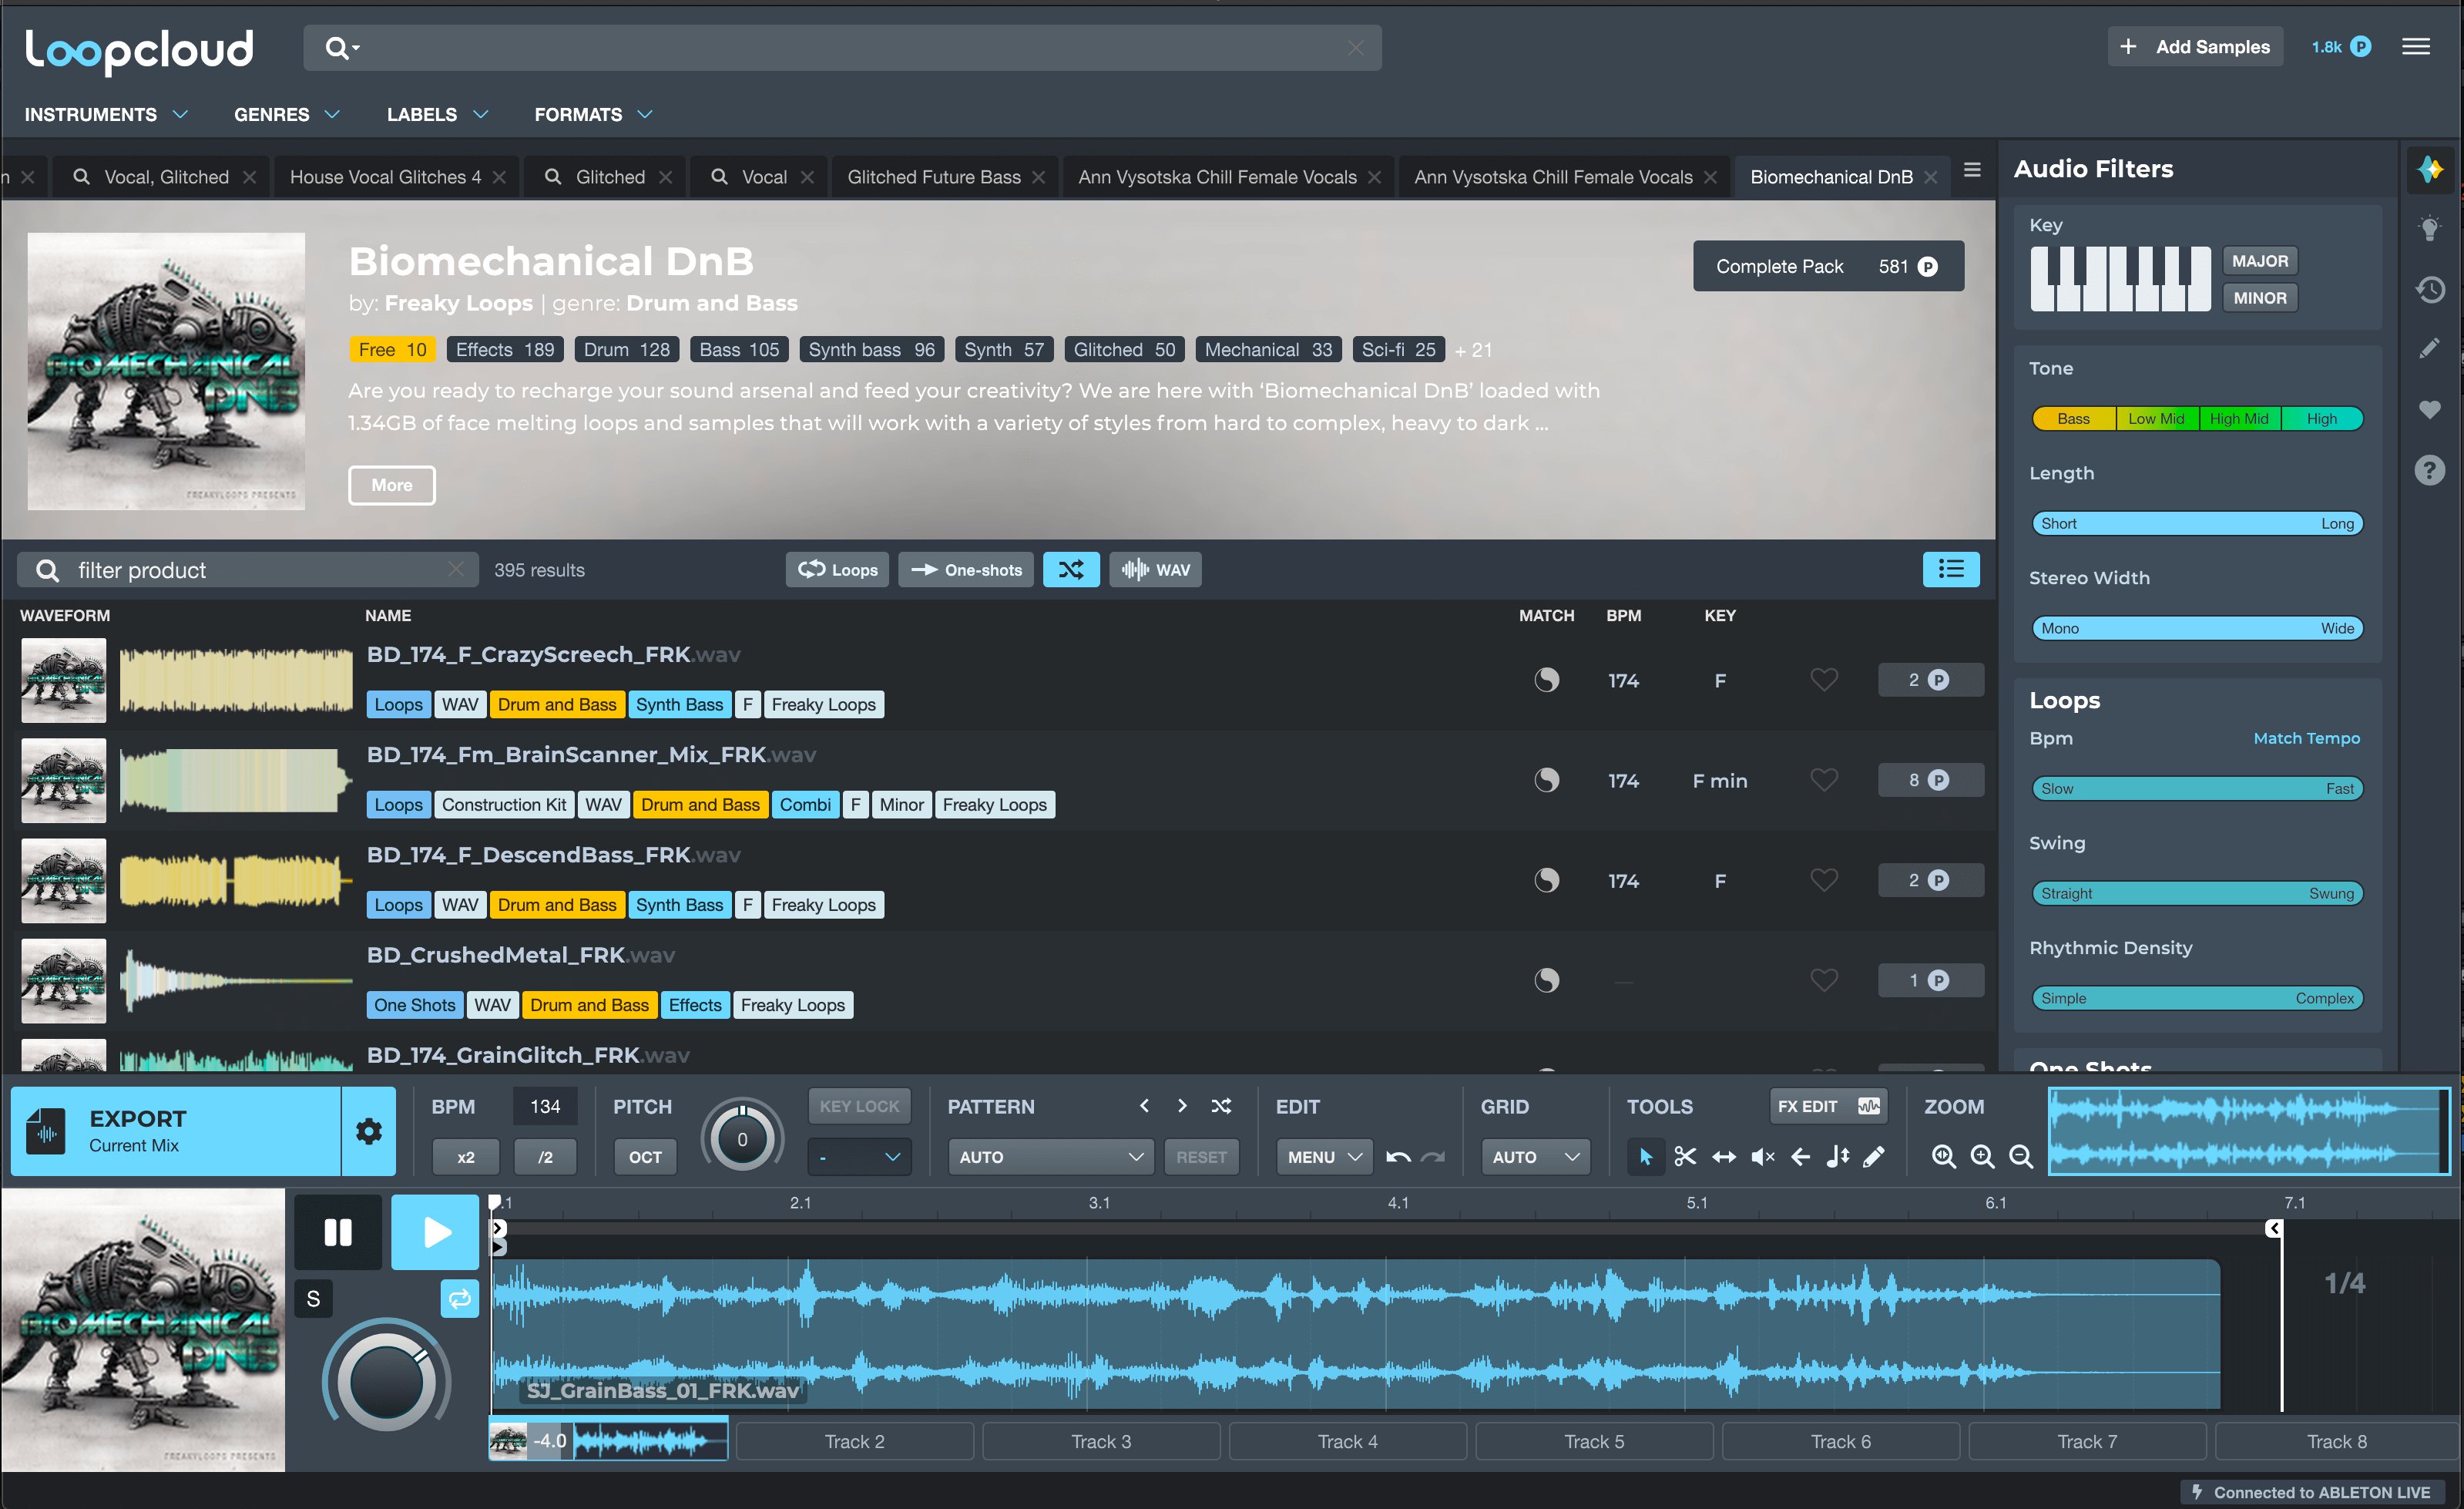
One way to achieve a similar effect part would be to record lots of takes with different patches from a synth. However, we’re going to sample loops via Loopcloud. The sample platform by Loopmasters is perfect for glitch-related tasks because its sound pack library is a goldmine of sound. Additionally, the search filters for keys and genres make it super easy to find what you’re looking for!
Here’s what we’re creating today:
Before we begin you can now also follow the Beat Dissected series on YouTube. Just make sure to like and subscribe so we can keep bringing you great content!

Spec
Tempo
134 BPMSwing
NoneSounds
LoopcloudStep 1: Programming A Drum Break
We’ll start by programming the drums to be reminiscent of a drum break. We’re using a kick, hi-hat, snare, clap and crash.
Here’s the list of the samples from Loopcloud we’re using in this step:
- Kick: CDB_thresher_kick_172 from Crucial Drum & Bass
- Hat: DW_HAT_2 from Booty Breaks
- Snare: EVN_06_Snare from Loopcloud’s Drum Intro Kits
- Clap: LP24_CleanRingSnare_Oneshot from Twisted Breaks (transposed +2 st)
- Crash: wattd_mm3_crash_60 from the Tuned Tape Drums
The key with the drums is leaving space for the effects and samples to breathe. This means being careful not to overuse our kicks snd ensuring the snare rhythms cutting off early.
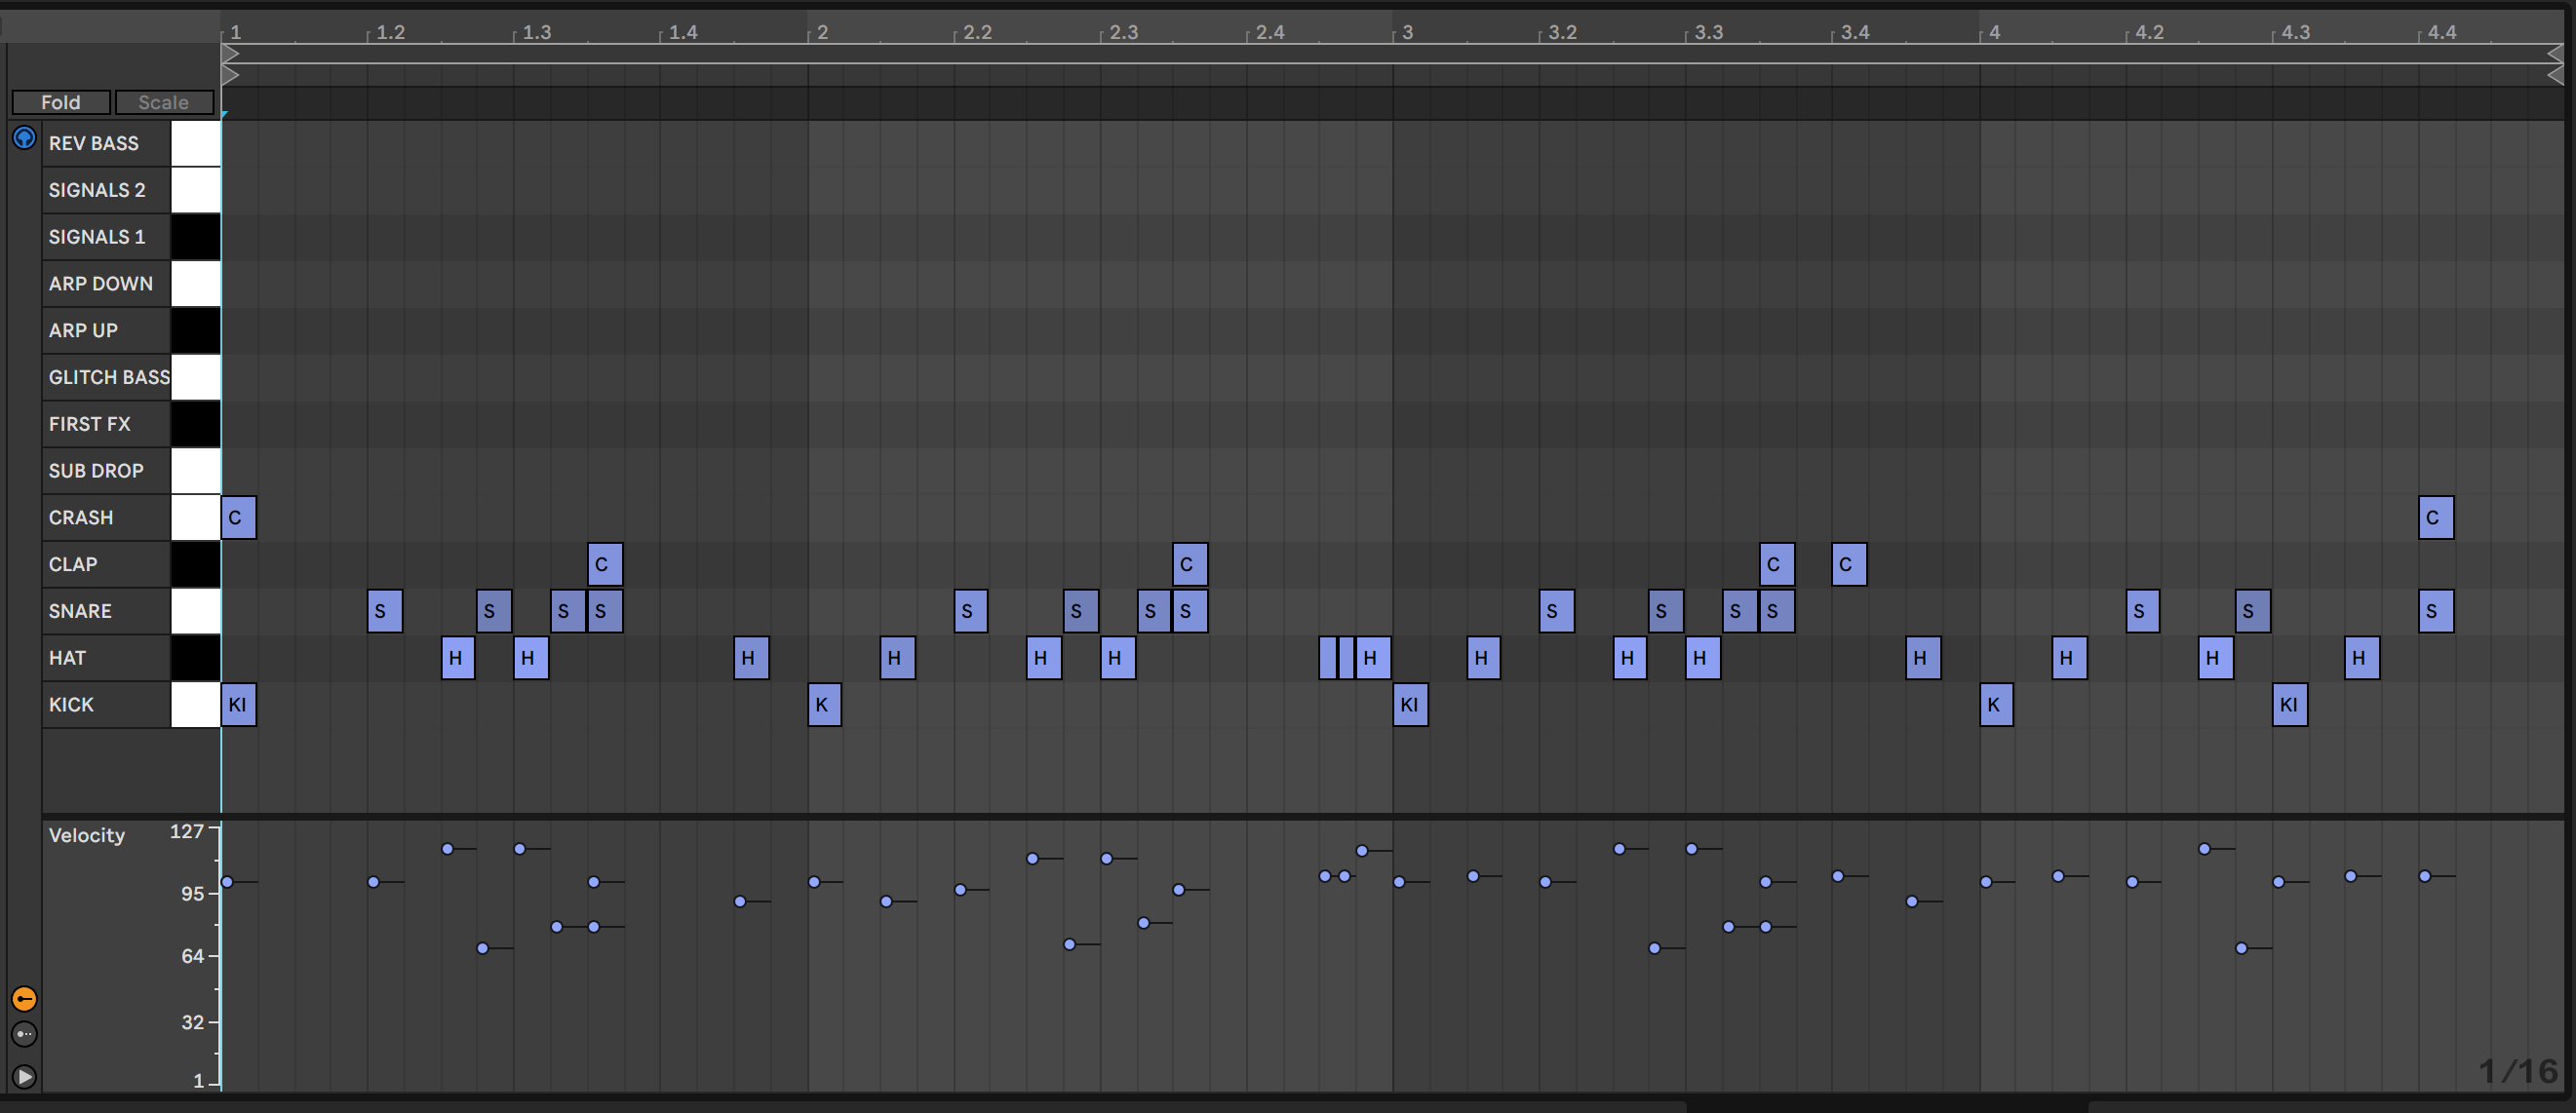
Program a kick hit on the first downbeat of every bar in the four-bar pattern. Place one more kick at the halfway point of the fourth bar.
Next, program classic break-style 16th-note hi-hat and snare trade-offs with the loudest and last snare in each bar hitting at the eleventh 16th-note. Make sure this eleventh-note hit is also layered with the clap to add more impact!
Program a 32nd-note hi-hat fill at the end of the second bar. This will give you a glitch-style effect to the drums.
You can change things up further by adding additional clap hits. We have the accented snare/clap hitting on the thirteenth 16th-note in this bar, instead of the eleventh like in the previous three bars.
Add a crash hit on the very first downbeat and another at the same time as the last clap in the fourth bar.
Make sure to edit velocities to taste. It gives the drums a live and dynamic character. This especially applies to the consecutive snare hits!
Here’s our progress so far:
Step 2: Adding A Sub And FX Onto The First Beat
Let’s inject some impact with a sub drop and FX sample. We’re using:
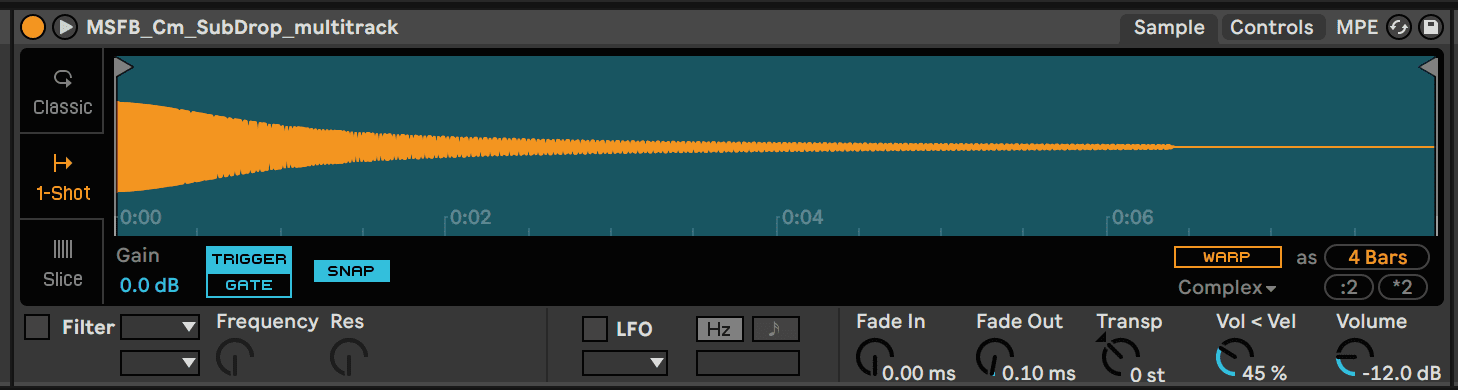
- Sub: MSFB_Cm_SubDrop from Future Bass
- FX sample: SJ_GrainBass_01_FRK from the Biomechanical DnB
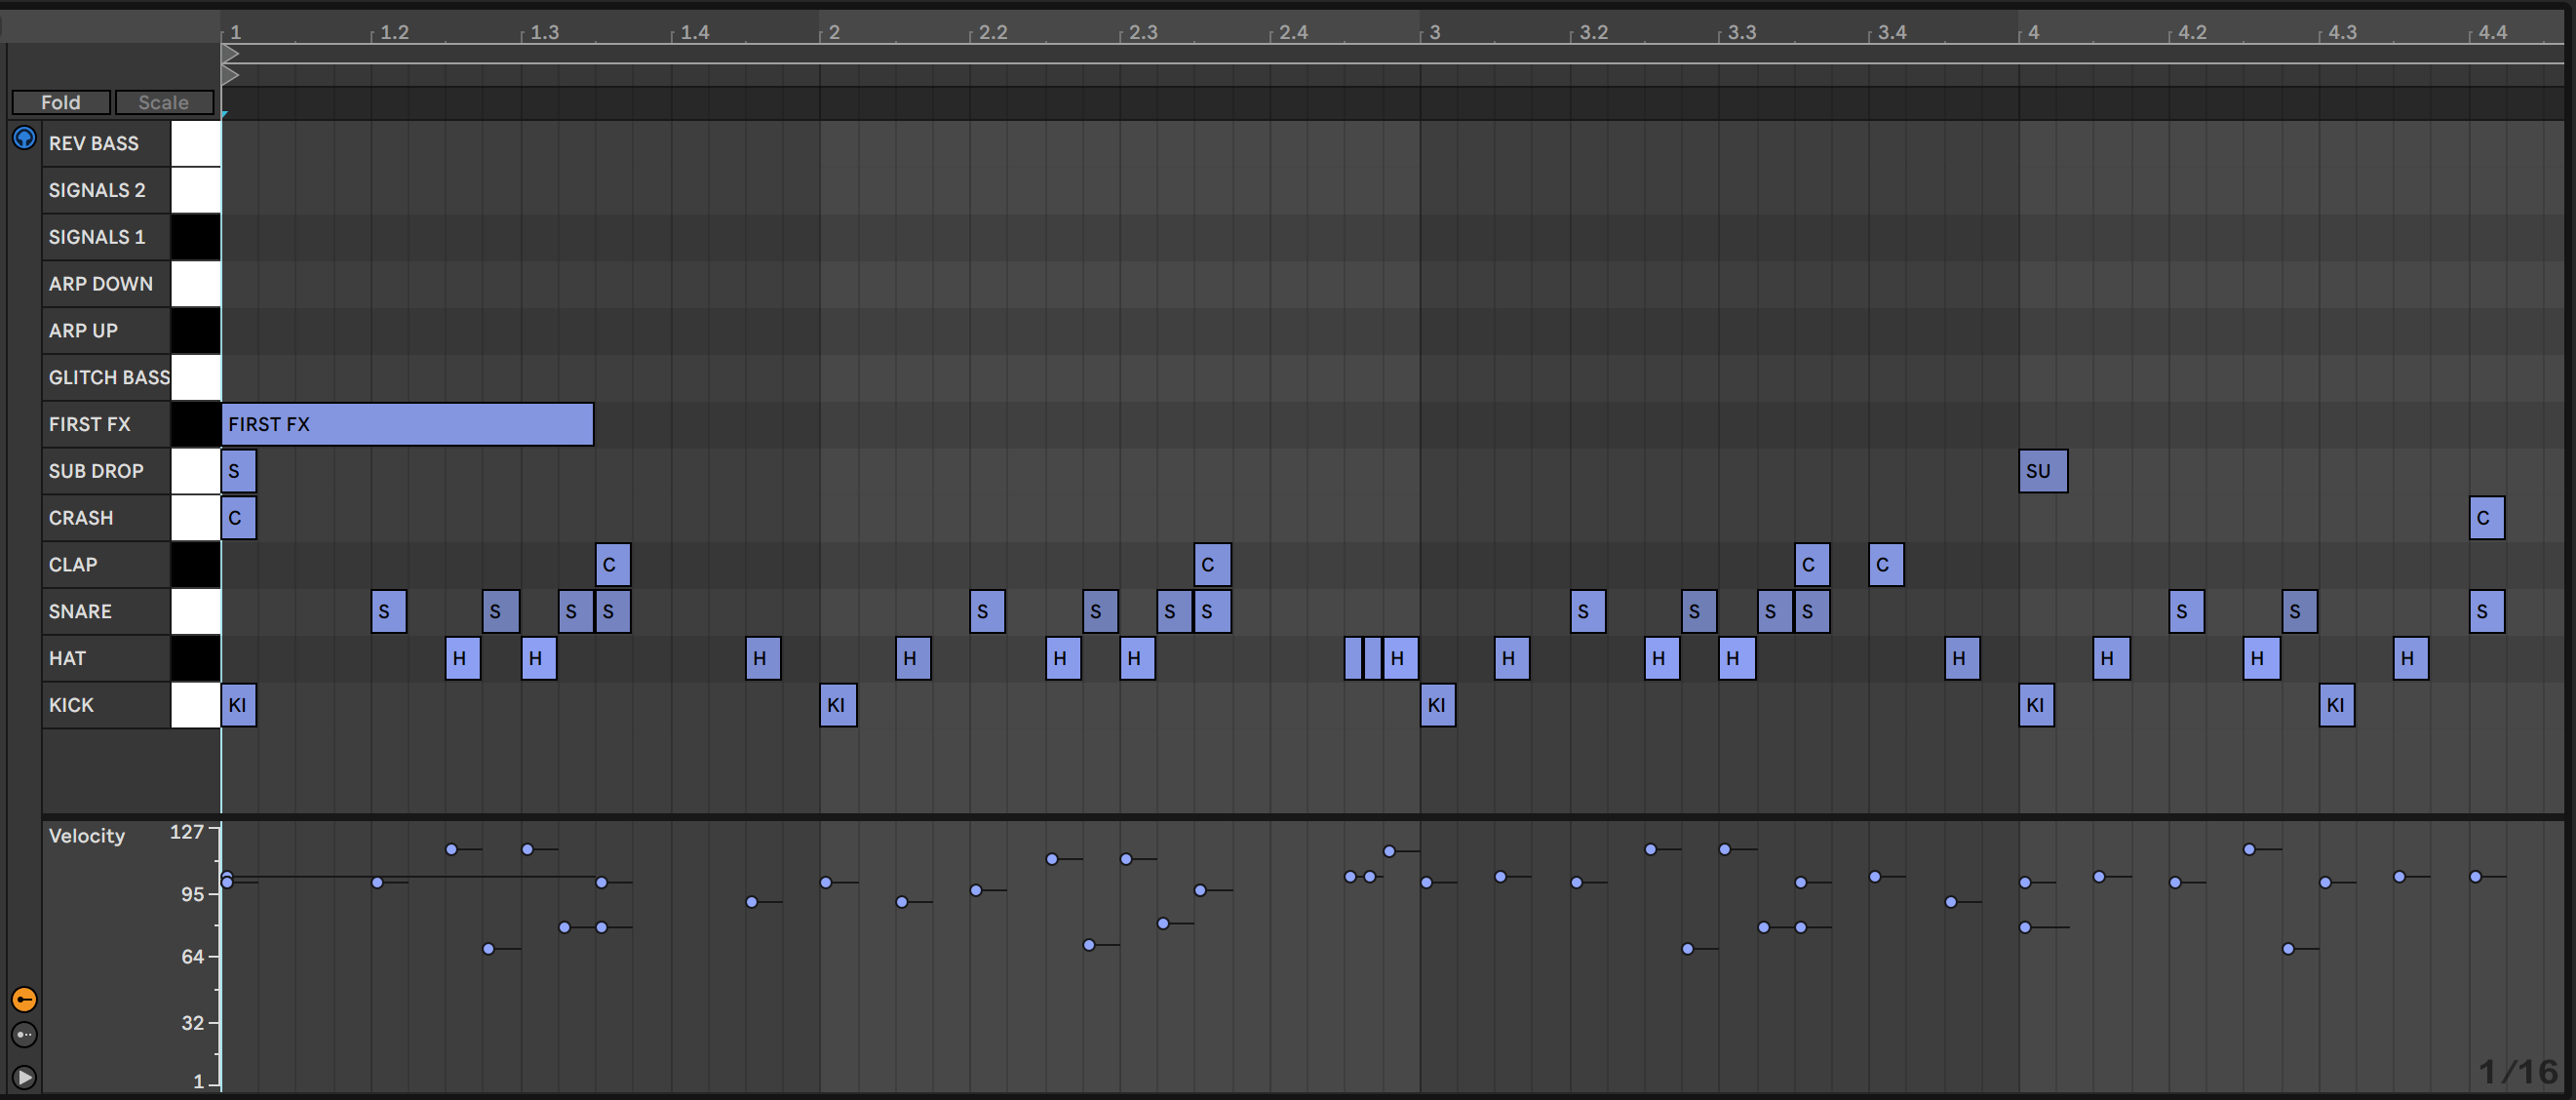
Program the sub drop to occur on the very first downbeat and on the downbeat of the fourth bar. We don’t wish to leave the listener without low end for too long!
N.B We are working in the key of C minor, so we made sure to choose a sub sample in this key.
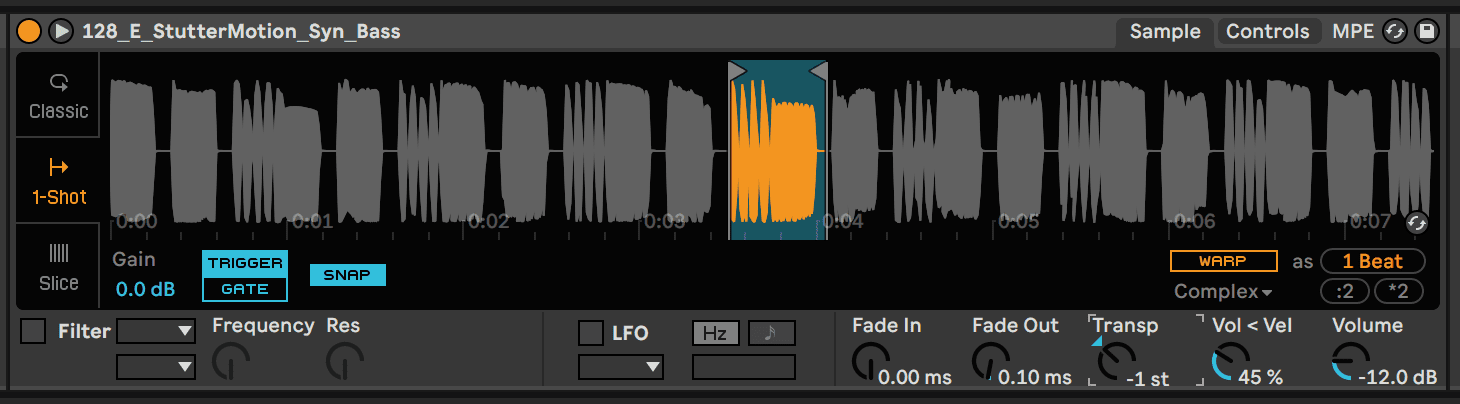
Next, drag in your FX sample. Set its Simpler to 1-Shot Mode and select the GATE instead of Trigger. Using GATE allows you to affect the duration of a sample by amending the length of the MIDI note in the piano roll. As a rule of thumb, if you want to really get your beats tight, then try working closely with GATE mode.
Continuing forward, transpose the FX so that it sounds good with the C Minor sub-bass. Lowered the pitch by two semitones and insert Live’s Filter Delay. We’re going to use the default preset with the left and right-side volumes slightly tweaked.
Set the FX to play for the duration of the first bar. Make sure it cuts off around the beginning of the second bar to leave space for the next FX.
Here’s the sub and FX sample. We’ve added a click track so you can follow it better:
And here’s our progress so far:

Step 3: Adding Glitch Samples
Next, we’re using six glitched loops we found on Loopcloud via the ‘glitched’ tag. This is definitely one of the more fun tags to search with!
Here’s the list of samples we are using:
- 128_E_StutterMotion_Syn_Bass from the All About The Bass Vol 3
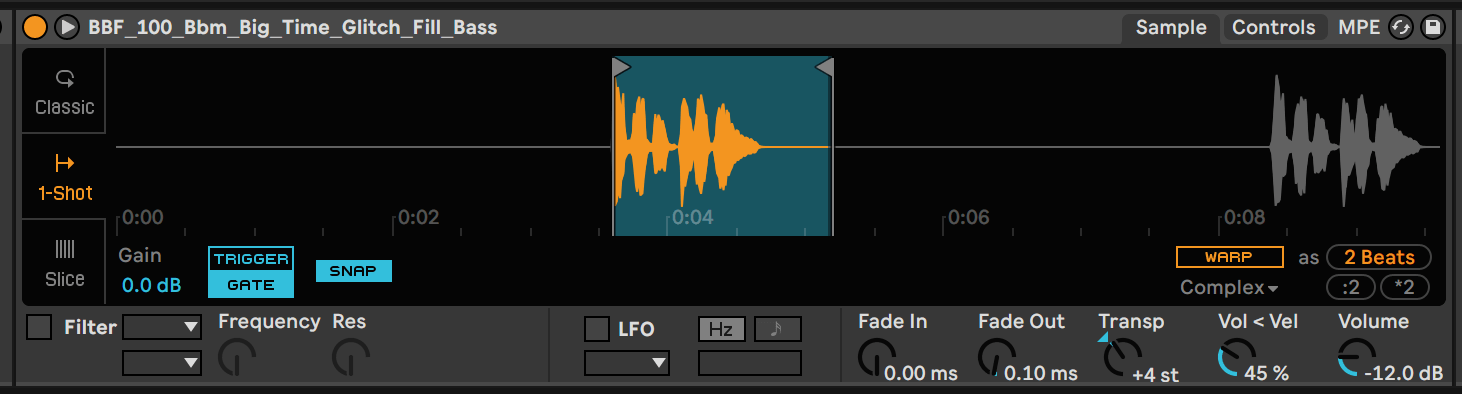
- BBF_100_Bbm_Big_Time_Glitch_Fill_Bass from the Bombstrikes Presents Bass Funk
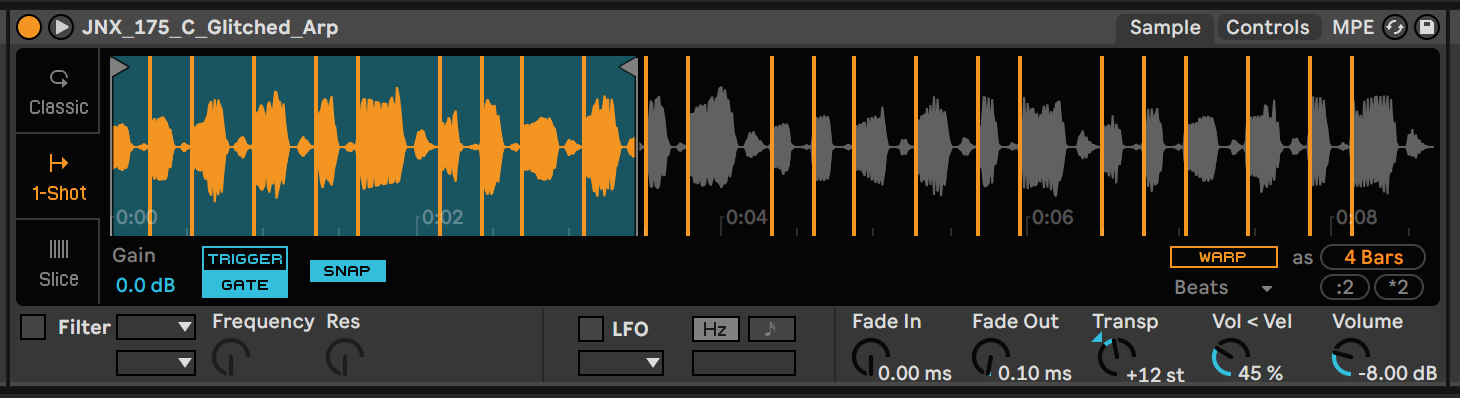
- JNX_175_C_Glitched_Arp from the Dread Recordings Vol 4 – Jinx
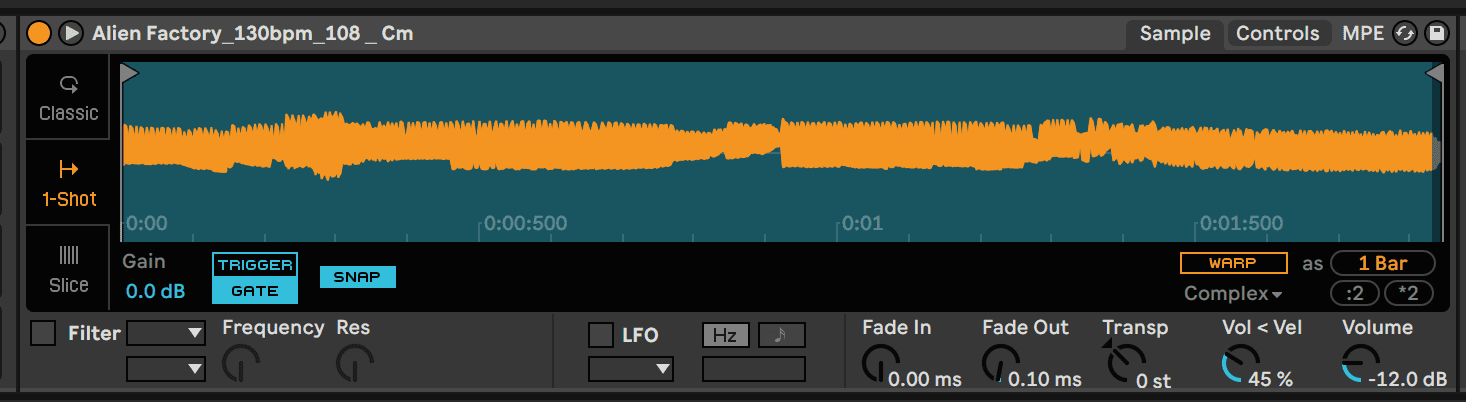
- Alien Factory_130bpm_108 _ Cm from the Alien Factory
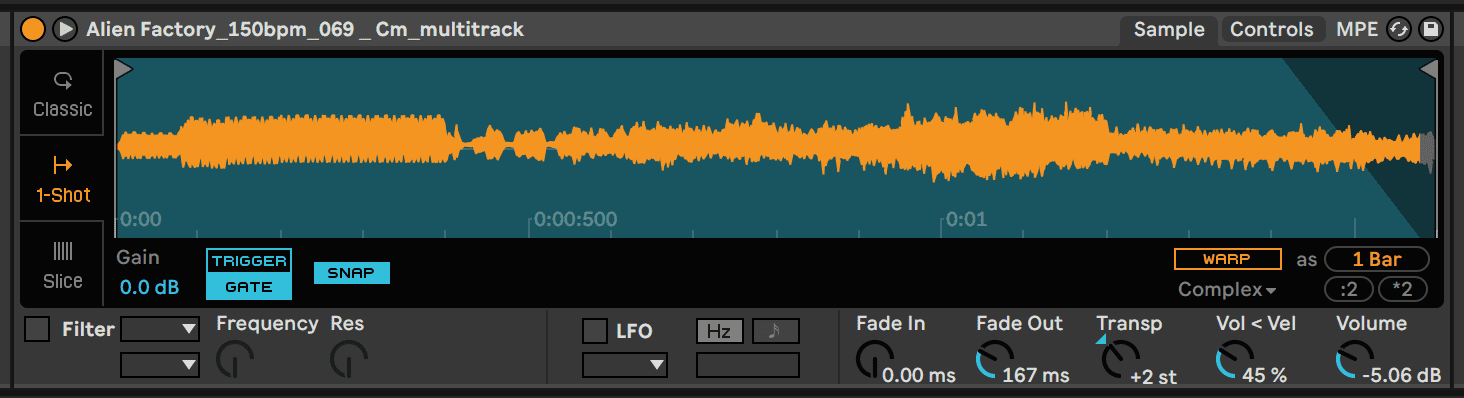
- Alien Factory_150bpm_069 _ Cm from the Alien Factory
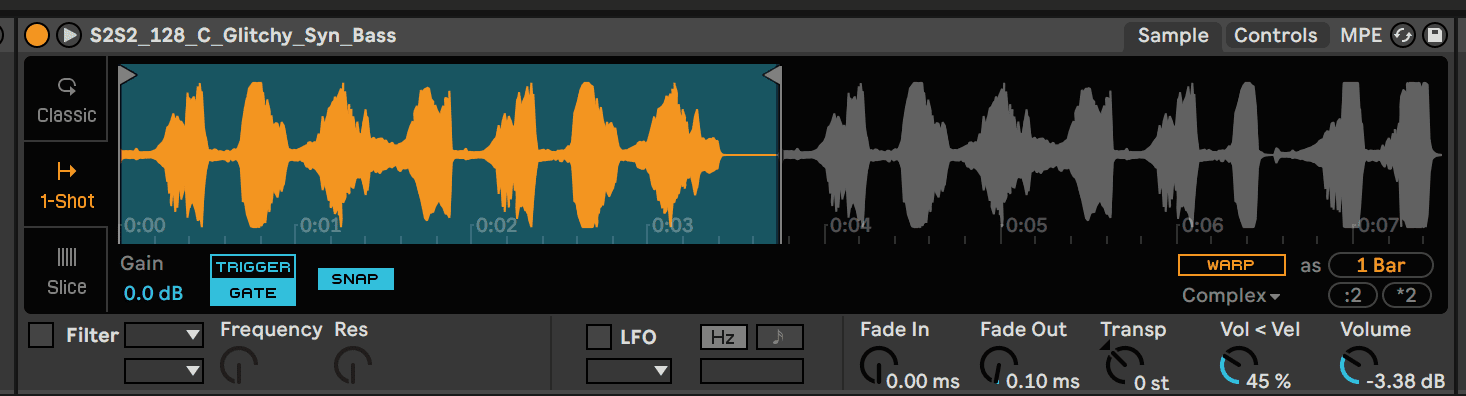
- S2S2_128_C_Glitchy_Syn_Bass from the All About The Bass Vol 1
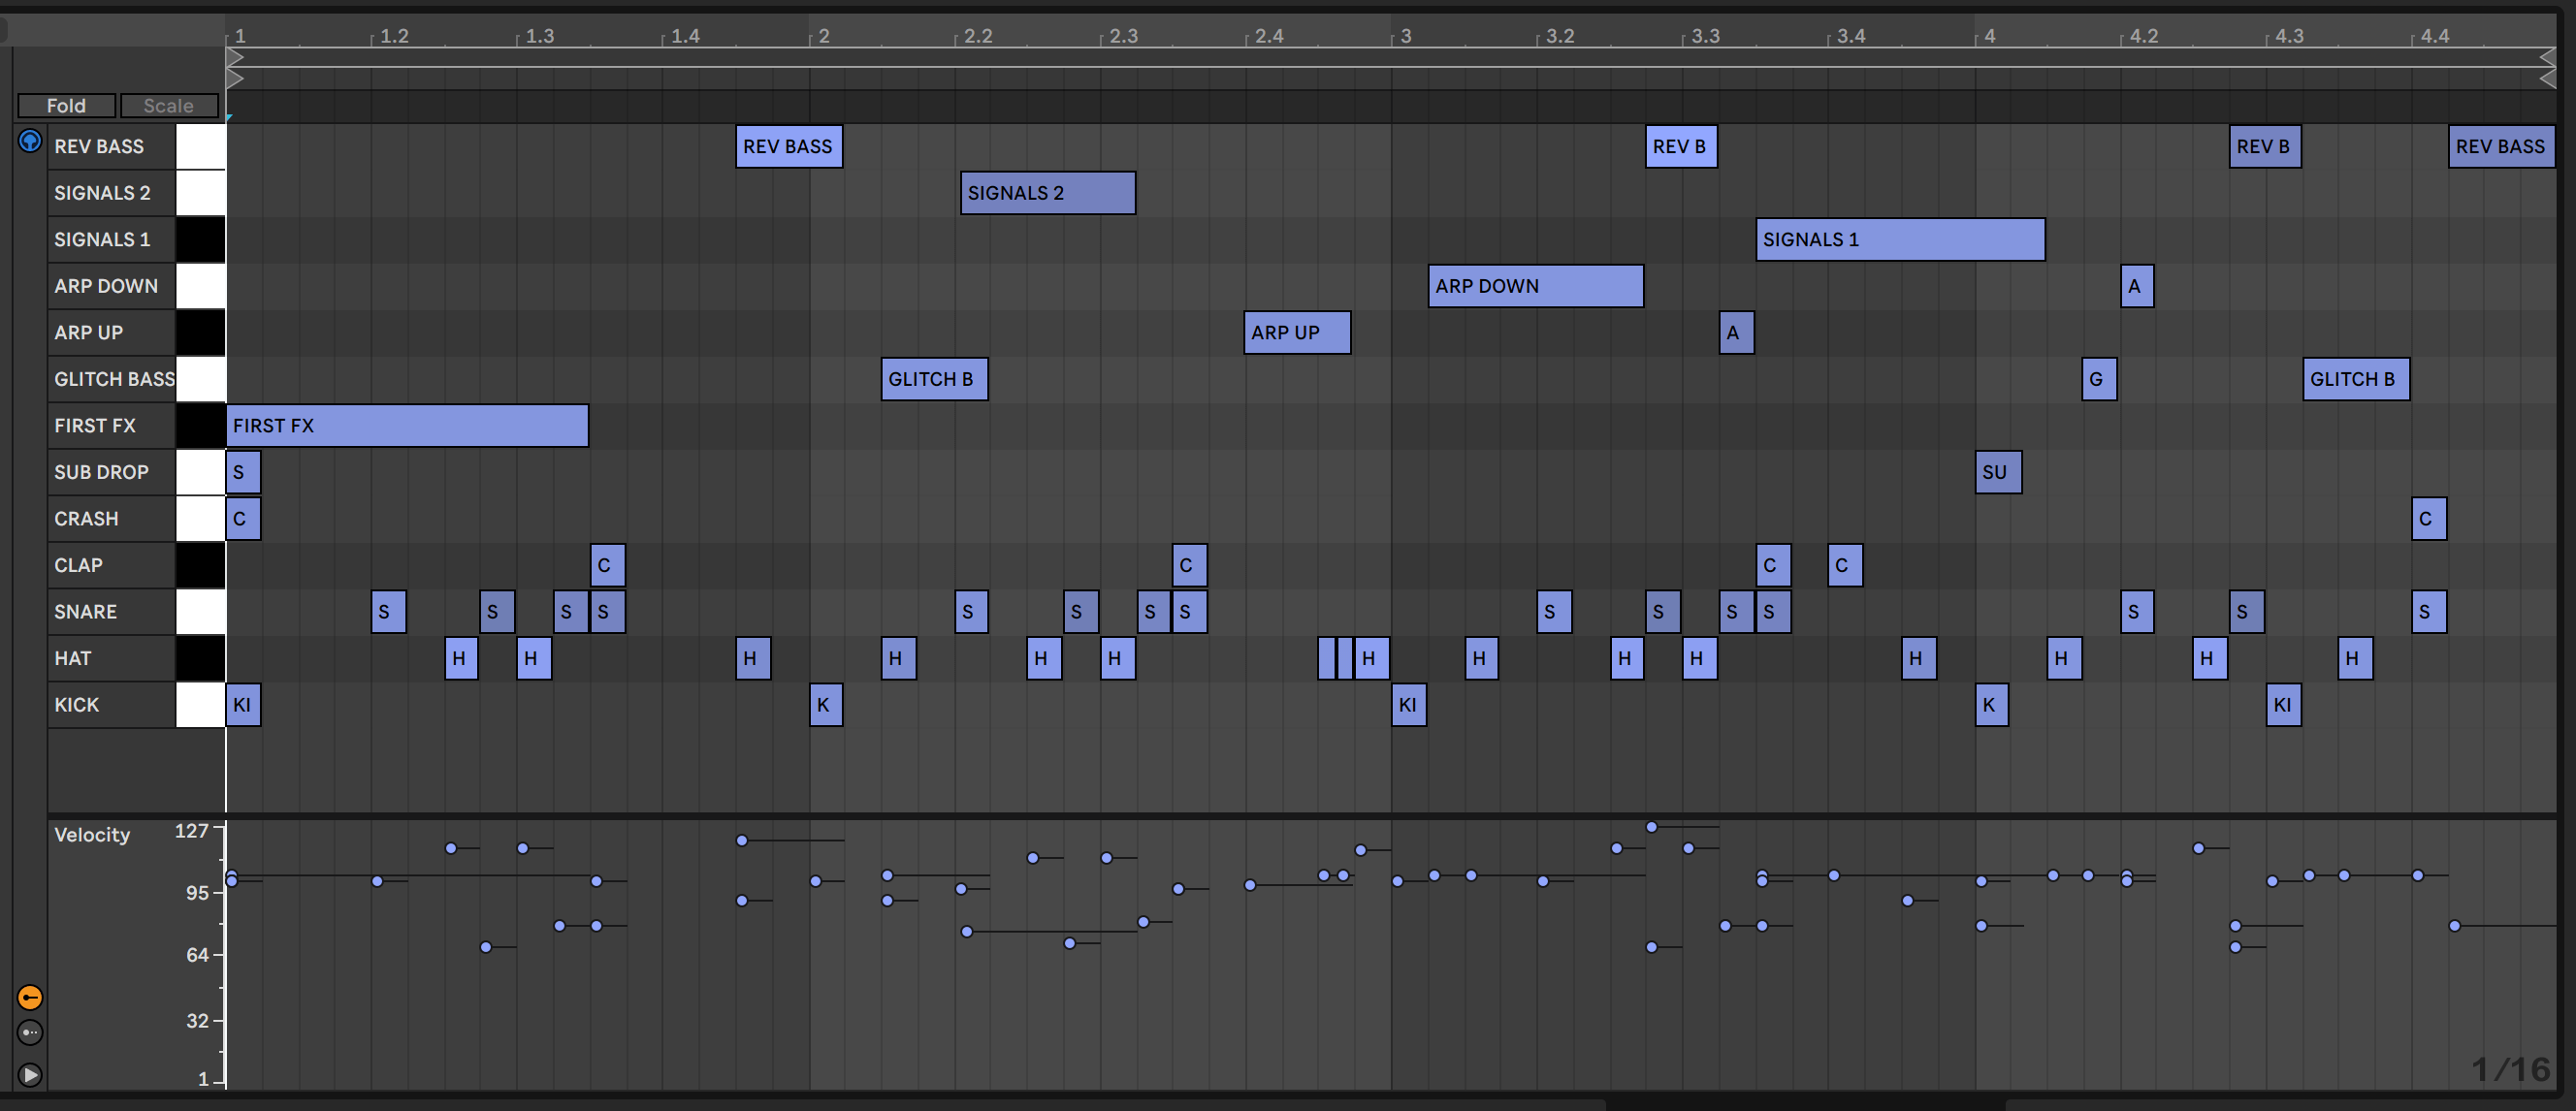
As you can see in the below MIDI, program the FX to come one after the other, Think of it like forming a bridge from the beginning of bar one until the end of bar four. There are very few overlaps and very little space between the notes. Overlap can definitely work but we’re just not using it in this scenario.
Keep in mind what the drums are doing while programming the samples. For example, we have FX starting between drum hits when there are no drums. We also have FX starting at the same time as accented drum hits.
Lastly, notice that some of the note lengths of the FX – especially in the fourth bar – are quite short. Sometimes, even one 16th-note of a cool-sounding sample can be enough to fill in some space!
Here is the glitch FX. We’ve added a click track so you can follow it better:
Here’s our progress so far:
Step 4: Panning & Automation
Do not forget panning and automation! It goes so far with glitchy patterns!
Pan each element between 30 and 50 left or right. Experiment with different combinations. It works especially well when FX are panned to the left come straight after ones panned to the right and vice-versa.
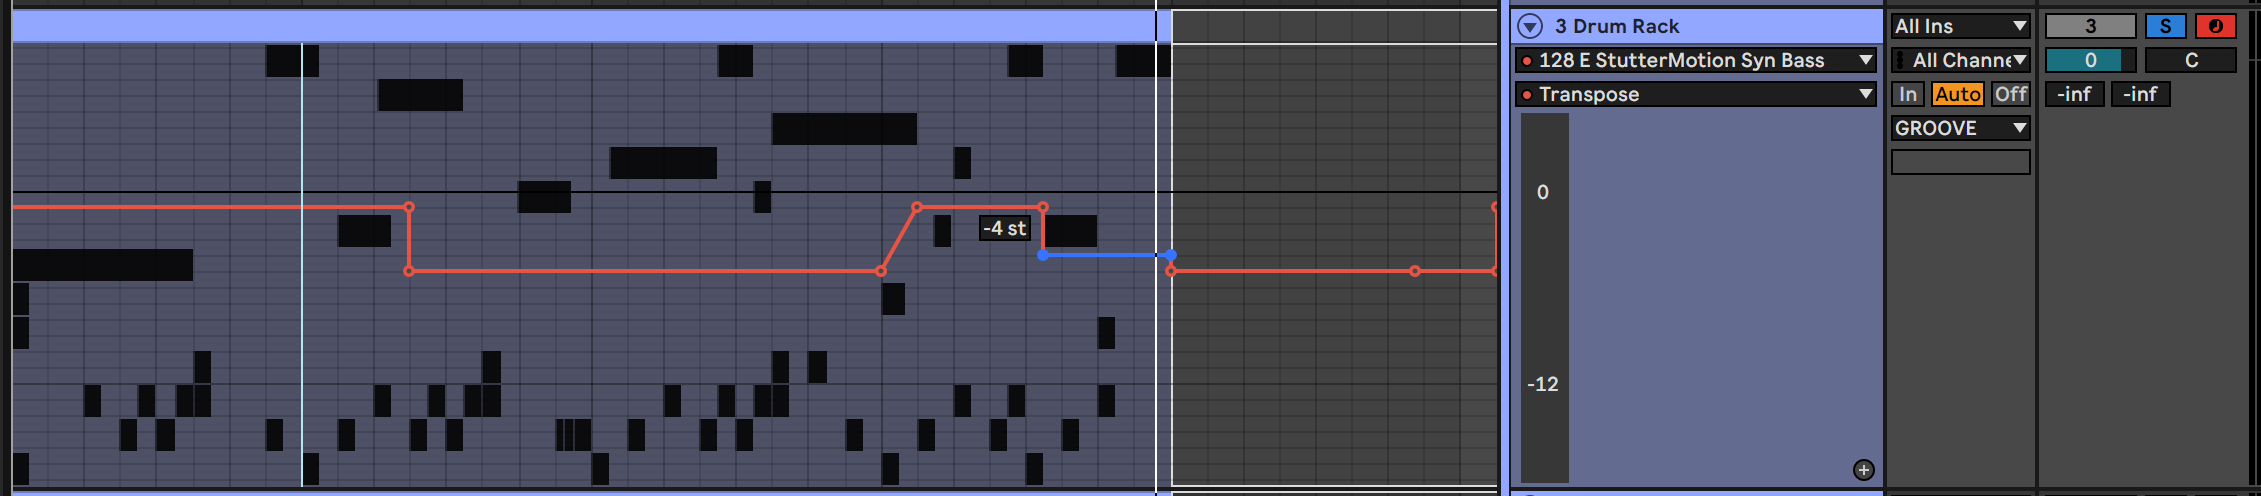
There are endless parameters to automate in Simpler. There are even more if you add additional FX to the samples. For now, we’re only going to automate the pitch of the first sample from Step 3. The aim is to create a two-note bassline in the fourth bar.
The note plays three times in total and we’re going to automate the transposition knob to be at -1 st for the first two notes and -4 st for the last one.
Here are the FX sounds with added panning and automation:
Here’s our progress so far:
You can take this further by applying pitch automation to every single element to make every part more melodic.
Step 5: Drum Bus Processing
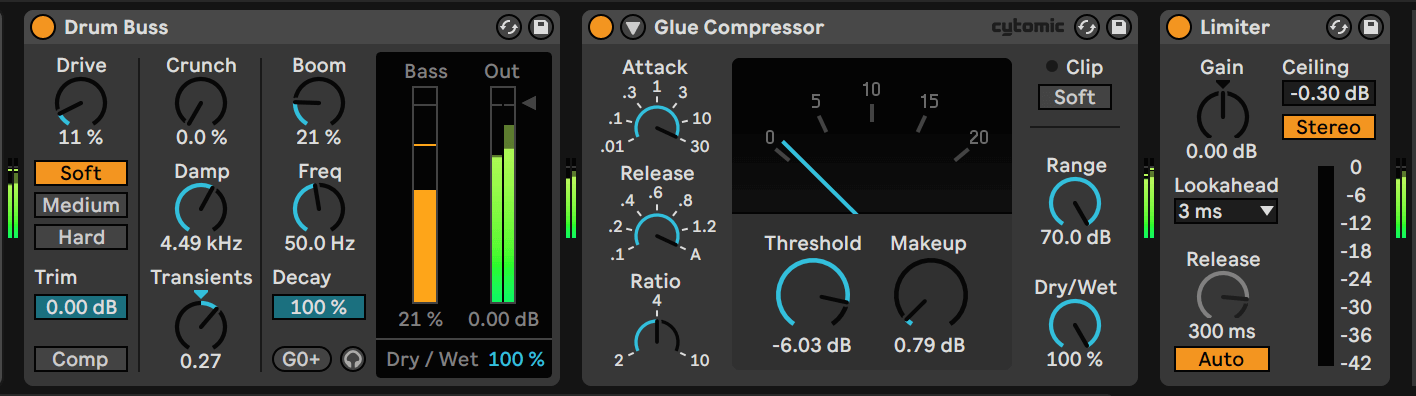
Add to your Drum Rack Live’s Drum Buss, Glue Compressor and Limiter.
Reduce the Drum Buss’ Damp parameter to around 4.5 kHz to remove the shiny top end from the drums. Increase the Boom to 20% to introduce some low-end. Add around 10% Drive for grit and boost the Transients knob to add impact.
In the Glue Compressor, set the Attack to its highest value so the transients cut through. Decrease the threshold until you have about 2-3 dBs of gain reduction.
Here’s our progress so far:
Step 6: It’s Not Over ‘Til The Acapella Sings!
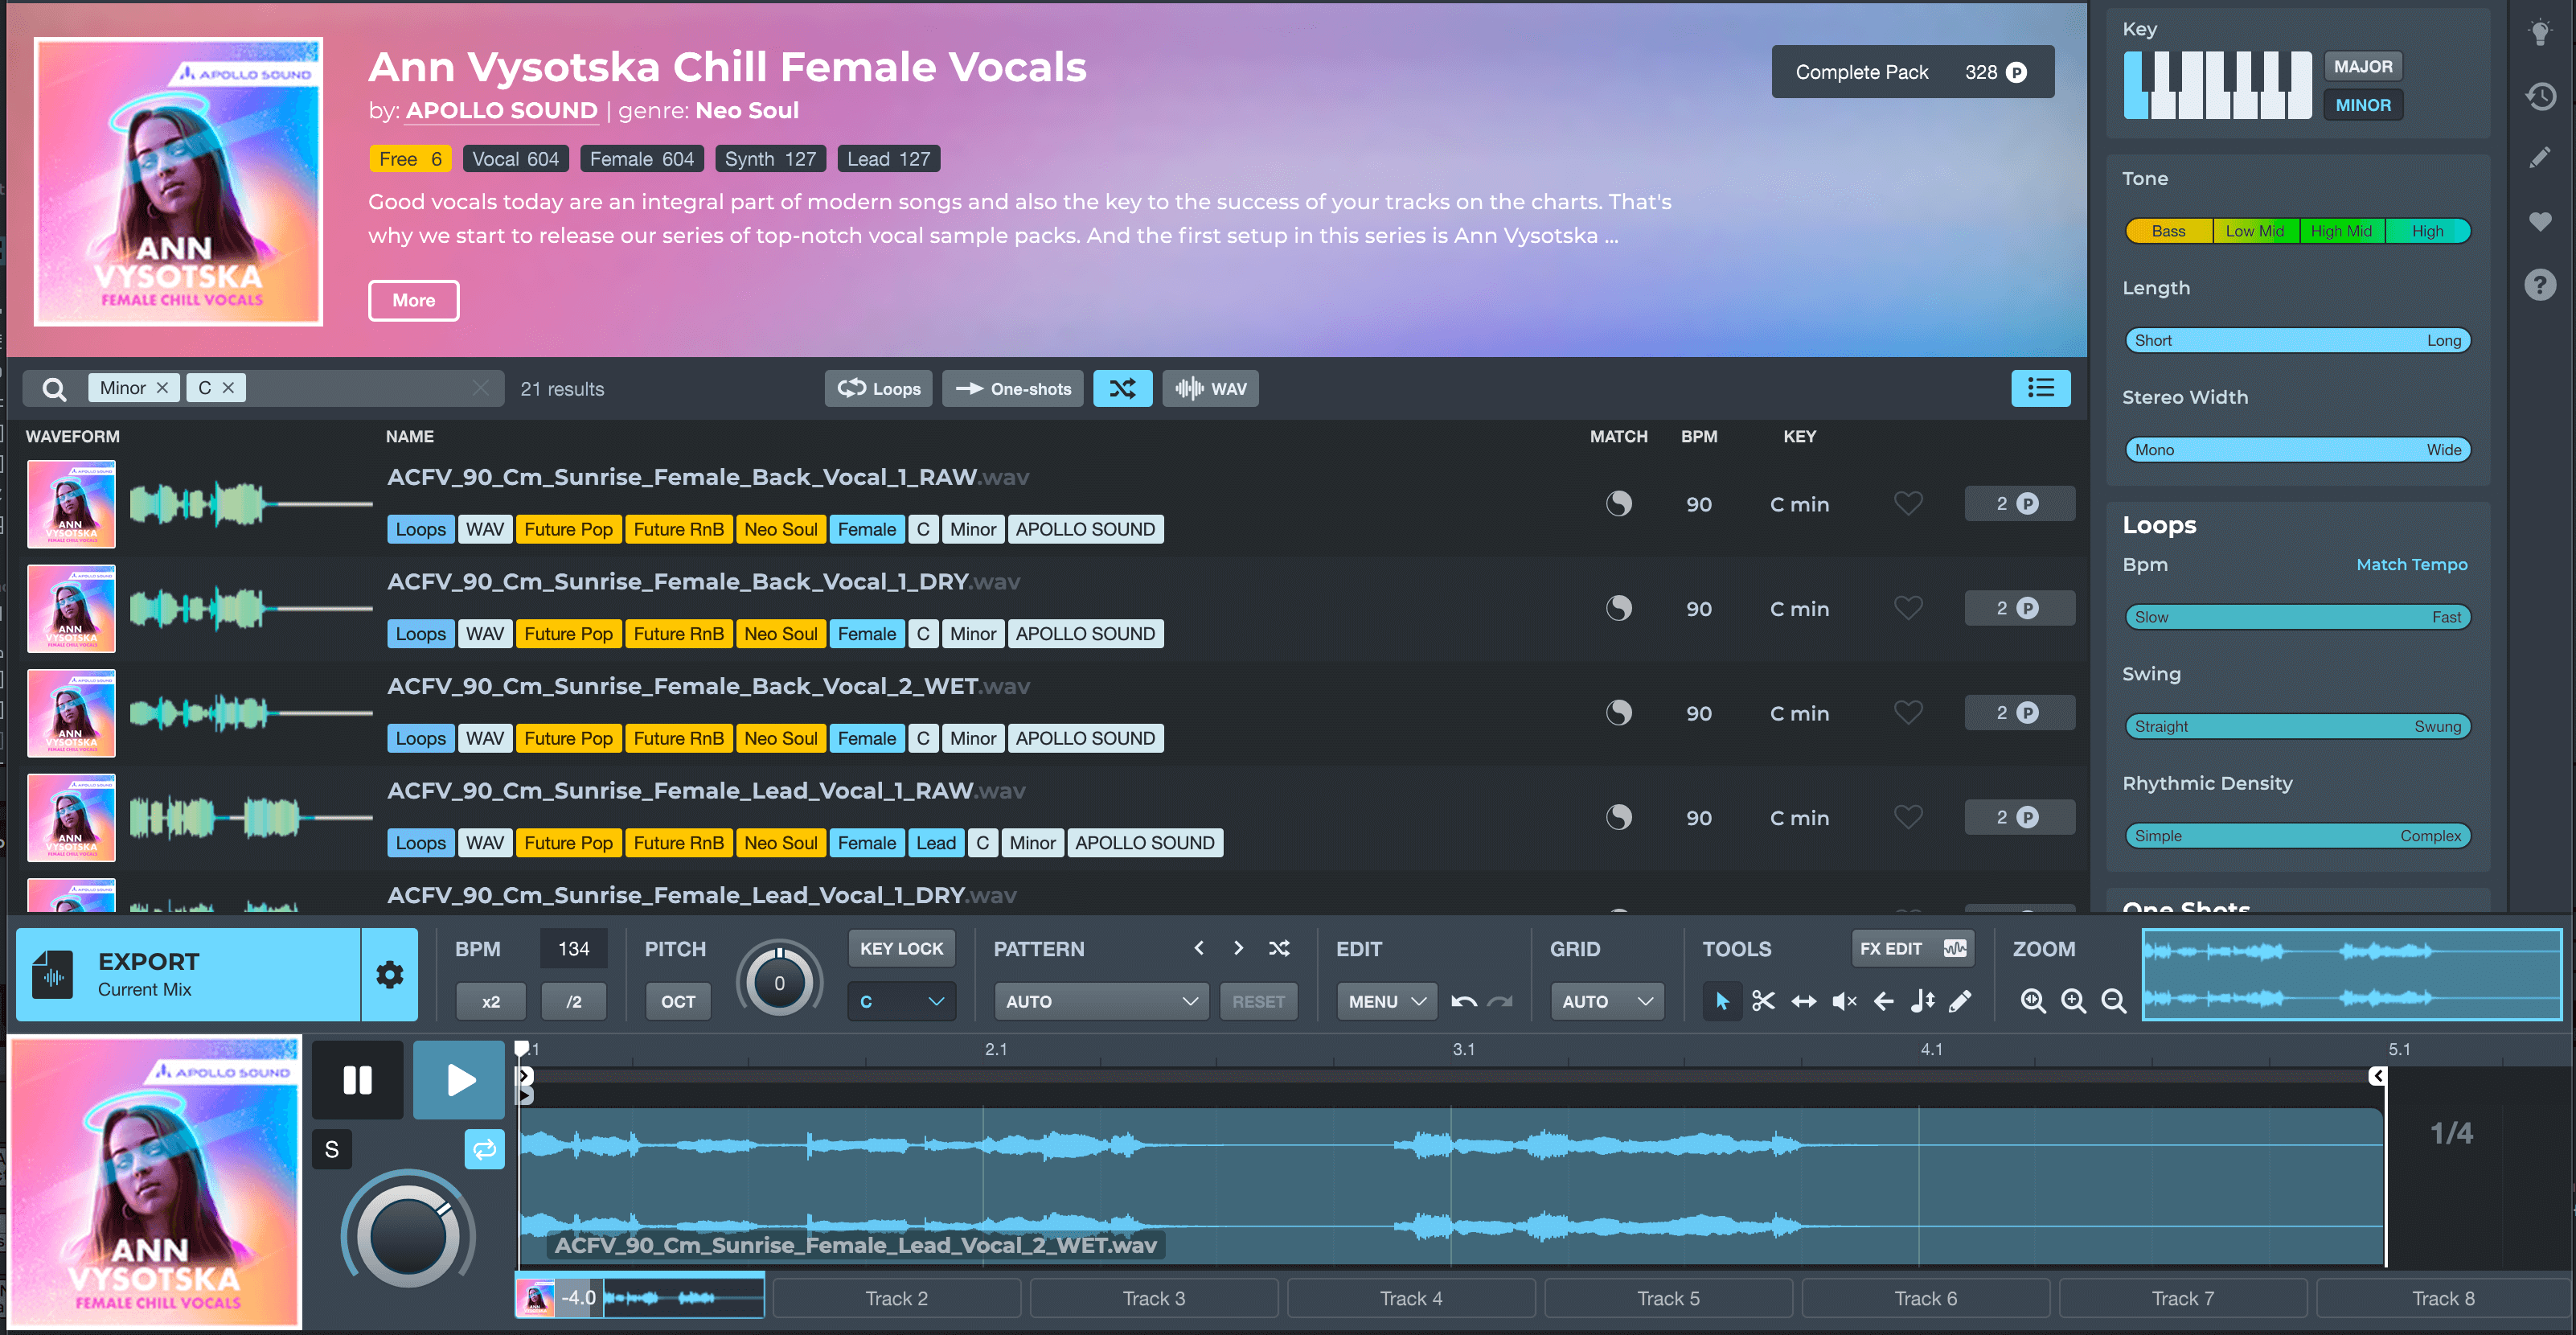
One of our favorite parts about Loopcloud is that you can demo acapellas in real-time. This means that when demoing the sample, it syncs to your DAW’s play button.
This makes it incredibly easy to scroll through a bunch of acapellas, while your track plays. Loopcloud will even warp the sample so the timing is always correct. 🤯
We filtered our search to the key of C Minor and a BPM of above 120 and encountered a great sample – ‘ACFV_90_Cm_Sunrise_Female_Lead_Vocal_2_WET’ from Ann Vysotska Female Chill VocalS.
Once you find the acapella you like, add it into your project on a separate audio channel.
Next process it. We’re using Live’s Echo’s Ensemble Digital preset and Delay to add ambience. We’re also reaching for Soundtoys’ Little Alterboy to thicken the vocal with a lower-formant layer.
Lastly, insert an instance of Waves’ Renaissance Vox compressor. It might be a legacy plugin but it’ remains a secret weapon for engineers!
Here’s the vocal without processing:
Here’s the vocal with processing:
And here is the final beat:
*Attack Magazine is supported by its audience. When you purchase through links on our site, we may earn an affiliate commission. Learn more.