Bruce Aisher walks us through some of the most effective methods for automating delay effects into tracks.
Delay is one of the most important effects available when mixing, and certainly one of the most useful for dance music. Delay and echo plugins come in many forms and flavours, and whilst they work well as an alternative to reverb for subtle ambient treatments they can also be pressed into more flamboyant use, particularly when DAW automation is added to the equation.
In this tutorial we’ll demonstrate some of the most effective ways to automate delay effects into your productions, from subtle ‘spins’ to spacey dub echoes.
Spot FX
The simplest use of automation is to ‘spin in’ delay-based spot effects. Start by setting up your favourite delay plugin as a send effect in your DAW – in other words, the delay sits on its own bus rather than a track’s channel strip, and is set for 100% wet (no dry unprocessed signal required at all here).
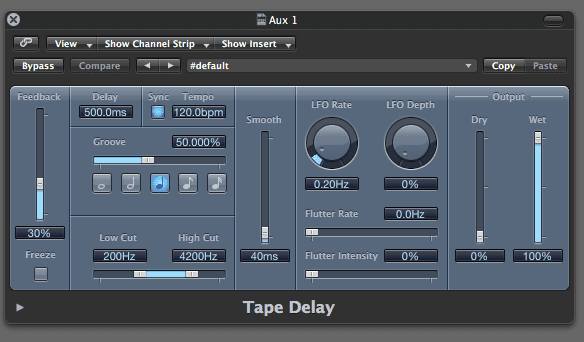
Let’s start with a simple synth riff. It already has a bit of reverb on it, but it still feels too abrupt when the riff ends and the sound suddenly drops out of the track.
The solution is to send it to our delay line just before the riff ends:
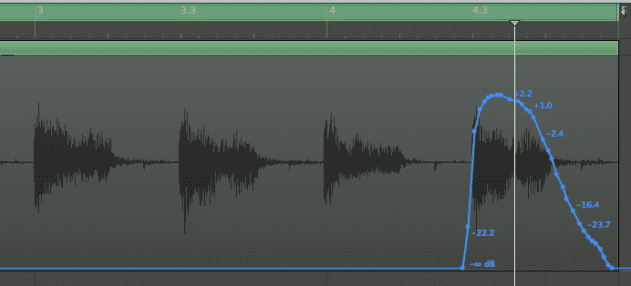
The simplest way to do this is by recording parameter changes with automation. Set your DAW to ‘Write’ automation, then push up the effect send level on the synth channel (going to the delay) on just the last portion of the bar. The screengrab shows how the automation data looks in Logic but just about every DAW has a similar option.
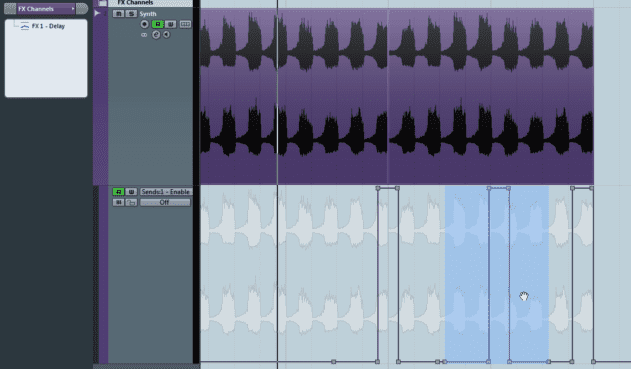
Some DAWs (such as Cubase, shown here) also allow you to automate the send’s on/off status (like a switch), allowing you to adjust the level manually later.
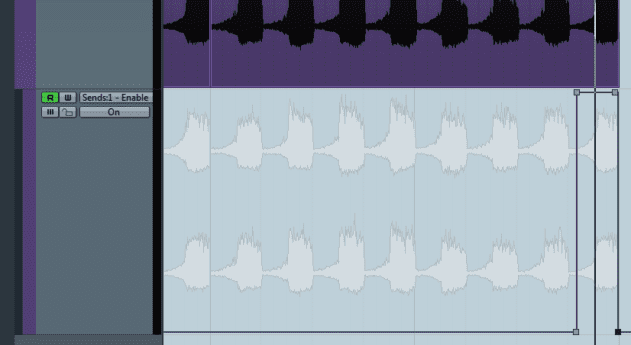
Once you get the automation data just right, there’s nothing stopping you copying the automation to other parts of the track if required, as shown below (click the image to enlarge).
Feedback Fun… Fun… Fun…
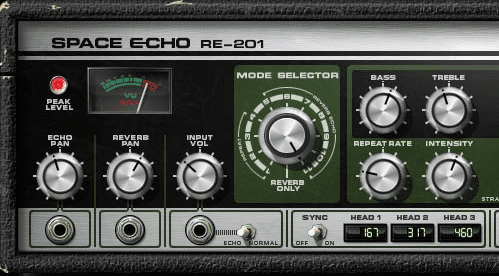
Notice that on the examples above we’re using a fixed amount of delay feedback to provide a series of ‘repeats’. If possible, try and use a plugin that has some form of filtering on the feedback path, making the delay become increasingly ‘lo-fi’ on each repeat. Some tape delay plugins also add a small amount of distortion or saturation to the delayed signal.
11.16 PM
Thanks! 🙂
12.01 PM
Thank you for this – helped me alot, easy and simple!
02.34 PM
I often use a channel’s dry input to automate the delay output, essentially creating a ducking compressor for the delay.
This, for instance, lets your dry vocals through without too much sonic clutter, while filling gaps with delay/reverb/whatever you want. Once dialed in, this could save you a lot of manual automating.
05.41 AM
okay i see