u-he are makers of award-winning software synthesisers and effects including Diva, Repro-1, Zebra2, Hive, Bazille, Presswerk and Satin.
Visit U-he
Technique » Synth Secrets »
Generating Techno Chords
This channel is sponsored by

Synth Secrets is a series of programming tutorials in which we show how to make a range of classic and new synth sounds using plugins such as Massive, Sylenth and Diva.
In this instalment of Synth Secrets we’ll be creating these techno chords using NI’s Form, a “transformative sample-tracking synthesiser”.
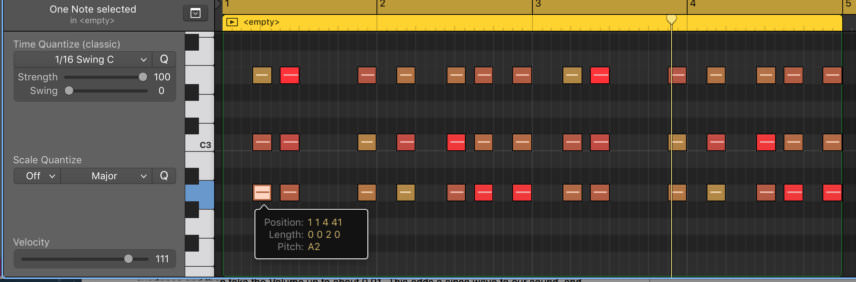
We’ve used a simple A minor chord pattern to trigger the sound, with the notes set to Logic’s 1/16 Swing C setting:
Step 1
We’ve used an open hi-hat sample loaded into Form for this walkthrough to demonstrate how we can create harmonically rich sounds from pretty much any given source material.
We open Reaktor 6 and load up the ‘Form.ens’ ensemble. We then head to the preset browser and from the Factory bank load ‘INIT – Form’, initialising the synth.
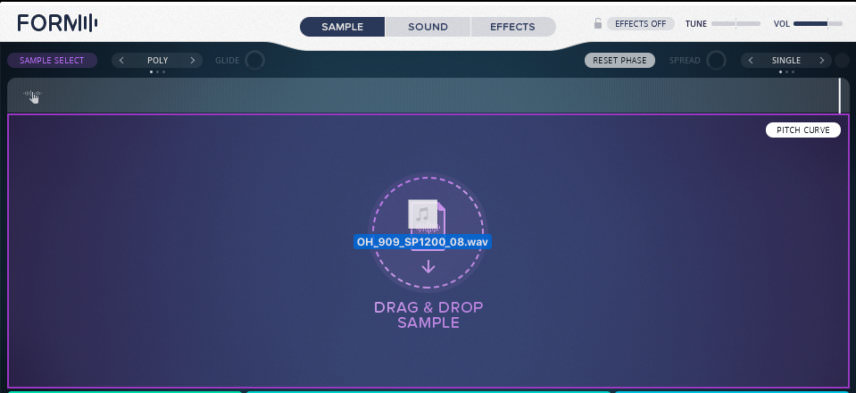
Form is part synthesiser, part sampler. We need to load an audio sample that will act as an oscillator. We load ‘OH_909_SP1200_08’ from Samples From Mars’ SP 1200 From Mars – Custom Drums sample pack. We can now truncate the sample, removing some of the silence at the end.
Step 2
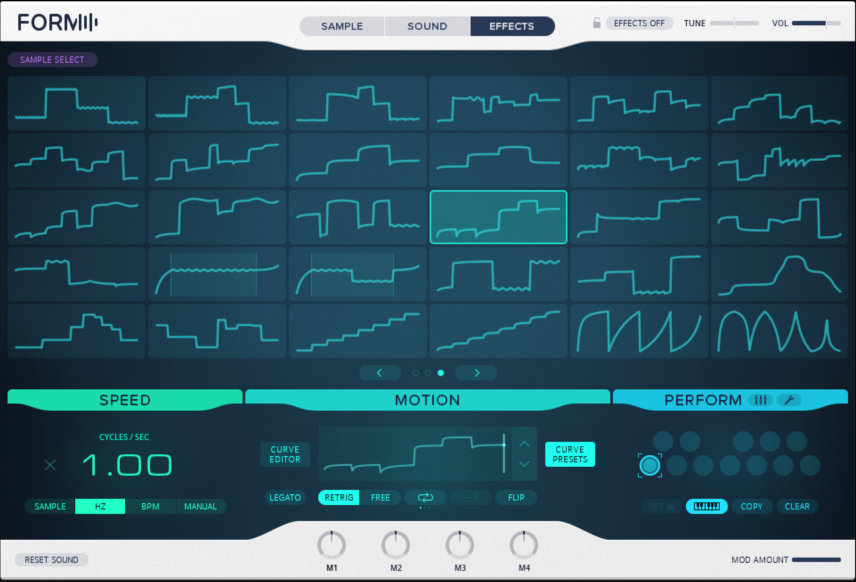
The latest update of Form includes a number of new curve presets. These dictate the motion of the sample playback. Combined with the speed control, we can create all kinds of timbres and textures from a simple audio source.
We navigate to the effects pane and select a motion curve as shown. You can draw in and sculpt your own motion curves by accessing the curve editor if you want to go a bit deeper with the sound design, but this curve will do nicely for our needs.
Next we look at the Speed section in the bottom left of the window. This controls how quickly playback will scrub through the sample. Simply changing this to Hz with the speed set to x1.00 cycles per second slows the scrub speed and creates something more useable.
Step 3
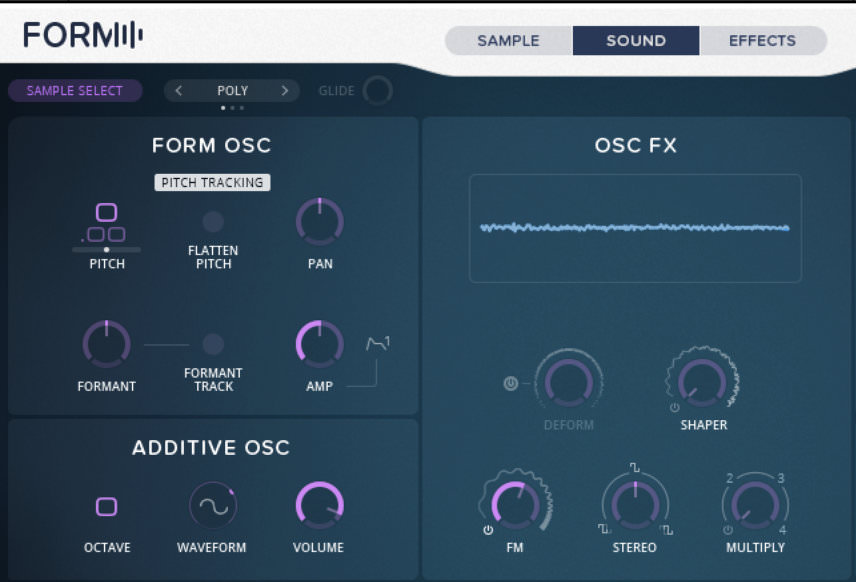
The sound is still a bit thin and glassy, so we use the additive oscillator to warms things up. We keep the Octave control at 0, and bring the Waveform control to around two thirds of the way round to shape the overtones, then take the Volume control up to about 0.91. This adds a sine wave to our sound, and fattens things up.
Next we turn up the FM control, found in the Osc FX section. This controls how much frequency modulation is added by the additive oscillator. Taking this up to around 100 Hz works nicely.
Step 4
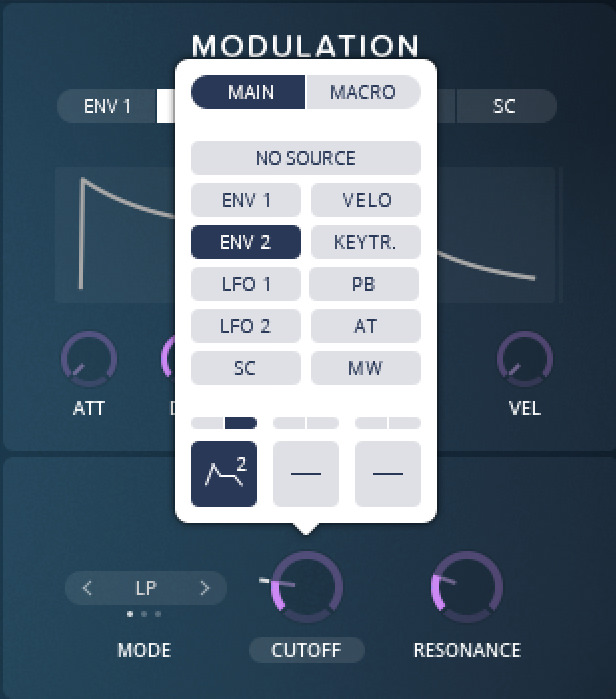
Now to access Form’s powerful modulation section to control some of the frequency content of our sound. We’d like to shave some of the high frequencies of our sound and then use an envelope to modulate the filter cutoff.
First we take the cutoff frequency down to 75 Hz and push up the resonance to 0.24. By clicking on the Cutoff text we can access the modulation applied to this control. We select the first of the three modulation slots that appear and choose ENV 2 as our modulation source. We click and drag upwards above the modulation slot to apply the modulation amount.
In the ENV 2 settings, we select a fast attack, medium decay, no sustain and a small release. We also back the attack off slightly on ENV 1 to shave off some of the transient.
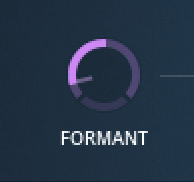
We then head over to the Form Osc section and drop the Formant control down to 0.41, giving us a deeper tone.

Step 5
Some effects will really bring this sound to life, and give it the space and movement necessary. We begin by turning on Frequency Shaping. We take the Dry/Wet Band Filter control down slightly, push up the Band 1 and Band 2 levels and set the Centre and Width controls for both bands around half way.
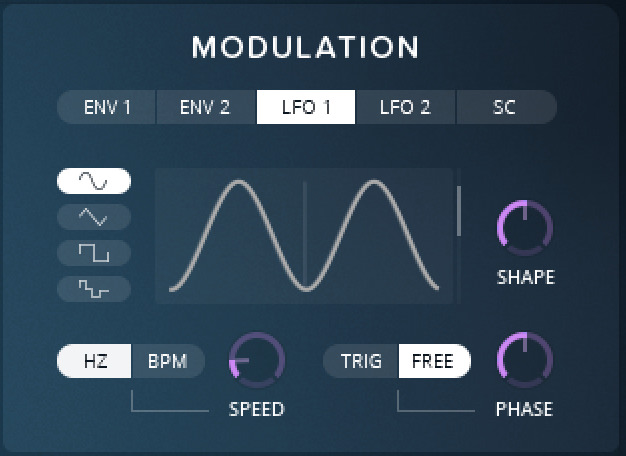
Moving the Centre controls around adds some really nice frequency sweeps to the sound. We could automate this, but to have the sound moving constantly it may be better to add some LFOs here. We set LFO 1 to modulate both Centre controls, but apply the modulation in opposite directions – negative for Band 1 and positive for Band 2.
On the LFO itself, we take the speed right down to 0.12 Hz and activate free running mode, so the LFO constantly cycles through slowly, rather than retriggering when we play notes. This provides nice movement and modulation.
Back in the Frequency Shaping section, we push the Phase control up to 0.74 and turn on the Warmth effect, adding some Tube Drive and Charge to saturate the sound.

Step 6
Next we turn on the Dynamics section, setting a medium to fast attack and release and setting the ratio to just before halfway. This helps control some of the dynamics, now heightened due to the frequency modulation taking place. We also add some reverb and delay to give the sound space and depth, which helps it sit in the mix much better.

Synth Secrets is sponsored by
u-he are makers of award-winning software synthesisers and effects including Diva, Repro-1, Zebra2, Hive, Bazille, Presswerk and Satin.
Download the demos and try them for yourself at www.u-he.com