
Ableton Live 13 is now in public beta. We put the new Drum Synth, Step Sequencer, Transient Shaper, and Clipper to work and build a beat from scratch.
Three years after Live 10, Live 11 arrived. Three years after Live 11 came Live 12. It is now coming up on three years since Live 12, and Live 13 is officially on its way.
Live 13 entered public beta yesterday, so we jumped straight in to test some of its new features. You can apply for access to the public beta via Ableton’s portal; you’ll need an account and may have to wait in a queue, as access is being rolled out gradually. Before we look more closely at the new Step Sequencer, Drum Synth, Transient Shaper, and Clipper, here’s a brief overview of what else to expect from Live 13.
When you open Live 13 for the first time, you might not spot the differences immediately. It has the same familiar look and colours, but appears a little crisper on screen, with a marginally flatter design.
Contextual Browsing
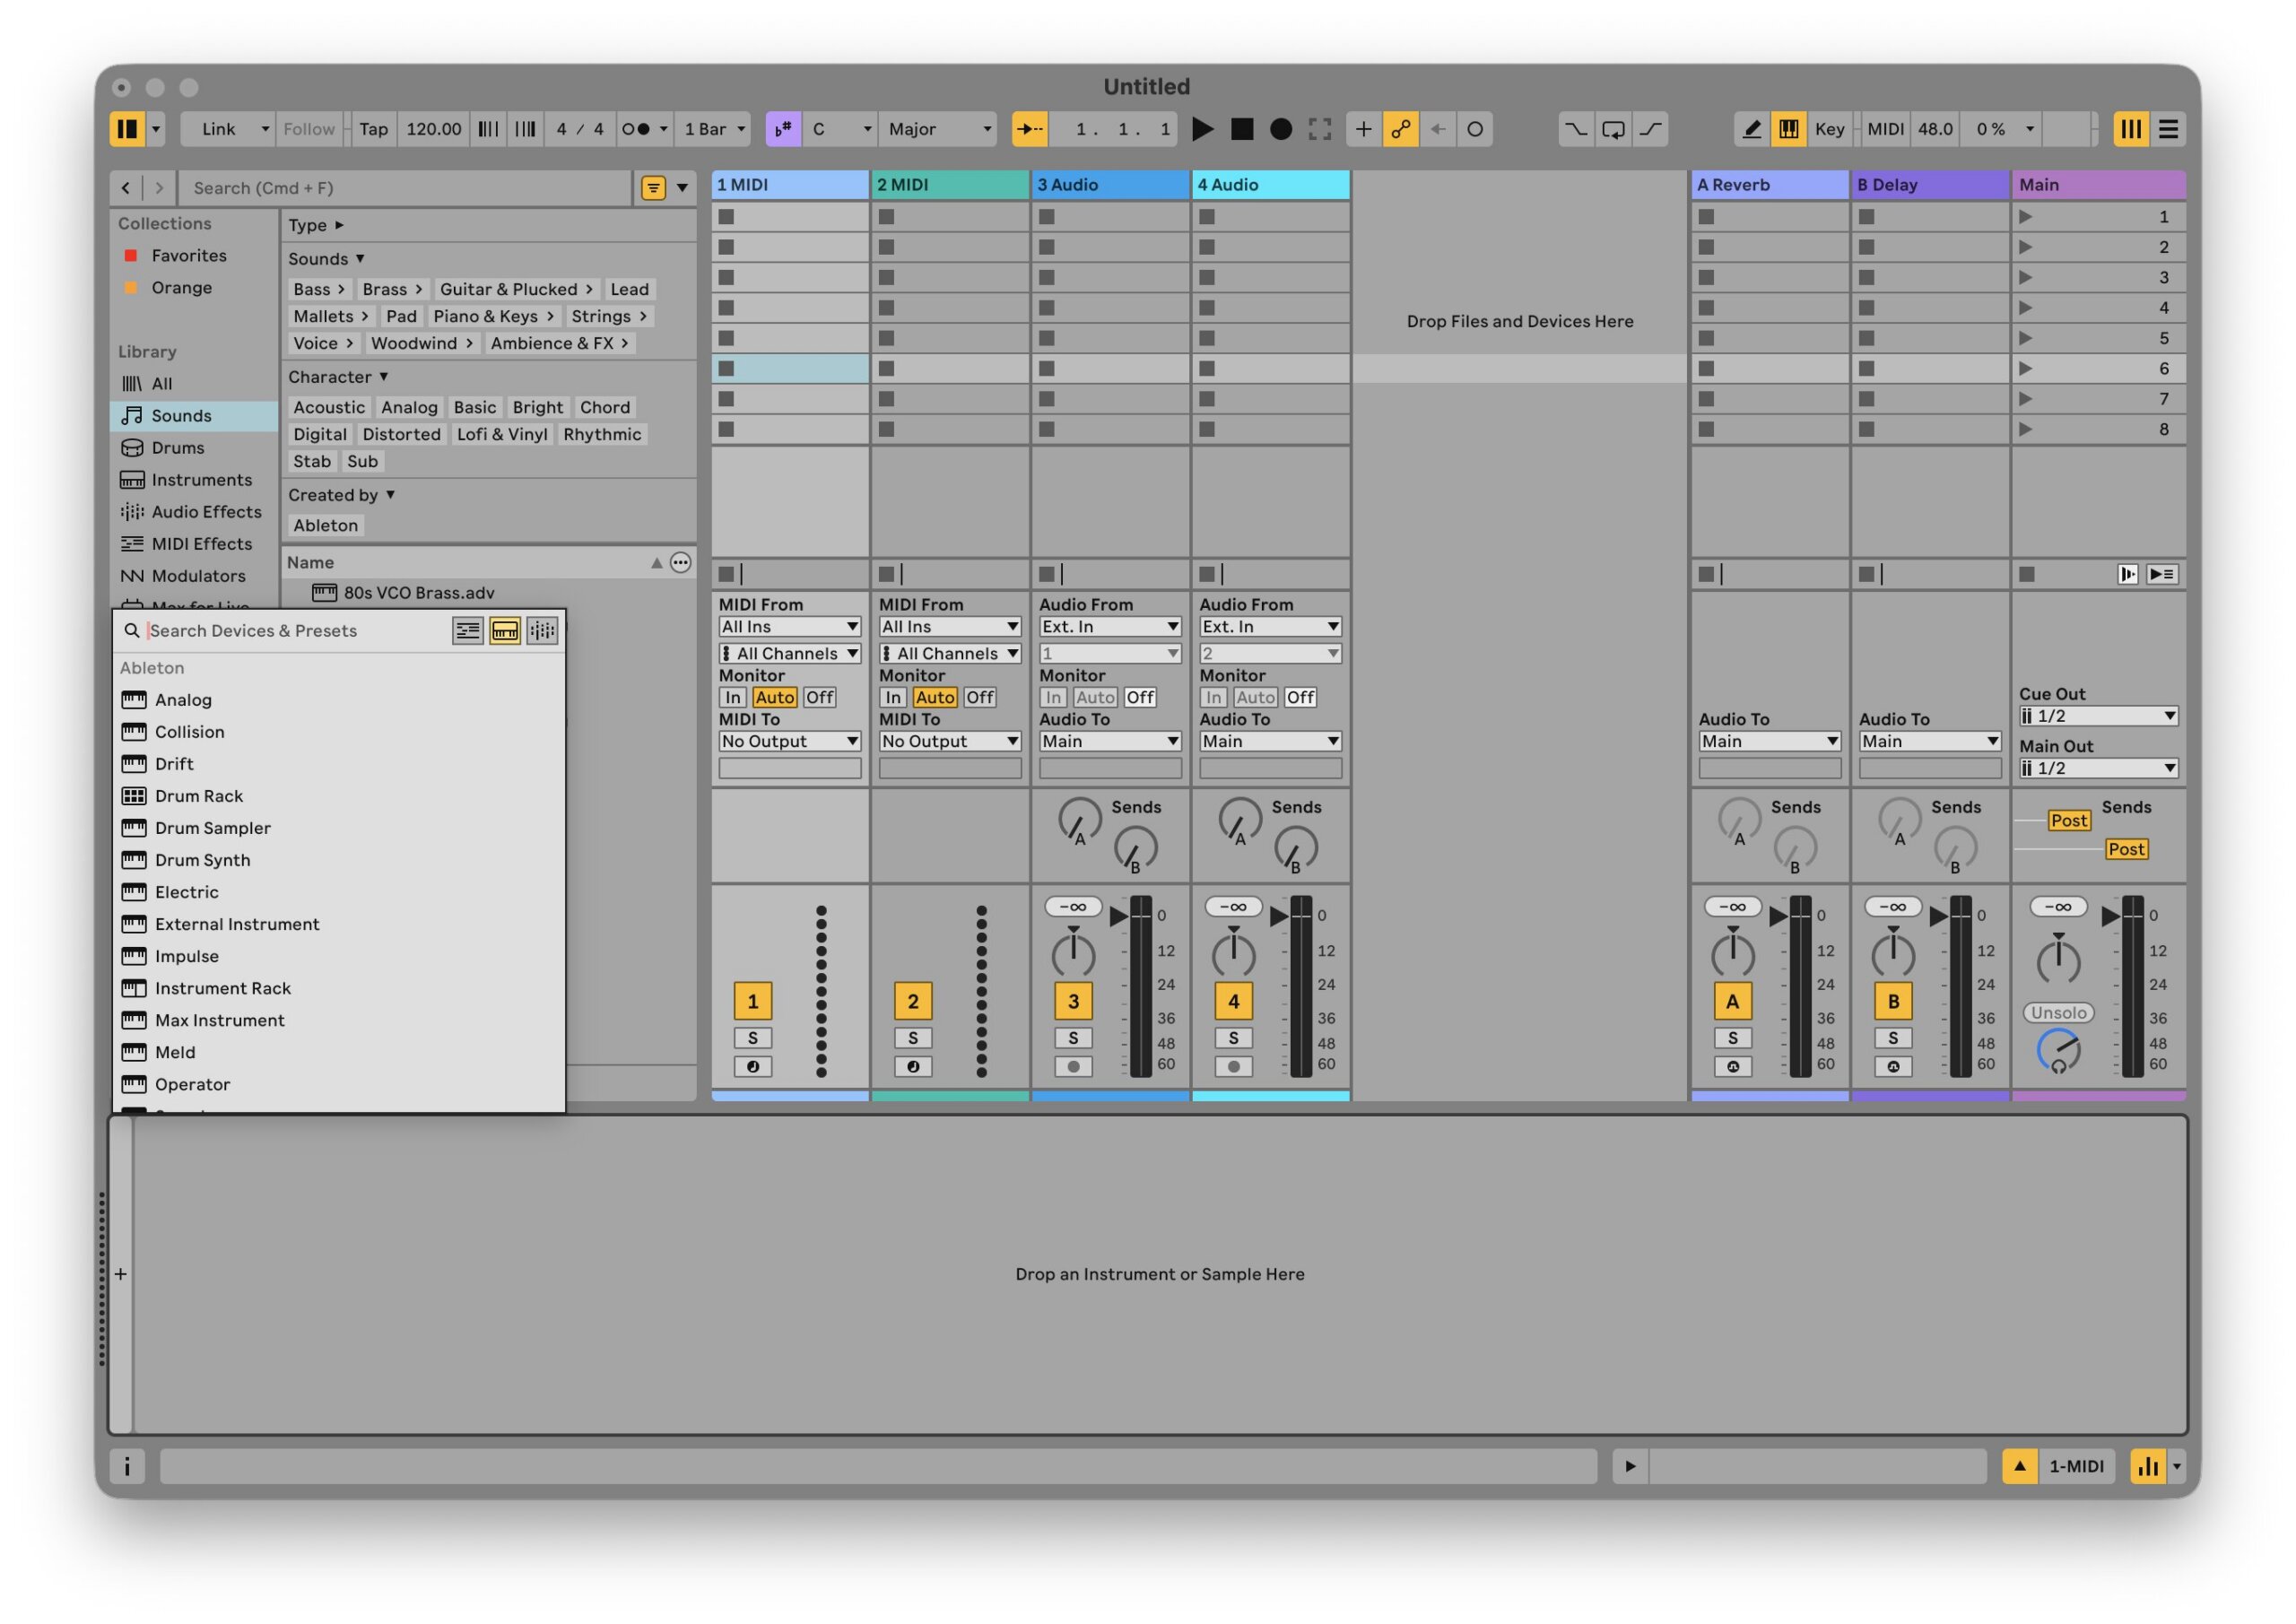
A major workflow update brings Ableton’s browser directly to the device chain. Rather than keeping the browser open on the left of your Set and dragging what you want from a long list, you simply click the ‘+’ in your device chain to see a relevant list of devices you can add there and then. Swapping presets within a device using keyboard shortcuts also makes scrolling through options quick.
ARA 2
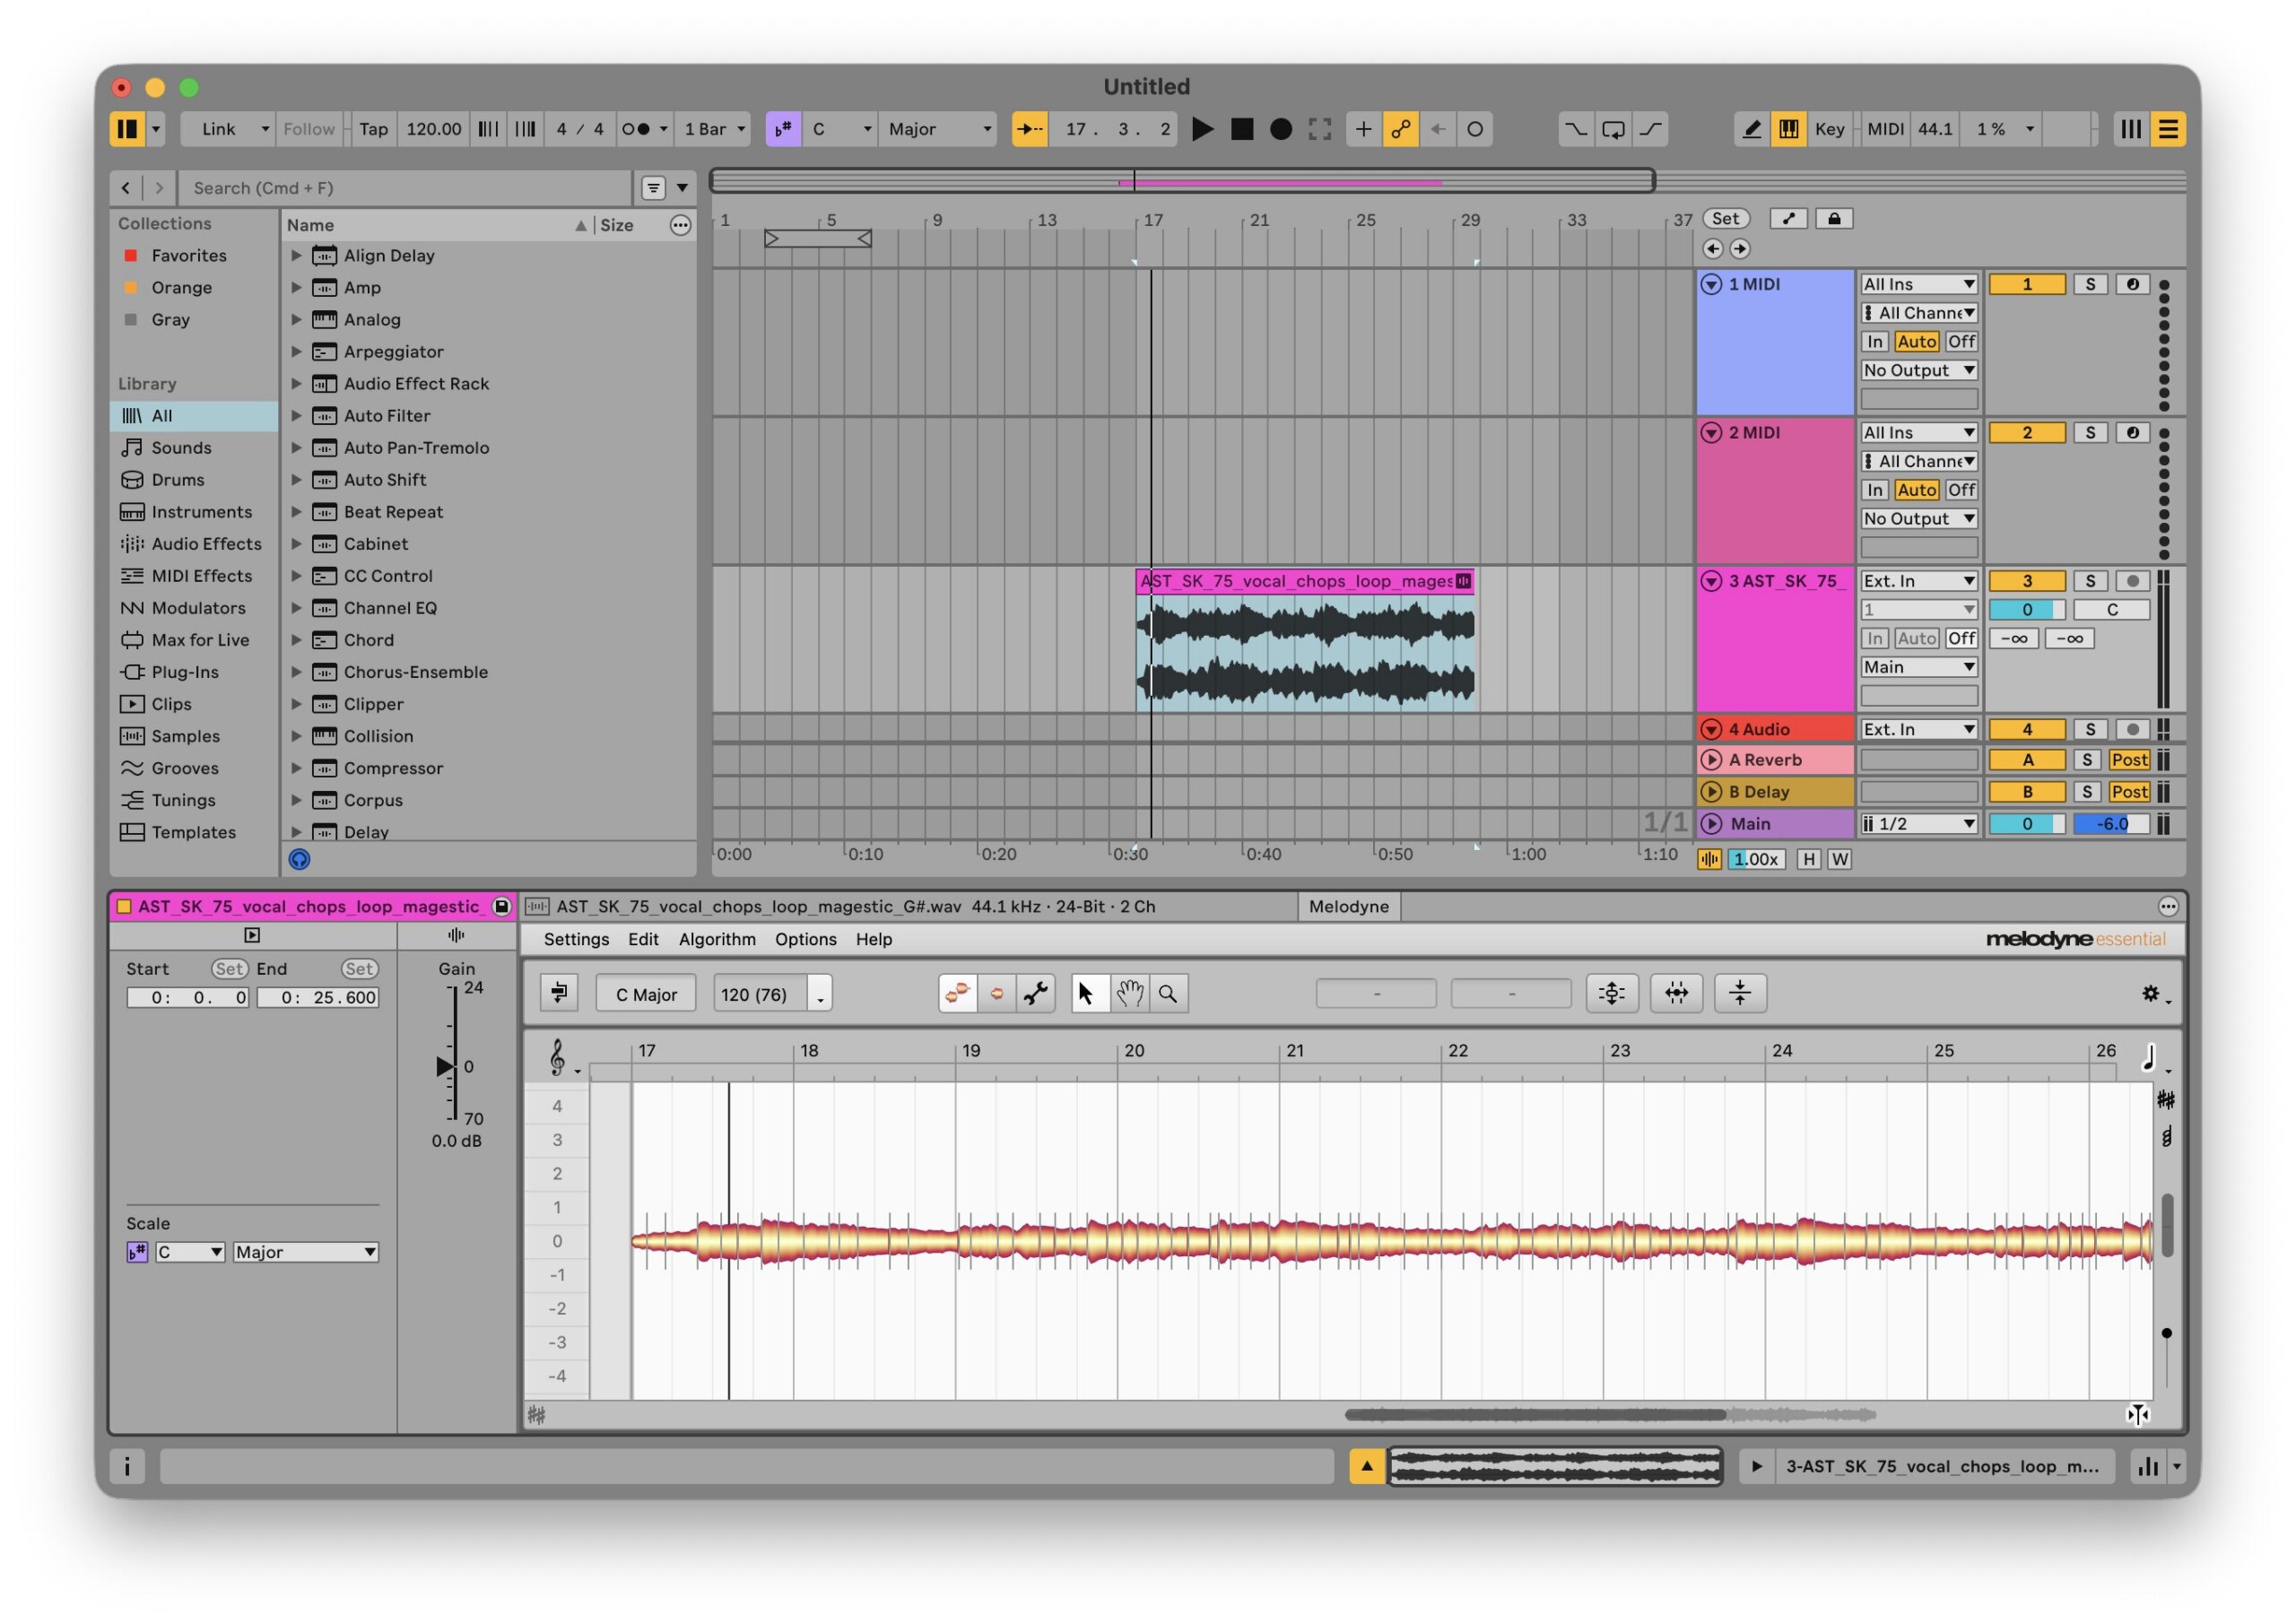
Ableton now works natively with ARA 2 plugins such as Melodyne and VocAlign. No more transferring audio into Melodyne, only to change your arrangement and find those stems are out of place.
Much More
That is far from everything. The new Max device Looplet looks ideal for creating textures; racks now offer up to 32 macros for more control; return tracks can hold clips for automation; multiband racks let you apply different chains to different frequency bands; mid-side racks offer separate chains for the centre and sides; and macros can now have their own custom curve shapes. You can read about all the new features on Ableton’s website.
For now, though, let’s build a beat using Live 13’s new devices.
Drum Synth
Either drag it from the browser as before or use the new ‘Insert Device’ context menu, and select ‘Drum Synth’. This new instrument features nine drum voices. Along the top, you select a voice using clear icons. In the middle is a waveform display of the sound and a drop-down menu with further options for that voice, followed by familiar drum synth controls for Transpose, Decay, Color, and Volume.
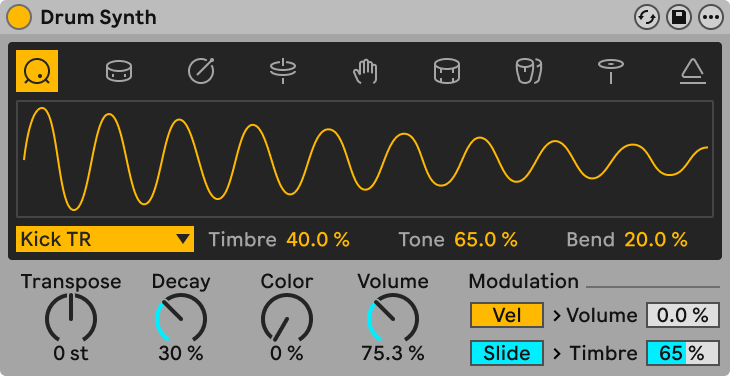
The kick sounds good straight away. The Decay and Color controls add plenty of flexibility, and 808- and 909-style sounds feel natural, with all the parameters you’d expect. The range on offer from each voice feels broad enough for everything from punchy claps and snares to pitched percussion and FM sounds.
Scrolling through the instrument’s presets reveals a lot of variation, but let’s start with the blank ‘Drum Synth Kit’ and use the new Step Sequencer to build a beat. Before we do, it’s important to note that Drum Synth is monophonic. While it offers all these sounds, it plays one at a time (though each drum voice is available for automation), so you’ll still need a Drum Rack if you want to play them simultaneously.
Step Sequencer
One difference you’ll notice immediately in Live 13 is what happens when you click on an empty clip slot or track header. The previously blank device area below now presents several options. Audio tracks simply tell you they are audio (perhaps more is coming), return tracks offer the option to add the automation clips mentioned above, and MIDI tracks let you create a clip by selecting either ‘Notes’ (which creates a familiar blank MIDI clip) or ‘Step Sequencer’.
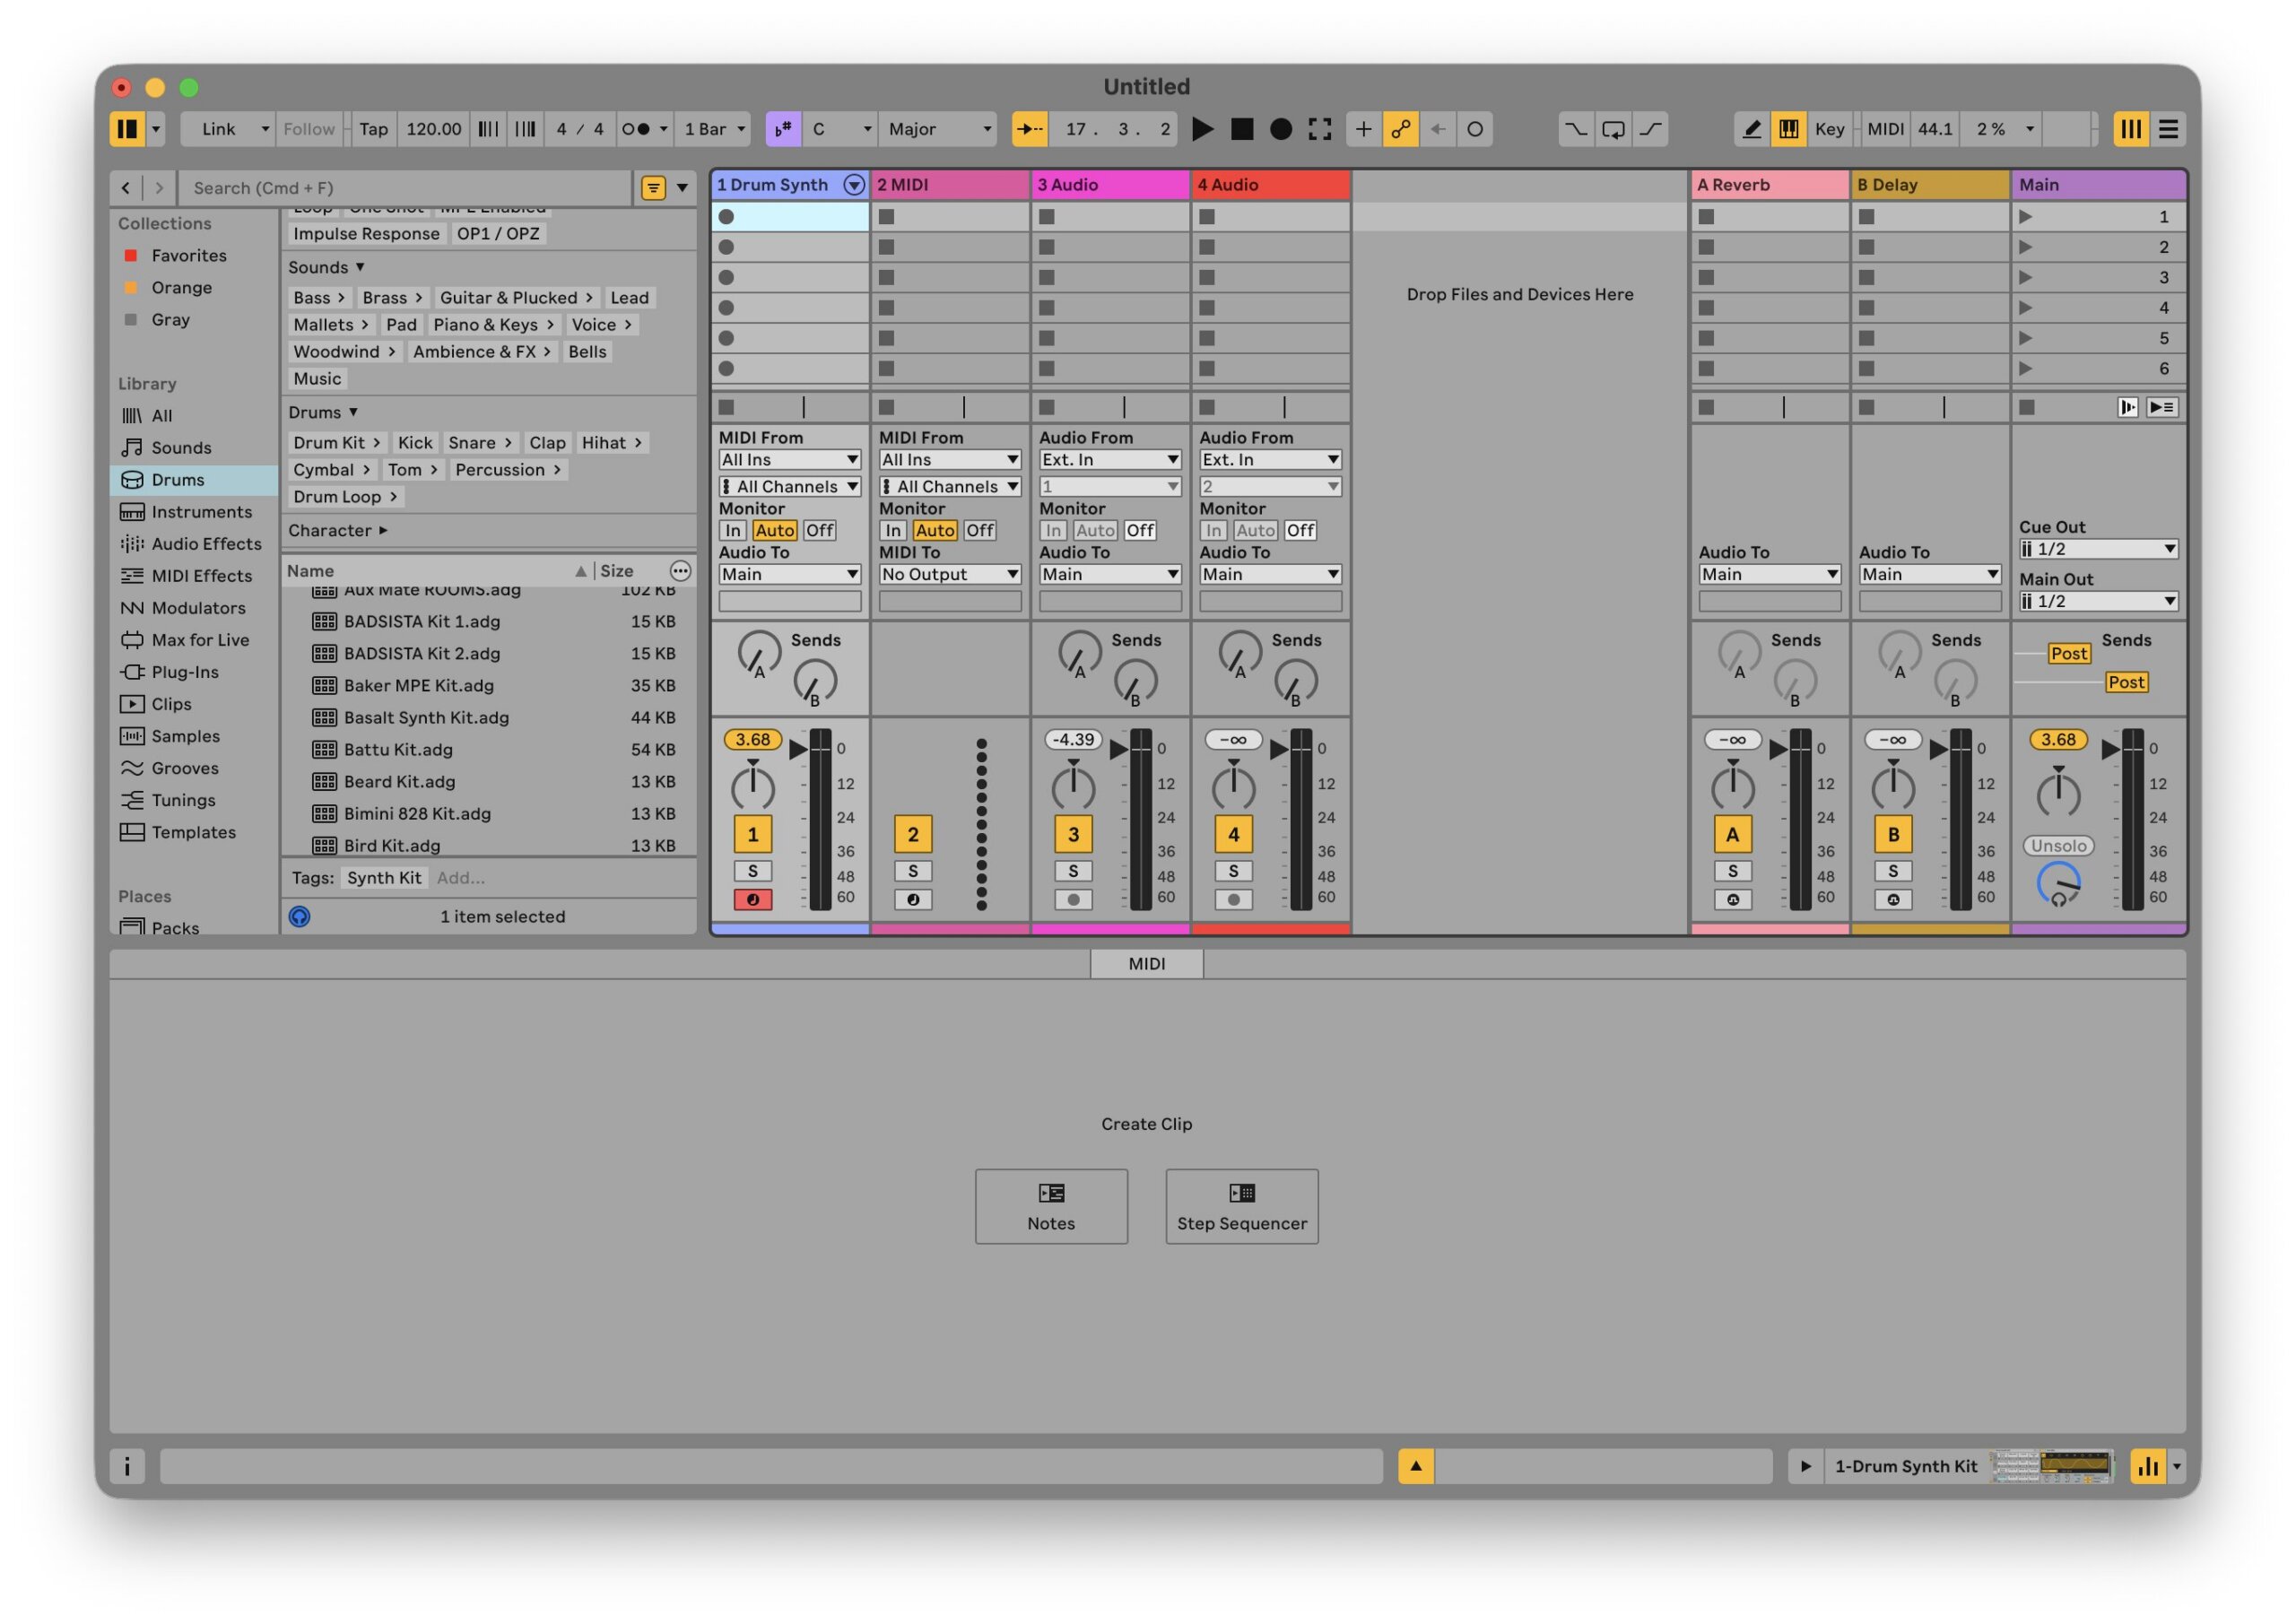
Pro tip: you can set the default double-click behaviour for adding clips in Settings. If you prefer the Step Sequencer every time, make it your default.
Creating a new clip with the Step Sequencer brings up the sequencer interface where you might have expected the piano roll, with a few clip options to the left. Here you can set the loop length, represented by the progress bar at the top and the length of the envelope, as well as the number of steps.
What makes it fun straight away is that each lane and each step in the sequencer can be customized independently in several ways.
Each lane can:
- have its own number of steps, from one up to the maximum set by the global clip setting
- play at its own speed (as a note value relative to the global tempo), from 1/2 to 1/64T
- play forwards, backwards, or bounce between the two
- have its own custom swing amount
Each step has controls for:
- velocity
- offset (positive or negative adjustment of where the step would otherwise trigger)
- length
- repeat (multiple triggers per step)
- pitch
- chance
In short, it doesn’t take long to put together something interesting.
The Step Sequencer works much as you’d expect, complete with a ‘fold’ option to show only the notes in use (as in Live’s other MIDI editing views) and intuitive visual playback cues. To get familiar with the options, try building a simple beat: a four-on-the-floor kick, snare and claps on two and four, hats on every sixteenth, and a couple of percussive elements wherever you like. That gives you a solid, straight foundation.
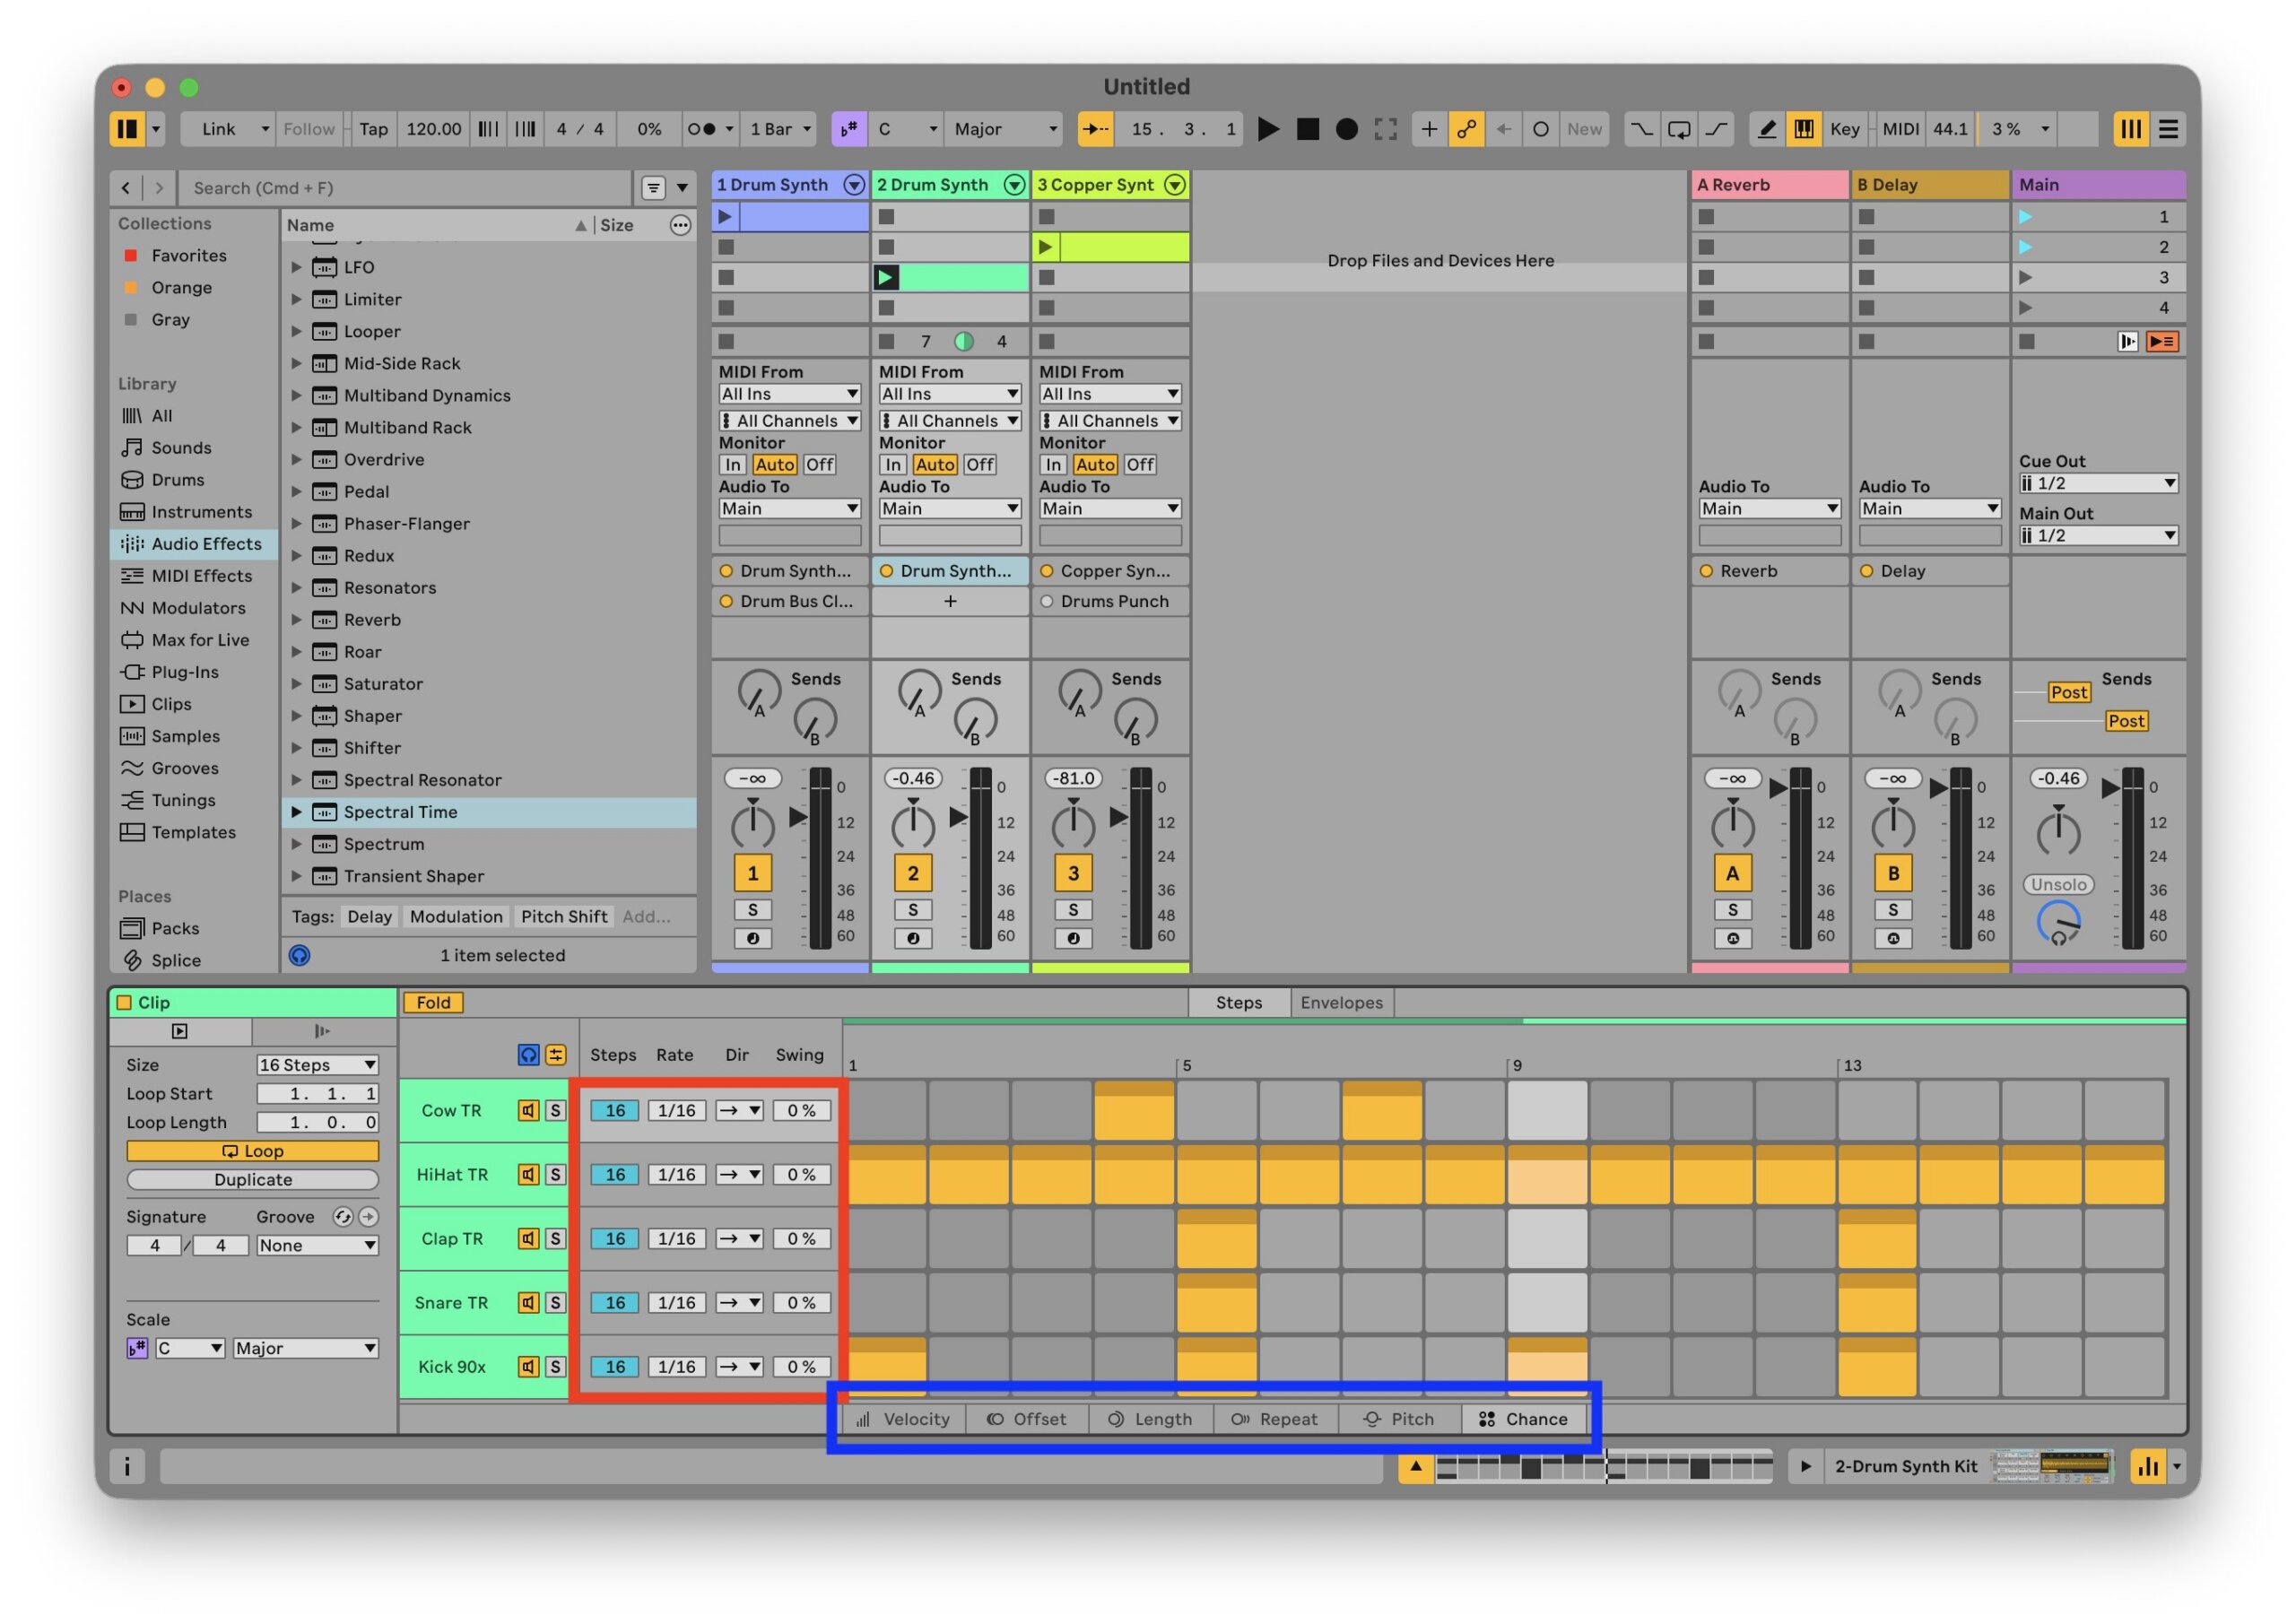
Now add some swing to the hats, change the playback speed or direction of your percussion (shown in the red box), or alter the hats’ velocity or offset the claps (shown in the blue box), and your groove starts to develop organically.
Here’s a loop we built using only Drum Synth and the Step Sequencer:
Once you have a sequence you like, right-click on the clip and select ‘Convert To MIDI Notes’, and you’re left with the traditional piano roll view with your sequence mapped inside. Want to change it later? Edit the MIDI directly, or right-click and choose ‘Convert to Step Sequencer’ to send it back.
Transient Shaper
Let’s add two more devices to the chain and hear the impact. Before Live 13, shaping transients meant the closest native option was Drum Buss, but now there’s a dedicated shaper that offers much more control.
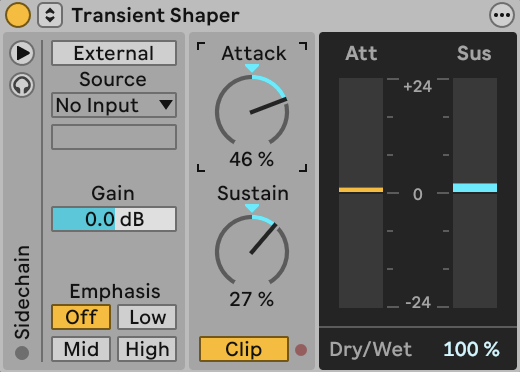
Attack amplifies or attenuates the transient part of a signal, while Sustain affects the level of the tail. Together, these two dials can transform a sound dramatically. At 100% Attack, the punch becomes quite clicky, but the simple controls make it easy to dial in serious punch and presence.
Here’s another beat made with Drum Synth, first without the Transient Shaper and then with it engaged. See if you can hear the difference:
Attack brings the punch you’d expect from a transient designer, while Sustain pulls the rest of the sound in around it in interesting ways.
Clipper
Clipper gives precise control over a signal’s headroom, taming peaks without the gain-modulation artefacts typical of heavy dynamics processing. You can use it for transparent results or to generate a healthy dose of harmonic distortion.
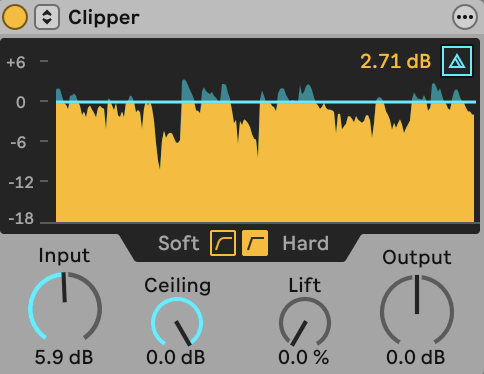
You get a real-time visualization of the clipping, the option to audition what is being clipped, hard and soft curves, and controls for input, output, ceiling, and lift. Lower the ceiling and clipping starts sooner, so you hear the drive kick in. Balance that by driving the input to get the warm, saturated character you’re after.
Here’s our first beat again, this time with Clipper engaged halfway through:
Listen to the warmth it adds, driving the kick drums as you’d expect, while also being clearly audible on the pitched sounds.
What Now?
Ableton has always excelled at keeping musical ideas moving quickly, and Live 13 continues that. ARA 2 integration and device browsing directly in the device chain close workflow gaps that may have held some users back. The Step Sequencer is a welcome addition for getting ideas off the ground quickly, and the wide range of updates and new devices keeps Live a strong place to make music.
Live 13 is in public beta now. Register via the Ableton Beta portal to try it.
Until Live 13 is released, new Live 12 licences and upgrades are 20% off, and every Live 12 purchase includes a free upgrade to the corresponding Live 13 edition. Separately, Push 3, Move and the Push Upgrade Kit are 20% off until 30 November.
Don’t have Ableton Live? Buy it here. Heads up, it’s an affiliate link. If you buy through them, we may earn a small commission (it doesn’t affect the price).
Follow Attack Magazine
Produce music in Live?

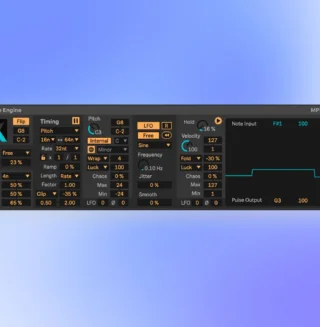
Max For Live: Chance Engine V2
Add controlled yet random fluctuations to your most important parameters.
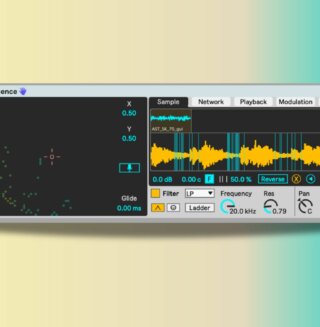
Max for Live: Coalescence
Coalescence is a Max for Live Instrument that combines concatenative sampling together with a neural network.
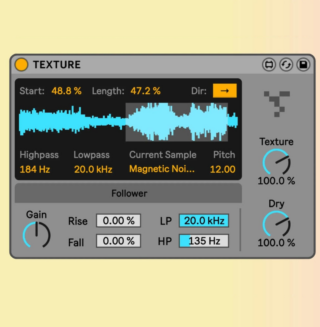
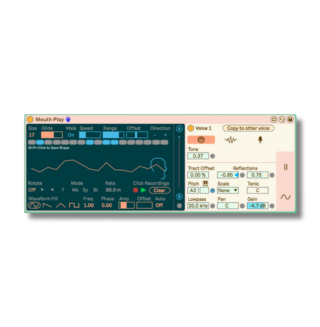
Max For Live: Mouth Play
Unconventional vocal shaping with a brass model or FM oscillator source
Max For Live: NerualWaves
Synthesizer fuelled by a custom neural network, forging waves with precision
Max For Live: The Spellbook
LFO inspired by sacred geometry, weaving nature's fabric into your projects
Max For Live: Travelogue
A Max for Live MIDI device creating a unique sonic journey with joyful surprises