Pitch can be a powerful tool for creating tension in a breakdown. We use zplane’s ElastiquePitch 2 to transform a vocal sample into a riser.
Most DAWs have sophisticated pitch algorithms built-in but sometimes you need something with a little more power. zplane, the company that provides the pitch-shifting code for DAWs such as Ableton Live, makes a dedicated pitch plugin called ElastiquePitch 2. It has a number of features, including pitch delay and MIDI control, that take it beyond mere time-stretching. Let’s use it in a breakdown to turn a vocal sample into a riser.
We’re using Ableton Live but any DAW will work. Click on any image to see a larger version.
Here’s what we’re going for today:
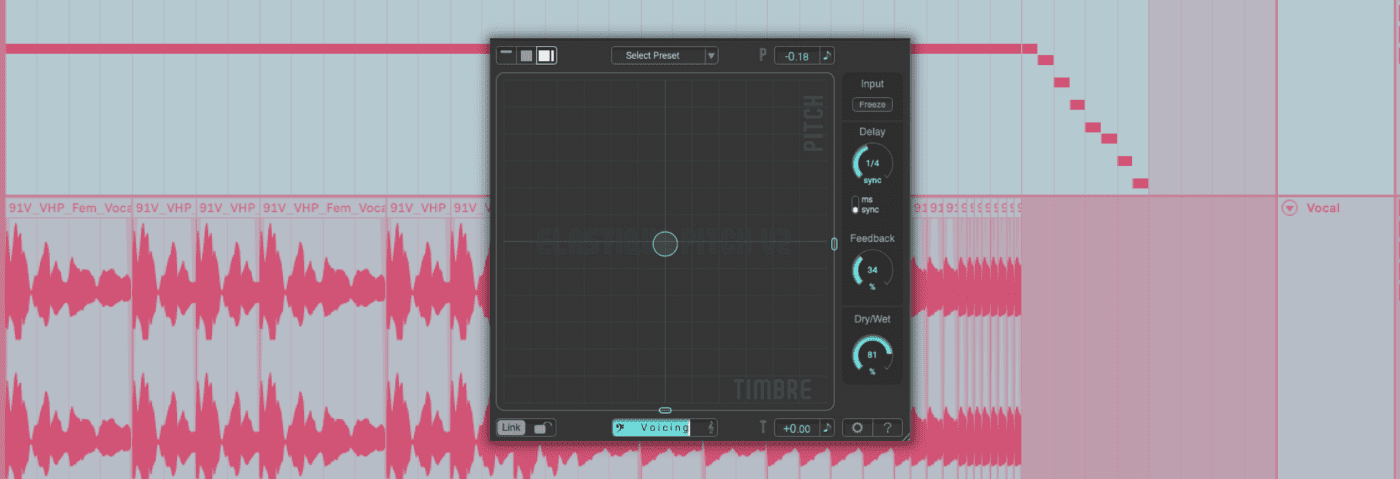
A Quick Overview Of ElastiquePitch 2
ElastiquePitch 2 is a fairly simple plugin, although its uncluttered GUI belies the power under the hood. Let’s see how it works.
The main focus of the plugin is a grid with pitch represented by the horizontal axis and timbre (or formant) by the vertical. By default, they are locked together for a more realistic sound. Click the Link button in the lower-left corner to uncouple them.
Moving the circle in the grid up raises the pitch, and moving it down lowers it. Bringing the circle to the right creates higher timbres and moving it to the left results in lower ones. You can type in numerical values for both in either note or percentage amounts.
At the bottom, there’s a Voicing slider. Use this to help create more realistic pitched sounds. Move it to the left when starting with a bassier, lower sound, such as a male vocal, or slide it to the right for a higher instrument or female vocal.
Lastly, there’s a delay section on the right, with controls over time and feedback. Hit the Freeze button under Input to capture and extend audio. The Dry/Wet knob completes the GUI.
Step 1
We start by placing a copy of ElastiquePitch 2 on the vocal audio channel. We’ve already chopped up the vocal sample, ‘91V_VHP_Fem_Hook_120_Give_Me_Your_Lovin_Clean_Am.wav’, which comes from the Splice pack, Vocal Hooks – Pink Label. We’ve also got a compressor – u-he’s Presswerk – on the channel helping to even out the dynamics.
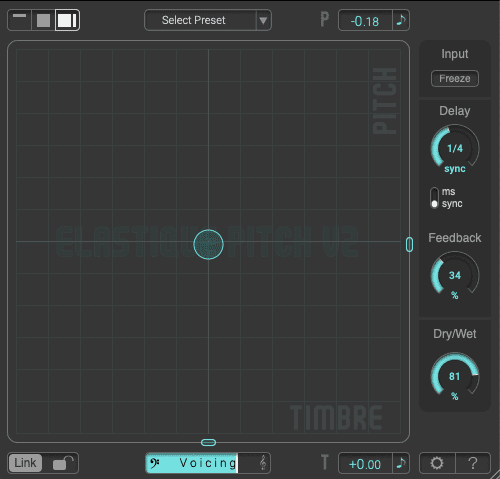
We need to get the plugin ready for our project. The first thing we want to do is unlink the Pitch and Timbre functions so we can manipulate them separately. We do this by clicking on the image of the lock in the lower-left corner.
We also want to set the Voicing slider for female vocals. We push it slightly to the right and settle on a spot that sounds good with our sample.
The vocal sample so far:
Step 2
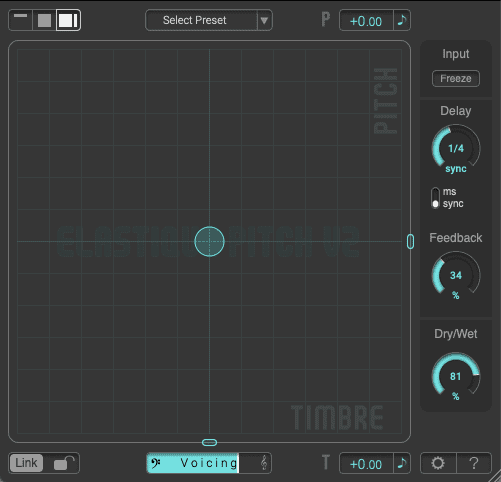
Breakdowns are a chance to go a little crazy with effects. We’ll be adding reverb later but for the delay let’s use the features built into the plugin.
The delay section is to the right of the grid. It’s already set to sync with the DAW tempo, which is perfect. We like the 1/4-note timing as well, so all that’s left to do is increase Feedback to around 30%. Right now it’s a normal delay but once we start changing the pitch, the pitch changes will be fed back into the delay as well, causing unique, pitch-shifted echoes.
The vocal sample with delay:
Step 3
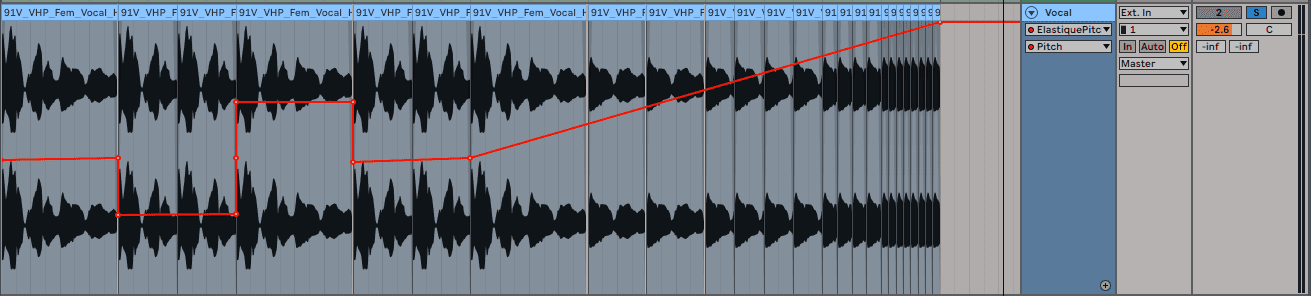
Speaking of pitch changes, let’s get into that now. As we mentioned before, you can grab the circle and move it all around but it’s easier to make fine changes by drawing in automation. Click on the Automation button on your DAW to reveal the automation lane. Choose the plugin (ElastiquePitch 2) and select Pitch.
We’re going to draw in some changes that match up with the way the samples are chopped. At bar 2, we drop a fifth in pitch and then at bar 3 we jump up to a fifth above the root note. Then bar 4 sees us returning to the original pitch.
Here’s how that sounds:

Step 4
Let’s continue working with pitch to add a riser.
Using the same automation lane, we add a node at bar 5 and then drag up at the end of the section. Now there’s a smooth pitch rise throughout the second half of the vocal sample line. Notice how the delays also rise in pitch due to the feedback.
Full pitch riser:
Step 5
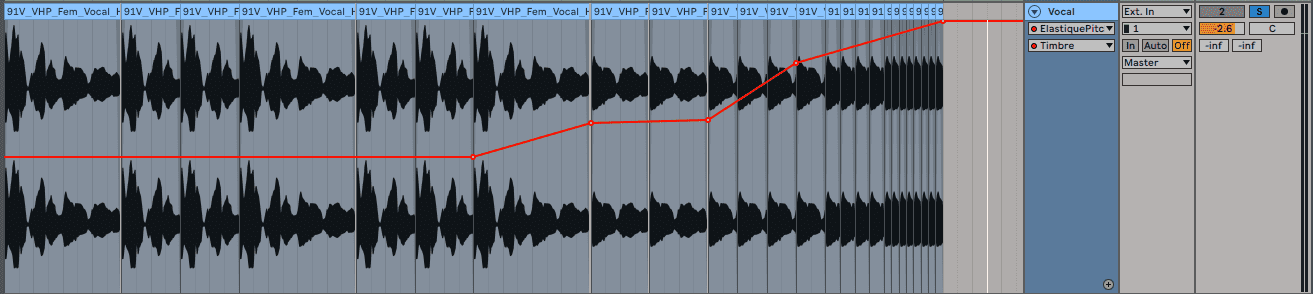
Let’s add a timbre/formant rise to the vocals as well.
In the automation lane, choose Timbre from the dropdown menu. Now, draw in a suitable line starting from around bar 5 and rising all the way to the end. To make things more interesting, add some extra nodes to the line and make ‘steps’ in the rise.
The pitch riser now with timbre changes:
Step 6
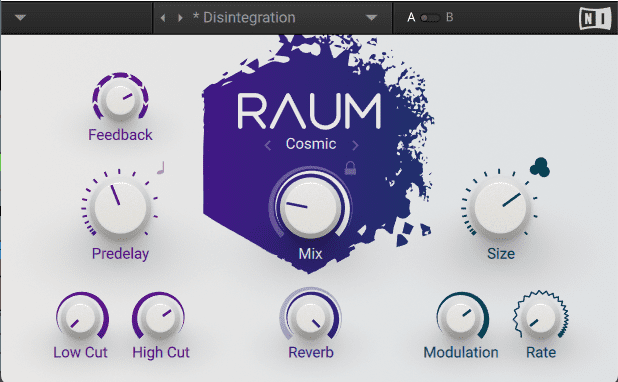
That’s our vocals done but there’s still more work to do. Let’s get a reverb going next to add atmosphere and help build more tension.
We add Native Instruments Raum to the channel after ElastiquePitch 2. We want a strong and open reverb with a nice long tail, as we’re going to do some additional pitch processing to it next. We like the Disintegration preset as it’s exactly what we need.
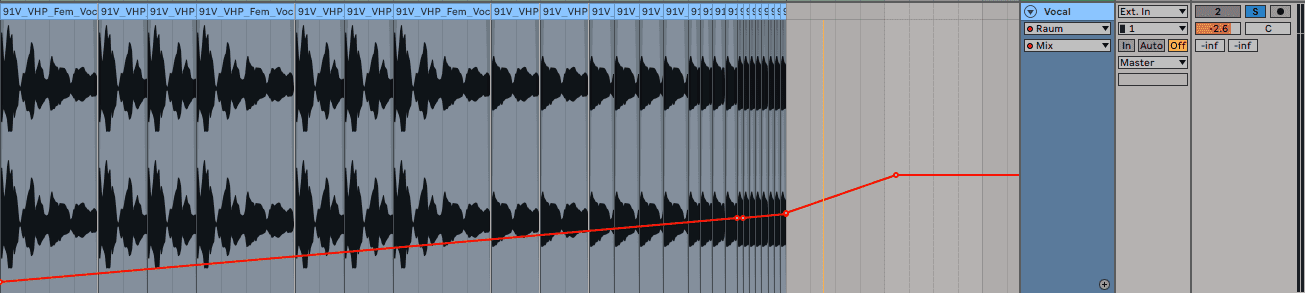
Next, let’s use automation to increase the wet amount over time and bring up the energy. Using the automation lane, we draw in a ramp that continues to increase even after the sample portion ends. This is because we want the tail to continue through the drop.
The sample with building reverb:
Step 7
For the final bit of processing, let’s use another instance of ElastiquePitch 2 to affect the pitch of the reverb tail. But this time, instead of automating a pitch change, let’s use MIDI notes to step it down an octave.
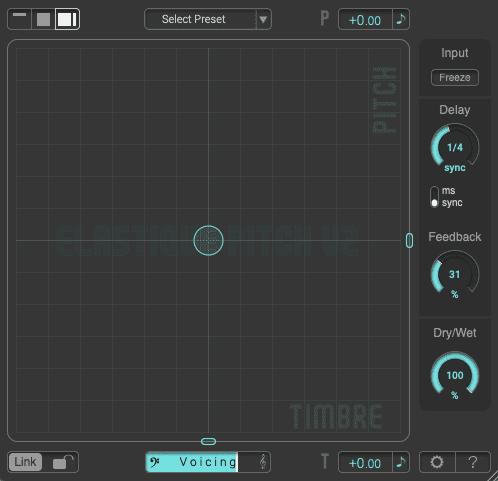
We add a second copy of ElastiquePitch 2 after the reverb. We can leave the Link and Voicing parameters unchanged as we’re only processing the reverb tail and not the vocals.
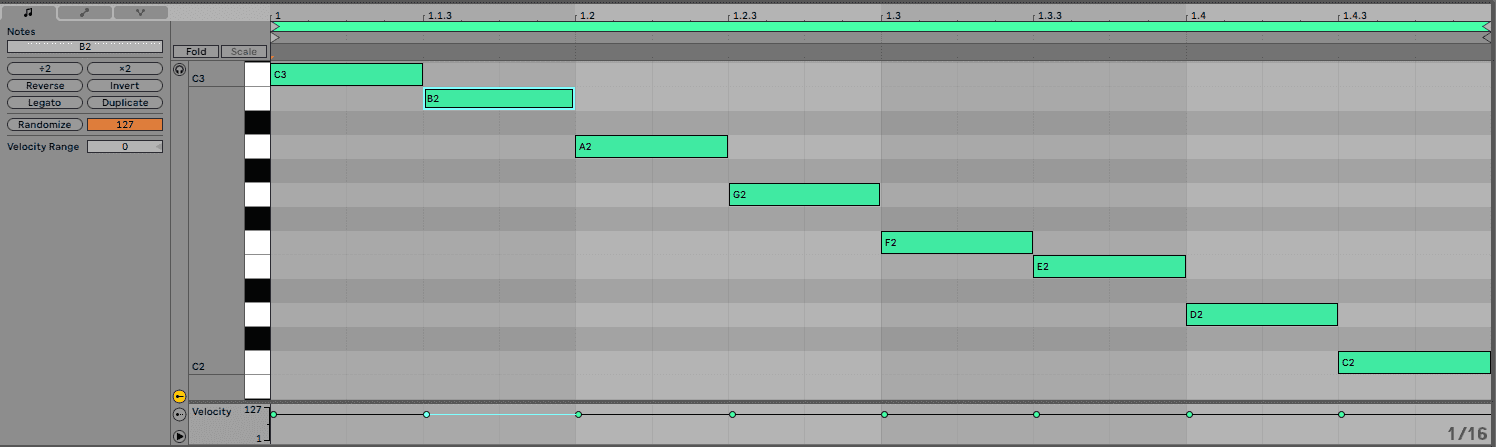
Next, we create a new MIDI track and route the MIDI out to the vocal track. We select ElastiquePitch 2 from the next dropdown menu. Now any MIDI notes we play will make pitch changes in the plugin. Note that C3 is the original pitch.
We start by drawing in a C3 note for the duration of the vocal sample section, from bar 1 to the end of bar 8. We don’t want to make any pitch changes here. For the reverb tail section, which is the whole of bar 9, we draw in a series of descending notes. Now the pitch of the reverb tail will descend like a scale.
Processed reverb tail:

Here are the vocals and reverb used in a breakdown, featuring Splice risers ‘sober_riser_classic_white_noise.wav’ from the pack Sounds of KSHMR Vol. 1 and ‘sober_riser_classic_white_noise.wav’ from the pack Sober Rob Dank Samples. We’ve also used the beat ‘US_WT_125_Drumloop_Concrete_ful.wav’ from the UNDRGRND Sounds pack, Warehouse Techno.
This content is supported by Zplane. If you want to read more about content funding on Attack Magazine and how we can continue to provide content to you for free, visit our content funding page for a breakdown of our editorial policy.